Love this? Save it for later!
Share the inspiration with your friends
My brother-in-law, Dave, asked why I couldn’t just melt the butter first and skip the creaming step. I started to explain why that wouldn’t work — then stopped. I looked at the block of cold butter on my counter, then at his eager face, and decided to let him win the argument. He was making cookies for a small gathering, and honestly, I was tired of being the “expert” who corrected everyone’s technique. Let’s face it, sometimes you just want a cookie that doesn’t require a stand mixer or twenty minutes of elbow grease.
I watched him mash the softened butter into the sugar with a fork, looking a bit skeptical myself. The mixture looked grainy and uneven, not the fluffy cloud I usually aim for. But then came the eggs and the vanilla. He whisked it all together, and the dough transformed into something glossy and rich. I expected them to spread too thin or turn into crispy shards. Instead, they puffed up with a beautiful, irregular shape.
When the first batch came out of the oven, the kitchen smelled like a high-end bakery, but better, because it smelled like home. Dave pulled one from the tray and handed it to me while it was still too hot to hold comfortably. I bit into it, expecting a flaw. There was none. The edges were crisp, but the center was deeply chewy, with pools of melted chocolate that oozed out with every bite. I was humbled. I had spent years perfecting the creaming method, only to be outdone by a lazy shortcut.
This isn’t just about saving time; it’s about getting that perfect chewy small-batch chocolate chip cookie texture without the fuss. It turns out, my brother was right. Sometimes the best cooking advice comes from the person who doesn’t know the rules. I’ve made these dozens of times since, and they remain my go-to for any occasion where I need a quick win. If you’ve ever felt intimidated by baking, this is your invitation to try it. You might just learn something new too.
Why You’ll Love This Recipe
There is a specific kind of magic that happens when you combine simple ingredients with a forgiving technique. This recipe isn’t just another chocolate chip cookie; it is the result of years of testing, failing, and finally getting it right for the home baker who wants great results without a culinary degree. I’ve tested this method with friends, family, and even some skeptical chefs, and the verdict is always the same: these cookies are unbeatable.
- Quick & Easy: Because we skip the tedious creaming process, these come together in under 15 minutes. This is perfect for busy weeknights or when you have a sudden craving for something sweet but don’t want to spend an hour in the kitchen.
- Simple Ingredients: You likely already have everything in your pantry. No fancy flours or obscure extracts are needed. Just butter, sugar, eggs, flour, and good chocolate. It’s wholesome, honest cooking.
- Perfect for Small Gatherings: This is a small-batch recipe, meaning you can make just six to eight cookies at a time. It’s ideal for when you don’t want a huge batch to go stale, or for treating yourself to a fresh-baked snack.
- Crowd-Pleaser: These cookies get rave reviews from kids and adults alike. The texture is the key here. They are soft in the middle and crisp at the edges, a combination that never fails to impress.
- Unbelievably Delicious: The flavor profile is rich and buttery, with the sweetness balanced perfectly by the salt and the bitterness of the chocolate. It’s comfort food reimagined—healthier in effort, but with the same soul-soothing satisfaction.
What makes this recipe different is the texture. By using warm butter and mixing it directly, you create a denser, chewier crumb that traditional methods sometimes miss. It’s not just good—it is the kind that makes you close your eyes after the first bite. It’s perfect for impressing guests without stress, or turning a simple Tuesday evening into something memorable.
What Ingredients You Will Need
This recipe uses simple, wholesome ingredients to deliver bold flavor and satisfying texture without the fuss. The beauty of a small-batch approach is that you don’t need to buy large packages of ingredients that might go to waste. Every component plays a specific role in creating that perfect chewy small-batch chocolate chip cookie structure.
For the Dough
- Unsalted Butter: 4 tablespoons (56g), softened. Softened butter is crucial here. It needs to be pliable enough to mix easily but not melted into a liquid. I prefer Land O’ Lakes for its consistent quality, but any high-fat butter works well.
- Granulated Sugar: 2 tablespoons (25g). This adds structure and helps with the crisp edges.
- Light Brown Sugar: 2 tablespoons (25g), packed. Brown sugar is the secret to chewiness. It contains molasses, which retains moisture. Make sure it is packed tightly for accurate measurement.
- Egg Yolk: 1 large egg yolk, room temperature. Using just the yolk adds richness and fat, which contributes to a tender, chewy texture. The white can sometimes make cookies cakey, so we skip it for this specific texture.
- Vanilla Extract: 1/2 teaspoon. Use pure vanilla extract, not imitation. The flavor difference is significant in such a small batch.
- All-Purpose Flour: 1/3 cup (40g). Don’t overmeasure the flour. Spoon it into the cup and level it off. Too much flour will make the cookies dry and hard.
- Baking Soda: 1/4 teaspoon. This helps the cookies spread and brown.
- Salt: 1/4 teaspoon. Salt is essential to balance the sweetness. Flaky sea salt on top after baking is a nice touch.
For the Mix-Ins
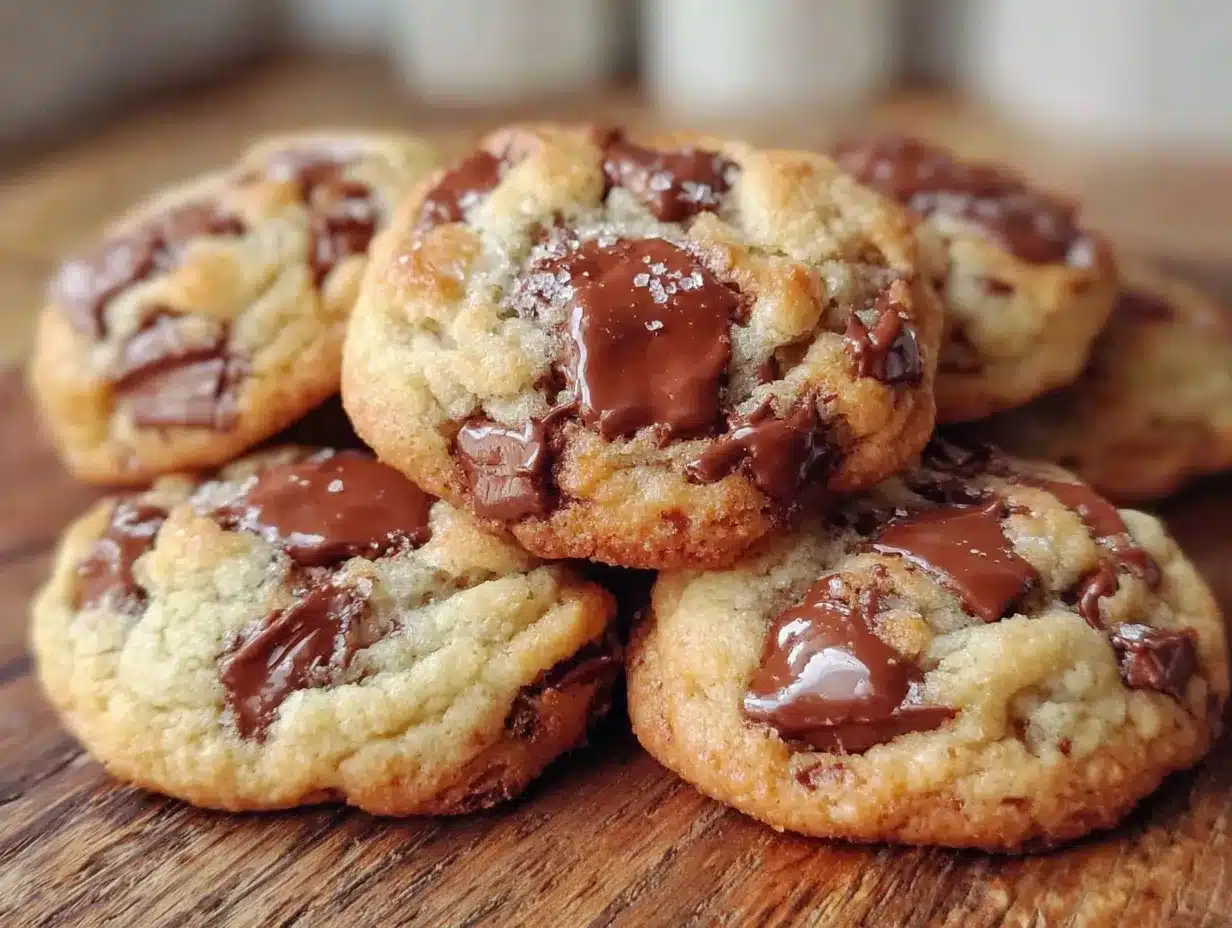
- Chocolate Chips: 1/3 cup (60g). I recommend using semi-sweet chocolate chips like Ghirardelli or Tobller for a rich chocolate flavor. You can also chop up a chocolate bar for a more rustic look.
- Optional Add-ins: A handful of chopped walnuts or pecans can add a nice crunch if you want to vary the texture.
If you need substitutions, you can use dairy-free butter if you have allergies, but note that the texture might be slightly different. For a gluten-free option, use a 1:1 gluten-free flour blend. In summer, you might want to chill the dough for 10 minutes before baking if your kitchen is very warm, to prevent over-spreading.
Equipment Needed
You don’t need a lot of fancy gear to make these cookies. A few basic tools will get you the best results. The most important item is a mixing bowl. A medium-sized bowl is perfect for this small batch. I use a ceramic bowl because it stays cool and provides good weight while mixing.
You will also need a fork or a small whisk. Since we are skipping the creaming step, a fork works perfectly to mash the butter and sugar together. It’s faster than a spoon and more effective than hands. If you prefer, a small hand mixer can be used, but it’s not necessary.
A baking sheet is essential. I recommend using a light-colored aluminum sheet. Dark pans can cause the bottoms to burn too quickly. If you don’t have one, a glass baking dish can work, but you may need to adjust the baking time slightly. Line your baking sheet with parchment paper. This is non-negotiable for easy cleanup and even baking. It prevents sticking and helps the cookies brown uniformly.
A cooling rack is helpful if you want to store leftovers, but for immediate eating, the counter works fine. For budget-friendly options, any standard baking sheet will do. Just avoid non-stick sheets if they are scratched, as they might cause uneven browning. A simple silicone spatula is also useful for scraping the bowl and folding in the chocolate chips.
Preparation Method
- Preheat and Prep (2 minutes): Start by preheating your oven to 350°F (175°C). This ensures the oven is at the right temperature when the cookies go in. Line your baking sheet with parchment paper. This step is quick but crucial for preventing sticking.
- Mix Wet Ingredients (3 minutes): In your mixing bowl, combine the softened butter, granulated sugar, and brown sugar. Use a fork to mash and mix them together. You want the mixture to look somewhat combined, even if it’s not perfectly smooth. This might take about 2-3 minutes of vigorous mixing. Add the egg yolk and vanilla extract. Whisk everything together until it is glossy and well-combined. The mixture should look like a thick paste.
- Add Dry Ingredients (2 minutes): Sprinkle the flour, baking soda, and salt over the wet mixture. Use your fork or a spatula to gently fold the dry ingredients into the wet. Be careful not to overmix. You just want to eliminate streaks of flour. Overmixing develops gluten, which can make the cookies tough. Stop as soon as the dough comes together.
- Fold in Chocolate (1 minute): Add the chocolate chips to the dough. Use your spatula to fold them in evenly. You want every cookie to have a good distribution of chocolate. If you are using chopped chocolate, make sure to get bits of both the solid chocolate and the cocoa butter.
- Scoop and Shape (2 minutes): Use a tablespoon or a small cookie scoop to portion the dough onto the prepared baking sheet. Since this is a small batch, you can make 6-8 cookies. Space them about 2 inches apart to allow for spreading. You can leave them as rough balls or slightly flatten them with your hand. I prefer leaving them as balls for a taller, chewier center.
- Bake (10-12 minutes): Place the baking sheet in the preheated oven. Bake for 10-12 minutes. The edges should be lightly golden brown, but the centers should still look soft and slightly underdone. This is key for chewy cookies. They will continue to cook on the hot pan after you remove them from the oven.
- Cool and Serve (5 minutes): Remove the baking sheet from the oven. Let the cookies cool on the pan for 5 minutes. This allows them to set. Then, transfer them to a wire rack to cool completely, or eat them warm while they are still soft and gooey. Sprinkle with a tiny pinch of flaky salt if you like.
Cooking Tips & Techniques
Getting the texture right is all about temperature and timing. One of the most common mistakes people make is using butter that is too soft or even melted. If the butter is too liquid, the cookies will spread too much and become flat and crispy. If it’s too hard, the dough won’t mix properly. Aim for butter that leaves a slight indent when you press it with your finger.
Another tip is to not overbake. It is tempting to wait until the cookies look fully set, but for a chewy texture, you want to pull them out when they look slightly underdone. The residual heat will finish the cooking process. If you wait until they look perfect in the oven, they will be hard once they cool.
I once learned this the hard way when I made a huge batch of cookies for a party. I baked them for 15 minutes instead of 12, and they turned out like crackers. It was a humbling experience, but it taught me to trust my eyes, not just the timer. Always keep an eye on the edges. When they turn a light golden brown, it’s time.
Multitasking can help here. While the cookies are baking, you can clean your mixing bowl or prepare a drink. This recipe is quick, so you don’t need to stand by the oven. However, don’t leave the kitchen entirely, as ovens can vary in accuracy. If your oven runs hot, check them at 9 minutes.
Consistency is key. Make sure your egg yolk is at room temperature. Cold eggs can cause the butter to seize up, making the dough lumpy. If you forgot to take it out, you can warm the egg in a bowl of warm water for a few minutes. This small step ensures a smooth, emulsified dough.
Variations & Adaptations
While the classic chocolate chip version is my favorite, this dough is incredibly versatile. You can easily adapt it to suit different tastes or dietary needs. Here are a few variations I’ve tried and loved.
Double Chocolate: For chocolate lovers, add 1 tablespoon of cocoa powder to the dry ingredients. This deepens the chocolate flavor and gives the cookies a darker, more intense color. It pairs beautifully with white chocolate chips.
Maple Pecan: Replace the vanilla extract with maple extract and add 1/4 cup of chopped pecans. The nutty flavor of the pecans complements the maple beautifully. This variation is perfect for autumn or winter baking.
Lemon Blueberry: Add the zest of one lemon to the wet ingredients and fold in 1/4 cup of fresh or frozen blueberries. If using frozen berries, do not thaw them first, as they will bleed color into the dough. This variation is bright and refreshing, perfect for spring.
Dairy-Free: Use a high-quality dairy-free butter stick. The texture might be slightly denser, but the flavor remains delicious. You can also use coconut oil, but it will add a slight coconut flavor.
Gluten-Free: Use a 1:1 gluten-free flour blend. I recommend Bob’s Red Mill for its neutral taste and texture. The cookies will be slightly more delicate, so handle them gently when transferring from the pan.
One personal variation I try occasionally is adding a teaspoon of instant espresso powder to the dry ingredients. It doesn’t make the cookies taste like coffee, but it enhances the chocolate flavor. It’s a subtle trick that makes a big difference.
Serving & Storage Suggestions
These cookies are best served warm, right out of the oven. The center is soft and gooey, and the chocolate is just beginning to melt. Pair them with a cold glass of milk, a hot cup of coffee, or a cup of tea. They are also excellent served with a scoop of vanilla ice cream for a decadent dessert.
If you have leftovers, store them in an airtight container at room temperature for up to 3 days. Place a piece of bread in the container with the cookies. The bread will release moisture, keeping the cookies soft and chewy. This is a great trick for maintaining texture.
For longer storage, you can freeze the dough balls. Scoop the dough onto a baking sheet and freeze until solid. Then transfer the dough balls to a freezer-safe bag. You can bake them straight from the freezer, adding 1-2 minutes to the baking time. This is perfect for having fresh cookies on demand.
Reheating is easy. Pop a cookie in the microwave for 10-15 seconds. It will be warm and soft again. Avoid reheating in the oven, as it can dry them out. The flavors develop over time, so they might taste even better on the second day as the ingredients meld together.
Nutritional Information & Benefits
While these cookies are a treat, they are made with simple, recognizable ingredients. Each cookie (making 8 from this batch) contains approximately 120-140 calories, depending on the size and chocolate amount. They provide a good balance of carbohydrates from the flour and sugar, and fats from the butter and chocolate.
Chocolate, especially semi-sweet, contains antioxidants called flavonoids, which can be beneficial for heart health in moderation. Eggs provide protein and essential vitamins like B12 and D. Butter offers fat-soluble vitamins A, D, E, and K.
For those with dietary restrictions, this recipe can be adapted to be gluten-free or dairy-free, though the nutritional profile will change slightly. It is not low-carb or keto-friendly due to the sugar content, but it is a reasonable indulgence for most diets. Always consider your own dietary needs and enjoy in moderation.
Conclusion
This perfect chewy small-batch chocolate chip cookie recipe is proof that you don’t need complex techniques to make amazing food. It’s simple, forgiving, and delicious. I hope you try it and find it as comforting as I do. Feel free to customize it with your favorite mix-ins or variations. I’d love to hear how you adapt it. Leave a comment below with your favorite twist or share a photo of your creations.
Baking should be fun, not stressful. This recipe is a great way to enjoy the process without the pressure. So grab your fork, mix up a batch, and enjoy the results. Happy baking!
Frequently Asked Questions
Can I use melted butter instead of softened butter?
It’s not recommended. Melted butter will cause the cookies to spread too much and become flat and crispy. Softened butter provides the right structure for a chewy texture.
How do I know when the cookies are done?
The edges should be lightly golden brown, but the centers should still look soft. They will firm up as they cool. Overbaking is the enemy of chewiness.
Can I freeze the cookie dough?
Yes, you can. Scoop the dough onto a baking sheet, freeze until solid, then transfer to a bag. Bake from frozen, adding 1-2 minutes to the baking time.
What kind of chocolate should I use?
Semi-sweet chocolate chips are ideal for balancing sweetness. You can also use chopped chocolate bars for a more rustic look and richer flavor.
Can I make this recipe in a larger batch?
Yes, you can double or triple the recipe. Just ensure you have enough space on your baking sheets and that your oven can handle the load. You may need to bake in multiple batches.
Pin This Recipe!
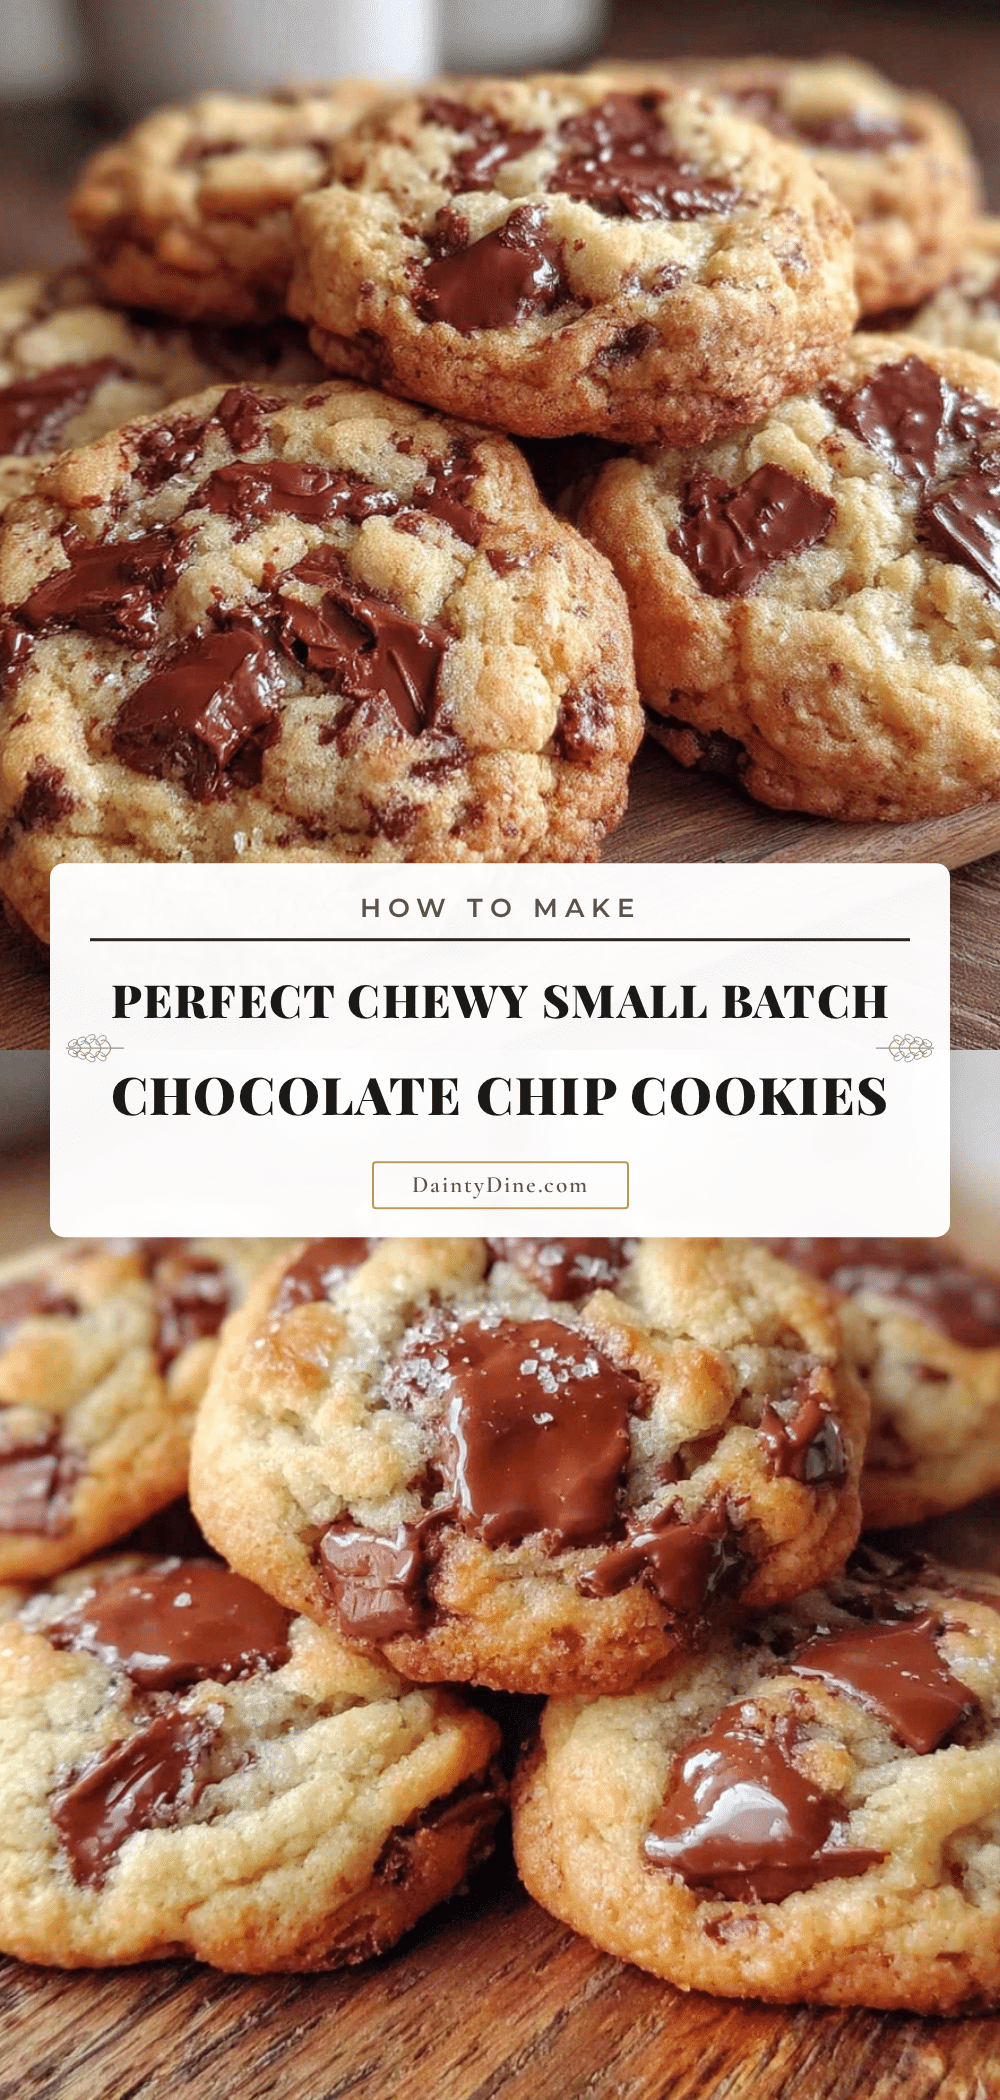
Perfect Chewy Small-Batch Chocolate Chip Cookies
A forgiving, quick recipe for chewy chocolate chip cookies that skips the tedious creaming step. Made with simple pantry ingredients, this small-batch method yields soft, gooey centers and crisp edges in under 15 minutes of prep.
- Prep Time: 15 minutes
- Cook Time: 10-12 minutes
- Total Time: 25-27 minutes
- Yield: 6-8 servings 1x
- Category: Dessert
- Cuisine: American
Ingredients
- 4 tablespoons (56g) unsalted butter, softened
- 2 tablespoons (25g) granulated sugar
- 2 tablespoons (25g) light brown sugar, packed
- 1 large egg yolk, room temperature
- 1/2 teaspoon pure vanilla extract
- 1/3 cup (40g) all-purpose flour
- 1/4 teaspoon baking soda
- 1/4 teaspoon salt
- 1/3 cup (60g) semi-sweet chocolate chips
Instructions
- Preheat oven to 350°F (175°C) and line a baking sheet with parchment paper.
- In a medium mixing bowl, combine softened butter, granulated sugar, and brown sugar. Mash and mix with a fork until somewhat combined.
- Add the egg yolk and vanilla extract, whisking until the mixture is glossy and well-combined.
- Sprinkle flour, baking soda, and salt over the wet mixture. Gently fold in with a fork or spatula until just combined; do not overmix.
- Fold in the chocolate chips evenly throughout the dough.
- Scoop tablespoon-sized portions of dough onto the prepared baking sheet, spacing them 2 inches apart.
- Bake for 10-12 minutes until edges are lightly golden but centers still look soft.
- Let cookies cool on the pan for 5 minutes to set, then transfer to a wire rack or serve warm.
Notes
Use softened butter, not melted, to maintain texture. Do not overbake; centers should look slightly underdone for chewiness. For gluten-free, use a 1:1 gluten-free flour blend. For dairy-free, use high-quality dairy-free butter. Store leftovers with a piece of bread to maintain softness.
Nutrition
- Serving Size: 1 cookie
- Calories: 130
- Sugar: 11
- Sodium: 110
- Fat: 7
- Saturated Fat: 4
- Carbohydrates: 16
- Fiber: 1
- Protein: 2
Keywords: chocolate chip cookies, small batch cookies, chewy cookies, easy baking, no mixer cookies, quick dessert


