Love this? Save it for later!
Share the inspiration with your friends
Introduction
“I wasn’t expecting much when I grabbed an old blender from the thrift store last summer,” I confess, “but that dusty machine turned into my secret weapon for these healthy protein ice pops.” It all started on a sweltering July afternoon when the power flickered and my freezer was mysteriously empty of store-bought ice creams. I wanted something cold, creamy, and satisfying—without the usual sugar crash that follows. So, I rummaged through my fridge, tossed a few wholesome ingredients into the blender, and hoped for the best.
Honestly, I forgot to add the protein powder at first (classic me), but instead of tossing it out, I decided to freeze the mix anyway. The result? These creamy, guilt-free frozen treats that surprised me with how refreshing and filling they were. You know that feeling when a simple idea turns out way better than you expected? That’s exactly what happened.
Since then, these healthy protein ice pops have become my go-to cool down on hot days, post-workout snack, or anytime I crave a little indulgence without the guilt. Maybe you’ve been there too—searching for a frozen treat that’s both tasty and nourishing. Let me tell you, these ice pops hit that sweet spot every time.
So, if you’re ready to make your own creamy, guilt-free frozen treats that pack a protein punch, read on. I promise this recipe will stick with you like it did with me.
Why You’ll Love This Recipe
After countless batches, tweaks, and taste tests, I can confidently say these healthy protein ice pops are a keeper. Here’s why they stand out in the world of frozen snacks:
- Quick & Easy: Ready in under 10 minutes, they’re perfect for busy days or last-minute cravings.
- Simple Ingredients: No fancy trips to specialty stores—just pantry staples and fresh, wholesome ingredients.
- Perfect for Any Occasion: Whether it’s a post-gym refuel, a summer picnic, or a kid-friendly snack, these pops fit right in.
- Crowd-Pleaser: The creamy texture and subtle sweetness always get rave reviews, even from my pickiest friends.
- Unbelievably Delicious: The balance of protein, natural sweetness, and creamy goodness makes these more than just a snack—they’re a treat with purpose.
What sets this recipe apart? It’s the blend of ingredients that creates that silky smooth texture without any ice crystals. I use a mix of Greek yogurt and a touch of ripe banana for natural sweetness and creaminess, plus a high-quality vanilla protein powder (I personally like Orgain for its smooth flavor). The pops are not too sweet, just right for those who want something refreshing but not over the top.
This recipe isn’t just about nutrition; it’s about savoring a frozen treat that makes you close your eyes and smile after the first bite. It’s a little frozen hug, honestly.
What Ingredients You Will Need
This recipe uses simple, wholesome ingredients to deliver bold flavor and satisfying texture without the fuss. Most of these are pantry staples or easy to find in any grocery store.
- Greek yogurt (1 cup / 240 ml): Full-fat or 2% for creaminess; plain works best (I recommend Fage for its thick texture).
- Vanilla protein powder (1/2 cup / 50 g): Choose your favorite brand; I prefer plant-based or whey depending on your preference.
- Ripe banana (1 medium, mashed): Adds natural sweetness and smooth texture.
- Unsweetened almond milk (1/2 cup / 120 ml): For thinning the mixture; you can swap with any milk of choice.
- Honey or maple syrup (1-2 tbsp / 15-30 ml, optional): For extra sweetness, adjust to taste.
- Chia seeds (1 tbsp / 12 g, optional): Adds a little crunch and extra fiber.
- Fresh or frozen berries (1/2 cup / 75 g, optional): Great for a fruity twist, especially in summer.
- Vanilla extract (1 tsp / 5 ml): Enhances flavor depth.
Substitution tips: Use coconut yogurt for a dairy-free version, and swap almond milk with oat or soy milk if preferred. If you’re avoiding sweeteners, skip honey/maple syrup—the banana usually provides enough natural sugar.
Equipment Needed
- Blender or food processor: Essential for getting the creamy, smooth texture. A high-speed blender like a Vitamix works wonders but a regular blender does just fine.
- Ice pop molds: You can find affordable silicone molds online or at kitchen stores. Alternatively, small paper cups with popsicle sticks work in a pinch.
- Mixing bowl and spoon: For combining ingredients if you prefer mixing by hand before blending.
- Measuring cups and spoons: Precise measurements help with consistency.
If you don’t own ice pop molds, small muffin tins lined with parchment paper can be a creative substitute. Just insert toothpicks or small skewers for handles. Also, if your blender isn’t very powerful, blend the banana first to avoid chunks, then add the rest.
Preparation Method
- Prepare the banana: Peel and mash the ripe banana in a bowl until smooth, about 2 minutes. This helps it blend evenly and adds creaminess.
- Blend the base: In your blender, combine 1 cup (240 ml) Greek yogurt, 1/2 cup (50 g) vanilla protein powder, 1/2 cup (120 ml) almond milk, the mashed banana, and 1 tsp (5 ml) vanilla extract. Blend on medium-high speed for 30-45 seconds until smooth and creamy. (If you have frozen berries, toss them in now and blend again for a few seconds to keep some texture.)
- Sweeten to taste: Taste the mixture. If you want it sweeter, add 1-2 tbsp (15-30 ml) honey or maple syrup and pulse a few times to combine.
- Add optional chia seeds: Stir in 1 tbsp (12 g) chia seeds by hand if you like a little crunch and extra fiber.
- Pour into molds: Carefully fill your ice pop molds, leaving a tiny space at the top for expansion. Tap the molds gently on the counter to remove any air bubbles.
- Insert sticks: Place the lids or sticks into the molds. If using cups, cover with foil and poke popsicle sticks through the foil to hold them upright.
- Freeze: Place molds in the freezer for at least 4-6 hours, preferably overnight, until completely solid.
- Unmold and serve: To release the pops, run warm water briefly over the outside of the molds for 10-15 seconds. Gently pull out the pops and enjoy immediately or store in a freezer-safe bag for up to 2 weeks.
Pro tip: If your protein powder is grainy, sift it before blending. Also, don’t skip the warm water step to easily unmold without breaking the pops.
Cooking Tips & Techniques
Getting the perfect creamy texture for these healthy protein ice pops can be a bit tricky at first, but here are some tips I picked up the hard way:
- Choose a ripe banana: It’s the secret to natural sweetness and smooth texture—green bananas won’t blend as well.
- Don’t overdo the milk: Too much liquid can make the pops icy instead of creamy. Stick close to the recommended amounts.
- Blend thoroughly: A good blend ensures no lumps and a silky mouthfeel. If your blender struggles, blend in stages or add liquid gradually.
- Freeze long enough: Patience is key. Rushing the freeze time results in softer pops that may drip too quickly.
- Use quality protein powder: Some powders have a chalky aftertaste—test your brand first in a small batch.
- Multitasking tip: While pops are freezing, prep toppings or clean up your workspace to save time.
One time, I forgot to add the vanilla extract and the pops tasted a bit flat. Lesson learned: a little vanilla really brightens the flavor! Also, I’ve found that stirring in chia seeds after blending keeps their texture intact, which adds an enjoyable little surprise in every bite.
Variations & Adaptations
These healthy protein ice pops are super versatile. Here are some ways I’ve tweaked the base to keep things interesting:
- Berry Blast: Blend in 1/2 cup (75 g) mixed frozen berries for a fruity, antioxidant-rich pop. Perfect for summer! You can also swap banana with mango for a tropical twist.
- Chocolate Delight: Add 2 tbsp (15 g) unsweetened cocoa powder and use chocolate-flavored protein powder to satisfy chocolate cravings without the guilt.
- Nut Butter Swirl: Mix in 2 tbsp (30 g) almond or peanut butter before freezing for a creamy, protein-packed swirl that kids love.
- Dairy-Free: Use coconut yogurt and plant-based protein powder to make these suitable for dairy-free diets.
- Keto Version: Replace banana and sweetener with avocado and a low-carb sweetener like erythritol for a creamy, keto-friendly treat.
I tried the chocolate version last winter, and it quickly became the family’s favorite. Honestly, the nut butter swirl was a happy accident when I ran out of banana one day—sometimes the best ideas come from improvising!
Serving & Storage Suggestions
These healthy protein ice pops are best served straight from the freezer while they’re still firm. Let them sit at room temperature for 2-3 minutes if they’re too hard to bite into.
For a fun presentation, serve them on a small plate with a sprinkle of chopped nuts or a drizzle of dark chocolate. They pair wonderfully with a tall glass of iced herbal tea or chilled coconut water.
Store leftover ice pops in an airtight freezer-safe container or zip-top bag to prevent freezer burn. They keep well for up to 2 weeks without losing flavor or texture.
When reheating isn’t an option, simply enjoy them frozen. The flavors mellow slightly over time, making them even more refreshing after a day or two.
Nutritional Information & Benefits
Each protein ice pop contains approximately:
- Calories: 120-150 kcal
- Protein: 12-15 grams
- Carbohydrates: 10-15 grams (mostly natural sugars)
- Fat: 2-4 grams (depending on yogurt and add-ins)
These pops provide a good dose of protein to support muscle recovery and keep you feeling full longer. The Greek yogurt offers probiotics for gut health, while banana adds potassium and natural energy.
They are gluten-free, low in added sugars (especially without the optional sweetener), and can be made dairy-free or keto-friendly as needed. Just a wholesome, nourishing frozen snack that won’t derail your health goals.
Conclusion
If you’re looking for a frozen treat that’s creamy, tasty, and packed with protein, these healthy protein ice pops are your new best friend. They’re easy to make, kind to your body, and absolutely satisfying on a hot day—or anytime you want a sweet, guilt-free snack.
Feel free to customize the flavors, swap ingredients to match your dietary needs, and get creative with add-ins. I love how versatile and forgiving this recipe is, which makes it a staple in my kitchen.
Give it a try, and let me know how your version turns out! I’d love to hear about your favorite tweaks or any questions you have.
Here’s to creamy, guilt-free frozen treats that make you smile!
Frequently Asked Questions
Can I use other types of protein powder?
Yes! Whey, plant-based, or collagen protein powders all work well. Just choose one with a flavor you like and test a small batch first to ensure it blends smoothly.
How do I prevent ice crystals from forming?
Keep the liquid-to-solid ratio balanced and blend thoroughly. Adding banana or yogurt helps maintain creaminess and reduce iciness.
Can kids eat these protein ice pops?
Absolutely! These pops are a healthy snack option for kids, but make sure the protein powder is suitable for their age and dietary needs.
How long can I store the ice pops in the freezer?
Store them in an airtight container for up to 2 weeks. Beyond that, they might lose some texture and flavor.
What if I don’t have ice pop molds?
You can use small paper cups or muffin tins lined with parchment paper. Just insert popsicle sticks or toothpicks and freeze as usual.
For a refreshing, protein-packed treat, these healthy protein ice pops are a winner every time. And hey, if you ever want to try a twist on creamy frozen snacks, my creamy avocado pudding recipe is a smooth alternative that’s just as satisfying.
Plus, if you’re into easy protein-packed meals, the simple protein bowl is a great next step after enjoying your ice pops!
Pin This Recipe!
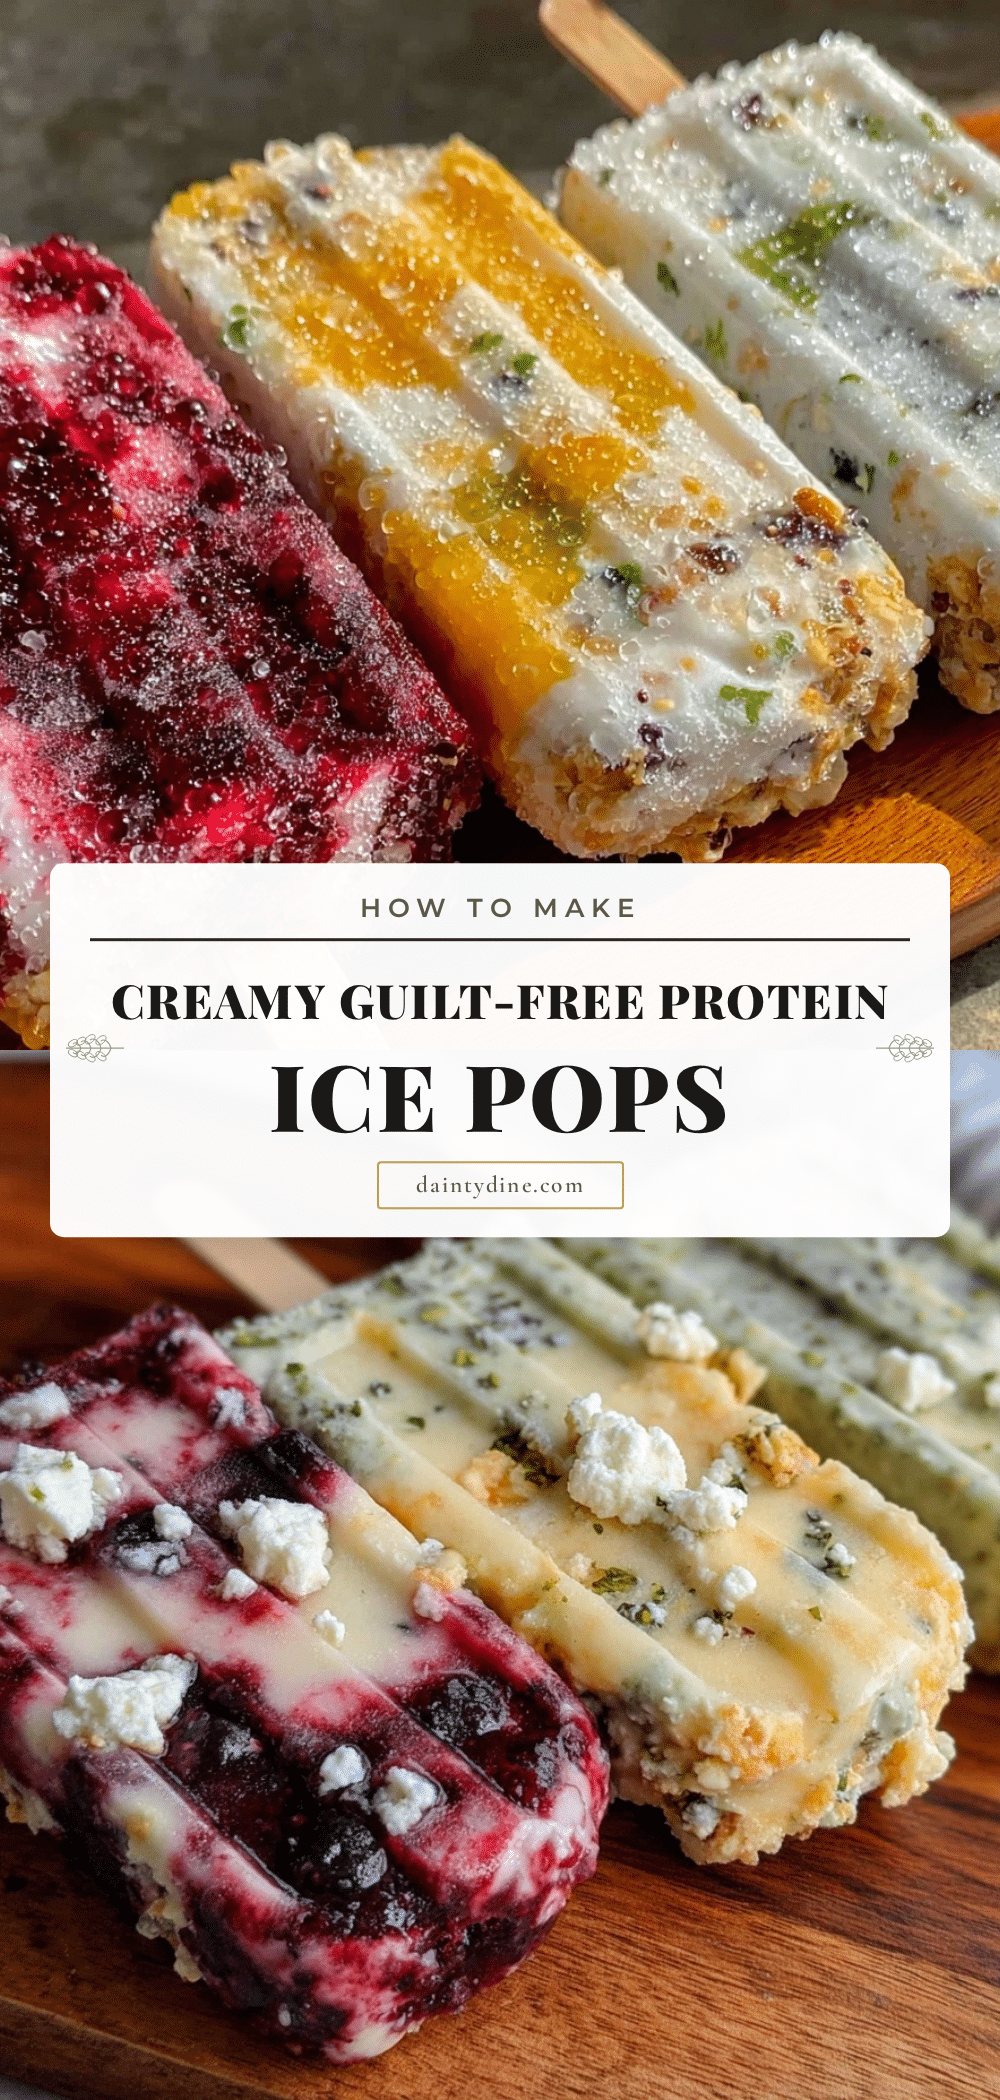
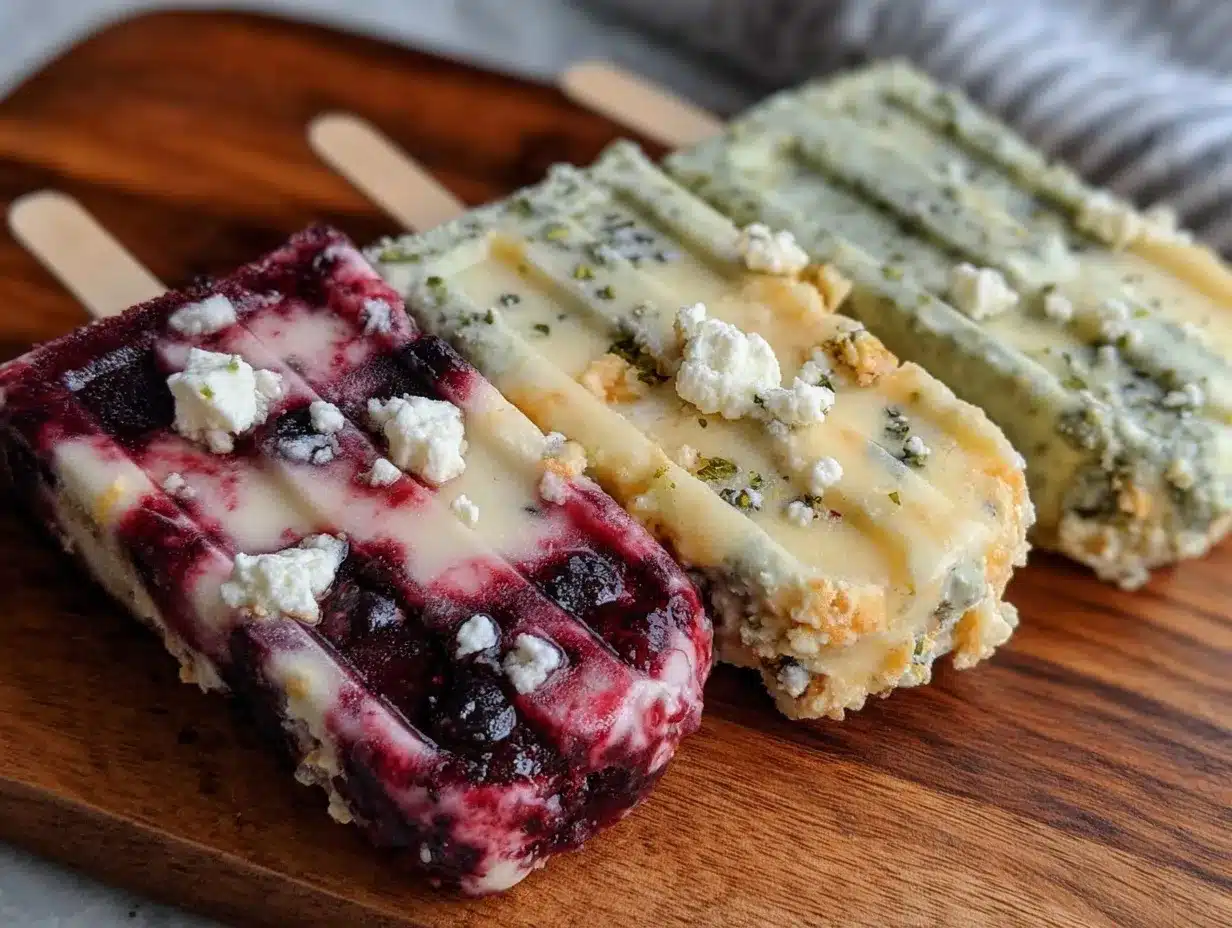
Healthy Protein Ice Pops
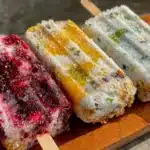
Creamy, guilt-free frozen treats packed with protein, perfect for a refreshing snack or post-workout refuel. Made with simple ingredients like Greek yogurt, banana, and vanilla protein powder.
- Prep Time: 10 minutes
- Cook Time: 0 minutes
- Total Time: 4-6 hours (including freezing time)
- Yield: 6 ice pops 1x
- Category: Dessert
- Cuisine: American
Ingredients
- 1 cup (240 ml) Greek yogurt (full-fat or 2%, plain)
- 1/2 cup (50 g) vanilla protein powder (plant-based or whey)
- 1 medium ripe banana, mashed
- 1/2 cup (120 ml) unsweetened almond milk (or any milk of choice)
- 1–2 tbsp (15–30 ml) honey or maple syrup (optional)
- 1 tbsp (12 g) chia seeds (optional)
- 1/2 cup (75 g) fresh or frozen berries (optional)
- 1 tsp (5 ml) vanilla extract
Instructions
- Peel and mash the ripe banana in a bowl until smooth, about 2 minutes.
- In a blender, combine Greek yogurt, vanilla protein powder, almond milk, mashed banana, and vanilla extract. Blend on medium-high speed for 30-45 seconds until smooth and creamy. If using frozen berries, add them now and blend briefly to keep some texture.
- Taste the mixture and add honey or maple syrup if you want it sweeter. Pulse a few times to combine.
- Stir in chia seeds by hand if using.
- Pour the mixture into ice pop molds, leaving a small space at the top for expansion. Tap molds gently to remove air bubbles.
- Insert sticks or lids into the molds. If using cups, cover with foil and poke sticks through the foil.
- Freeze for at least 4-6 hours or preferably overnight until solid.
- To unmold, run warm water over the outside of the molds for 10-15 seconds and gently pull out the pops. Serve immediately or store in a freezer-safe bag for up to 2 weeks.
Notes
Use ripe bananas for natural sweetness and smooth texture. Avoid adding too much milk to prevent icy pops. Blend thoroughly for a creamy texture. Run warm water over molds to easily unmold pops. Protein powder can be sifted if grainy. Store pops in an airtight container for up to 2 weeks.
Nutrition
- Serving Size: 1 ice pop
- Calories: 120150
- Sugar: 710
- Sodium: 50100
- Fat: 24
- Saturated Fat: 12
- Carbohydrates: 1015
- Fiber: 23
- Protein: 1215
Keywords: protein ice pops, healthy frozen treats, guilt-free snacks, protein snacks, frozen yogurt pops, easy summer recipes