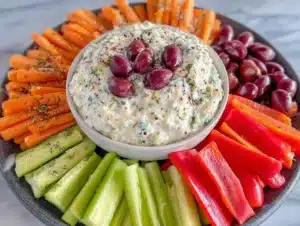
Love this? Save it for later!
Share the inspiration with your friends
I was standing in the grocery store aisle last October, staring at a bag of baby carrots, when the fluorescent lights flickered overhead. And just like that — I was seven years old again, sitting cross-legged on my aunt’s linoleum kitchen floor, watching her turn a simple veggie tray into something magical. She wasn’t a fancy cook by any means. But every Halloween, she’d pull out this trick that made us all gasp. A spider web, right there on the platter, made out of the most ordinary things. I can still see the way the cream cheese swooped across the tray, the way the black olives became creepy little spiders crawling toward the edges. I remember thinking, “How did she do that?”
That memory hit me so hard I almost dropped the carrots. I mean, honestly, I hadn’t thought about those Halloween veggie trays in years. But there I was, a grown woman in the produce section, suddenly desperate to recreate that exact feeling. Not just the snack — the whole moment. The anticipation. The way my cousins and I would hover around the table, sneaking celery sticks before the party even started. Maybe you’ve been there too, chasing a taste from your childhood that feels just out of reach.
So I bought the carrots. And the cream cheese. And a bag of black olives I had no real plan for. I went home, cleared off my counter, and set to work trying to remember every detail. The first attempt was a mess — the “web” looked more like a sad puddle, and my spiders kept rolling off the tray. But by the third try, something clicked. There it was. That same silly, wonderful, slightly imperfect veggie tray from my aunt’s kitchen. And honestly? It made my whole week.
This is that recipe. The Easy Spider Web Veggie Tray that turns a boring appetizer into the star of your Halloween spread. It’s simple enough for a Tuesday night snack, but spooky enough to impress at any party. And every time I make it, I feel like I’m seven years old again, sitting on that linoleum floor, watching magic happen.
Why You’ll Love This Recipe
Let me tell you why this veggie tray has become my go-to for every Halloween gathering. I’ve tested this thing at least a dozen times — for my kid’s classroom party, for a grown-up costume party, and even for a “just because it’s October” movie night. It works every single time. Here’s what makes it special:
- Quick & Easy: You can put this together in under 15 minutes. Seriously. No cooking, no baking, no complicated steps. Just a little spreading and arranging, and you’re done.
- Simple Ingredients: Everything on this tray is something you can find at any grocery store. No fancy specialty items, no wild goose chases for obscure ingredients. Just good, familiar veggies and a few pantry staples.
- Perfect for Halloween: Whether it’s a school party, a work potluck, or your own spooky soiree, this tray fits right in. It’s festive without being fussy, and it always gets the “ooh” and “ahh” reaction.
- Crowd-Pleaser: Kids love the fun spider web design, and adults love having a healthy option among all the candy. I’ve seen people fight over the last broccoli tree.
- Unbelievably Delicious: The combination of cool, creamy dip with crunchy, fresh veggies is just unbeatable. It’s comfort food in veggie form — if that makes any sense.
What makes this recipe different from every other veggie tray out there? It’s the presentation, honestly. The spider web design turns something ordinary into something memorable. It’s not just a pile of vegetables on a plate — it’s a conversation starter. Plus, I’ve perfected the cream cheese dip base after many, many taste tests. It’s not too thick, not too thin, and it holds the web pattern beautifully. This isn’t just another version of a veggie tray. It’s the one that makes people stop and say, “Wait, how did you do that?”
And here’s the thing — this recipe has soul. It’s the kind of snack that makes you feel warm and cozy, even while you’re munching on a carrot stick. It’s comfort food reimagined for the Halloween season. Perfect for impressing guests without any stress, or turning a simple snack into something that feels special.
What Ingredients You Will Need
This recipe uses simple, wholesome ingredients to deliver a fun, festive appetizer that looks way more complicated than it actually is. Most of these are probably already in your fridge or pantry. Let me walk you through what you’ll need and why each ingredient matters.
For the Cream Cheese Dip Base
- 8 oz cream cheese, softened to room temperature (this is key — cold cream cheese won’t spread smoothly)
- 1/2 cup sour cream (adds tanginess and makes the dip easier to spread)
- 1 packet ranch seasoning mix (I prefer Hidden Valley for the classic flavor, but any brand works)
- 1/4 cup mayonnaise (optional, but it gives the dip a richer texture)
For the Veggie Tray
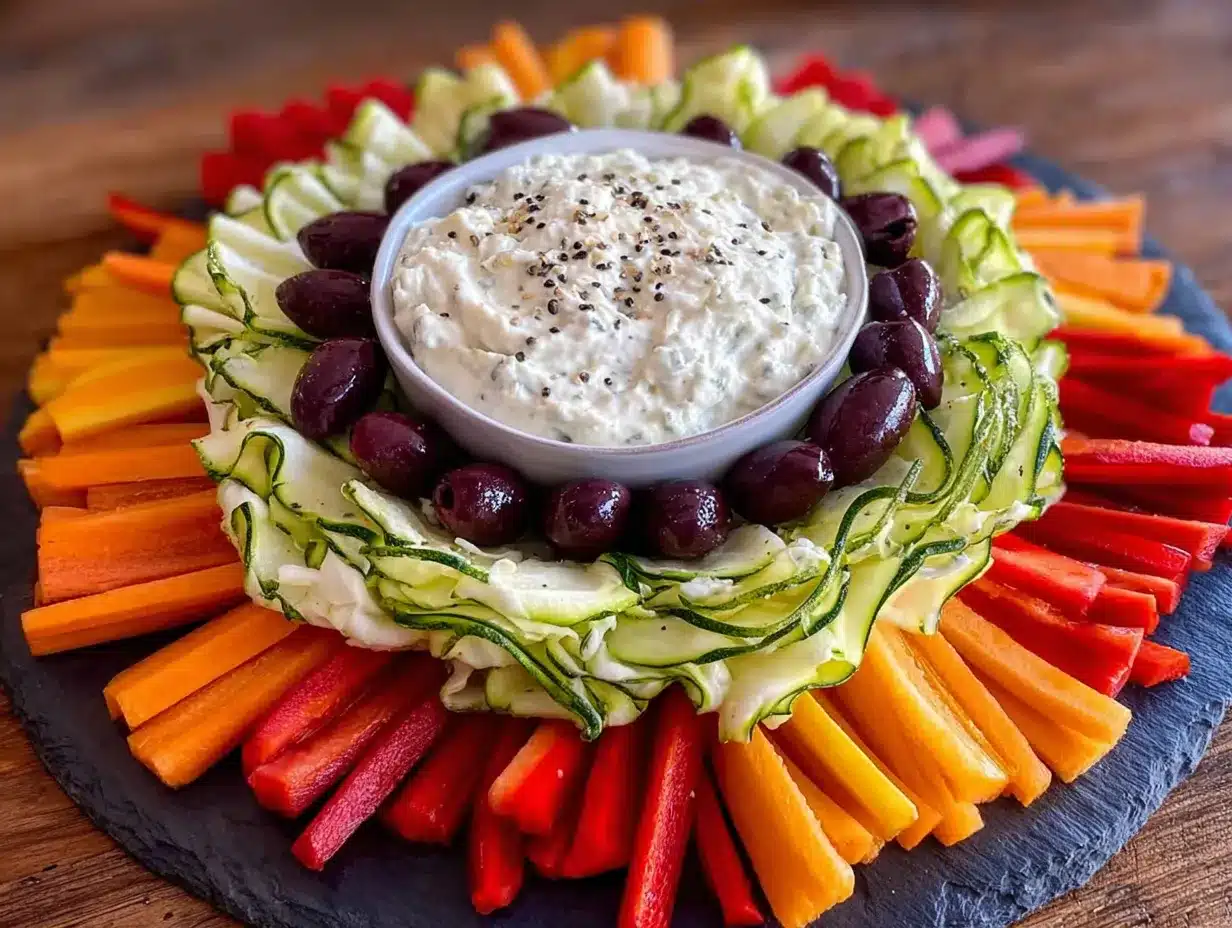
- 1 large bag baby carrots (about 16 oz — look for ones that are fairly uniform in size for a nicer presentation)
- 1 bunch celery, washed and cut into 3-inch sticks
- 1 large cucumber, sliced into rounds or cut into sticks
- 1 pint cherry tomatoes (I like the mixed color ones for extra visual interest)
- 1 head broccoli, cut into small florets (they look like little trees — very on-theme for Halloween)
- 1 red bell pepper, sliced into strips
- 1 yellow bell pepper, sliced into strips
For the Spider Web Decoration
- 1/2 cup ranch dressing (store-bought is fine, but homemade works great too)
- 1 can (2.25 oz) sliced black olives, drained (these become your spiders)
- Assorted veggies for garnish (optional — think small broccoli florets, olive slices, or pepper pieces to create “spider” bodies)
A few notes from my kitchen: I’ve tried this with reduced-fat cream cheese, and honestly, it works fine. The dip just won’t be quite as rich. If you’re dairy-free, there are some good plant-based cream cheeses out there — Kite Hill is my favorite for this recipe. And for the ranch seasoning, you can absolutely use a homemade blend if you want to control the sodium. Just mix dried dill, parsley, garlic powder, onion powder, and a pinch of salt and pepper.
For the veggies, feel free to swap in whatever you have on hand. Cauliflower works great in place of broccoli. Snap peas add a nice crunch. Even bell pepper strips in different colors can make the tray more festive. The key is variety — lots of colors and textures make the tray look more appealing.
Equipment Needed
You don’t need any fancy equipment for this recipe, which is honestly one of the best things about it. Here’s what you’ll need:
- A large round platter or serving tray (at least 12 inches in diameter — I use a white ceramic one that makes the colors pop)
- A small bowl for the cream cheese dip (about 4-6 inches wide)
- A piping bag or zip-top bag for the spider web design (a plastic sandwich bag works perfectly)
- A rubber spatula for smoothing the cream cheese dip
- A sharp knife and cutting board for prepping veggies
- A vegetable peeler (optional, but helpful if you want to make cucumber ribbons)
- Paper towels for drying the veggies after washing (wet veggies make the dip slide around)
If you don’t have a piping bag, don’t worry. I’ve made this tray using a regular zip-top bag with the corner snipped off, and it works like a charm. Just be careful not to cut too big of a hole — you want a thin stream of ranch dressing for the web pattern. I learned this the hard way on my first attempt and ended up with more of a “spider puddle” than a web.
For the platter, any large, flat surface will do. I’ve even used a cutting board in a pinch, covered with parchment paper for a more rustic look. The important thing is that it’s big enough to arrange all your veggies around the central dip bowl.
Preparation Method
Alright, let’s get to the fun part. I’m going to walk you through this step by step, just like I wish someone had done for me that first time I tried to recreate my aunt’s magic.
Step 1: Make the Cream Cheese Dip (5 minutes)
Take your softened cream cheese and put it in a medium mixing bowl. Add the sour cream, ranch seasoning mix, and mayonnaise if you’re using it. Beat everything together with a hand mixer or a sturdy wooden spoon until it’s smooth and creamy. You want it to be completely lump-free — a smooth base makes for a much nicer web pattern later. If the mixture seems too thick, add a tablespoon of milk or water to thin it out slightly. If it’s too thin, add a little more cream cheese. The perfect consistency is like a thick frosting — spreadable but not runny.
Step 2: Prepare the Platter (2 minutes)
Place your small bowl in the center of your large platter. This bowl will hold the cream cheese dip, and the veggies will surround it like a wreath. Take your cream cheese mixture and spread it evenly into the bowl, smoothing the top with your rubber spatula. Make sure it’s level — this makes the spider web design much easier to draw.
Step 3: Create the Spider Web Design (5 minutes)
This is the part that looks impressive but is actually super easy. Take your piping bag or zip-top bag and fill it with the ranch dressing. Snip off a tiny corner — start small, you can always cut more. Starting from the center of the cream cheese dip, pipe a spiral of ranch dressing going outward. Try to keep the lines evenly spaced. Then, using a toothpick or the tip of a knife, gently drag lines from the center outward, like spokes on a wheel. This will pull the ranch dressing into a beautiful web pattern. Don’t overthink it — even if it’s not perfect, it will still look amazing. Trust me, I’ve made some very “rustic” webs that still got compliments.
Step 4: Arrange the Veggies (5 minutes)
Now for the fun part. Arrange your prepared veggies around the central dip bowl, creating a colorful, inviting ring. I like to group similar colors together for a more organized look, but a more scattered arrangement works too. Start with the larger veggies like broccoli and bell pepper strips, then fill in the gaps with carrots, celery, and cucumber. Place the cherry tomatoes strategically — they add nice pops of red. The goal is to completely cover the platter so no empty space shows. It should look abundant and welcoming.
Step 5: Make the Spiders (3 minutes)
Take your drained black olives and place a few of them on the cream cheese dip, right on the web. These are your spiders. For a more detailed look, you can cut a few olives in half lengthwise to create “spider bodies” and use thin strips of bell pepper for legs. But honestly, whole olives look great and are much easier. I usually place 3-4 “spiders” crawling across the web for maximum effect.
Step 6: Final Touches (2 minutes)
Take a step back and look at your creation. Add any extra veggies or garnish where needed. Maybe tuck a few extra broccoli florets around the edges, or add a sprinkle of fresh herbs if you’re feeling fancy. Make sure everything looks balanced and appealing. Then, give yourself a pat on the back — you just made a Halloween showstopper.
Cooking Tips & Techniques
After making this tray more times than I can count, I’ve picked up a few tricks that make the process smoother and the results more impressive. Let me share them with you.
Softening cream cheese is crucial. I cannot stress this enough. Cold cream cheese will leave you with a lumpy, frustrating mess. Take it out of the fridge at least 30 minutes before you start. In a pinch, you can microwave it for 10-15 seconds, but be careful not to melt it. Room temperature cream cheese blends like a dream and gives you that smooth, spreadable texture you need.
Dry your veggies thoroughly. This was a mistake I made early on — I’d wash the veggies and put them straight on the tray. The water would make the dip slide around and create a soggy mess. Now I wash everything, lay it out on paper towels, and pat it completely dry before arranging. It makes a huge difference in how the tray holds up over time.
Don’t overcomplicate the spider web. I’ve seen tutorials where people use multiple colors of dressing or try to create elaborate patterns. Keep it simple. The ranch spiral with the toothpick drag technique is foolproof. If your lines aren’t perfectly straight, that’s fine — real spider webs aren’t perfect either. Embrace the imperfection.
Make the dip ahead of time. The cream cheese mixture actually tastes better after sitting in the fridge for a few hours — the flavors meld together beautifully. You can make it a day in advance and just spread it in the bowl when you’re ready to assemble. Just remember to let it soften slightly before spreading if it’s been refrigerated.
Prep your veggies the night before. This is a huge time-saver. Wash, cut, and dry all your vegetables the night before your party. Store them in separate zip-top bags in the fridge. Then all you have to do on the day of is arrange everything on the platter. It takes the stress out of last-minute hosting.
Use a small offset spatula for spreading. If you have one, it makes smoothing the cream cheese dip in the bowl so much easier. A butter knife works too, but the offset spatula gives you that nice, even surface that makes the web pattern look clean.
Variations & Adaptations
One of the best things about this recipe is how flexible it is. Here are some variations I’ve tried and loved:
- Dairy-Free Version: Use a plant-based cream cheese and dairy-free sour cream. I’ve tried this with Kite Hill’s cream cheese and it works beautifully. The ranch seasoning is naturally dairy-free, so you’re good there. Just make sure your ranch dressing is also dairy-free — there are some great options at most grocery stores.
- Gluten-Free Version: This recipe is naturally gluten-free as long as you check your ranch seasoning mix and dressing. Some brands add gluten as a thickener. I use Hidden Valley’s gluten-free ranch seasoning and it’s perfect.
- Low-Carb/Keto Version: This is actually already pretty low-carb since it’s mostly veggies. Just skip the carrots (they’re higher in sugar) and load up on cucumber, celery, and bell peppers. The cream cheese dip is keto-friendly as is.
- Spicy Version: Add a teaspoon of sriracha or a pinch of cayenne pepper to the cream cheese mixture. It gives the dip a nice kick that pairs surprisingly well with the cool veggies. I did this for a party once and it was gone in minutes.
- Seasonal Variations: In the fall, swap in roasted pumpkin seeds and apple slices (dipped in lemon water to prevent browning). In the summer, add fresh cherry tomatoes and zucchini sticks. The base recipe works with almost any vegetable combination.
- Different Dip Flavors: While the ranch cream cheese is classic, you can use any thick dip as your base. French onion dip, spinach artichoke dip, or even a simple herb cream cheese all work great. Just make sure it’s thick enough to hold the web pattern.
I once made a “monster mash” version for a kid’s party where I added green food coloring to the cream cheese dip and used purple cauliflower and orange bell peppers. The kids went absolutely wild for it. Don’t be afraid to get creative — Halloween is all about fun, after all.
Serving & Storage Suggestions
This veggie tray is best served cold, straight from the fridge. The contrast between the cool, creamy dip and the crisp, fresh veggies is what makes it so satisfying. I like to take it out about 10 minutes before serving to take the chill off slightly, but that’s entirely optional.
For presentation, I recommend placing the tray on a slightly elevated surface so it becomes the centerpiece of your snack table. Surround it with other Halloween treats — maybe some ghost-shaped cookies or a bowl of candy corn. The contrast between the healthy veggie tray and the sugary treats makes both more appealing.
This tray pairs beautifully with other party snacks. I love serving it alongside a bowl of warm spinach artichoke dip, some spiced nuts, and maybe a cheese board shaped like a pumpkin. For drinks, a crisp apple cider or a Halloween-themed punch works wonderfully.
As for storage, this tray doesn’t keep super well once assembled. The veggies start to release moisture and the dip can get watery. I recommend assembling it no more than 2-3 hours before serving. If you have leftovers, separate the dip from the veggies and store them in separate airtight containers in the fridge. The dip will keep for 3-4 days, and the veggies will stay fresh for about the same amount of time. Just don’t expect the web pattern to survive the storage — it’s a one-time show.
For reheating — well, you don’t really reheat a veggie tray. But if you want to use leftover dip as a spread for sandwiches or wraps, it’s absolutely delicious. I’ve also used it as a dip for pretzels and chips the next day.
One thing I’ve noticed: the flavors in the dip actually get better after a day in the fridge. So if you’re planning to make this ahead, make the dip the day before and just assemble the tray on the day of your event. It’s a great time-saver.
Nutritional Information & Benefits
Let’s be real — this is a veggie tray, so it’s already pretty healthy. But let me break it down for you. The exact nutritional values will depend on how much dip you use and which veggies you choose, but here’s a rough estimate per serving (assuming 8 servings):
- Calories: Approximately 180-220 per serving
- Protein: 4-6 grams
- Carbohydrates: 12-15 grams
- Fiber: 3-4 grams
- Fat: 14-18 grams
- Sodium: 350-450 mg
The health benefits here are real. You’re getting a ton of vitamins and minerals from all those colorful vegetables — vitamin A from the carrots, vitamin C from the bell peppers, fiber from the broccoli, and antioxidants from pretty much everything. The cream cheese dip adds some calcium and protein, though it’s also where most of the fat and calories come from.
If you’re watching your sodium, you can use a low-sodium ranch seasoning mix or make your own. And if you’re dairy-sensitive, the plant-based version works beautifully. This recipe is naturally gluten-free and can be made vegan with simple substitutions.
Personally, I love that this recipe makes healthy eating feel fun. It’s so easy to grab a handful of candy during Halloween, but having this veggie tray out gives you a delicious, nutritious option that doesn’t feel like a compromise. It’s comfort food that actually makes you feel good.
Conclusion
So there you have it — my Easy Spider Web Veggie Tray, the Halloween appetizer that brings back all those childhood feelings of magic and anticipation. This recipe is more than just a snack. It’s a way to slow down, get a little creative, and share something special with the people you love. Whether you’re making it for a big Halloween party or just for a quiet night in with a scary movie, I promise it will make the moment feel a little more special.
I love this recipe because it’s forgiving. You can mess up the web, use whatever veggies you have on hand, and it will still turn out looking fantastic. It’s proof that you don’t need to be a professional chef to create something that feels truly impressive. All you need is a little cream cheese, some ranch dressing, and a willingness to have fun with your food.
Now I want to hear from you. Have you tried making this veggie tray? Did you come up with your own spooky variation? Drop a comment below and let me know how it turned out. And if you have a favorite Halloween recipe that’s been passed down in your family, I’d love to hear about that too. Share this post with a friend who loves Halloween as much as you do, and let’s spread a little spooky joy together.
Happy Halloween, and happy snacking!
Frequently Asked Questions
Can I make this veggie tray ahead of time?
Yes, but with some caveats. You can make the cream cheese dip up to 2 days in advance and store it in the fridge. You can also wash and cut all your veggies the day before. But I recommend assembling the entire tray no more than 2-3 hours before serving. The veggies start to release moisture over time, which can make the dip watery and the tray look less fresh.
What if I don’t have a piping bag for the spider web?
No problem at all! A simple zip-top bag works perfectly. Just fill it with the ranch dressing, seal it, and snip off a tiny corner. Start with a very small hole — you can always make it bigger if needed. I’ve also seen people use a squeeze bottle, which gives you even more control. The key is to keep the stream thin for a delicate web pattern.
Can I use different vegetables?
Absolutely! This recipe is incredibly flexible. Some great alternatives include cauliflower florets, snap peas, jicama sticks, radish slices, asparagus spears (blanched if you prefer them tender), or even small pickles. Just make sure whatever you choose is firm enough to hold up on the tray and dry enough that it doesn’t make the dip watery.
How do I make the spider web design look perfect?
Here’s the secret: it doesn’t have to be perfect! Real spider webs are organic and irregular. Start by piping a spiral of ranch dressing from the center outward. Then, use a toothpick or the tip of a knife to gently drag lines from the center to the edge, like spokes on a wheel. The dressing will pull into a web pattern naturally. If the lines aren’t perfectly straight, that’s actually better — it looks more authentic.
Is this recipe suitable for kids to help with?
Definitely! This is a great recipe to make with kids. They can help wash and arrange the veggies, place the olive “spiders” on the web, and even pipe the ranch dressing (with supervision). It’s a fun, low-stress way to get kids involved in cooking and excited about eating their vegetables. Just make sure to handle the knife work yourself.
Pin This Recipe!
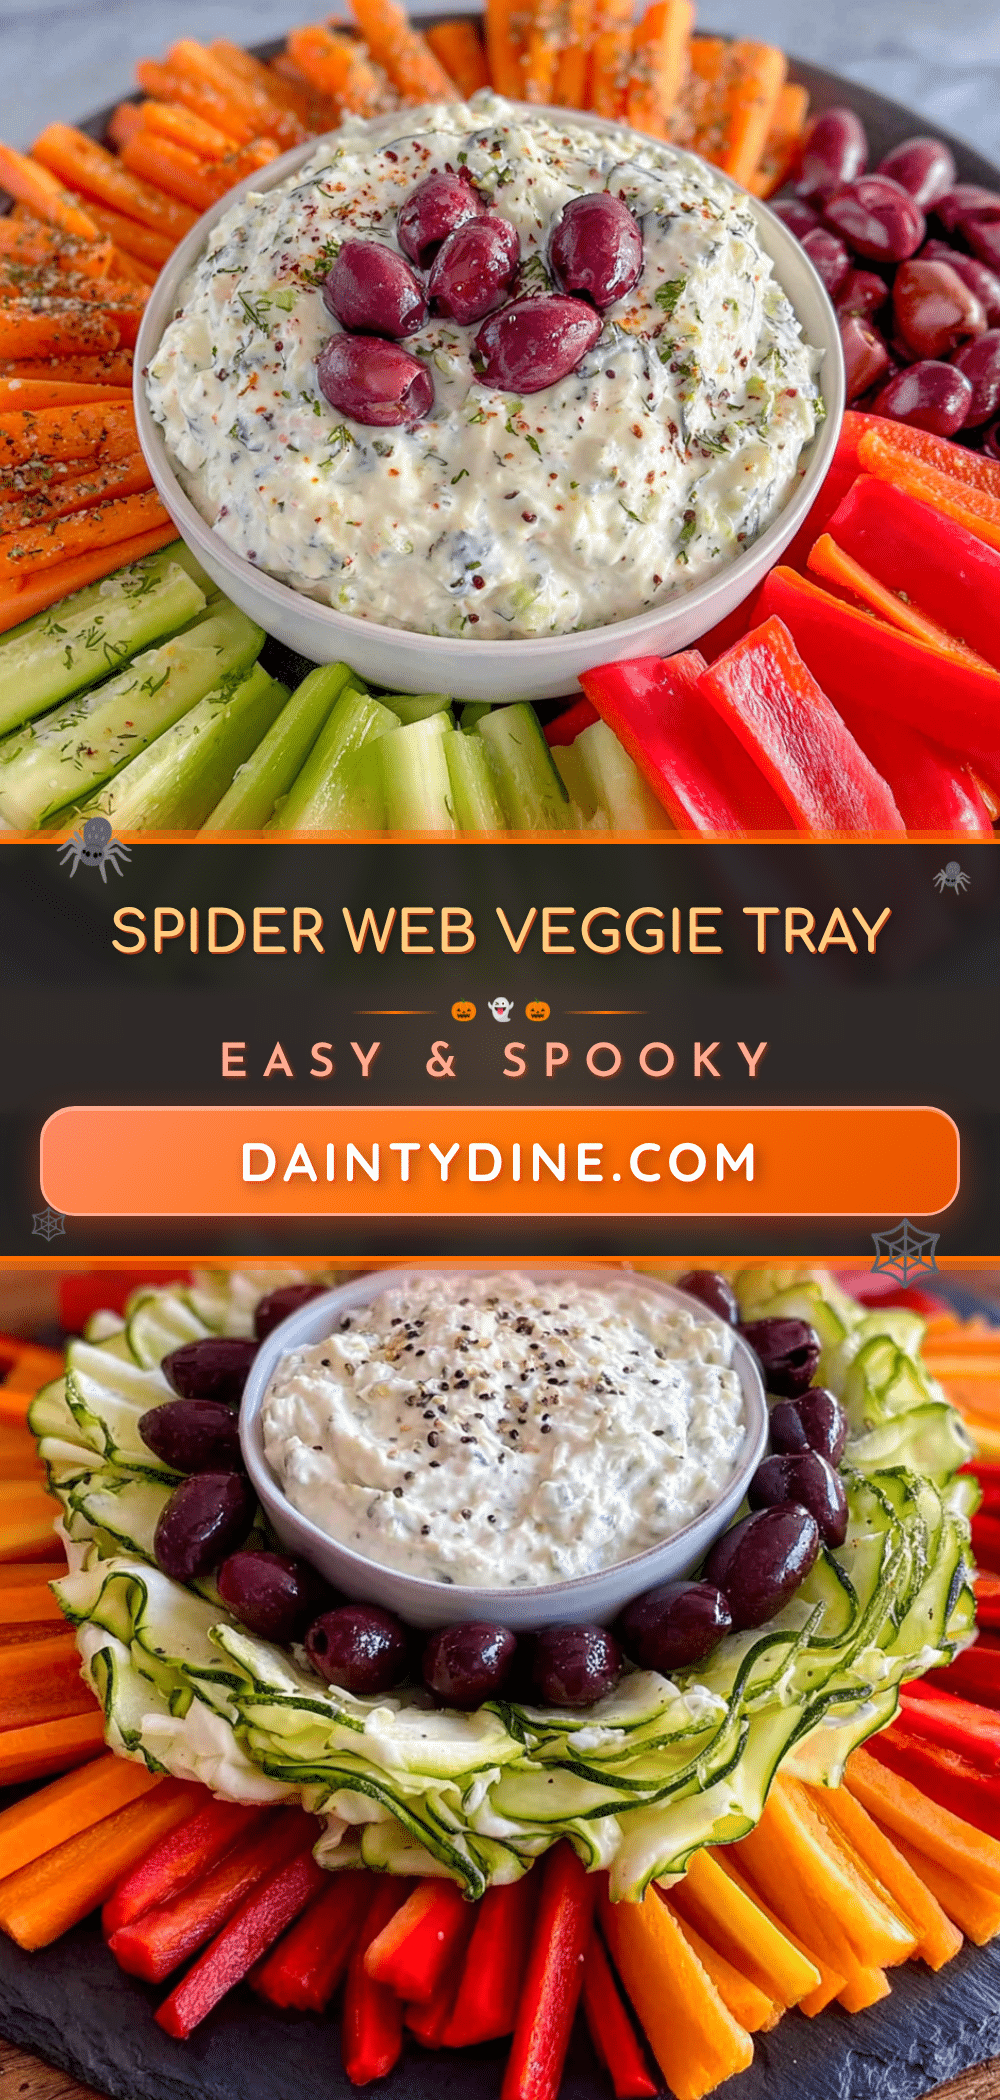
Easy Spider Web Veggie Tray: Best Halloween Appetizer

A fun and festive Halloween appetizer featuring a creamy ranch dip decorated like a spider web, surrounded by fresh, crunchy vegetables. This easy, no-cook recipe is perfect for parties and brings a touch of childhood magic to any gathering.
- Prep Time: 15 minutes
- Cook Time: 0 minutes
- Total Time: 15 minutes
- Yield: 8 servings 1x
- Category: Appetizer
- Cuisine: American
Ingredients
- 8 oz cream cheese, softened to room temperature
- 1/2 cup sour cream
- 1 packet ranch seasoning mix
- 1/4 cup mayonnaise (optional)
- 1 large bag baby carrots (about 16 oz)
- 1 bunch celery, washed and cut into 3-inch sticks
- 1 large cucumber, sliced into rounds or cut into sticks
- 1 pint cherry tomatoes
- 1 head broccoli, cut into small florets
- 1 red bell pepper, sliced into strips
- 1 yellow bell pepper, sliced into strips
- 1/2 cup ranch dressing
- 1 can (2.25 oz) sliced black olives, drained
- Assorted veggies for garnish (optional)
Instructions
- Make the Cream Cheese Dip: In a medium mixing bowl, beat together softened cream cheese, sour cream, ranch seasoning mix, and mayonnaise (if using) until smooth and creamy. Adjust consistency with a tablespoon of milk or water if needed.
- Prepare the Platter: Place a small bowl (4-6 inches wide) in the center of a large round platter. Spread the cream cheese mixture evenly into the bowl, smoothing the top with a rubber spatula.
- Create the Spider Web Design: Fill a piping bag or zip-top bag with ranch dressing and snip off a tiny corner. Pipe a spiral of ranch dressing from the center of the cream cheese dip outward. Using a toothpick or knife tip, gently drag lines from the center to the edge to create a web pattern.
- Arrange the Veggies: Arrange prepared veggies (carrots, celery, cucumber, cherry tomatoes, broccoli, bell peppers) around the central dip bowl, covering the platter completely. Group similar colors together for a organized look or scatter for a rustic feel.
- Make the Spiders: Place a few drained black olives on the cream cheese dip to resemble spiders. For a more detailed look, cut olives in half lengthwise and use thin bell pepper strips for legs.
- Final Touches: Add any extra veggies or garnish as needed. Ensure the tray looks balanced and appealing. Serve cold, straight from the fridge.
Notes
Softening cream cheese is crucial for a smooth dip. Dry veggies thoroughly after washing to prevent the dip from becoming watery. The dip can be made a day in advance and tastes better after flavors meld. Assemble the tray no more than 2-3 hours before serving for best freshness. For a dairy-free version, use plant-based cream cheese and sour cream. For a low-carb version, skip carrots and use more cucumber, celery, and bell peppers.
Nutrition
- Serving Size: 1 serving (about 1 c
- Calories: 200
- Sugar: 6
- Sodium: 400
- Fat: 16
- Saturated Fat: 8
- Carbohydrates: 14
- Fiber: 3
- Protein: 5
Keywords: Halloween appetizer, spider web veggie tray, easy veggie tray, Halloween snack, cream cheese dip, ranch dip, party appetizer, healthy Halloween snack