Love this? Save it for later!
Share the inspiration with your friends
Last summer, I was unpacking groceries in the sweltering heat of a parking lot when the faint smell of toasted marshmallows from a nearby campfire drifted over — and suddenly I was eight years old again, sitting cross-legged on the rough wooden porch of my cousin’s lakeside cabin. The sticky sweetness of melted marshmallows and the crunch of graham crackers felt impossibly close, even though I was miles away from that little world. That day, my cousin had whipped up these Easy No-Bake S’mores Cheesecake Bars for a crowd, and honestly, they were something else. I remember trying to sneak an extra piece, only to spill some crumbs on my shirt and get caught. Maybe you’ve been there — chasing a flavor memory that’s part dessert, part feeling.
Recreating those bars has become a quiet obsession of mine. It’s not just about nailing the s’mores flavor — it’s about capturing that exact texture, the cool creaminess mixed with the toasted marshmallow notes, and the crunch that cracks just right under your teeth. Over time, I’ve tweaked this recipe until it feels like the perfect balance of nostalgia and ease, something you can pull out for a crowd without sweating over the oven. These bars aren’t just dessert; they’re a little slice of summer that you can hold in your hand, no campfire required.
Why You’ll Love This Recipe
Let me tell you why these Easy No-Bake S’mores Cheesecake Bars have become a favorite go-to, especially when feeding a crowd:
- Quick & Easy: Ready in under an hour, with no baking fuss — perfect for last-minute gatherings or busy days.
- Simple Ingredients: No need to visit specialty stores; the basics like cream cheese, marshmallows, and graham crackers are probably already in your pantry.
- Perfect for Large Groups: This recipe scales well and is great for potlucks, summer parties, or family get-togethers.
- Crowd-Pleaser: Kids and adults alike rave about these bars — the nostalgic s’mores flavor with a creamy twist hits the spot every time.
- Unbelievably Delicious: The creamy cheesecake layer contrasts beautifully with the crunchy crust and gooey marshmallow topping — honestly, it’s comfort food reimagined for dessert lovers.
What sets this recipe apart? Instead of the usual campfire mess, the marshmallow layer is toasted just right under the broiler, giving you that caramelized flavor without the smoke. Plus, the cheesecake filling is whipped smooth with just the right hint of sweetness and vanilla. It’s my best version of s’mores in a bar — easy, no-bake, and totally addictive. If you’re anything like me, you’ll close your eyes after that first bite and smile, remembering that summertime magic.
What Ingredients You Will Need
This recipe uses simple, wholesome ingredients to deliver bold flavor and satisfying texture without the fuss. The components are pantry staples, and you can easily swap a few to fit your diet or what’s on hand.
- For the Crust:
- 2 cups (180g) graham cracker crumbs (I prefer using the honey-flavored kind for extra depth)
- 6 tablespoons (85g) unsalted butter, melted (for richness and binding)
- 2 tablespoons granulated sugar (balances the butter and crumbs)
- For the Cheesecake Filling:
- 16 ounces (450g) cream cheese, softened (Philadelphia brand works great for smoothness)
- 1 cup (120g) powdered sugar (gives a silky sweetness)
- 1 teaspoon pure vanilla extract (for that classic cheesecake aroma)
- 1 cup (240ml) heavy whipping cream, cold (to whip into stiff peaks)
- For the Topping:
- 2 cups mini marshmallows (use fresh for best toasting results)
- Optional: 1/2 cup (90g) semi-sweet chocolate chips or chunks (for extra chocolate bursts)
If you’re looking for substitutions, you can use a dairy-free cream cheese and coconut cream for a vegan twist. Almond flour can replace graham cracker crumbs if you want a gluten-free crust. For a seasonal change, try swapping mini marshmallows with toasted coconut flakes for a tropical vibe.
Equipment Needed
- 9×13-inch (23×33 cm) baking pan — glass or metal works fine
- Mixing bowls — at least two, one for crust and one for filling
- Electric hand mixer or stand mixer — whipping the cream smooth is key here
- Rubber spatula — for folding and scraping
- Measuring cups and spoons — for precise ingredient amounts
- Broiler or kitchen torch — to toast the marshmallow topping (a kitchen torch gives more control, but broiler works perfectly well)
I usually use my trusty glass pan because it heats evenly when toasting the marshmallows, and cleanup is easier than with metal. If you don’t have a mixer, a sturdy whisk and some elbow grease can work, but whipping the cream might take a bit longer. For the broiler, keep a close eye — marshmallows can go from golden to burnt in seconds.
Preparation Method
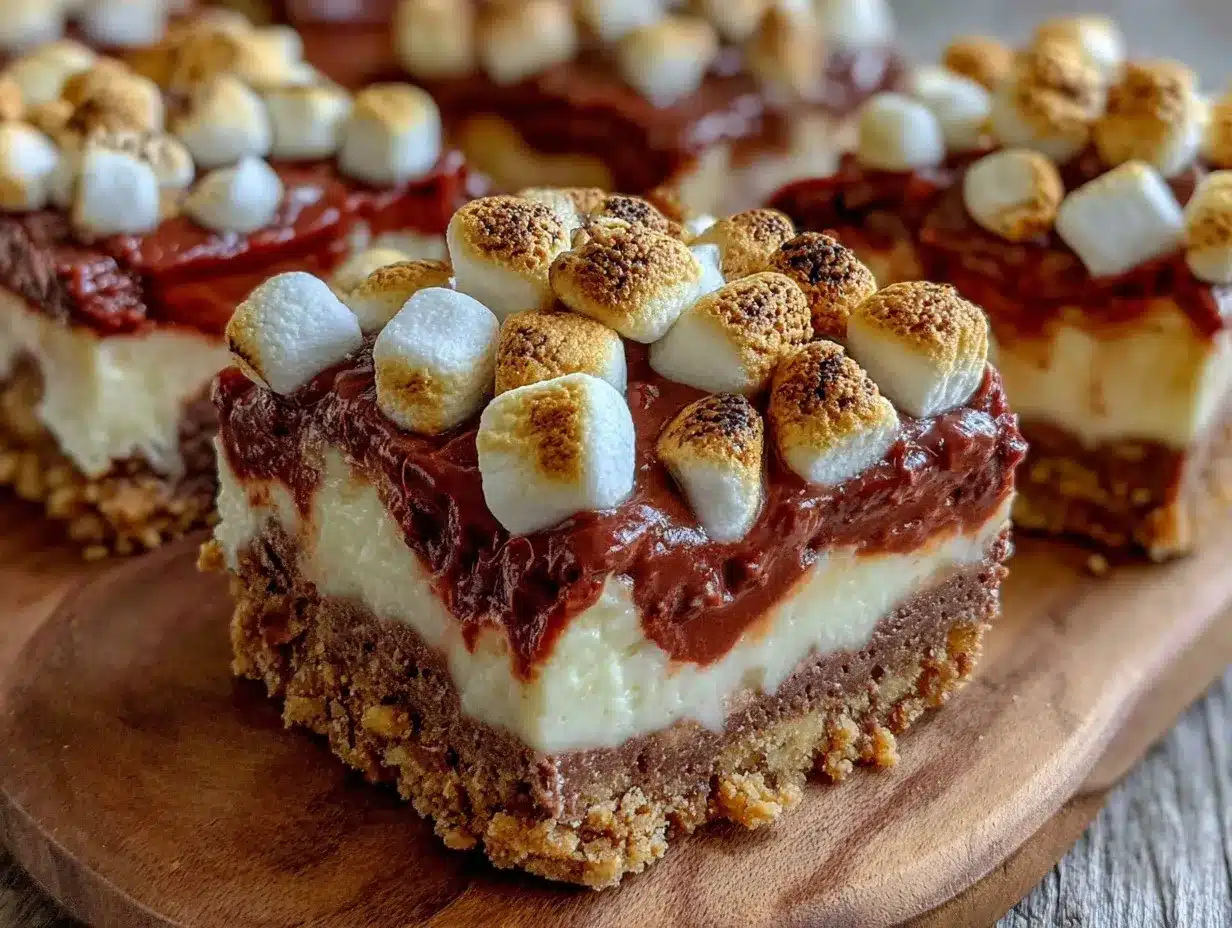
- Prepare the crust: In a medium bowl, combine 2 cups (180g) graham cracker crumbs, 6 tablespoons (85g) melted butter, and 2 tablespoons sugar. Stir until the crumbs are evenly coated and the mixture holds together when pressed. This should take about 3-5 minutes.
Press the mixture firmly into the bottom of your 9×13-inch (23×33 cm) pan. Use the bottom of a glass or measuring cup to get a smooth, even layer. This base will provide that satisfying crunch in every bite. - Chill the crust: Place the crust in the fridge for at least 15 minutes to set while you prepare the filling. This step helps prevent the crust from falling apart when you slice the bars later.
- Make the cheesecake filling: In a large bowl, beat 16 ounces (450g) softened cream cheese until smooth and fluffy, about 2-3 minutes. Add 1 cup (120g) powdered sugar and 1 teaspoon vanilla extract, mixing until combined.
In a separate chilled bowl, whip 1 cup (240ml) cold heavy cream to stiff peaks using an electric mixer — this usually takes 4-5 minutes. Carefully fold the whipped cream into the cream cheese mixture in batches. The filling should be light and airy, not dense. - Assemble the bars: Spread the cheesecake filling evenly over the chilled crust, smoothing the top with a spatula. If you’re using chocolate chips, sprinkle them evenly on top of the filling before adding marshmallows.
- Add the marshmallow topping: Generously scatter 2 cups of mini marshmallows across the surface of the bars. Don’t be shy — this is the best part!
- Toast the marshmallows: Place the pan under a preheated broiler on high for 1-2 minutes. Watch closely — marshmallows should turn golden brown and puff up slightly. Alternatively, use a kitchen torch to toast evenly.
- Chill before serving: Allow the bars to chill for at least 2 hours in the fridge to set properly. This helps the filling firm up and the flavors meld beautifully.
- Cut and serve: Use a sharp knife to slice into 12-16 bars. For clean cuts, dip the knife in hot water and wipe dry between slices.
If you notice the marshmallows melting unevenly, try rotating the pan halfway through broiling. And if your filling feels too soft, an extra chill in the fridge can work wonders. I once forgot to chill the crust first and ended up with a crumbly mess — trust me, it’s worth waiting.
Cooking Tips & Techniques
- Whip the cream properly: Make sure your heavy cream is cold and your bowl is chilled for best whipping results. Stiff peaks are crucial to keep the filling light and stable.
- Don’t overmix the filling: Fold the whipped cream gently to avoid deflating the air you just whipped in.
- Watch the marshmallows closely: Toasting under the broiler can be quick — stay near the oven to prevent burning.
- Press the crust firmly: Using a flat-bottomed glass helps create a compact crust that won’t crumble when serving.
- Use room temperature cream cheese: Softened cream cheese blends smoother and avoids lumps in your filling.
- Chill thoroughly: This recipe relies on chilling rather than baking, so patience during the fridge time pays off in texture and flavor.
- Multitask during chilling: While the bars chill, prep your serving plates or make a fresh pot of coffee to enjoy alongside.
Variations & Adaptations
There are plenty of ways to tailor these Easy No-Bake S’mores Cheesecake Bars to your tastes or dietary needs:
- Chocolate Lovers’ Twist: Mix 1/2 cup (45g) cocoa powder into the crust or swirl melted chocolate into the cheesecake filling for a richer flavor.
- Gluten-Free Option: Swap graham crackers for gluten-free cookies or almond flour to keep the crust crumbly and tasty.
- Vegan Variation: Use dairy-free cream cheese and coconut cream to whip up the filling, and opt for vegan marshmallows (some brands are gelatin-free).
- Seasonal Flavors: Add a pinch of cinnamon or pumpkin spice to the crust for fall vibes, or top with fresh berries in summer to brighten the bars.
- Nutty Upgrade: Sprinkle chopped toasted nuts like pecans or almonds on the marshmallows for crunch and depth.
I once tried adding a layer of peanut butter between the crust and filling — it was a happy accident that made the bars even more indulgent. Feel free to experiment and make these bars your own.
Serving & Storage Suggestions
These s’mores cheesecake bars are best served chilled or at room temperature. The toasted marshmallow topping is a little melty and gooey, which contrasts perfectly with the cool, creamy filling underneath. I like to serve them on colorful dessert plates with a sprinkle of crushed graham crackers or a drizzle of chocolate sauce for extra flair.
They pair wonderfully with a hot cup of coffee or a cold glass of milk — honestly, it’s a nostalgic combo that hits the spot. For summer parties, these bars also go great alongside fresh fruit or light salads to balance richness.
Store leftovers tightly covered in the refrigerator for up to 4 days. You can freeze the bars for up to 2 months, but I recommend thawing them overnight in the fridge before serving. Reheat briefly under the broiler if you want to refresh that toasted marshmallow top — just a quick 30 seconds will do.
Flavors deepen and textures soften a bit after a day, so sometimes I make these bars a day ahead to let everything meld beautifully.
Nutritional Information & Benefits
Each serving of these Easy No-Bake S’mores Cheesecake Bars (assuming 16 bars per batch) contains approximately:
| Calories | Fat | Carbohydrates | Protein |
|---|---|---|---|
| 280 kcal | 18g | 25g | 4g |
The cream cheese and heavy cream provide a good amount of calcium and protein, while the graham cracker crust adds fiber and whole grain elements if you choose a whole-grain variety. This dessert is indulgent, yes, but it’s also made with straightforward ingredients you can feel good about sharing.
If you’re watching allergens, note that this recipe contains dairy and gluten unless substituted. Using gluten-free crackers and dairy-free alternatives can make it accessible for many dietary needs.
Conclusion
If you’re craving a dessert that’s both nostalgic and effortless, these Easy No-Bake S’mores Cheesecake Bars for a crowd are exactly what you need. They bring together the best parts of campfire s’mores — that toasted marshmallow sweetness, the crunchy crust, and creamy filling — without needing a fire or a long baking time.
Feel free to personalize the recipe with your favorite add-ins or dietary tweaks. Honestly, I keep coming back to this recipe because it’s simple, crowd-friendly, and always brings a little smile to the table. If you give it a try, let me know how your batch turns out — I love hearing your twists!
Don’t forget to share this recipe with friends who appreciate easy desserts that impress. Trust me, after one bite, they’ll be asking for seconds.
Frequently Asked Questions
Can I make these s’mores cheesecake bars ahead of time?
Absolutely! They actually taste better after chilling overnight, which helps the flavors meld and the filling set perfectly.
What’s the best way to toast the marshmallow topping?
You can use your oven’s broiler or a kitchen torch. If using the broiler, watch closely and toast for 1-2 minutes until golden brown, rotating the pan if needed.
Can I use regular-sized marshmallows instead of mini ones?
You can, but mini marshmallows melt and toast more evenly, creating that perfect gooey topping. If using large marshmallows, cut them into smaller pieces first.
Is there a gluten-free version of this recipe?
Yes! Simply substitute the graham cracker crumbs with gluten-free crackers or almond flour to keep it gluten-free and delicious.
How should I store leftover bars?
Store them in an airtight container in the refrigerator for up to 4 days. You can also freeze them for longer storage; just thaw in the fridge before serving.
Pin This Recipe!
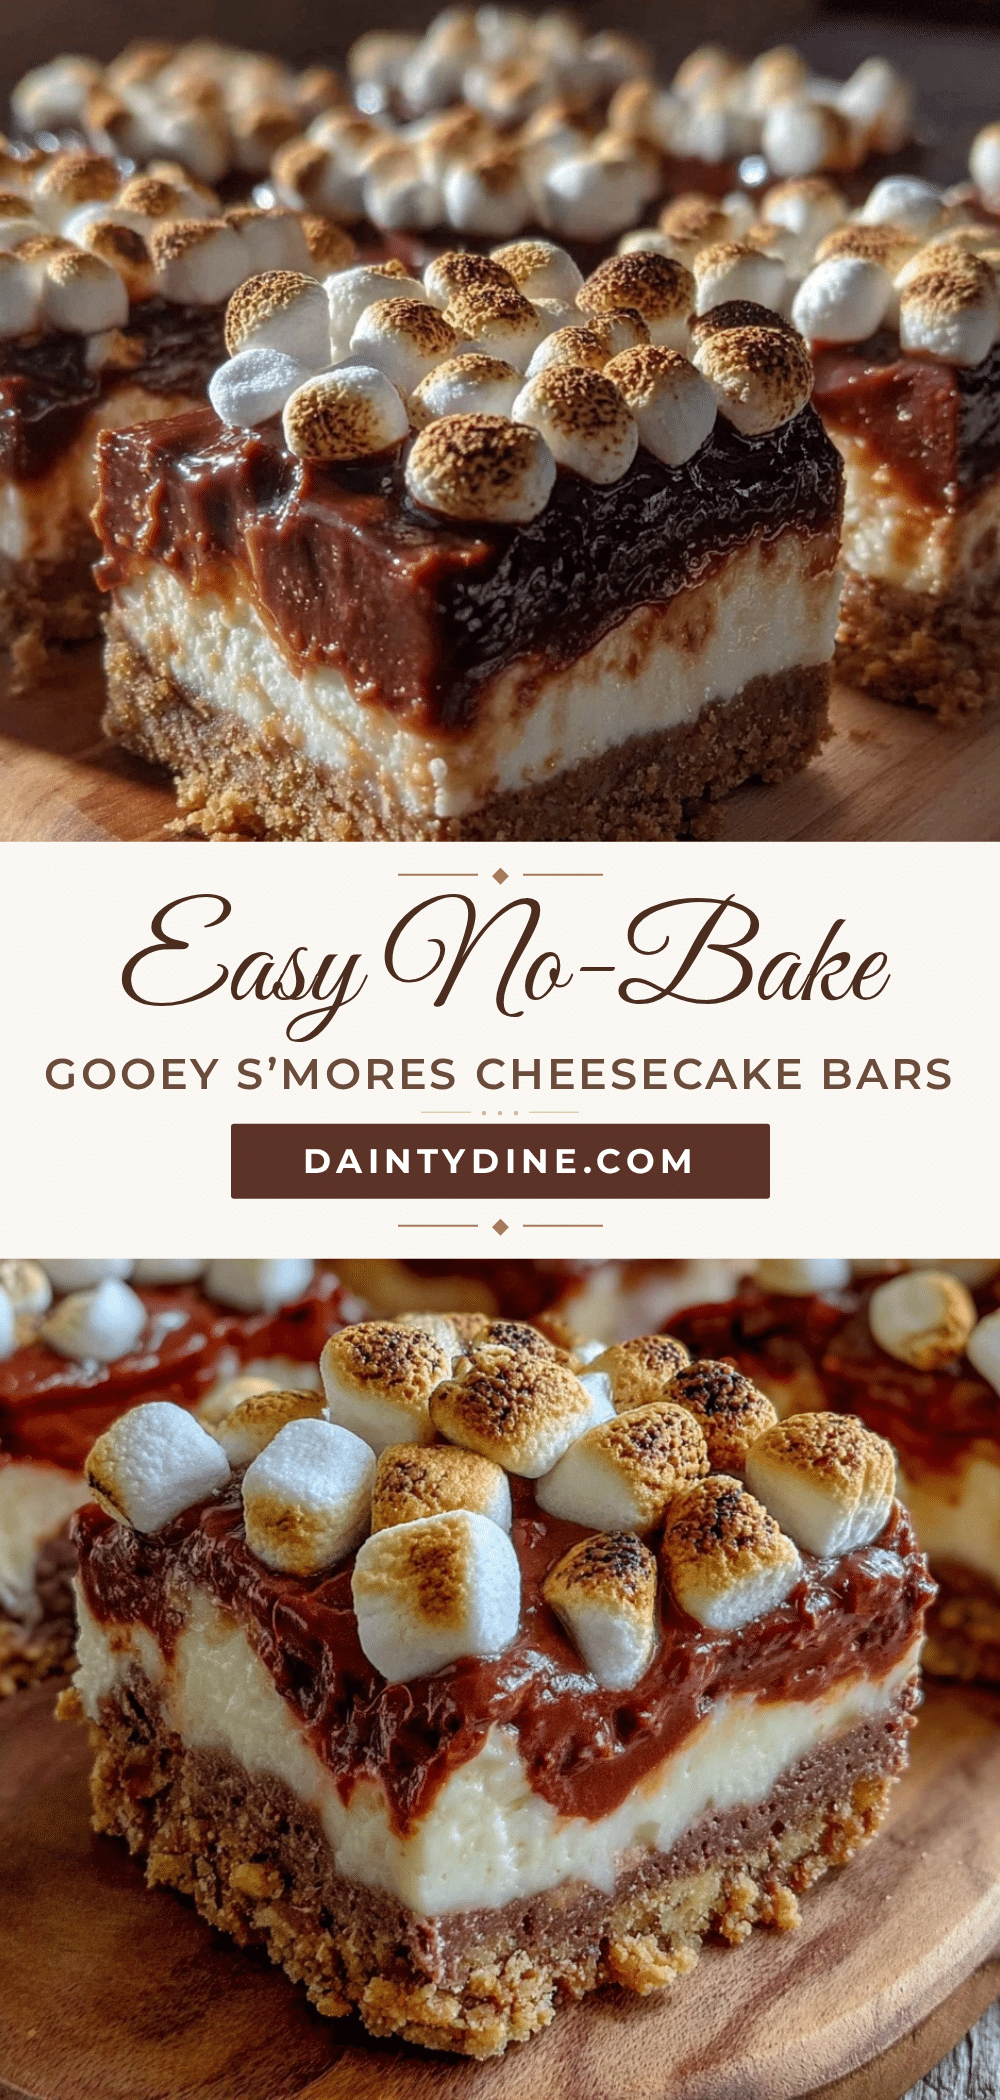
Easy No-Bake S’mores Cheesecake Bars
These no-bake s’mores cheesecake bars combine a crunchy graham cracker crust, creamy cheesecake filling, and toasted marshmallow topping for a nostalgic, crowd-pleasing dessert perfect for large gatherings.
- Prep Time: 15 minutes
- Cook Time: 2 minutes (toasting marshmallows)
- Total Time: 2 hours 17 minutes
- Yield: 12-16 bars 1x
- Category: Dessert
- Cuisine: American
Ingredients
- 2 cups (180g) graham cracker crumbs
- 6 tablespoons (85g) unsalted butter, melted
- 2 tablespoons granulated sugar
- 16 ounces (450g) cream cheese, softened
- 1 cup (120g) powdered sugar
- 1 teaspoon pure vanilla extract
- 1 cup (240ml) heavy whipping cream, cold
- 2 cups mini marshmallows
- Optional: 1/2 cup (90g) semi-sweet chocolate chips or chunks
Instructions
- Prepare the crust: In a medium bowl, combine graham cracker crumbs, melted butter, and sugar. Stir until evenly coated and mixture holds together when pressed. Press firmly into the bottom of a 9×13-inch pan to form an even layer.
- Chill the crust in the refrigerator for at least 15 minutes to set.
- Make the cheesecake filling: Beat softened cream cheese until smooth and fluffy. Add powdered sugar and vanilla extract, mixing until combined.
- In a separate chilled bowl, whip cold heavy cream to stiff peaks using an electric mixer. Gently fold whipped cream into the cream cheese mixture in batches until light and airy.
- Spread the cheesecake filling evenly over the chilled crust. If using chocolate chips, sprinkle them evenly on top of the filling before adding marshmallows.
- Scatter mini marshmallows generously over the surface of the bars.
- Toast the marshmallows under a preheated broiler on high for 1-2 minutes until golden brown and puffed, watching closely to prevent burning. Alternatively, use a kitchen torch to toast evenly.
- Chill the bars in the refrigerator for at least 2 hours to set properly.
- Cut into 12-16 bars using a sharp knife dipped in hot water and wiped dry between slices.
Notes
Use cold heavy cream and a chilled bowl for best whipping results. Watch marshmallows closely when toasting to avoid burning. Press crust firmly to prevent crumbling. Chill thoroughly for best texture. For clean slices, dip knife in hot water and wipe dry between cuts. Variations include gluten-free crust with almond flour and vegan options using dairy-free cream cheese and coconut cream.
Nutrition
- Serving Size: 1 bar (assuming 16 b
- Calories: 280
- Fat: 18
- Carbohydrates: 25
- Protein: 4
Keywords: no-bake, s’mores, cheesecake bars, easy dessert, crowd-pleaser, summer dessert, marshmallow topping, graham cracker crust


