Love this? Save it for later!
Share the inspiration with your friends
Last Tuesday, I stopped by my neighbor Rosa’s house to borrow a cup of brown sugar—I was halfway through a batch of granola and, honestly, running on fumes. She waved me in, and the smell hit me before I even got past her mudroom. It wasn’t cookies or a roast. It was buttered buns and melted cheese, warm and toasty and completely unexpected for a Tuesday afternoon.
Rosa wasn’t trying to impress anyone. She had three lunchboxes lined up on the counter, a bag of mini rolls, and a sheet pan that looked like it had seen better days. She was just making lunch for the week, same as always. But the way those little sliders came together—quick, no fuss, with that perfect golden top—stopped me cold. I stood there watching her work, holding my brown sugar, completely distracted.
She didn’t even look up when she said, “Grab a napkin. They’re better warm.” And you know what? She was right. That first bite was ridiculous—soft bun, salty turkey, that little tang of melted cheddar. I mean, it was just a lunchbox slider. But it was also the kind of thing you think about days later.
I’ve been making my own version ever since. Maybe you’ve been there—standing in someone’s kitchen, watching them make something that seems too simple to be special, only to realize that’s exactly why it works. That’s this recipe. It’s the lunchbox hero you didn’t know you needed.
Why You’ll Love This Recipe
Let’s be honest—packing lunchboxes can feel like a chore. You want something quick, something the kids will actually eat, and something that doesn’t fall apart by noon. These easy mini turkey and cheese sliders check every box. I’ve tested this recipe a dozen times, tweaking the sauce and the bake time until it was just right. Here’s why it’s become my go-to:
- Quick & Easy: From start to finish, these sliders are ready in under 25 minutes. That’s faster than waiting for takeout.
- Simple Ingredients: You likely have most of these in your kitchen right now. No fancy grocery store trips required.
- Perfect for Lunchboxes: They hold up beautifully in a lunchbox—no sogginess, no sad, dry bread by lunchtime.
- Crowd-Pleaser: Kids love them, adults sneak them, and they disappear fast at potlucks or picnics.
- Unbelievably Delicious: That buttery, savory topping with the melty cheese and tender turkey? It’s comfort food in miniature form.
What makes these sliders different from the rest is the sauce. I blend a little Dijon mustard with melted butter and a pinch of onion powder and poppy seeds. It sounds simple, but it creates this golden, crackly crust on top of the buns that’s absolutely addictive. This isn’t just another slider recipe—it’s the one you’ll make on repeat.
This recipe isn’t just good—it’s the kind that makes you close your eyes after the first bite. It’s comfort food reimagined: faster, easier, but with the same soul-soothing satisfaction. Perfect for busy mornings when you need to pack lunchboxes in a hurry, or for turning a regular weeknight dinner into something memorable.
What Ingredients You Will Need
This recipe uses simple, wholesome ingredients to deliver bold flavor and satisfying texture without the fuss. Most of these are pantry staples or easy to find at any grocery store.
- 12-count package of Hawaiian sweet rolls (like King’s Hawaiian) — These are soft, slightly sweet, and hold together perfectly. Don’t substitute with regular dinner rolls; the sweetness balances the savory filling.
- 1 pound deli-sliced turkey breast — Look for oven-roasted or honey-smoked turkey for best flavor. I prefer Boar’s Head or your local deli’s fresh-sliced option.
- 8 slices of cheddar cheese — Sharp cheddar adds the best tang. You can also use provolone or Swiss if your family prefers.
- 1/4 cup unsalted butter (melted) — Salted butter works too, just reduce the added salt in the topping.
- 1 tablespoon Dijon mustard — This gives the topping a subtle tang. Yellow mustard works in a pinch.
- 1/2 teaspoon onion powder — Adds savory depth without being overpowering.
- 1/2 teaspoon garlic powder — Optional, but I love the extra flavor.
- 1 tablespoon poppy seeds — These add a lovely crunch and visual appeal. You can skip them if you don’t have any on hand.
- 1 teaspoon Worcestershire sauce — This deepens the savory notes in the butter topping.
- Salt and black pepper (to taste) — Go light on salt since the turkey and cheese are already salty.
Ingredient Tips: If you’re watching your sodium, look for low-sodium turkey breast. For a dairy-free version, use vegan butter and your favorite plant-based cheese slices. I’ve tested it with Violife cheddar-style slices, and they melt beautifully. For a gluten-free option, swap the Hawaiian rolls for gluten-free slider buns—just watch the bake time as they may cook faster.
Equipment Needed
You don’t need a fancy kitchen to pull these off. Here’s what you’ll need:
- 9×13-inch baking dish — A glass or ceramic dish works best for even heating. I’ve used a metal pan too, but the bottoms brown a little faster.
- Sharp knife or serrated knife — For cutting the rolls in half without squishing them. A bread knife works great.
- Small mixing bowl — For whisking together the butter topping.
- Pastry brush or spoon — To spread the butter mixture evenly over the rolls.
- Aluminum foil — For covering the sliders during the first half of baking to keep them from burning.
- Cutting board — To assemble the sliders without making a mess.
If you don’t have a pastry brush, just use the back of a spoon to drizzle the butter over the rolls. It’s not as pretty, but it works the same. I actually prefer using a silicone brush—it’s easier to clean and doesn’t shed bristles.
Preparation Method
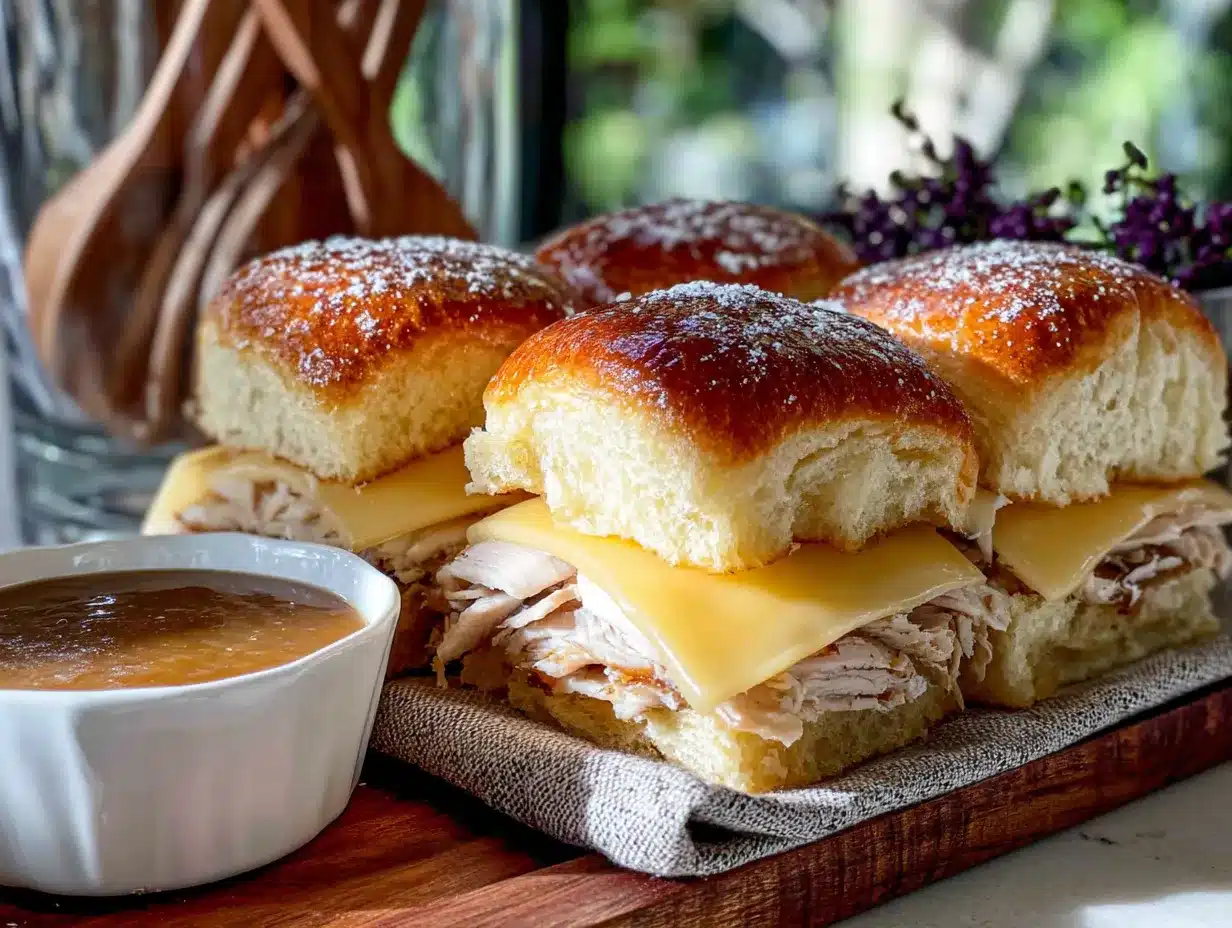
Follow these steps carefully, and you’ll have perfect sliders every time. The key is not to rush the butter topping—it makes all the difference.
- Preheat your oven to 350°F (175°C). While it’s heating, lightly grease your 9×13-inch baking dish with cooking spray or a little butter.
- Slice the entire pack of Hawaiian rolls in half horizontally. Keep them connected as a slab—don’t separate the individual rolls. Use a serrated knife and a gentle sawing motion to keep the tops intact.
- Place the bottom half of the rolls in the prepared baking dish. Spread them out evenly so they cover the bottom of the dish.
- Layer the turkey evenly over the bottom rolls. Fold the slices slightly to fit, making sure every bite gets some meat. Don’t pile it too thick—about 4 to 5 layers is perfect.
- Place the cheese slices over the turkey. Tear them if needed to cover the entire surface. I like to overlap the slices slightly so every slider has melty cheese.
- Place the top half of the rolls over the cheese. Press down gently to set everything in place.
- In a small bowl, whisk together the melted butter, Dijon mustard, onion powder, garlic powder, poppy seeds, and Worcestershire sauce. Add a pinch of black pepper. Whisk until everything is combined and the butter is smooth.
- Brush the butter mixture generously over the top of the rolls. Make sure every roll gets some—this is what creates that golden, crispy crust. Don’t be shy with it.
- Cover the dish with aluminum foil and bake for 12 minutes. This steams the rolls and melts the cheese without burning the top.
- Remove the foil and bake for another 5 to 8 minutes, or until the tops are golden brown and the cheese is bubbly around the edges. Keep an eye on them—ovens vary, and you don’t want burnt rolls.
- Let them rest for 5 minutes before cutting. Use a sharp knife to separate the sliders along the perforations. Serve warm or let them cool completely for lunchboxes.
Sensory Cue: When you pull the foil off, you should see the butter mixture bubbling gently around the edges of the rolls. The tops should be a deep golden brown, and the cheese should be visibly melted and slightly oozing. The smell—oh, the smell—is buttery, savory, and absolutely irresistible.
Troubleshooting Tip: If your rolls are browning too quickly before the cheese melts, tent the foil loosely over the top for the last few minutes. I’ve had this happen with a convection oven, and tenting saves the day every time.
Cooking Tips & Techniques
I’ve made these sliders more times than I can count, and I’ve learned a few things the hard way. Here’s what I wish someone had told me:
- Don’t overstuff the sliders. It’s tempting to pile on the turkey and cheese, but too much filling makes the rolls soggy and hard to eat. Stick to one layer of each.
- Use room-temperature butter for the topping. Cold butter won’t mix evenly with the mustard and spices. Melt it gently in the microwave or on the stovetop.
- Let the sliders rest after baking. This is crucial. If you cut them immediately, the cheese will ooze out and the structure will fall apart. Five minutes is all it takes.
- Double the batch if you’re feeding a crowd. These disappear fast. I’ve made two pans for a potluck and watched them vanish in ten minutes.
- Toast the rolls briefly before assembling. If you want extra-crispy bottoms, pop the bottom half of the rolls in the oven for 2 to 3 minutes before adding the fillings. It’s an extra step, but worth it for the crunch.
One time, I forgot to cover the sliders with foil during the first bake. The tops burned, the cheese was barely melted, and I had to start over. Now I set a timer for the foil removal—no more guessing.
Variations & Adaptations
This recipe is endlessly customizable. Here are a few ways to change it up:
- Spicy Southwest Sliders: Swap the cheddar for pepper jack cheese and add a layer of pickled jalapeños. Brush the tops with a mix of melted butter and hot sauce for extra kick.
- Italian-Style Sliders: Use provolone cheese, add a layer of salami under the turkey, and brush the tops with garlic butter and Italian seasoning. Serve with marinara for dipping.
- Vegetarian Option: Replace the turkey with roasted portobello mushrooms or thinly sliced zucchini. Use mozzarella or provolone. The butter topping works beautifully with veggies.
- Breakfast Sliders: Swap the turkey for scrambled eggs and cooked bacon or sausage. Use cheddar or American cheese. These are a hit for brunch.
- Low-Carb Version: Use keto-friendly rolls or large lettuce leaves as the bun. Fill with turkey, cheese, and a smear of mustard. Bake just until the cheese melts.
I tried the Italian version last month for a game-day snack, and my family fought over the last one. The salami adds a nice salty bite that pairs perfectly with the buttery rolls.
Serving & Storage Suggestions
These sliders are versatile when it comes to serving. Here’s how to get the most out of them:
- Serving Temperature: Serve warm straight from the oven for maximum melty-cheese goodness. They’re also delicious at room temperature—perfect for lunchboxes or picnics.
- Presentation: Arrange the sliders on a platter with a small bowl of dipping sauce. Honey mustard, ranch, or even a simple balsamic glaze work beautifully.
- Complementary Dishes: Pair with a crisp green salad, sweet potato fries, or a bowl of tomato soup. For lunchboxes, add some baby carrots, apple slices, or a handful of grapes.
- Storage: Store leftover sliders in an airtight container in the refrigerator for up to 3 days. Place a paper towel in the container to absorb excess moisture.
- Reheating: Wrap individual sliders in foil and warm in a 350°F oven for 5 to 7 minutes. For lunchboxes, they reheat well in a microwave—just 30 seconds on high, then check.
- Freezing: Assemble the sliders but don’t bake them. Wrap tightly in plastic wrap and foil, then freeze for up to 2 months. Bake from frozen, adding 10 minutes to the covered bake time.
The flavors actually get better after a day in the fridge—the butter and mustard soak into the rolls, making every bite more flavorful. I often make a double batch on Sunday just for weekday lunches.
Nutritional Information & Benefits
Here’s an approximate nutritional breakdown per slider (based on 12 sliders):
| Nutrient | Amount |
|---|---|
| Calories | 210 |
| Protein | 14g |
| Carbohydrates | 16g |
| Fat | 10g |
| Saturated Fat | 5g |
| Cholesterol | 35mg |
| Sodium | 480mg |
| Fiber | 1g |
| Sugar | 5g |
Health Benefits: Turkey breast is a lean source of protein, which helps keep kids full and focused throughout the school day. Cheddar cheese provides calcium for strong bones, and the whole-grain option (if you swap rolls) adds fiber. These sliders are also a good source of B vitamins from the turkey and butter.
Dietary Considerations: This recipe can be made gluten-free (use GF rolls), dairy-free (use vegan butter and cheese), or lower-sodium (use low-sodium turkey and skip the added salt). It’s not suitable for a vegan diet unless you use plant-based turkey alternatives.
I personally love that these sliders don’t feel like “health food” but still pack a decent nutritional punch. It’s a win-win for parents who want something quick and kids who want something tasty.
Conclusion
These easy mini turkey and cheese sliders are the kind of recipe that makes you feel like a kitchen hero without actually working that hard. They’re quick, they’re delicious, and they solve the eternal lunchbox problem of “what do I pack today?”
I’ve made them for school lunches, road trips, potlucks, and lazy Sunday dinners. Every single time, someone asks for the recipe. And honestly, I love sharing it—because it’s proof that you don’t need complicated techniques or fancy ingredients to make something truly satisfying.
Go ahead and make them your own. Swap in your family’s favorite cheese, add a little heat, or pile on extra veggies. The base is forgiving, and the results are always crowd-pleasing. If you try them, I’d love to hear how they turned out. Drop a comment below or tag me in your photos—I’m always looking for new twists on old favorites.
Happy cooking, and here’s to lunchboxes that actually come home empty!
Frequently Asked Questions
Can I make these sliders ahead of time?
Absolutely. Assemble the sliders completely, cover, and refrigerate for up to 24 hours before baking. Add 5 minutes to the covered bake time if baking directly from the fridge.
Can I use a different type of bread?
Yes, but the texture and sweetness will change. Hawaiian rolls work best because they’re soft and slightly sweet. If you use regular dinner rolls, add a pinch of sugar to the butter topping to mimic the flavor.
How do I keep the sliders from getting soggy in lunchboxes?
Let the sliders cool completely before packing. Place them in a container with a paper towel to absorb moisture. Avoid adding wet ingredients like sliced tomatoes until just before serving.
Can I freeze these sliders?
Yes! Assemble without baking, wrap tightly in plastic wrap and foil, and freeze for up to 2 months. Bake from frozen, adding 10 minutes to the covered bake time. They freeze beautifully.
What’s the best cheese for these sliders?
Sharp cheddar is my top pick for its tangy flavor and great melt. Provolone, Swiss, or Gouda also work well. Avoid pre-shredded cheese—it doesn’t melt as smoothly as sliced cheese.
Pin This Recipe!
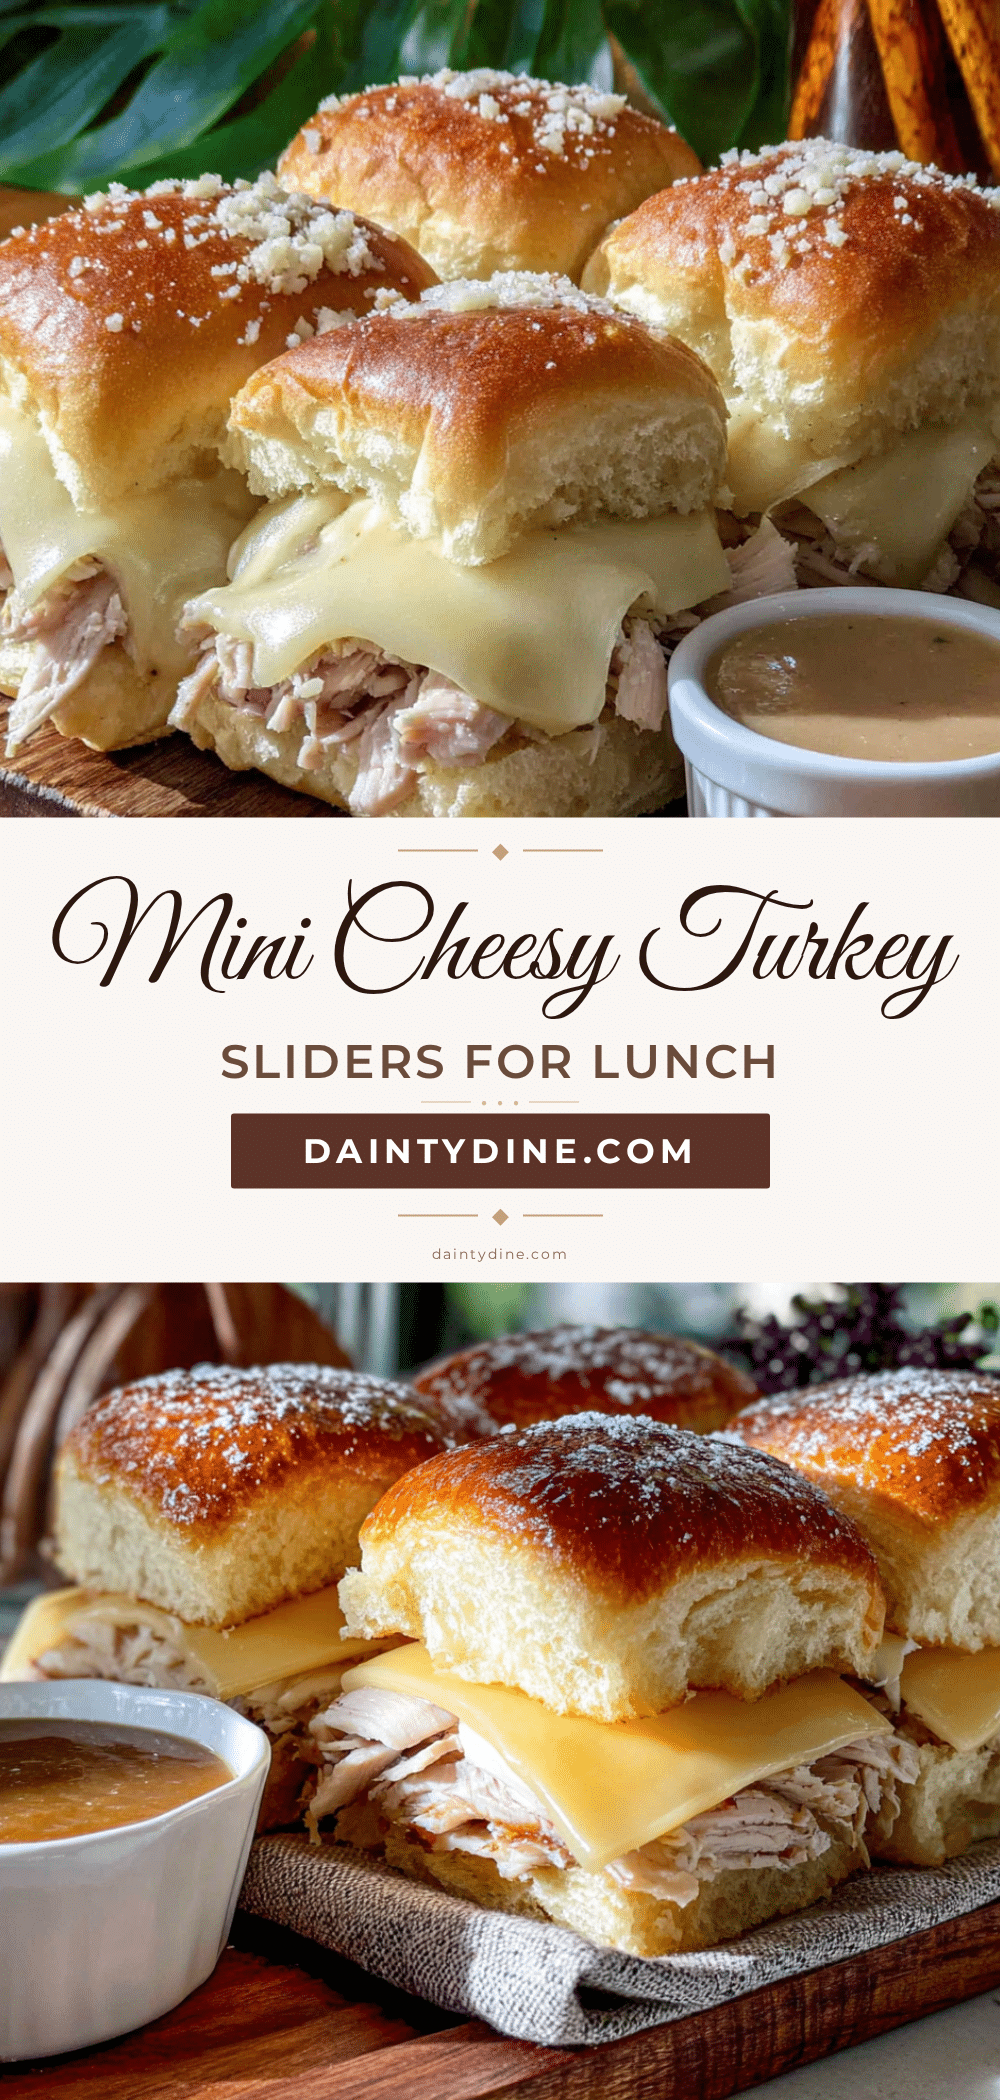
Easy Mini Turkey Cheese Sliders: Best Lunchbox Idea

These easy mini turkey and cheese sliders are quick, delicious, and perfect for lunchboxes. With a buttery, savory topping and melty cheddar, they’re a crowd-pleaser that comes together in under 25 minutes.
- Prep Time: 10 minutes
- Cook Time: 17 minutes
- Total Time: 27 minutes
- Yield: 12 sliders 1x
- Category: Main Course
- Cuisine: American
Ingredients
- 12-count package of Hawaiian sweet rolls (like King’s Hawaiian)
- 1 pound deli-sliced turkey breast (oven-roasted or honey-smoked)
- 8 slices of cheddar cheese (sharp cheddar recommended)
- 1/4 cup unsalted butter (melted)
- 1 tablespoon Dijon mustard
- 1/2 teaspoon onion powder
- 1/2 teaspoon garlic powder (optional)
- 1 tablespoon poppy seeds
- 1 teaspoon Worcestershire sauce
- Salt and black pepper to taste
Instructions
- Preheat your oven to 350°F (175°C). Lightly grease a 9×13-inch baking dish with cooking spray or butter.
- Slice the entire pack of Hawaiian rolls in half horizontally, keeping them connected as a slab.
- Place the bottom half of the rolls in the prepared baking dish.
- Layer the turkey evenly over the bottom rolls, folding slices slightly to fit.
- Place the cheese slices over the turkey, tearing if needed to cover the entire surface.
- Place the top half of the rolls over the cheese and press down gently.
- In a small bowl, whisk together melted butter, Dijon mustard, onion powder, garlic powder, poppy seeds, Worcestershire sauce, and a pinch of black pepper.
- Brush the butter mixture generously over the top of the rolls.
- Cover the dish with aluminum foil and bake for 12 minutes.
- Remove the foil and bake for another 5 to 8 minutes, until tops are golden brown and cheese is bubbly.
- Let the sliders rest for 5 minutes before cutting along the perforations. Serve warm or cool completely for lunchboxes.
Notes
For extra-crispy bottoms, toast the bottom half of the rolls for 2-3 minutes before adding fillings. If rolls brown too quickly, tent foil loosely over the top. Let sliders rest 5 minutes after baking to prevent cheese from oozing out.
Nutrition
- Serving Size: 1 slider
- Calories: 210
- Sugar: 5
- Sodium: 480
- Fat: 10
- Saturated Fat: 5
- Carbohydrates: 16
- Fiber: 1
- Protein: 14
Keywords: mini sliders, turkey cheese sliders, lunchbox recipe, easy sliders, Hawaiian roll sliders, kid-friendly lunch


