Love this? Save it for later!
Share the inspiration with your friends
Introduction
My neighbor, Mrs. Kowalski, wasn’t trying to impress anyone. I’d stopped by to return her hedge clippers—the ones I’d borrowed three months ago and honestly kept forgetting about—and the smell hit me before I even got to her screen door. It was warm, buttery, and sweet, with something almost nutty underneath. She waved me in like it was nothing, wiping flour on her apron. “Making the fingers,” she said, like that explained everything. And there they were, laid out on her counter: a whole tray of pale, knobby witch fingers, complete with almond fingernails and little wrinkled knuckles. They looked creepy. They smelled amazing. She shrugged and said the grandkids go wild for them every October. I stood there, hedge clippers in hand, completely enchanted. That casualness—like she wasn’t doing anything special—is exactly what sold me. You know that feeling when you stumble onto something so good it feels like a secret? That was this cookie.
I asked for the recipe, and she scribbled it on the back of an old shopping list. It’s not fancy. It’s not complicated. But honestly, it’s the best Halloween cookie I’ve ever made, and I’ve made a lot. The texture is spot-on—crisp on the outside, tender inside—and the almond fingernails give it just the right amount of crunch. Plus, kids absolutely lose their minds over them. They’re creepy without being too scary, which is perfect for little ones. I’ve been making them every year since, and they never last past the first day. Maybe you’ve been there, staring at a Pinterest-perfect Halloween dessert that takes three hours and a pastry degree. These aren’t that. They’re just good, honest cookies that happen to look like something out of a fairy tale. And that’s what makes them so special.
Why You’ll Love This Recipe
Let me tell you why these witch’s finger cookies have become our family’s October tradition. First off, they are ridiculously easy. I mean, you don’t need any special cookie cutters or fancy piping tips. You just shape the dough with your hands, which honestly makes them even more fun—and a little messy, in the best way. My kids fight over who gets to press the almond slivers on for the fingernails.
- Kid-Approved Fun: My five-year-old calls them “monster snacks” and my teenager actually came out of her room to help. That’s a Halloween miracle right there.
- Simple Pantry Ingredients: Butter, sugar, flour, eggs, almonds—you probably have most of this in your kitchen right now. No weird extracts or expensive decorations.
- Perfect for Halloween Parties: They’re the star of every school bake sale, classroom party, and neighborhood get-together. Adults get a kick out of them too.
- Budget-Friendly: This recipe makes about two dozen cookies for under five dollars. Compare that to a store-bought Halloween treat platter, and you’re saving serious cash.
- Make-Ahead Friendly: You can prep the dough a day ahead and just bake when you’re ready. The baked cookies also freeze beautifully, which is perfect for busy October weeks.
What makes these different from every other witch finger cookie recipe out there? It’s the texture. Mrs. Kowalski’s secret is using a mix of almond flour and all-purpose flour. The almond flour gives the cookies a tender, almost shortbread-like crumb that doesn’t dry out. Plus, the almond extract in the dough ties everything together with that classic marzipan flavor. It’s not just a gimmick cookie—it actually tastes amazing. And that’s the whole point, right? You want something that looks spooky but tastes like you actually tried. These deliver every single time.
What Ingredients You Will Need
This recipe uses simple, wholesome ingredients that come together to create something truly special. Most of these are pantry staples, so you probably won’t need a special trip to the store. Here’s what you’ll need:
For the Cookie Dough:
- 1 cup (226g) unsalted butter, softened to room temperature (I use Land O’Lakes for consistent results, but any good brand works)
- 1 cup (200g) granulated sugar (regular white sugar is perfect—no need for organic or fancy stuff)
- 1 large egg (room temperature is best; if you forgot to take it out, just place it in warm water for 5 minutes)
- 1 teaspoon vanilla extract (pure vanilla adds a warmer flavor, but imitation works fine too)
- 1 teaspoon almond extract (this is the secret ingredient—don’t skip it! It gives that classic marzipan taste)
- 2 ½ cups (312g) all-purpose flour (spoon and level for accuracy; too much flour makes dry cookies)
- ½ cup (56g) almond flour (adds tenderness and that subtle nutty flavor; Bob’s Red Mill is my go-to)
- ½ teaspoon salt (balances the sweetness and enhances the almond flavor)
- ½ teaspoon baking powder (helps the cookies spread just slightly for a more realistic finger shape)
For the Fingernails and Decoration:
- About 24 whole almonds (blanched or natural—either works; just make sure they’re not roasted and salted)
- Red food coloring gel (a tiny dab for the “cuticle” area; Wilton brand works great)
- Green food coloring gel (optional, for a slightly greenish “witchy” tint to the dough; I sometimes skip this)
- Seedless raspberry jam (a small amount to “glue” the almond nails on—about 2 tablespoons)
Ingredient Tips and Substitutions:
- If you don’t have almond flour, you can substitute with ¼ cup all-purpose flour plus ¼ cup finely ground rolled oats. The texture will be slightly different but still good.
- For a nut-free version, skip the almond flour and use 3 cups all-purpose flour total. Replace the almond extract with additional vanilla and use pretzel sticks instead of almonds for the fingernails.
- If you’re dairy-free, use vegan butter (I like Earth Balance sticks) and make sure your jam is pectin-based, not gelatin-based.
- The red food coloring is purely cosmetic, but it does make the cookies look much more realistic. A tiny dot at the base of each almond nail really sells the “cuticle” look.
- I prefer using seedless raspberry jam because it’s sticky enough to hold the almonds without adding weird chunks. Apricot jam works too.
Equipment Needed
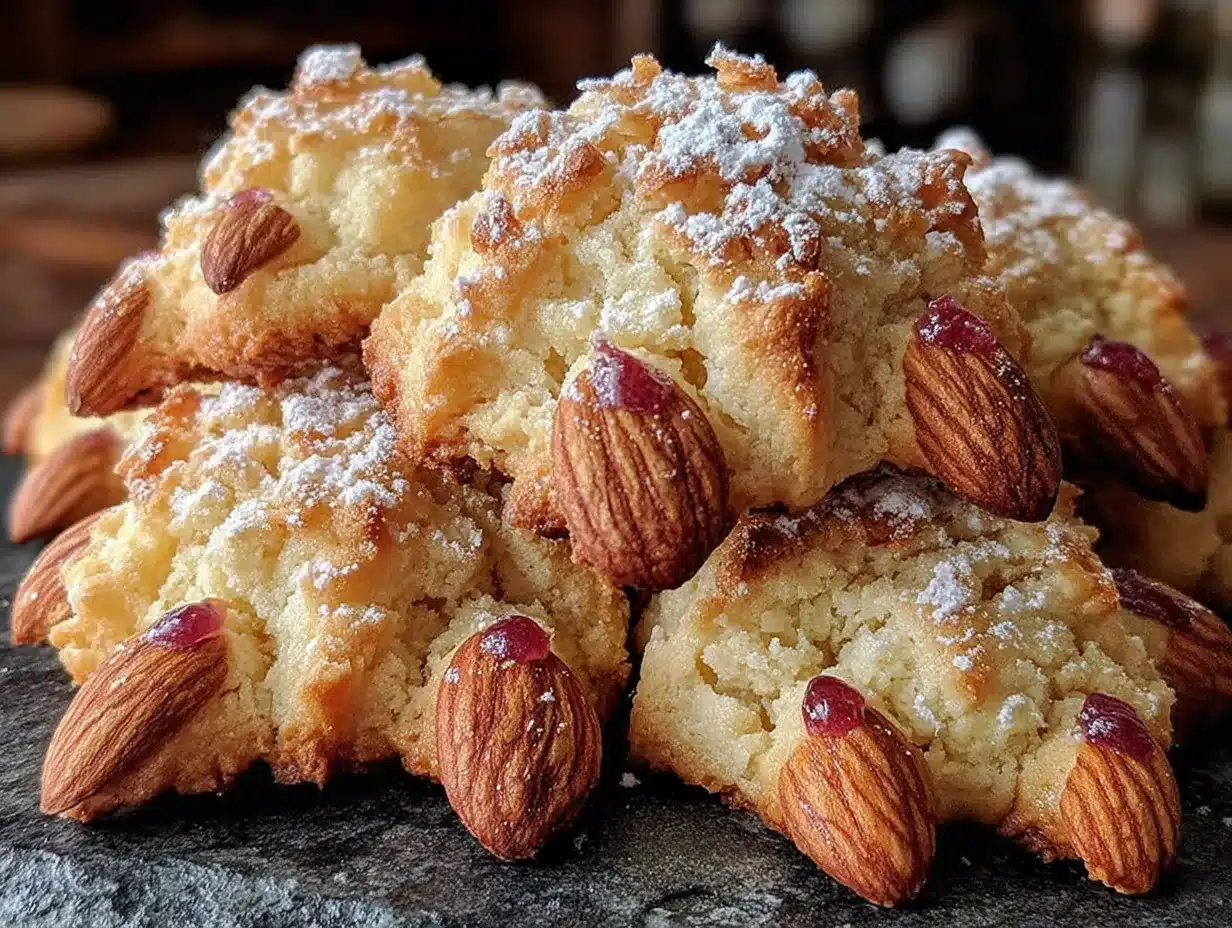
The beauty of this recipe is that you don’t need anything fancy. Here’s what you’ll need:
- Large mixing bowl (I use a glass bowl, but metal or ceramic works fine)
- Hand mixer or stand mixer (you can cream butter and sugar by hand, but a mixer makes it much easier—especially if you have little helpers)
- Baking sheets (two standard half-sheet pans work perfectly; line them with parchment paper or silicone baking mats)
- Parchment paper or silicone baking mats (non-negotiable—these cookies spread slightly and stick without them)
- Small offset spatula or butter knife (for creating the knuckle lines on the cookies)
- Small pastry brush (for applying the jam to the almond nails; a clean finger works in a pinch)
- Wire cooling rack (for cooling the cookies completely before storing)
- Plastic wrap (for chilling the dough)
If you don’t have a pastry brush, just use your fingertip to dab a tiny amount of jam onto the almond. Honestly, it’s faster and the kids love doing it. Also, if you’re on a budget, skip the silicone mats and just use parchment paper—it works just as well and costs pennies per sheet.
Preparation Method
Alright, let’s get to the fun part. Here’s how to make these spooky little fingers step by step.
- Cream the butter and sugar: In your large mixing bowl, beat the softened butter and granulated sugar together on medium speed until light and fluffy, about 3-4 minutes. You want it to look pale and airy—this is what gives the cookies their tender texture. Scrape down the sides of the bowl halfway through.
- Add the wet ingredients: Beat in the egg, vanilla extract, and almond extract until fully combined, about 1 minute. The mixture might look slightly curdled at this point—that’s totally normal, don’t panic.
- Mix the dry ingredients: In a separate bowl, whisk together the all-purpose flour, almond flour, salt, and baking powder. This ensures the baking powder is evenly distributed so your cookies rise evenly.
- Combine wet and dry: Gradually add the dry ingredients to the wet mixture, mixing on low speed. Stop as soon as the dough comes together—overmixing makes tough cookies. The dough should be soft but not sticky. If it feels too sticky, add an extra tablespoon of flour.
- Chill the dough: Wrap the dough in plastic wrap and refrigerate for at least 30 minutes. This is crucial—chilled dough is much easier to shape into fingers. You can chill it for up to 24 hours if you want to prep ahead. I’ve even frozen it for a month and it worked perfectly.
- Preheat and prep: When you’re ready to bake, preheat your oven to 325°F (163°C). Line your baking sheets with parchment paper or silicone mats.
- Shape the fingers: Take a small piece of dough (about 1 tablespoon or 20g) and roll it into a log about 3 inches long and ½ inch thick. Gently taper one end to look like a fingertip. Place it on the prepared baking sheet. Repeat with the remaining dough, spacing the fingers about 2 inches apart. They don’t spread much, but you still want some breathing room.
- Create the knuckles: Using the back of a butter knife or a small offset spatula, gently press 2-3 lines across each finger to create knuckle indentations. Don’t press too hard—you want them to look like wrinkles, not cuts. If the dough cracks slightly, just smooth it with your fingertip.
- Add the fingernails: Take a whole almond and dip the flat end into a tiny bit of seedless raspberry jam. Press it gently onto the tapered end of the finger. The jam acts as edible glue. Repeat for all the fingers.
- Add the cuticle detail: Using a toothpick or the tip of a knife, dab a tiny dot of red food coloring gel at the base of each almond nail. This little detail makes them look shockingly realistic. My kids always squeal at this step!
- Bake: Bake for 12-15 minutes, or until the cookies are lightly golden on the bottom and just barely set on top. The edges should be slightly firm but the centers will still look soft. Don’t overbake—they continue cooking on the hot pan for a few minutes after you pull them out.
- Cool: Let the cookies cool on the baking sheet for 5 minutes, then transfer them to a wire rack to cool completely. They firm up as they cool, so don’t worry if they seem fragile right out of the oven.
Troubleshooting Tip: If your fingers lose their shape during baking, your dough was too warm. Pop the shaped cookies back in the fridge for 10 minutes before baking. Also, if the almond nails fall off, you didn’t use enough jam—just dab a little more on and press firmly.
Cooking Tips & Techniques
I’ve made these cookies at least a dozen times, and I’ve learned a few things the hard way. Here are my best tips for perfect witch fingers every time.
Room temperature butter is non-negotiable. I know, I know, we’re all impatient. But cold butter won’t cream properly with the sugar, and melted butter will make the cookies spread into sad little puddles. Leave your butter on the counter for about an hour before starting. If you forgot, cut it into small cubes and microwave for 5-second intervals until it’s soft but not melted.
Chill the shaped cookies. This is the trick I learned after my first batch turned into blobs. After you shape the fingers and add the almond nails, pop the whole baking sheet in the fridge for 10-15 minutes before baking. Cold dough holds its shape much better and the fingers stay nice and distinct.
Don’t skip the almond extract. I tried making these once with just vanilla, and they tasted like plain sugar cookies. The almond extract is what gives them that authentic marzipan flavor that makes people say, “Wow, these actually taste as good as they look!”
Work in batches. If you’re making these with kids, shape one batch of fingers, chill them, and bake while you shape the next batch. This keeps the dough cold and prevents the cookies from spreading. Plus, the kids get to watch the first batch come out of the oven—pure magic.
For extra creepiness, you can brush the baked cookies with a little bit of corn syrup mixed with green food coloring. It gives them a slightly shiny, “witchy” sheen. I did this once for a Halloween party and everyone thought they were professionally made.
My biggest failure: The first time I made these, I used salted almonds for the fingernails. The salt crystals made the almonds look weird and they didn’t stick well. Now I always use raw, unsalted almonds. Also, I once forgot to add the almond extract entirely—the cookies were still good, but they lacked that special something.
Variations & Adaptations
One of the best things about this recipe is how easy it is to customize. Here are some variations I’ve tried and loved.
Gluten-Free Version: Substitute the all-purpose flour with a 1:1 gluten-free baking flour blend (I like King Arthur’s). The almond flour already adds tenderness, so the gluten-free version turns out surprisingly good. Just make sure your baking powder is gluten-free too.
Vegan Witch Fingers: Use vegan butter and a flax egg (1 tablespoon ground flaxseed mixed with 3 tablespoons water, let sit for 5 minutes). The texture is slightly more delicate, so handle gently. Use maple syrup instead of jam to glue the almonds on.
Chocolate Witch Fingers: Replace ¼ cup of the all-purpose flour with ¼ cup unsweetened cocoa powder. These look like dirt-covered witch fingers and taste like chocolate shortbread. My kids actually prefer these over the original—though I think the almond version is more classic.
Spooky Color Variations: Add a few drops of green food coloring to the dough for a classic witchy green tint. Or use purple for a more magical look. I’ve even done a batch with half green and half purple for a rainbow witch effect—the kids went nuts.
Savory Version: Okay, this sounds weird, but hear me out. Make a savory version with cheddar cheese and paprika instead of sugar and almond extract. Use pretzel sticks for the fingernails. They’re perfect for a Halloween charcuterie board. I tried this last year and the adults devoured them.
Low-Sugar Option: Substitute the granulated sugar with ¾ cup of coconut sugar or a monk fruit sweetener. The cookies will be slightly darker and less sweet, but still delicious. Just note that coconut sugar doesn’t cream as well, so the texture will be a bit denser.
Serving & Storage Suggestions
These cookies are best served at room temperature, but honestly, they’re delicious straight out of the fridge too. Here’s how to serve and store them.
Serving Ideas: Arrange the fingers on a platter with a little “blood” dip (raspberry jam thinned with a splash of water) for dipping. Or scatter them on a Halloween-themed cake stand with some fake spiderwebs and plastic spiders. For a classroom party, I pack them in a cardboard cauldron lined with orange tissue paper—the kids absolutely lose it.
What to Serve With Them: These pair perfectly with a glass of cold milk or a warm cup of apple cider. For an adult Halloween party, they’re great with a dark stout or a pumpkin spice latte. I’ve also served them alongside a bowl of vanilla ice cream for a spooky sundae bar.
Storage Instructions: Store the cookies in an airtight container at room temperature for up to 5 days. Layer them between sheets of parchment paper to prevent the almond nails from breaking off. If you live in a humid climate, add a silica gel packet to the container to keep them crisp.
Freezing: You can freeze the baked cookies for up to 3 months. Place them in a single layer on a baking sheet and freeze for 1 hour, then transfer to a freezer-safe bag or container. To thaw, let them sit at room temperature for about 30 minutes. The almond nails might fall off during freezing, so you can reattach them with a tiny dab of jam after thawing.
Reheating: These cookies don’t really need reheating, but if you want them warm, pop them in a 300°F (150°C) oven for 3-4 minutes. Don’t microwave them—they’ll get soggy and the almond nails will slide right off.
Flavor Development: Honestly, these cookies taste even better the next day. The almond flavor deepens and the texture becomes perfectly crisp. If you can resist eating them all on day one, you’ll be rewarded on day two.
Nutritional Information & Benefits
Let’s be real—these are cookies, not health food. But here’s the nutritional breakdown per cookie (based on 24 cookies):
- Calories: Approximately 180
- Total Fat: 10g
- Saturated Fat: 5g
- Carbohydrates: 21g
- Sugar: 10g
- Protein: 3g
- Fiber: 1g
Health Benefits of Key Ingredients: The almond flour and whole almonds provide healthy monounsaturated fats, vitamin E, and magnesium. Almonds are also a good source of protein and fiber, which helps slow down sugar absorption. The butter contains vitamin A and butyrate, which supports gut health. Of course, this is all relative—these are still a treat, but they’re made with real, whole ingredients rather than preservatives and artificial flavors.
Dietary Considerations: These cookies are vegetarian and can be made gluten-free, vegan, or low-sugar with the substitutions mentioned above. They contain dairy, eggs, gluten (unless modified), and tree nuts (almonds). If you’re serving them at a school event, check for nut allergies first—you can make the nut-free version with pretzel nails instead.
My Take: I believe in balance. My family eats these cookies during October, and we don’t feel guilty about it. They’re made from scratch with real ingredients, and the joy they bring—watching kids’ faces light up, hearing the shrieks of laughter—is worth every calorie. Plus, making them together is a bonding experience that beats store-bought candy any day.
Conclusion
These witch’s finger cookies are more than just a Halloween treat—they’re a tradition waiting to happen. They’re simple enough for a weeknight bake session, impressive enough for a party, and budget-friendly enough to make a double batch without guilt. I love that they bring people together, whether it’s my kids fighting over who gets to press the almond nails on or my husband sneaking one from the cooling rack when he thinks I’m not looking.
I hope you give these a try. Don’t stress about making them perfect—the slightly uneven fingers and wonky knuckles are what make them look real. And if your kids end up with green-tinted fingers from the food coloring, well, that’s just part of the fun. I’d love to hear how yours turn out. Drop a comment below and let me know if your family loved them as much as mine does. Happy Halloween, friends—may your cookies be spooky and your bellies full!
Frequently Asked Questions
Can I make these cookies ahead of time?
Absolutely! You can prepare the dough up to 24 hours in advance and keep it wrapped in the fridge. You can also bake the cookies up to 3 days ahead and store them in an airtight container. They actually taste better the next day as the almond flavor deepens.
My almond nails keep falling off. What am I doing wrong?
This usually happens if you’re not using enough jam to glue them on, or if you’re pressing the almonds on after baking. Always attach the almonds before baking, and use a generous dab of jam. Also, make sure the almonds are raw and unsalted—salted almonds don’t stick as well.
Can I freeze the unbaked cookie dough?
Yes! Shape the fingers, add the almond nails, and place them on a parchment-lined baking sheet. Freeze until solid (about 2 hours), then transfer to a freezer bag. You can bake them directly from frozen, just add 2-3 minutes to the baking time.
How do I get the cookies to look more realistic?
The key is in the knuckle lines. Use a butter knife to press 2-3 gentle lines across each finger, and don’t smooth them out. Also, the red food coloring dot at the base of the almond nail makes a huge difference. For extra realism, you can brush the baked cookies with a little corn syrup to give them a slightly shiny, skin-like appearance.
Can I make these without almond flour?
Yes, you can substitute the almond flour with an equal amount of all-purpose flour. The cookies will be slightly less tender but still delicious. Just note that they won’t have that subtle nutty flavor that makes these cookies so special. You can also try using finely ground rolled oats as a substitute.
Pin This Recipe!
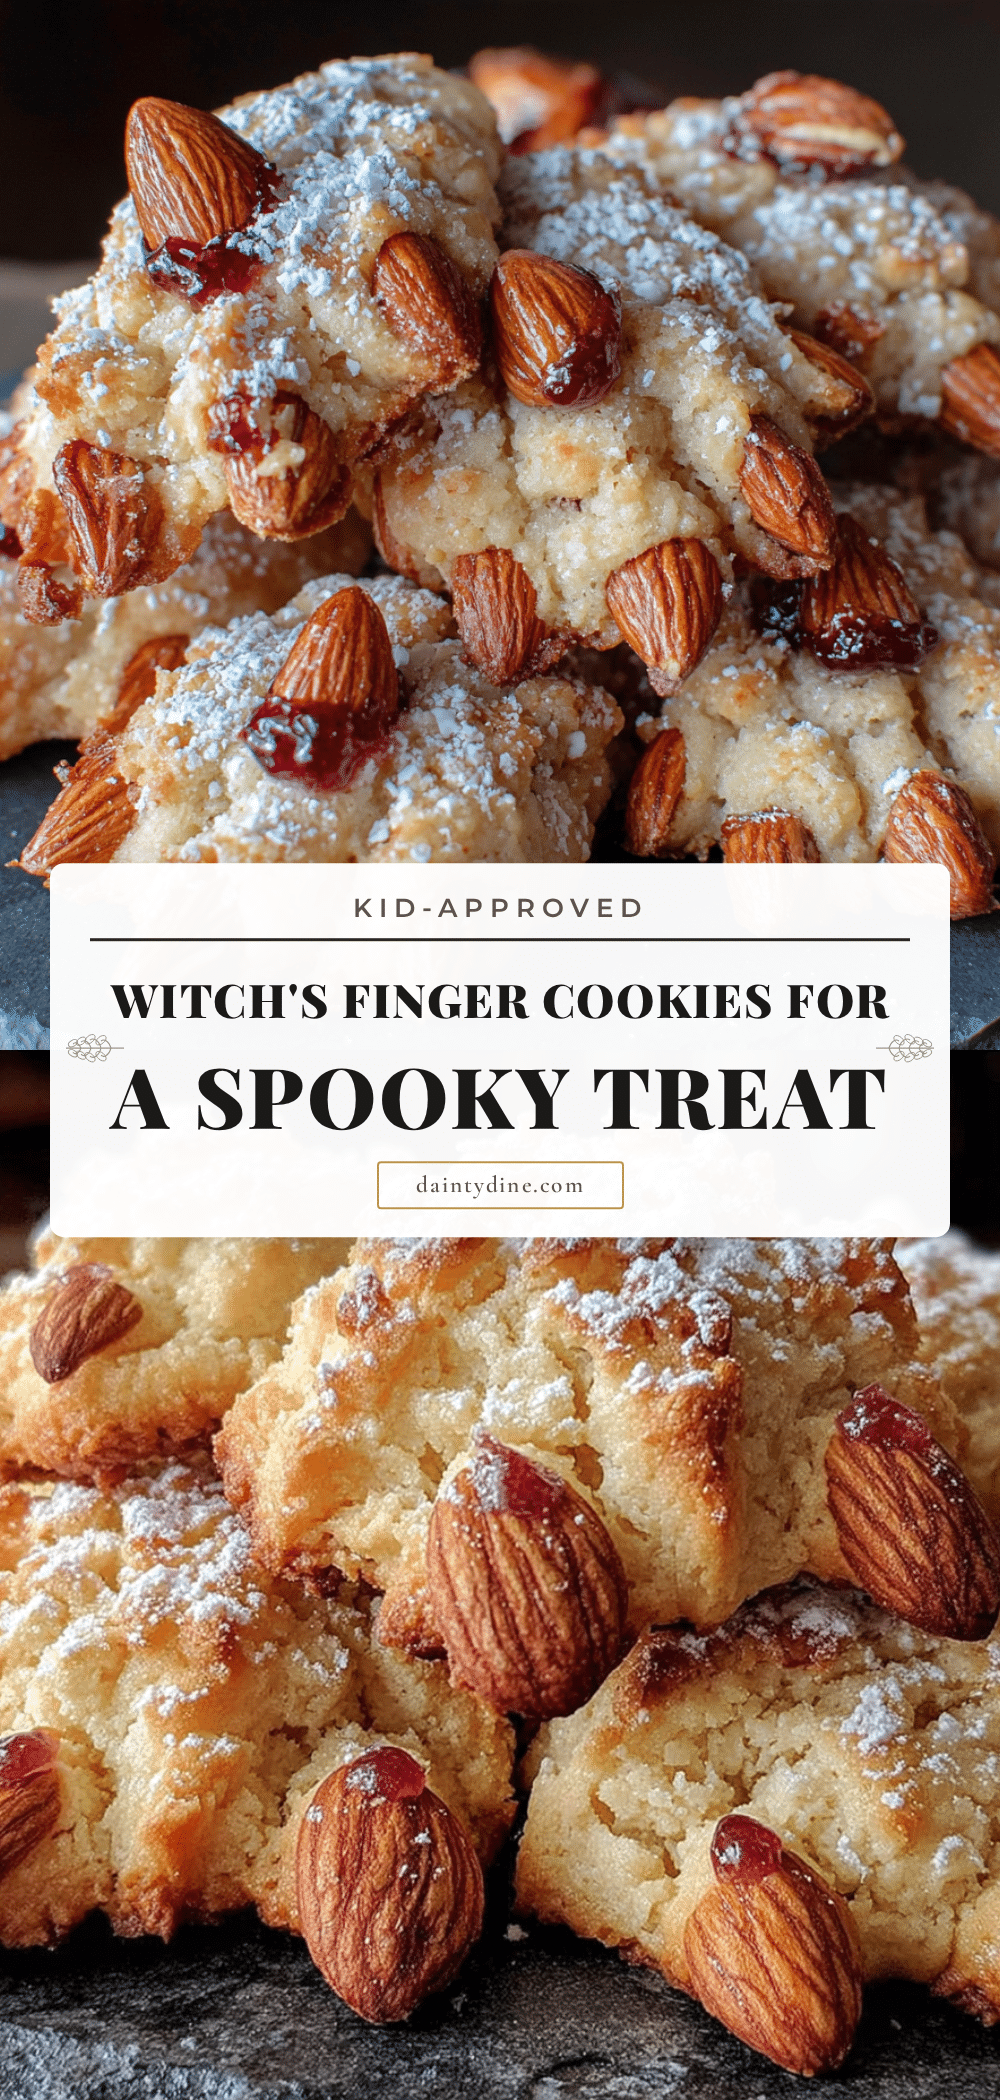
Best Spooky Witch’s Finger Cookies Recipe (Kid-Approved)
These spooky witch’s finger cookies are a Halloween tradition that kids absolutely love. Made with a tender almond shortbread dough and topped with almond fingernails, they’re creepy without being too scary and taste amazing.
- Prep Time: 30 minutes
- Cook Time: 15 minutes
- Total Time: 45 minutes
- Yield: 24 servings 1x
- Category: Dessert
- Cuisine: American
Ingredients
- 1 cup (226g) unsalted butter, softened to room temperature
- 1 cup (200g) granulated sugar
- 1 large egg, room temperature
- 1 teaspoon vanilla extract
- 1 teaspoon almond extract
- 2 ½ cups (312g) all-purpose flour
- ½ cup (56g) almond flour
- ½ teaspoon salt
- ½ teaspoon baking powder
- About 24 whole almonds (blanched or natural, not roasted and salted)
- Red food coloring gel
- Green food coloring gel (optional)
- Seedless raspberry jam (about 2 tablespoons)
Instructions
- Cream the butter and sugar: In a large mixing bowl, beat the softened butter and granulated sugar together on medium speed until light and fluffy, about 3-4 minutes. Scrape down the sides of the bowl halfway through.
- Add the wet ingredients: Beat in the egg, vanilla extract, and almond extract until fully combined, about 1 minute. The mixture might look slightly curdled—that’s normal.
- Mix the dry ingredients: In a separate bowl, whisk together the all-purpose flour, almond flour, salt, and baking powder.
- Combine wet and dry: Gradually add the dry ingredients to the wet mixture, mixing on low speed. Stop as soon as the dough comes together—do not overmix. The dough should be soft but not sticky. If too sticky, add an extra tablespoon of flour.
- Chill the dough: Wrap the dough in plastic wrap and refrigerate for at least 30 minutes (up to 24 hours).
- Preheat and prep: When ready to bake, preheat oven to 325°F (163°C). Line baking sheets with parchment paper or silicone mats.
- Shape the fingers: Take about 1 tablespoon (20g) of dough and roll into a log about 3 inches long and ½ inch thick. Gently taper one end to look like a fingertip. Place on prepared baking sheet, spacing about 2 inches apart.
- Create the knuckles: Using the back of a butter knife or small offset spatula, gently press 2-3 lines across each finger to create knuckle indentations. Don’t press too hard.
- Add the fingernails: Dip the flat end of a whole almond into a tiny bit of seedless raspberry jam and press gently onto the tapered end of the finger.
- Add the cuticle detail: Using a toothpick or knife tip, dab a tiny dot of red food coloring gel at the base of each almond nail.
- Bake: Bake for 12-15 minutes, until lightly golden on the bottom and just barely set on top. Do not overbake.
- Cool: Let cookies cool on the baking sheet for 5 minutes, then transfer to a wire rack to cool completely.
Notes
For best results, chill the shaped cookies on the baking sheet for 10-15 minutes before baking to help them hold their shape. The almond extract is essential for the authentic marzipan flavor. Cookies taste even better the next day as the almond flavor deepens. For a shiny, witchy sheen, brush baked cookies with corn syrup mixed with green food coloring.
Nutrition
- Serving Size: 1 cookie
- Calories: 180
- Sugar: 10
- Sodium: 75
- Fat: 10
- Saturated Fat: 5
- Carbohydrates: 21
- Fiber: 1
- Protein: 3
Keywords: witch finger cookies, Halloween cookies, spooky cookies, almond cookies, kid-friendly Halloween treats, easy Halloween dessert


