Love this? Save it for later!
Share the inspiration with your friends
I was standing in the frozen food aisle last Saturday, staring at a box of pre-made cookie dough, when a memory hit me so hard I almost laughed out loud. It wasn’t the cookie dough itself—it was the sound of a metal spatula scraping against cast iron. And suddenly I was twenty-three, crammed into my friend Maria’s tiny apartment with twelve other people, watching the Steelers game on a TV that flickered every time someone walked past it.
Maria had pulled out this massive skillet—the kind her grandmother used for everything from cornbread to Sunday pot roast—and she dumped a mountain of cookie dough into it. I remember thinking, “That’s not going to work. That’s going to burn on the outside and be raw in the middle.” Honestly, I was ready to be disappointed. But then she slid that skillet into the oven, and twenty minutes later, she pulled out this golden, gooey, ridiculous cookie that fed the entire room. People were grabbing pieces with their hands, dipping them in milk, arguing over the crispy edges. I forgot who even won that game.
I’ve been chasing that moment ever since. And let me tell you, I’ve burned a lot of cookies along the way. I’ve used the wrong pan size, forgot the baking soda, pulled it out too early and ended up with cookie soup. But this version right here? This is the one. It’s the recipe I finally nailed after about six attempts and one very dramatic kitchen meltdown involving a smoke detector and a spatula that I may or may not have thrown across the room.
Maybe you’ve been there too—trying to recreate something that felt magical but couldn’t quite get it right. Or maybe you’re just looking for the easiest, most impressive dessert to bring to your next game day gathering. Either way, this giant skillet chocolate chip cookie is about to become your new best friend. It’s shareable, it’s forgiving, and honestly, it tastes better than any single cookie I’ve ever made.
Why You’ll Love This Recipe
Let me be real with you—I’ve tested this recipe more times than I care to admit. I’ve made it with different butters, different sugars, different pans. I’ve even tried it with that fancy vanilla extract my sister brought back from Mexico. And through all those trials, I’ve learned exactly what makes this cookie work. Here’s why this one stands out:
- One Pan Wonder: No scooping, no chilling, no rolling individual cookies. You mix the dough, press it into the skillet, and bake. That’s it. Cleanup is basically one bowl and a spatula.
- Perfectly Gooey Center: The cast iron skillet creates this beautiful contrast—crispy, caramelized edges with a soft, almost underbaked center that stays warm for ages. It’s the texture dream team.
- Game Day Ready: This cookie feeds a crowd without any fuss. Set it in the middle of the table with a stack of forks and watch it disappear. No plates needed, honestly.
- Simple Pantry Ingredients: You probably already have everything you need. Butter, sugar, eggs, flour, chocolate chips. Nothing weird, nothing expensive.
- Forgiving Recipe: I’ve accidentally overmixed the dough, used room temperature butter that was basically melted, and even forgotten the vanilla once. It still turned out amazing. This recipe wants you to succeed.
What makes this different from every other skillet cookie recipe out there? It’s the ratio. I spent a lot of time tweaking the butter-to-flour balance and the bake time so you get that perfect gooey center without the raw dough taste. Plus, I added a little trick—pressing extra chocolate chips into the top before baking—so every bite has that melty chocolate moment.
This isn’t just another dessert. It’s the kind that makes people close their eyes after the first bite. It’s comfort food at its finest—warm, buttery, chocolatey, and meant to be shared with people you actually like.
What Ingredients You Will Need
This recipe uses simple, everyday ingredients to create something truly special. The magic isn’t in fancy additions—it’s in how these basic staples come together. Here’s what you’ll need:
For the Cookie Dough
- 1 cup (2 sticks) unsalted butter, softened — I prefer Land O’Lakes for consistent results. Make sure it’s truly softened, not melted. You want it to give slightly when pressed but still hold its shape.
- 3/4 cup granulated sugar — This gives the cookie structure and helps create those crispy edges.
- 3/4 cup packed light brown sugar — The brown sugar adds moisture and that deep, almost caramel flavor. Dark brown sugar works too if that’s what you have.
- 2 large eggs, room temperature — Room temperature eggs incorporate more evenly into the butter mixture. If you forgot to take them out, place them in a bowl of warm water for 5 minutes.
- 2 teaspoons vanilla extract — Use pure vanilla extract if you can. The imitation stuff works in a pinch, but the flavor difference is noticeable.
- 2 1/4 cups all-purpose flour — Spoon and level your flour for accuracy. Scooping directly from the bag packs in too much flour and makes the cookie dense.
- 1 teaspoon baking soda — Check the expiration date! Old baking soda won’t give you the right spread.
- 1/2 teaspoon salt — I use fine sea salt. It balances the sweetness and enhances the chocolate flavor.
- 2 cups semi-sweet chocolate chips — I’m partial to Ghirardelli for their melt quality, but any brand works. You can also use a mix of semi-sweet and dark chocolate chips for more complexity.
Optional Add-Ins
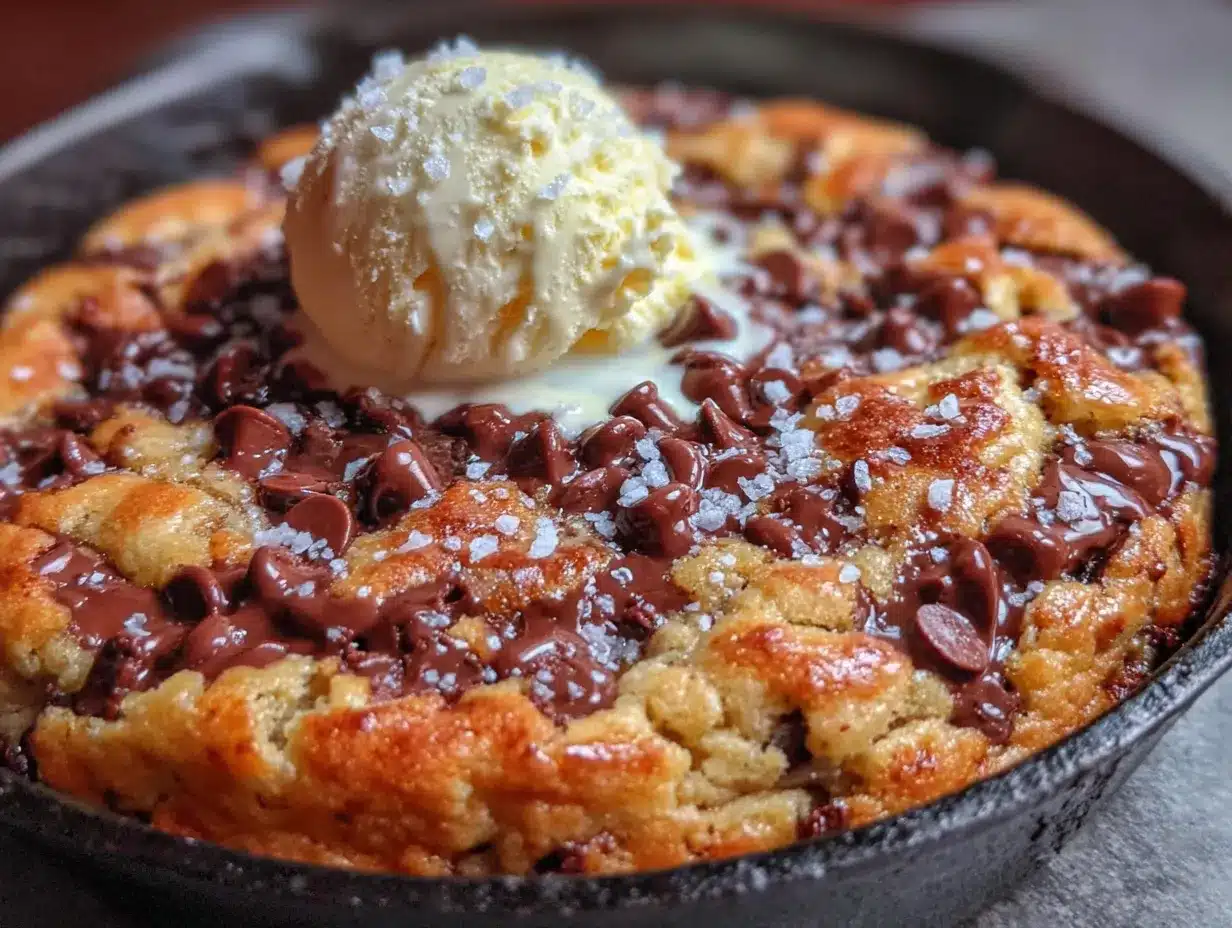
- Flaky sea salt for sprinkling — Trust me on this. A little sprinkle right after baking takes the cookie to another level.
- 1/2 cup chopped nuts (walnuts or pecans) — Toast them first for extra flavor. Spread on a baking sheet at 350°F for 5-7 minutes.
- 1/2 cup chocolate chunks — Mix these in along with the chips for different sized chocolate pockets.
Ingredient Tip: For the best texture, use a mix of chocolate chips. I like to use semi-sweet as the base and throw in a handful of milk chocolate chips for sweetness. If you’re feeling fancy, chop up a dark chocolate bar and add those chunks too. The varying sizes create different melting points, which means more chocolate in every bite.
Equipment Needed
You don’t need a lot of fancy equipment for this recipe, which is part of the beauty. Here’s what you’ll need:
- 10-inch cast iron skillet — This is non-negotiable for the classic skillet cookie experience. The cast iron distributes heat evenly and creates those perfect crispy edges. If you don’t have one, a 10-inch oven-safe non-stick skillet works, but the results won’t be quite the same. Lodge makes affordable, reliable cast iron skillets that last forever.
- Large mixing bowl — Any large bowl works. I use a glass mixing bowl because I can see when the butter and sugar are properly creamed.
- Electric hand mixer or stand mixer — You can mix by hand with a wooden spoon, but it takes some elbow grease. A mixer makes the creaming process much easier and more consistent.
- Rubber spatula — For scraping down the bowl and pressing the dough into the skillet. A silicone spatula is heat-resistant and won’t scratch your pan.
- Measuring cups and spoons — Accurate measurements matter in baking. Use dry measuring cups for flour and sugar, and liquid measuring cups for vanilla.
- Cooling rack — Optional but helpful for even cooling after baking.
Budget-Friendly Tip: Cast iron skillets are an investment, but they last for generations. Check thrift stores or garage sales—I found my favorite 10-inch skillet for eight dollars at a flea market. It was rusty, but a little elbow grease and seasoning later, it’s my most-used pan.
Preparation Method
Alright, let’s make this cookie. I’ve broken it down into clear steps with all the little details I’ve learned from making this probably twenty times now.
- Preheat your oven to 350°F (175°C). Position the rack in the center of the oven. While it’s heating, place your cast iron skillet inside to warm up for about 5 minutes. This helps the edges start cooking immediately when you add the dough.
- Cream the butter and sugars. In your large mixing bowl, combine the softened butter, granulated sugar, and brown sugar. Beat with your electric mixer on medium speed for 2-3 minutes until the mixture is light, fluffy, and pale in color. You’re looking for a texture that’s almost like wet sand but lighter. Scrape down the sides of the bowl with your spatula halfway through.
- Add the eggs and vanilla. Crack the eggs into a small bowl first (just in case you get shell pieces). Add them one at a time to the butter mixture, beating well after each addition. Pour in the vanilla extract and beat for another 30 seconds. The mixture should look smooth and slightly glossy at this point.
- Mix the dry ingredients. In a separate medium bowl, whisk together the flour, baking soda, and salt. This ensures the baking soda and salt are evenly distributed throughout the flour. No one wants a pocket of baking soda in their cookie.
- Combine wet and dry ingredients. With the mixer on low speed, gradually add the flour mixture to the butter mixture. Mix just until the flour disappears—about 30 seconds. Overmixing at this stage develops gluten and makes the cookie tough. You want to see a few streaks of flour remaining when you stop the mixer.
- Fold in the chocolate chips. Switch to your rubber spatula. Gently fold in the chocolate chips until they’re evenly distributed. Don’t overmix—just fold until you don’t see any more flour streaks and the chips are spread throughout. At this point, the dough should be thick and slightly sticky.
- Press the dough into the skillet. Carefully remove the warm skillet from the oven (use oven mitts!). Transfer the dough into the skillet and press it into an even layer using your spatula or lightly floured hands. Make sure it reaches the edges. Here’s my trick: press a handful of extra chocolate chips into the top of the dough. This ensures every bite has visible chocolate.
- Bake the cookie. Place the skillet in the preheated oven and bake for 20-25 minutes. Start checking at 20 minutes. You’re looking for the edges to be golden brown and set, while the center still looks slightly underdone and puffy. A toothpick inserted near the center should come out with some moist crumbs attached—not clean, but not raw batter either.
- Cool and serve. Remove the skillet from the oven and place it on a cooling rack. Let the cookie cool in the skillet for at least 10-15 minutes before serving. This allows it to set up enough to slice while staying perfectly warm and gooey. Sprinkle with flaky sea salt if you’re using it.
Visual Cue: The cookie is done when the edges have pulled away slightly from the skillet and are a deep golden brown. The center will look puffy and pale—that’s exactly what you want. It continues cooking from the residual heat of the skillet after you pull it out.
Cooking Tips & Techniques
I’ve learned a few things the hard way so you don’t have to. Here are my best tips for skillet cookie success:
Don’t overbake. This is the number one mistake I see people make. You want to pull the cookie out when the center still looks slightly underdone. The cast iron retains heat and continues cooking the cookie for several minutes after it comes out of the oven. If you wait until the center looks fully set, you’ll end up with a dry, cakey cookie instead of a gooey one.
Use room temperature ingredients. Cold eggs can seize the butter mixture and create a lumpy dough. Room temperature eggs incorporate more smoothly and create a better emulsion. Same goes for the butter—softened, not melted. Melted butter will spread too much and create a thin, greasy cookie.
Press those extra chips in. This is my favorite trick. After you press the dough into the skillet, take a handful of chocolate chips and press them into the top surface. This creates visible pools of chocolate and ensures every slice has plenty of chocolate. I learned this after making a batch where all the chips sank to the bottom.
Let it rest. I know it’s tempting to dig in immediately, but letting the cookie cool for at least 10 minutes is crucial. It continues setting up during this time. If you cut into it too soon, you’ll end up with a puddle of melted butter and sugar. Patience pays off here.
Toast your nuts if using. If you’re adding walnuts or pecans, toast them first in a dry skillet over medium heat for 3-4 minutes until fragrant. This brings out their natural oils and adds a deeper flavor. I learned this after adding raw nuts to a batch and ending up with a cookie that tasted flat.
Variations & Adaptations
This recipe is incredibly versatile. Here are some ways to make it your own:
Double Chocolate Skillet Cookie: Replace 1/4 cup of the all-purpose flour with 1/4 cup of unsweetened cocoa powder. Use white chocolate chips or a mix of dark and white chocolate for a beautiful contrast. This version is dangerously good.
Peanut Butter Swirl: Warm up 1/4 cup of creamy peanut butter in the microwave for about 15 seconds until it’s drizzle-able. Drop spoonfuls of it over the dough before baking and swirl it in with a knife. The peanut butter creates these gorgeous ribbons of flavor throughout the cookie. I made this for a friend who’s obsessed with peanut butter and chocolate, and she texted me the next day asking for the recipe.
Gluten-Free Option: Substitute the all-purpose flour with a 1:1 gluten-free baking flour blend that contains xanthan gum. I’ve tested this with Bob’s Red Mill 1:1 Baking Flour and it works perfectly. The texture is slightly more tender, but the flavor is identical. Just make sure your chocolate chips are certified gluten-free if that’s a concern.
Vegan Adaptation: Use vegan butter sticks (like Earth Balance) and replace each egg with a flax egg (1 tablespoon ground flaxseed mixed with 3 tablespoons water per egg, let sit for 5 minutes). The texture will be slightly less chewy, but it’s still delicious. Use dairy-free chocolate chips to complete the vegan version.
Add Some Spice: Add 1/2 teaspoon of cinnamon and a pinch of nutmeg to the flour mixture. This gives the cookie a warm, cozy flavor that’s perfect for fall gatherings. I tried this on a whim during a rainy October afternoon, and now it’s my go-to variation for cooler months.
Serving & Storage Suggestions
This cookie is best served warm, right out of the skillet. Place the hot skillet on a trivet in the middle of the table with a stack of small plates and forks. Let everyone dig in family-style. It’s the kind of dessert that brings people together—no formal plating required.
What to serve with it: A scoop of vanilla ice cream is the classic pairing, and for good reason. The cold, creamy ice cream against the warm, gooey cookie is a match made in heaven. For a more indulgent experience, try salted caramel ice cream or a drizzle of warm caramel sauce. A tall glass of cold milk is also perfect—it’s how I always serve it at my house.
Storage: If you somehow have leftovers (it’s rare in my experience), cover the skillet tightly with aluminum foil or plastic wrap. Store at room temperature for up to 3 days. The cookie will soften slightly over time, but it’s still delicious. You can also transfer leftover pieces to an airtight container.
Reheating: The best way to reheat is in the oven. Place the skillet in a 300°F oven for 5-7 minutes until warmed through. This restores the crispy edges and gooey center. You can also microwave individual pieces for 15-20 seconds, but the edges won’t be as crispy. Honestly, I’ve eaten it cold straight from the fridge and it’s still amazing—just in a different, denser way.
Freezer Option: You can freeze the unbaked dough right in the skillet. Press the dough in, wrap the entire skillet tightly in plastic wrap and then foil, and freeze for up to 3 months. When you’re ready to bake, add about 5-7 minutes to the baking time. This is perfect for when you want a last-minute dessert for unexpected guests.
Nutritional Information & Benefits
Let’s be honest—this is a treat, not a health food. But knowing what’s in it helps you enjoy it mindfully. Here’s the estimated nutrition for one serving (based on 8 servings per cookie):
- Calories: Approximately 480 per serving
- Total Fat: 26g
- Saturated Fat: 16g
- Carbohydrates: 60g
- Sugar: 42g
- Protein: 6g
- Fiber: 2g
- Sodium: 280mg
Dietary Considerations: This recipe contains gluten, dairy, and eggs. It’s not suitable for those with celiac disease or severe dairy allergies without modifications. See the variations section for gluten-free and vegan options.
A Note on Balance: I believe in enjoying food without guilt. This cookie is meant for celebrations and gatherings—it’s not an everyday snack. I serve it on game days, birthdays, and holidays when everyone is gathered around. Sharing a warm, homemade dessert with people you love is good for the soul, even if it’s not the most nutritious thing you’ll eat all week. Balance is key, and this cookie has earned its place in the rotation.
Conclusion
This giant skillet chocolate chip cookie is more than just a dessert—it’s an experience. It’s the kind of recipe that makes people stop what they’re doing and gather around the table. It’s the cookie that gets passed around with forks and laughter, the one that disappears before the game even ends.
I’ve made this cookie for Super Bowl parties, birthday dinners, and quiet Tuesday nights when I just needed something warm and comforting. Every single time, it delivers. The crispy edges, the gooey center, the melty chocolate—it’s everything a chocolate chip cookie should be, just bigger and better.
I’d love to hear how yours turns out. Did you add any fun mix-ins? Did you serve it with ice cream or just eat it straight from the skillet with a spoon (no judgment here)? Drop a comment below and let me know. And if you’re looking for another crowd-pleasing dessert, check out our best fudgy brownies recipe or this easy no-bake cheesecake recipe for more sweet inspiration.
Now go preheat that oven. Your game day dessert is waiting.
Frequently Asked Questions
Can I use a different size skillet?
Yes, but you’ll need to adjust the baking time. An 8-inch skillet will produce a thicker cookie that needs 25-30 minutes of baking. A 12-inch skillet will create a thinner cookie that might only need 15-18 minutes. Keep a close eye on it and use the visual cues—golden edges, puffy center—as your guide.
Why did my cookie spread too much?
This usually happens for one of three reasons: your butter was too soft or melted, you used too much sugar, or your skillet wasn’t hot enough when you added the dough. Make sure your butter is softened but still cool to the touch, and preheat your skillet for a few minutes before adding the dough.
Can I make the dough ahead of time?
Absolutely. You can prepare the dough, press it into the skillet, cover it with plastic wrap, and refrigerate for up to 48 hours before baking. You might need to add 2-3 minutes to the baking time if the dough is cold from the fridge. This is a great way to prep for a party.
My cookie came out raw in the middle. What went wrong?
This is actually a common issue with skillet cookies because the center takes longer to bake than the edges. Make sure you’re using a 10-inch skillet—anything smaller will be too thick. Also, check your oven temperature with an oven thermometer. Many ovens run cooler than they say, which means your cookie needs more time.
Can I use chocolate chunks instead of chips?
Yes, and I actually prefer a mix of both. Chocolate chunks create bigger pockets of melted chocolate, while chips distribute more evenly. Use 2 cups total of any combination you like. Just keep in mind that different chocolates melt at different rates, so your bake time might vary slightly.
Pin This Recipe!
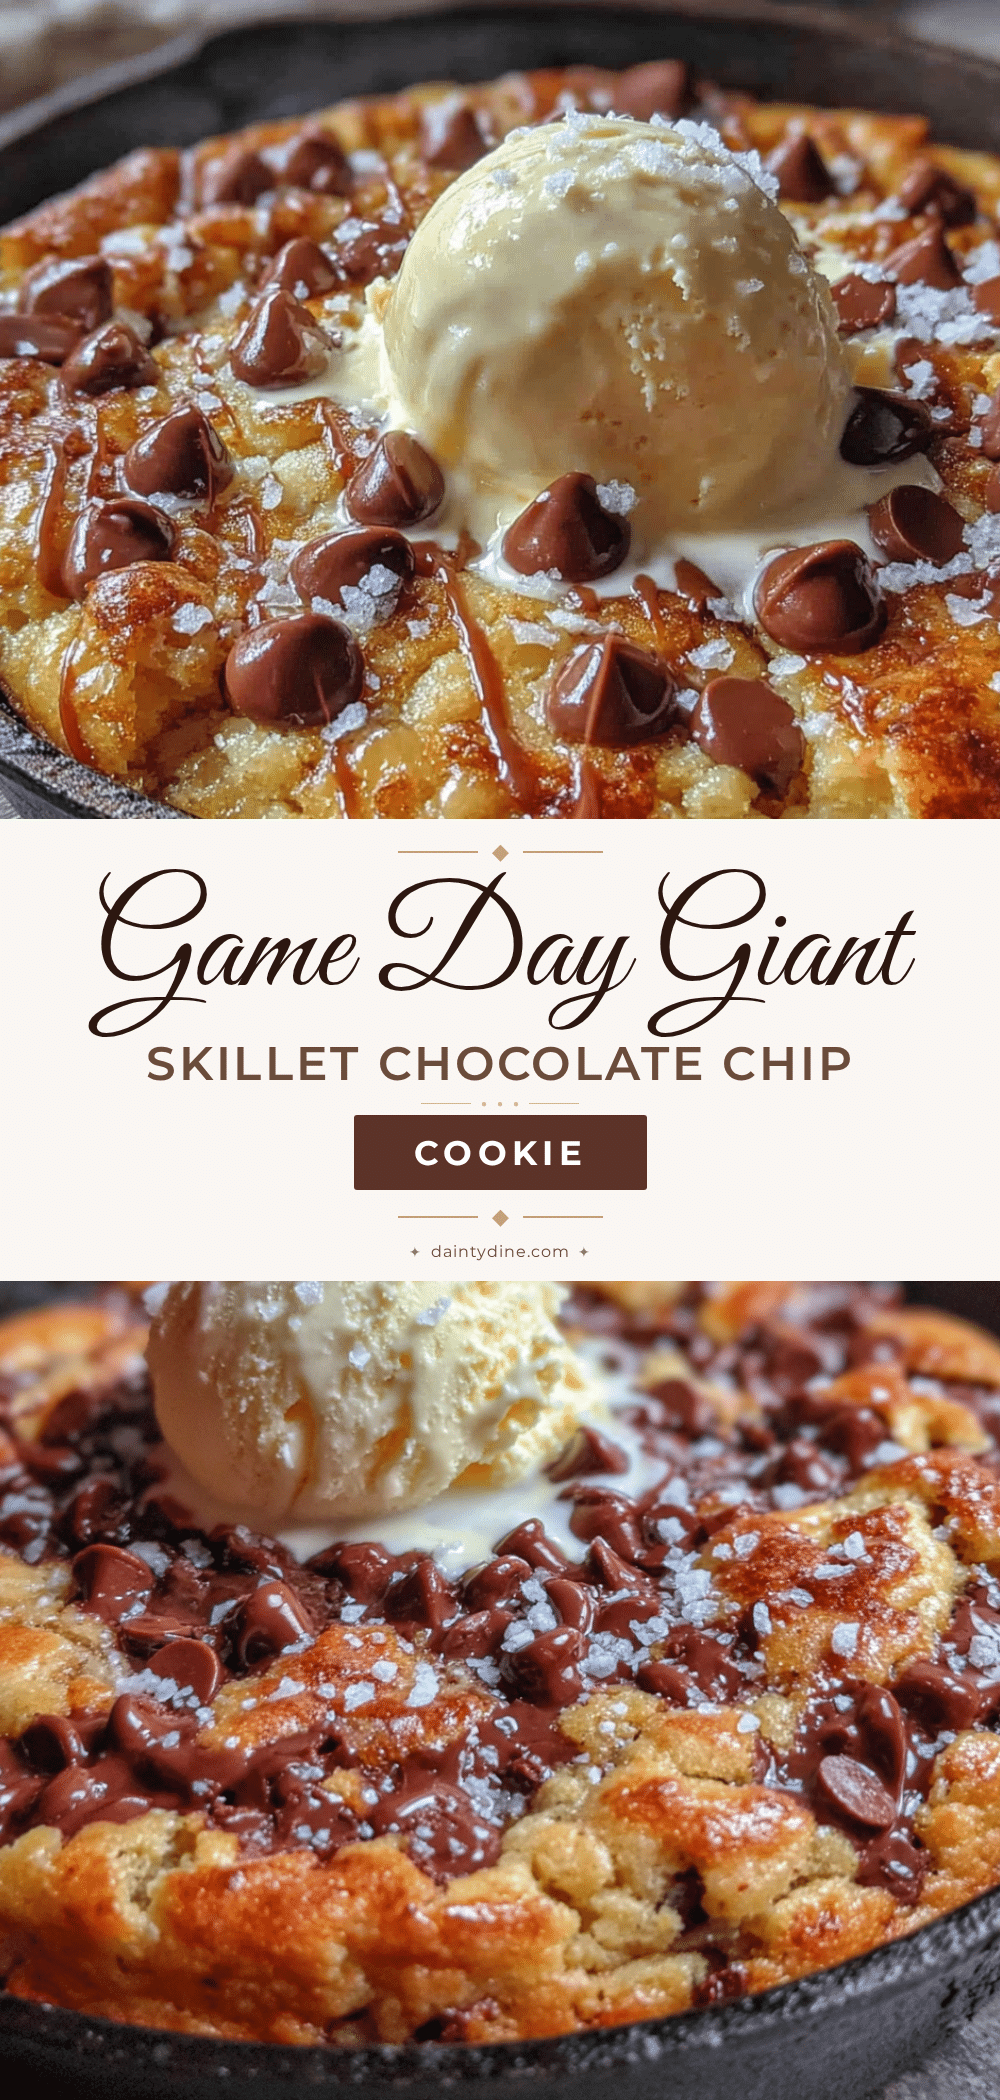
Best Game Day Giant Skillet Chocolate Chip Cookie
A giant, gooey chocolate chip cookie baked in a cast iron skillet, perfect for sharing on game day. With crispy edges and a soft, almost underbaked center, this one-pan wonder is a crowd-pleaser.
- Prep Time: 15 minutes
- Cook Time: 25 minutes
- Total Time: 40 minutes
- Yield: 8 servings 1x
- Category: Dessert
- Cuisine: American
Ingredients
- 1 cup (2 sticks) unsalted butter, softened
- 3/4 cup granulated sugar
- 3/4 cup packed light brown sugar
- 2 large eggs, room temperature
- 2 teaspoons vanilla extract
- 2 1/4 cups all-purpose flour
- 1 teaspoon baking soda
- 1/2 teaspoon salt
- 2 cups semi-sweet chocolate chips
- Flaky sea salt for sprinkling (optional)
- 1/2 cup chopped nuts (walnuts or pecans, optional)
- 1/2 cup chocolate chunks (optional)
Instructions
- Preheat your oven to 350°F (175°C). Position the rack in the center of the oven. While it’s heating, place your cast iron skillet inside to warm up for about 5 minutes.
- In a large mixing bowl, combine the softened butter, granulated sugar, and brown sugar. Beat with an electric mixer on medium speed for 2-3 minutes until light, fluffy, and pale in color. Scrape down the sides of the bowl halfway through.
- Crack the eggs into a small bowl, then add them one at a time to the butter mixture, beating well after each addition. Add the vanilla extract and beat for another 30 seconds until smooth and slightly glossy.
- In a separate medium bowl, whisk together the flour, baking soda, and salt.
- With the mixer on low speed, gradually add the flour mixture to the butter mixture. Mix just until the flour disappears, about 30 seconds. Do not overmix.
- Switch to a rubber spatula and gently fold in the chocolate chips until evenly distributed.
- Carefully remove the warm skillet from the oven (use oven mitts). Transfer the dough into the skillet and press it into an even layer using a spatula or lightly floured hands. Press a handful of extra chocolate chips into the top of the dough.
- Bake for 20-25 minutes. Start checking at 20 minutes. The edges should be golden brown and set, while the center still looks slightly underdone and puffy. A toothpick inserted near the center should come out with moist crumbs attached.
- Remove the skillet from the oven and place it on a cooling rack. Let the cookie cool in the skillet for at least 10-15 minutes before serving. Sprinkle with flaky sea salt if desired.
Notes
For the best texture, use a mix of chocolate chips. Don’t overbake; the center should look slightly underdone when you pull it out. Let the cookie rest for at least 10 minutes before serving to allow it to set. If adding nuts, toast them first for extra flavor.
Nutrition
- Serving Size: 1 slice (1/8 of cook
- Calories: 480
- Sugar: 42
- Sodium: 280
- Fat: 26
- Saturated Fat: 16
- Carbohydrates: 60
- Fiber: 2
- Protein: 6
Keywords: skillet cookie, chocolate chip cookie, game day dessert, giant cookie, cast iron cookie


