Love this? Save it for later!
Share the inspiration with your friends
I was standing in my neighbor Marge’s driveway last October, holding a plastic bag of still-wet pumpkin guts, when the smell hit me. It wasn’t the earthy, vegetal scent of the carved jack-o’-lanterns lining her porch steps. No, it was something else—something warm, sweet, and almost caramelized, drifting from the cracked kitchen window behind her. And suddenly I was seven years old, sitting cross-legged on the linoleum floor of my Aunt Jo’s tiny apartment, watching her shake a brown paper bag filled with sugar and cinnamon like she was casting a spell. She’d pull out these glistening, toasted seeds, still too hot to eat, and she’d blow on them before handing them over. I can’t remember her face clearly anymore—it’s been too long—but I remember the way those seeds crunched. That specific, sandy-sweet crunch.
I hadn’t thought about Aunt Jo in years. She wasn’t a fancy cook. She wasn’t even a particularly patient one. But every fall, without fail, she’d save the seeds from her pumpkin pie project and turn them into this snack that felt like a secret. Marge’s kids were running around with flour on their noses, and I just stood there, holding that bag, feeling a little choked up over pumpkin seeds. It’s funny how a random Tuesday can do that to you. Maybe you’ve been there—some ordinary moment, and then bam, a memory you didn’t even know you had hits you right in the chest.
So I took the seeds home. I rinsed them, dried them, and spent the next hour trying to recreate that exact feeling. This cozy cinnamon sugar roasted pumpkin seeds recipe is my best attempt. It’s not just a snack. Honestly, it’s a time machine disguised as a handful of seeds, and I make it every single fall now. Not just because it tastes good—and it really, really does—but because it brings back a warmth I didn’t realize I was missing. Let me show you how to make it.
Why You’ll Love This Recipe
I’ve tested this recipe about six times to get it just right. The first batch? Burnt to a crisp. The second? Too soggy. The third? I forgot the salt entirely. But by batch number four, I cracked the code. This isn’t just another pumpkin seed recipe you’ll find online. It’s the one that actually works, every single time, and here’s why you’ll fall for it too.
- Quick & Easy: From start to finish, you’re looking at about 30 minutes. Most of that is hands-off oven time, so you can clean up the pumpkin carving mess or just sit down with a cup of tea while the magic happens.
- Simple Ingredients: You probably have everything in your pantry right now. Pumpkin seeds, butter, sugar, cinnamon, a pinch of salt. No weird extracts, no obscure spices. Just pure, cozy comfort.
- Perfect for Fall Gatherings: This is the snack that disappears at Halloween parties, Thanksgiving dinners, and cozy movie nights. It’s not a dessert, not a savory snack—it’s this perfect in-between thing that everyone reaches for.
- Crowd-Pleaser: Kids love the sweetness. Adults love the crunch. Even people who swear they don’t like pumpkin seeds end up grabbing handfuls. I’ve seen it happen.
- Unbelievably Delicious: The trick is in the coating. Instead of just tossing seeds with sugar and hoping for the best, we create a buttery cinnamon glaze that clings to every ridge and crevice. Each seed is a tiny, crunchy, sweet little bite of nostalgia.
What makes this recipe different from the rest is the technique. Most recipes have you toss seeds with melted butter and sugar, but they end up unevenly coated or, worse, the sugar burns before the seeds are toasted. Here, we par-boil the seeds first to soften the outer hull, then we toss them in a butter-sugar-cinnamon mixture that melts into the perfect coating. The result? Evenly toasted, perfectly sweet, with a crunch that doesn’t shatter your teeth. It’s comfort food in its smallest, most snackable form.
This isn’t just a good snack. Honestly, it’s the kind that makes you close your eyes after the first bite. That warm, cinnamon-sugar hug you didn’t know you needed. Perfect for a slow evening when the air turns cold and you just want something that feels like home.
What Ingredients You Will Need
This recipe uses simple, wholesome ingredients that work together to create that addictive sweet-and-salty crunch. Most of these are pantry staples, especially if you’ve already carved a pumpkin or two this season. Here’s what you’ll need and why each one matters.
For the Seeds:
- Fresh pumpkin seeds (1 ½ cups, or about the seeds from one medium pumpkin) – You can use seeds from any carving pumpkin, sugar pumpkin, or even butternut squash. The fresher, the better. Look for seeds that are plump and not shriveled.
- Water (4 cups, for boiling) – This is the secret step most people skip. Boiling the seeds softens the tough outer hull, so they toast evenly and don’t end up chewy.
- Salt (1 tablespoon, for the boiling water) – This helps season the seeds from the inside out. Don’t skip it!
For the Cinnamon Sugar Coating:
- Unsalted butter (3 tablespoons, melted) – I use Land O’Lakes because it has a consistent butterfat content, but any good unsalted butter works. Salted butter will make the seeds too salty, so stick with unsalted here.
- Granulated sugar (¼ cup) – Regular white sugar gives the best crunch. Brown sugar can work, but it’s more prone to burning and gives a slightly different, molasses-like flavor.
- Ground cinnamon (1 ½ teaspoons) – This is the star of the show. Use a fresh, high-quality cinnamon like Saigon or Ceylon for the best flavor. I personally prefer Saigon cinnamon—it’s stronger and more aromatic.
- Vanilla extract (½ teaspoon, optional but recommended) – This adds a warm, almost floral note that makes the cinnamon taste even cozier. Pure vanilla is best, but imitation works in a pinch.
- Pinch of salt (¼ teaspoon, or to taste) – Balances the sweetness and brings out the nutty flavor of the seeds.
Ingredient Selection Tips: If you’re using seeds from a fresh pumpkin, make sure to rinse them thoroughly to remove all the stringy pulp. It’s a little messy, I know, but worth it. For the best texture, look for seeds that are firm and evenly sized. If some are tiny and shriveled, they’ll burn faster, so try to pick those out. You can also buy pre-shelled pumpkin seeds (pepitas) from the store, but they won’t have the same hull-on crunch that makes this recipe so satisfying. Trust me, the hull is where the magic happens.
Substitution Guidance: Need to make this dairy-free? Use coconut oil or a plant-based butter substitute instead of regular butter. The flavor will be slightly different—coconut oil adds a subtle tropical note that actually pairs nicely with cinnamon—but it works. For a lower-sugar version, you can reduce the sugar to 3 tablespoons, but the coating won’t be quite as crunchy. And if you’re out of cinnamon? Pumpkin pie spice works in a pinch, but it’s not quite the same. Cinnamon is really the backbone here.
Equipment Needed
You don’t need a fancy kitchen to make these seeds. In fact, you probably already have everything you need. Here’s the short list:
- Medium saucepan – For boiling the seeds. Any pot works, just make sure it’s big enough to hold the seeds and water without overflowing.
- Colander – For draining the boiled seeds. A fine-mesh strainer works even better if you have one.
- Paper towels or a clean kitchen towel – For patting the seeds dry. This is important—wet seeds won’t crisp up properly.
- Mixing bowl – Medium size, for tossing the seeds with the butter and sugar mixture.
- Baking sheet – A rimmed baking sheet works best. Line it with parchment paper or a silicone baking mat for easy cleanup.
- Spatula – For spreading the seeds in an even layer on the baking sheet.
- Cooling rack (optional) – If you have one, placing it on the baking sheet helps air circulate around the seeds, making them even crunchier.
I’ve made these seeds using a cheap baking sheet from the dollar store, and they turned out just fine. The one thing I’d recommend splurging on is a good silicone baking mat. It prevents sticking better than parchment paper and makes cleanup a breeze. Plus, you can use it for a hundred other things. My mat is from Silpat, and it’s held up for years. Worth every penny.
If you don’t have a colander, just use a large plate and tilt it carefully to drain the water. If you don’t have parchment paper, lightly grease your baking sheet with butter or non-stick spray. Honestly, this recipe is forgiving. Don’t let a missing tool stop you from making these seeds.
Preparation Method
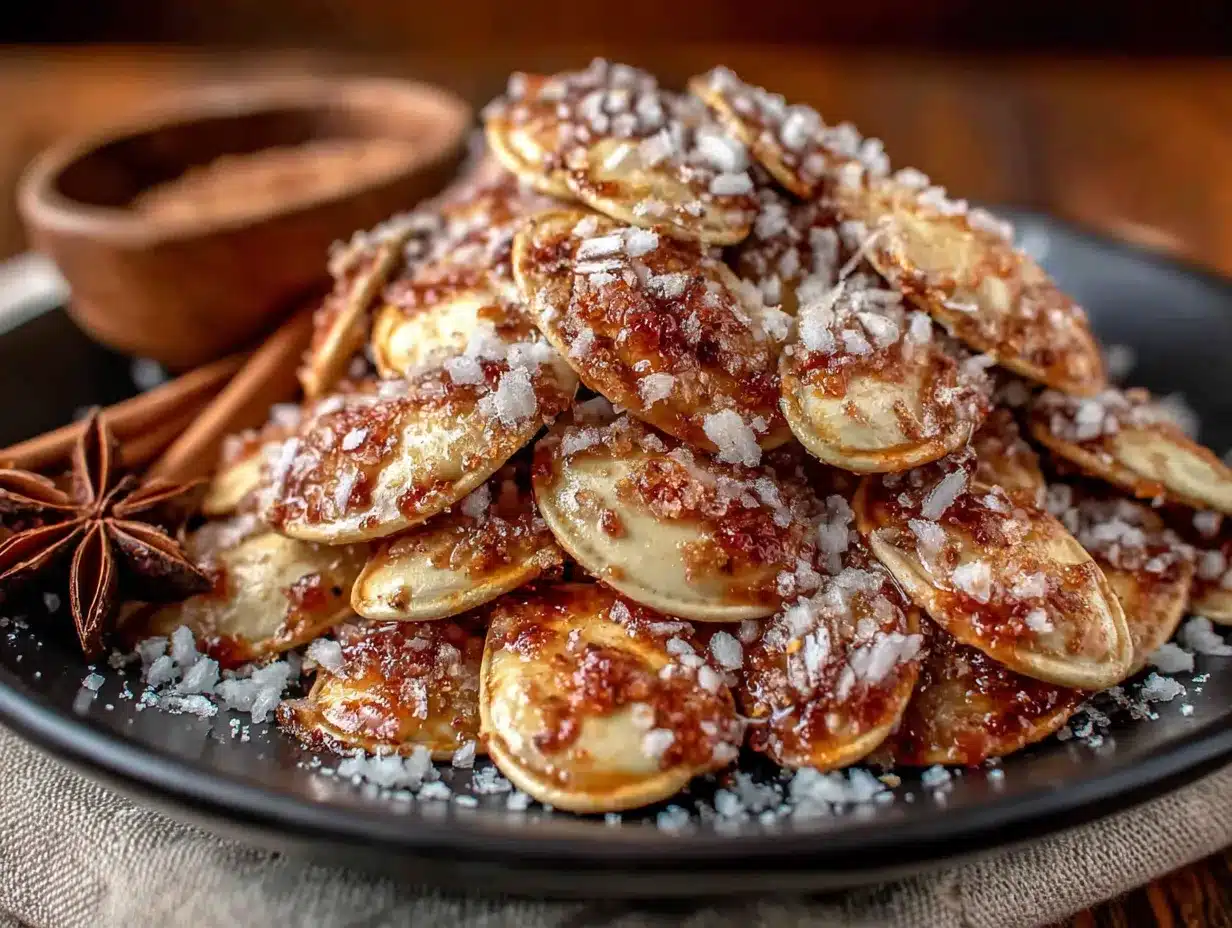
Alright, let’s get to the good part. Here’s how to make these cozy cinnamon sugar roasted pumpkin seeds, step by step. I’ll include all the little details I wish someone had told me the first time I tried this.
Step 1: Clean the Seeds
Separate the pumpkin seeds from the stringy pulp. Place them in a colander and rinse under cold running water, using your fingers to rub off any stubborn bits. Don’t worry if a few tiny pieces of pulp cling on—they’ll come off during boiling. This takes about 5 minutes. You should end up with roughly 1 ½ cups of clean seeds.
Step 2: Boil the Seeds
In a medium saucepan, bring 4 cups of water and 1 tablespoon of salt to a rolling boil. Add the pumpkin seeds and let them boil for exactly 10 minutes. Set a timer—this is important. Boiling softens the outer hull, so the seeds toast evenly and don’t end up with that weird, chewy texture. You’ll notice the seeds start to look slightly translucent around the edges. That’s your cue they’re ready.
Step 3: Drain and Dry
Drain the seeds in a colander and let them cool for a minute or two. Then, spread them out on a clean kitchen towel or a double layer of paper towels. Pat them dry as best you can. They don’t need to be bone-dry, but you want to remove most of the surface moisture. If they’re too wet, the sugar coating won’t stick properly. Let them sit for about 5 minutes while you preheat the oven.
Step 4: Preheat the Oven
Preheat your oven to 350°F (175°C). Position the rack in the middle of the oven. Line a rimmed baking sheet with parchment paper or a silicone baking mat.
Step 5: Make the Coating
In a medium mixing bowl, whisk together the melted butter, granulated sugar, ground cinnamon, vanilla extract (if using), and a pinch of salt. Stir until the sugar is mostly dissolved and the mixture looks like a thick, grainy paste. It won’t be perfectly smooth—that’s fine. Add the dried pumpkin seeds to the bowl and stir with a spatula until every seed is coated. The mixture will look a bit clumpy, but that’s what you want. Those clumps of sugar and cinnamon will caramelize in the oven and create the most delicious crunchy bits.
Step 6: Spread and Bake
Transfer the coated seeds to the prepared baking sheet. Spread them out in a single, even layer. Try not to overlap the seeds too much, or they’ll steam instead of toast. Bake for 12 minutes, then remove the baking sheet from the oven and stir the seeds with a spatula. This helps them toast evenly. Return to the oven and bake for another 10 to 15 minutes, or until the seeds are golden brown and fragrant. Keep a close eye on them during the last 5 minutes—they can go from perfectly toasted to burnt very quickly. The sugar will bubble and caramelize, and that’s exactly what you want.
Step 7: Cool and Crisp
Remove the baking sheet from the oven and let the seeds cool completely on the pan. As they cool, the sugar coating will harden and become crunchy. Don’t try to move them too soon, or they’ll stick together. After about 20 minutes, they should be cool enough to break apart into individual seeds. If any are stuck together, just gently break them apart with your fingers.
Step 8: Taste and Adjust
Give one a try. Need more salt? Sprinkle a tiny bit of flaky sea salt on top while they’re still slightly warm. Want more cinnamon? You can dust a little extra on after baking. I usually find the flavor is just right, but taste is personal, so adjust to your liking.
Pro Tip from My First Failed Batch: Don’t overcrowd the baking sheet. I made this mistake the first time, and the seeds turned out soggy instead of crunchy. They need room to breathe. If you have a lot of seeds, use two baking sheets or bake in batches.
Cooking Tips & Techniques
I’ve made a lot of mistakes with pumpkin seeds over the years. Burnt batches, soggy batches, batches that tasted like nothing. But each failure taught me something, and now I can make these seeds with my eyes closed. Here are the tips that made the biggest difference.
Don’t Skip the Boiling Step
I know it seems like an extra, fussy step. But boiling the seeds is what makes them crunchy instead of chewy. The hull of a raw pumpkin seed is tough, and if you roast them without boiling, the outside gets done before the inside has a chance to crisp up. Ten minutes in salted water softens the hull and seasons the seed at the same time. It’s a game-changer.
Watch the Oven Like a Hawk
The sugar in the coating can burn in a flash. I learned this the hard way when I walked away to answer the phone and came back to a baking sheet of blackened seeds. Set a timer for 10 minutes, then check every 2 minutes after that. You’re looking for a deep golden brown color and a sweet, toasty aroma. If the sugar starts to smoke, you’ve gone too far.
Let Them Cool Completely
This is the hardest part, I know. The kitchen smells amazing, and you just want to grab a handful. But if you eat them warm, the coating will be soft and sticky. Give them 20 to 30 minutes to cool and harden. The wait is worth it. The crunch is so much better.
Use a Silicone Spatula for Stirring
Halfway through baking, you need to stir the seeds to ensure even toasting. A metal spatula can scrape off the sugar coating. A silicone or rubber spatula is gentler and keeps the coating intact. It’s a small thing, but it makes a difference.
Multitasking Strategy
While the seeds are boiling, you can clean the pumpkin and prep your baking sheet. While they’re baking, you can tidy up the kitchen or make a cup of tea. The active time for this recipe is only about 10 minutes, so it’s easy to fit into a busy evening.
Variations & Adaptations
One of the best things about this recipe is how easy it is to tweak. I’ve tried several variations over the years, and here are my favorites. Feel free to experiment and make this recipe your own.
Spicy-Sweet Pumpkin Seeds
Add ¼ teaspoon of cayenne pepper or chili powder to the sugar coating. The heat pairs beautifully with the cinnamon and sugar, giving you a sweet-and-spicy kick that’s totally addictive. I made this version for a game night once, and it was gone in 10 minutes.
Maple Pecan Pumpkin Seeds
Replace the granulated sugar with 3 tablespoons of pure maple syrup and add ¼ cup of chopped pecans to the mix. Reduce the butter to 2 tablespoons. The maple syrup gives the seeds a deeper, more complex sweetness, and the pecans add extra crunch. Just be careful—maple syrup burns faster than sugar, so check the seeds a few minutes early.
Pumpkin Spice Latte Seeds
Add 1 teaspoon of pumpkin pie spice and 1 teaspoon of instant espresso powder to the coating mixture. The coffee enhances the cinnamon and adds a subtle mocha flavor. It’s like drinking a PSL, but in snack form. Perfect for a cozy afternoon treat.
Dietary Adaptations
For a vegan version, use coconut oil or vegan butter instead of regular butter. The coconut oil adds a slight tropical flavor that works surprisingly well with cinnamon. For a gluten-free version, this recipe is already gluten-free as written. Just make sure your vanilla extract and spices are certified gluten-free if you’re highly sensitive.
My Personal Favorite Variation
I once added a tablespoon of brown sugar along with the white sugar, and it gave the seeds a slightly richer, almost butterscotch flavor. I also sprinkled a little flaky sea salt on top right after baking. The combination of sweet, salty, and crunchy was absolutely perfect. I’ve made it that way ever since.
Serving & Storage Suggestions
These seeds are best served at room temperature, after they’ve cooled completely. The coating is at its crunchiest, and the cinnamon aroma is strongest. I love serving them in a big wooden bowl during movie nights or setting out small bowls at parties. They’re also perfect for gifting—just put them in a mason jar with a ribbon, and you’ve got a thoughtful, homemade present.
What to Serve With Them
These seeds pair beautifully with hot apple cider, a warm mug of chai tea, or even a glass of cold milk. If you’re feeling fancy, serve them alongside a cheese board with sharp cheddar and apple slices. The sweet cinnamon seeds contrast nicely with salty, savory cheeses. For a full fall snack spread, I like to serve them with roasted chickpeas and dark chocolate chips.
Storage Instructions
Store the cooled seeds in an airtight container at room temperature. They’ll stay fresh and crunchy for up to 2 weeks. Don’t refrigerate them—the moisture in the fridge can make them soft. If they do lose their crunch, you can re-crisp them in a 300°F oven for 5 minutes. Just let them cool again before eating.
Freezer Tips
You can freeze these seeds for up to 3 months. Place them in a freezer-safe bag or container, squeezing out as much air as possible. To serve, let them thaw at room temperature for about 15 minutes. They might be slightly less crunchy after freezing, but they’re still delicious.
How Flavors Develop
Honestly, these seeds taste even better the next day. The cinnamon and sugar have time to meld together, and the crunch seems to deepen. So if you can resist eating them all right away, they’re worth saving for day two.
Nutritional Information & Benefits
Pumpkin seeds are a nutritional powerhouse, and this recipe lets you enjoy them in a way that feels like a treat. Here’s the estimated nutritional breakdown for a ¼-cup serving (about 30 grams):
| Nutrient | Amount |
|---|---|
| Calories | 180 |
| Total Fat | 12g |
| Saturated Fat | 3g |
| Carbohydrates | 15g |
| Sugar | 10g |
| Fiber | 2g |
| Protein | 7g |
| Sodium | 120mg |
Pumpkin seeds are rich in magnesium, zinc, and healthy fats. Magnesium supports muscle function and sleep, while zinc is great for your immune system—especially important during cold and flu season. The cinnamon adds antioxidants and may help regulate blood sugar. Yes, there’s sugar in this recipe, but it’s a reasonable amount for a snack that brings so much joy.
Dietary Considerations: This recipe is naturally gluten-free and can be made dairy-free with a simple swap. It’s not low-carb due to the sugar, but you can reduce the amount if needed. The main allergen to watch for is dairy (butter), so use a plant-based alternative if needed. As always, consult with a healthcare professional for specific dietary needs.
Conclusion
This cozy cinnamon sugar roasted pumpkin seeds recipe is more than just a snack. It’s a way to capture that warm, nostalgic feeling of fall and hold it in your hand. Every crunchy, sweet bite reminds me of Aunt Jo’s tiny kitchen and the way she’d shake that paper bag like it was the most important thing in the world. And maybe it was. Those little moments, those simple rituals—they matter.
I hope you’ll give this recipe a try. Don’t be afraid to make it your own. Add a little extra cinnamon if that’s your thing, or throw in some cayenne for a kick. The beauty of this recipe is that it’s forgiving and flexible. And when you take that first bite—the one that makes you close your eyes—I hope it brings you the same comfort it brings me.
If you make these seeds, I’d love to hear about it. Leave a comment below and tell me how they turned out, or share a photo on Pinterest with your own twist. Let’s keep this cozy tradition alive, one crunchy seed at a time. Happy snacking, friend.
Frequently Asked Questions
Can I use store-bought pumpkin seeds instead of fresh ones?
Yes, you can use raw, unsalted pumpkin seeds from the store. Just skip the boiling step, as store-bought seeds are already dry. Toss them directly with the coating and bake for about 15 to 20 minutes, checking frequently.
Why did my seeds turn out chewy instead of crunchy?
This usually happens when the seeds aren’t boiled long enough or when they’re overcrowded on the baking sheet. Make sure to boil for the full 10 minutes and spread the seeds in a single layer. Also, let them cool completely before eating—they crisp up as they cool.
Can I make these in an air fryer?
Absolutely! Preheat your air fryer to 300°F (150°C). Toss the boiled and dried seeds with the coating, then spread them in the air fryer basket in a single layer. Cook for 10 to 12 minutes, shaking the basket halfway through. Keep a close eye on them, as air fryers can vary.
How do I prevent the sugar coating from burning?
Watch the seeds closely during the last 5 minutes of baking. If the sugar starts to darken too quickly, reduce the oven temperature to 325°F (160°C). Using parchment paper or a silicone mat also helps prevent burning by creating a barrier between the seeds and the hot pan.
Can I double this recipe?
Yes, but don’t overcrowd the baking sheet. Use two baking sheets and rotate them halfway through baking. You may need to add a few extra minutes to the baking time, so keep an eye on the color and aroma.
Pin This Recipe!
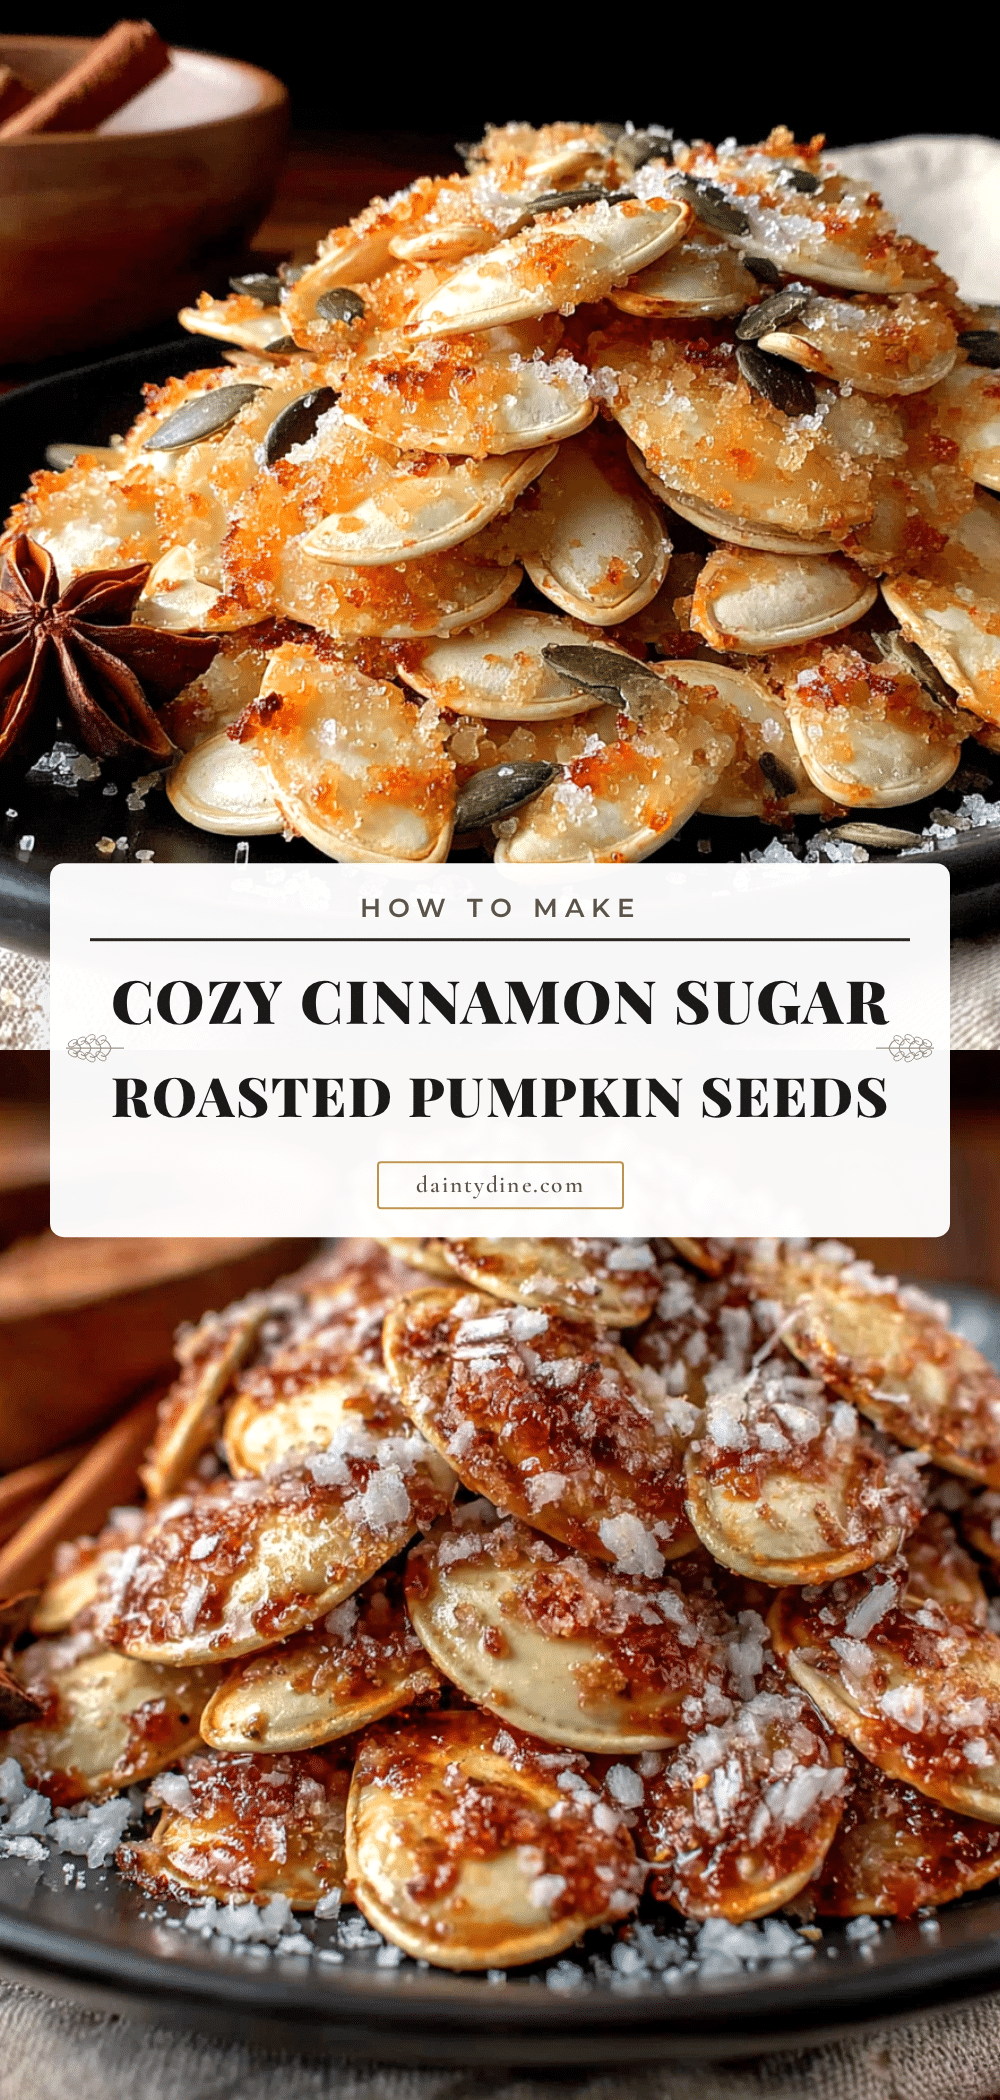
Best Easy Cinnamon Sugar Roasted Pumpkin Seeds Recipe
A cozy, nostalgic snack of roasted pumpkin seeds coated in a buttery cinnamon sugar glaze. Perfect for fall gatherings, this recipe delivers a sweet, crunchy treat that tastes like a warm hug.
- Prep Time: 15 minutes
- Cook Time: 25 minutes
- Total Time: 40 minutes
- Yield: 4 servings 1x
- Category: Snack
- Cuisine: American
Ingredients
- 1 ½ cups fresh pumpkin seeds (from one medium pumpkin)
- 4 cups water
- 1 tablespoon salt (for boiling water)
- 3 tablespoons unsalted butter, melted
- ¼ cup granulated sugar
- 1 ½ teaspoons ground cinnamon
- ½ teaspoon vanilla extract (optional)
- ¼ teaspoon salt (or to taste)
Instructions
- Clean the seeds: Separate seeds from pumpkin pulp, rinse under cold water, and remove any remaining pulp. You should have about 1 ½ cups.
- Boil the seeds: In a medium saucepan, bring 4 cups water and 1 tablespoon salt to a boil. Add seeds and boil for exactly 10 minutes. Drain.
- Dry the seeds: Spread boiled seeds on a clean kitchen towel or paper towels and pat dry. Let sit for 5 minutes.
- Preheat oven to 350°F (175°C). Line a rimmed baking sheet with parchment paper or a silicone mat.
- Make the coating: In a medium bowl, whisk together melted butter, sugar, cinnamon, vanilla (if using), and ¼ teaspoon salt until a thick paste forms.
- Coat the seeds: Add dried seeds to the bowl and stir with a spatula until every seed is coated. The mixture will be clumpy.
- Spread seeds in a single layer on the prepared baking sheet. Bake for 12 minutes, then stir. Continue baking for 10–15 minutes more, until golden brown and fragrant. Watch closely to prevent burning.
- Cool completely on the baking sheet (about 20 minutes). The coating will harden as it cools. Break apart any clumps with your fingers.
- Taste and adjust seasoning if desired. Serve at room temperature.
Notes
Don’t skip the boiling step—it ensures a crunchy texture. Watch the seeds closely during the last 5 minutes of baking to prevent burning. Let them cool completely for the crispiest coating. For a dairy-free version, use coconut oil or vegan butter. For a lower-sugar version, reduce sugar to 3 tablespoons.
Nutrition
- Serving Size: ¼ cup (about 30g)
- Calories: 180
- Sugar: 10
- Sodium: 120
- Fat: 12
- Saturated Fat: 3
- Carbohydrates: 15
- Fiber: 2
- Protein: 7
Keywords: cinnamon sugar pumpkin seeds, roasted pumpkin seeds, fall snack, Halloween snack, easy pumpkin seeds


