Love this? Save it for later!
Share the inspiration with your friends
The neighborhood Halloween block party was in six hours and I’d completely forgotten the treat exchange. Everyone else would be bringing elaborate haunted gingerbread houses or those intricate cake pops that look like eyeballs. I had a stick of butter, some sugar, and a half-empty bag of flour. Plus a cat-shaped cookie cutter I’d impulse-bought at a garage sale last summer, the one with the weirdly arched back that made every cookie look like it was about to hiss at something.
I stood there staring into my pantry like it might magically produce fondant or black food coloring. Spoiler alert: it did not. But what I did have was a basic sugar cookie recipe I’d been making since college, some cocoa powder for color, and a bag of candy corn that was definitely from last Halloween. Let me tell you, there’s something about panic-baking that brings out the creativity. I mean, I’ve made a lot of cookies in my day, but never ones that needed to look like actual creatures.
So I mixed up the dough, added extra cocoa powder until it looked properly spooky, and started cutting out cat shapes. The first batch came out looking more like lumpy potatoes than felines, but by the third tray, something clicked. I used candy corn for ears, chocolate chips for eyes, and a little bit of frosting to make whiskers. Honestly, they were adorable. And when I showed up late with my slightly lopsided black cat Halloween sugar cookies, the kids went absolutely nuts. One mom actually asked if I’d ordered them from a bakery. I just smiled and said it was an old family recipe. Which, technically, it is now.
That’s the thing about this recipe — it saves you when you least expect it. And honestly, that’s why I keep coming back to it.
Why You’ll Love This Recipe
These adorable black cat Halloween sugar cookies aren’t just cute — they’re the kind of recipe that makes you look like a baking genius with minimal effort. I’ve tested this dough at least a dozen times to get the perfect balance of sturdy enough to hold shape but soft enough to melt in your mouth. Trust me, I’ve had my share of cookie disasters, and this version never lets me down.
- Quick & Easy: From start to finish, you’re looking at about 45 minutes. The dough comes together in one bowl, and there’s no chilling required. Perfect for those last-minute Halloween cravings or when you realize the school party is tomorrow morning.
- Simple Ingredients: You probably have everything already. Butter, sugar, flour, eggs, vanilla, and cocoa powder. No specialty baking supplies needed, no weird extracts, no hunting down black food coloring at three different stores.
- Perfect for Halloween: These cookies were made for spooky season. They’re great for classroom parties, trick-or-treat exchanges, or just getting into the Halloween spirit with your kids on a random Tuesday night.
- Crowd-Pleaser: I’ve brought these to everything from office potlucks to family gatherings, and they disappear fast. Kids love the cute cat shape, and adults appreciate that they’re not overly sweet.
- Unbelievably Delicious: The texture is where these cookies really shine. They’re crisp on the edges, soft in the center, and have that rich chocolate flavor that makes you reach for another one before you’ve finished the first.
What makes these different from every other sugar cookie recipe out there? It’s the technique. I use a slightly higher ratio of butter to flour, which gives the cookies that melt-in-your-mouth tenderness while still holding the cat shape perfectly. Plus, the cocoa powder is sifted into the dry ingredients, not creamed with the butter, which keeps the color deep and even without making the cookies dry. This isn’t just another Halloween cookie — it’s the one you’ll make every year.
What Ingredients You Will Need
This recipe uses simple, wholesome ingredients that work together to create the perfect black cat cookie. Most of these are pantry staples, so you can whip up a batch anytime the Halloween mood strikes.
- Unsalted butter, softened — 1 cup (2 sticks, 226g). I prefer using Land O’Lakes for consistent results, but any brand works. Make sure it’s truly softened to room temperature, not melted. (Trust me on this one — melted butter changes the spread.)
- Granulated sugar — 1 cup (200g). Regular white sugar gives the cookies that nice crisp edge. Don’t substitute with brown sugar here; it’ll make the cookies too soft and they won’t hold the cat shape as well.
- Large egg — 1, room temperature. Cold eggs can make the dough seize up. If you forgot to take it out ahead of time, place the egg in a bowl of warm water for five minutes.
- Vanilla extract — 1 teaspoon. Use pure vanilla if you have it, but imitation works fine too. I’ve used both and honestly, in chocolate cookies, the difference is subtle.
- All-purpose flour — 2 cups (260g). Spoon and level your flour — don’t scoop directly from the bag or you’ll end up with dry cookies. I learned this the hard way after a batch of hockey pucks.
- Unsweetened cocoa powder — ½ cup (50g). I recommend Hershey’s Special Dark for the deepest black color, but regular unsweetened cocoa works great too. Dutch-process cocoa will give a milder flavor if that’s what you have.
- Baking powder — ½ teaspoon. This gives the cookies just a little lift without making them puff up too much.
- Salt — ¼ teaspoon. Don’t skip this — salt balances the sweetness and enhances the chocolate flavor.
For decorating:
- Candy corn — about 30 pieces, for the ears. I know candy corn is controversial, but honestly, it makes the cutest cat ears. If you’re team anti-candy-corn, use orange M&Ms cut in half instead.
- Chocolate chips — about 30, for the eyes. Mini chocolate chips work best, but regular ones cut in half also do the trick.
- Black frosting or melted chocolate — for whiskers and details. A simple piping bag with a small tip works perfectly.
For ingredient substitutions: You can use dairy-free butter in a 1:1 swap, though the cookies might spread slightly more. For a gluten-free version, substitute the all-purpose flour with a 1:1 gluten-free baking blend that contains xanthan gum. I’ve tried this with King Arthur’s Measure for Measure and it worked beautifully.
Equipment Needed
You don’t need a fancy bakery setup for these cookies, which is honestly my favorite part. Here’s what you’ll need:
- Large mixing bowl — any bowl works, but I prefer a wide one for easy mixing
- Electric hand mixer or stand mixer — you can mix by hand, but a mixer makes creaming the butter and sugar much easier. I’ve done both and the mixer saves about ten minutes of arm workout
- Cat-shaped cookie cutter — about 3-4 inches in size. I found mine at a dollar store, but any craft store or Amazon has them. If you don’t have one, you can freehand cut shapes with a knife — they’ll look more rustic but still adorable
- Baking sheets — 2 large sheets. I recommend light-colored aluminum sheets for even baking. Dark sheets can cause the bottoms to brown too quickly
- Parchment paper or silicone baking mat — essential for preventing sticking and easy cleanup
- Rolling pin — with thickness guides if you have them. Even thickness is key for uniform baking
- Cooling rack — wire racks help cookies cool evenly so they don’t get soggy bottoms
- Small piping bag or zip-top bag — for the decorating details. A zip-top bag with a tiny corner snipped off works perfectly
Budget-friendly tip: Skip the fancy rolling pin with guides and just use two wooden spoons or rulers placed on either side of the dough to maintain even thickness. I did this for years before upgrading and honestly, the cookies came out just as good.
Preparation Method
- Preheat and prep. Preheat your oven to 350°F (175°C). Line two baking sheets with parchment paper. This step seems obvious, but I’ve definitely preheated the oven and then realized I had no parchment paper. Don’t be me.
- Cream the butter and sugar. In a large mixing bowl, beat the softened butter and granulated sugar together until light and fluffy, about 3-4 minutes. You want it to look pale and airy — this is where the texture starts. Scrape down the sides of the bowl halfway through. I use my stand mixer on medium speed for this, but a hand mixer works just as well.
- Add the wet ingredients. Beat in the egg and vanilla extract until fully incorporated, about 1 minute. The mixture might look slightly curdled at this point — that’s totally normal, don’t panic. It’ll come together once you add the dry ingredients.
- Combine the dry ingredients. In a separate bowl, whisk together the flour, cocoa powder, baking powder, and salt. This ensures everything is evenly distributed. I used to skip this step and just dump everything in, but I ended up with pockets of baking powder that made some cookies taste metallic. Lesson learned.
- Mix the dough. Gradually add the dry ingredients to the wet mixture, mixing on low speed until just combined. The dough will be soft but not sticky. If it feels too sticky to handle, add a tablespoon more flour. If it’s too dry, add a teaspoon of milk. I’ve had to adjust based on humidity levels — baking is science, but it’s also art.
- Roll out the dough. On a lightly floured surface, roll the dough to about ¼-inch (6mm) thickness. This is the sweet spot — too thin and the cookies will be brittle, too thick and they won’t bake evenly. I use the ruler trick here: place two rulers on either side of the dough and roll the pin across them. Perfect thickness every time.
- Cut the shapes. Dip your cat cookie cutter in flour before each cut to prevent sticking. Press straight down without twisting — twisting seals the edges and the cookies won’t rise evenly. Place the cut cookies about 2 inches apart on the prepared baking sheets.
- Add the ears. Before baking, gently press two candy corn pieces into each cookie for the ears. Place them at the top of the cat’s head, pointed side up, angled slightly outward. Press them in just enough so they stay put during baking — about halfway in. This is the step that makes them look like actual cats instead of blobs with candy stuck on them.
- Bake. Bake for 8-10 minutes, or until the edges are set and the tops look slightly cracked. The cookies will still be soft in the center — that’s what you want. They’ll continue to set as they cool. I rotate the pans halfway through for even baking.
- Cool completely. Let the cookies cool on the baking sheet for 5 minutes, then transfer to a wire rack to cool completely. Whatever you do, don’t try to move them when they’re hot — they’ll fall apart. I learned this after a particularly tragic batch that ended up as cookie crumble topping for ice cream. Silver linings.
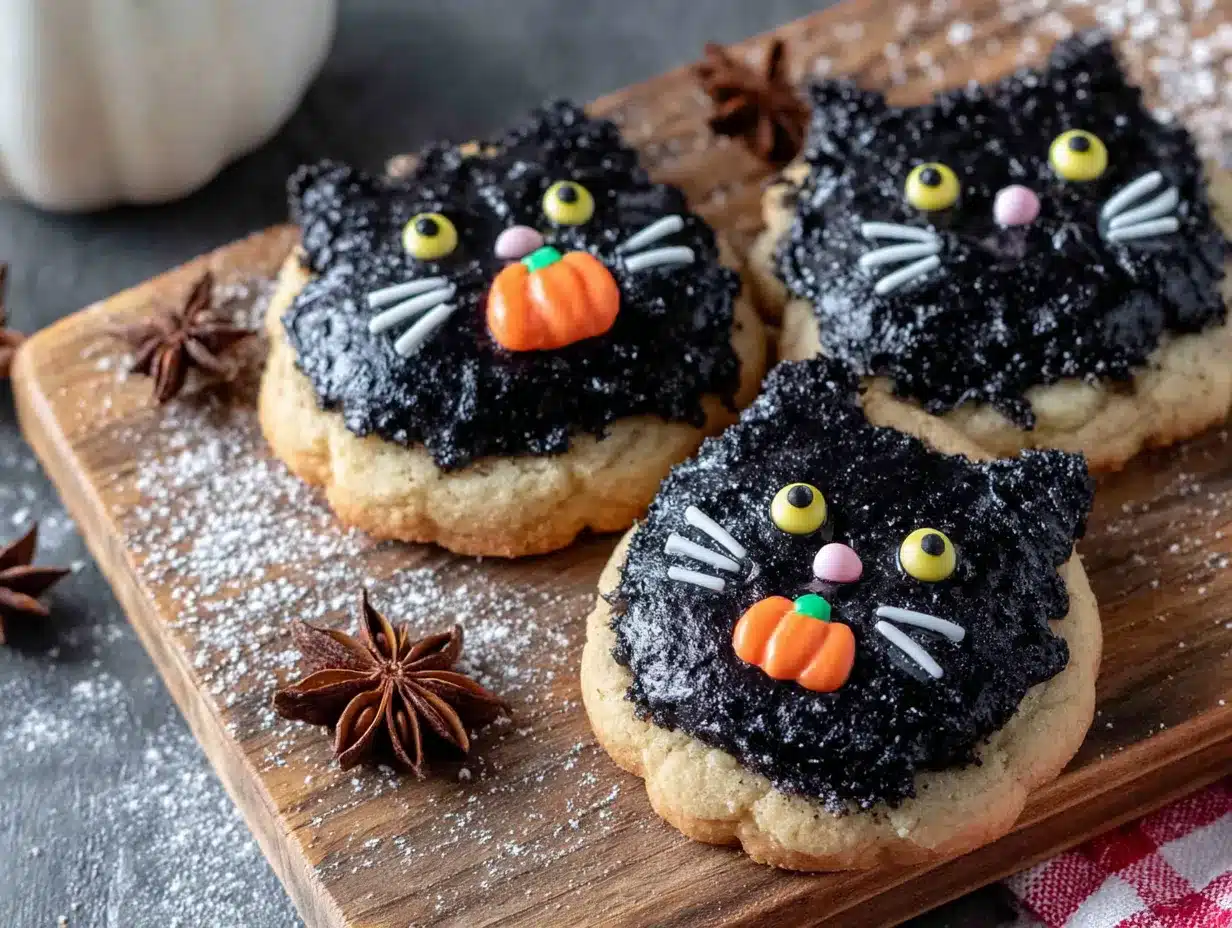
- Decorate. Once completely cool, press chocolate chips into place for eyes. Use a small piping bag with black frosting or melted chocolate to draw whiskers, a little nose, and any other details you want. I usually do three whiskers on each side — it’s simple but makes them look instantly cat-like.
Cooking Tips & Techniques
After making these black cat Halloween sugar cookies more times than I care to count, I’ve picked up a few tricks that make a real difference. Let me share the ones that saved my sanity.
The dough temperature trap. If your dough gets too warm while you’re rolling it out, it’ll stick to everything. Pop it in the fridge for 10 minutes if it starts feeling tacky. I’ve had entire batches ruined because I tried to power through sticky dough. The cookies spread into weird shapes and lost all definition. Now I keep a little bowl of flour nearby and dust my rolling pin regularly.
The candy corn placement. Here’s something nobody tells you: candy corn can melt and spread during baking if you press them in too deep. I press them in about halfway, and they come out looking perfectly cat-like. Also, if you’re using old candy corn from last year (no judgment), it might be harder and less likely to melt. Fresh candy corn is softer and more prone to spreading, so adjust accordingly.
The overbaking mistake. I can’t stress this enough — take the cookies out when they look slightly underdone. They’ll continue baking on the hot sheet for those 5 minutes you let them cool. I’ve ruined so many batches by waiting until they looked “done.” Now I set a timer for 8 minutes and check them. If the edges are set and the centers are soft, they’re perfect.
Multitasking like a pro. While one batch is baking, I roll out the next batch of dough. This saves so much time. But here’s the catch: the dough on the counter can get warm, so I only roll out what I need and keep the rest in the fridge. I also prep my decorating station while the cookies cool — piping bags ready, chocolate chips in a little bowl, candy corn sorted. It makes the decorating process so much smoother.
The consistency trick. For perfectly uniform cookies, use a kitchen scale to weigh your dough portions before rolling. I divide the dough into two equal halves, roll each to the same thickness, and cut. This ensures all cookies bake at the same rate. No more half-burnt, half-raw batches.
Variations & Adaptations
One of the best things about this recipe is how flexible it is. I’ve tried quite a few variations over the years, and here are my favorites:
Gluten-Free Version: Swap the all-purpose flour for a 1:1 gluten-free baking blend that contains xanthan gum. I’ve used Bob’s Red Mill and King Arthur, and both worked great. The cookies might be slightly more crumbly, so handle them gently. Add an extra tablespoon of butter to help with moisture.
Vegan Adaptation: Use vegan butter (I like Miyoko’s) and a flax egg (1 tablespoon ground flaxseed mixed with 3 tablespoons water, let sit for 5 minutes). The cookies will be a bit less tender but still delicious. For the candy corn ears, check the label — some brands use gelatin, but many are vegan-friendly.
Spooky Seasonal Twist: Add ½ teaspoon of cinnamon and ¼ teaspoon of cayenne pepper to the dry ingredients for a Mexican hot chocolate vibe. The warmth of the spice pairs beautifully with the dark cocoa. I made these for a Halloween party once and they were gone before the regular ones.
Different Shapes: Don’t have a cat cutter? Use a pumpkin, bat, or ghost shape instead. The same recipe works for any Halloween shape. Just adjust the baking time slightly if the shapes are significantly different in size — smaller shapes need less time, bigger ones need more.
White Chocolate Drizzle: For a fancier look, melt some white chocolate and drizzle it over the cooled cookies. It looks like ghostly cobwebs and tastes amazing. I do this when I’m bringing them to a more adult gathering where “cute” isn’t the vibe.
Lemon Cat Variation: Okay, this sounds weird but hear me out. Omit the cocoa powder, add 2 tablespoons of lemon zest, and use lemon extract instead of vanilla. Decorate with yellow frosting and make little orange tabby cats. They’re adorable and the citrus flavor is refreshing among all the heavy Halloween sweets.
Serving & Storage Suggestions
These black cat Halloween sugar cookies are best served at room temperature, which is convenient because that’s how they’ll be after you finish decorating them. I like to arrange them on a platter with the cats facing different directions — it makes them look like a little colony of spooky felines. Add some candy corn scattered around for a festive touch.
For parties, I’ve found these cookies pair perfectly with warm apple cider or a hot chocolate bar. The rich chocolate flavor balances the sweetness of the drinks. If you’re serving them at a kid’s party, set them out with some Halloween-themed napkins and watch them disappear. For adult gatherings, they’re great alongside coffee or a dark stout beer — the bitterness of the stout complements the cocoa.
Storage: Store the decorated cookies in an airtight container at room temperature for up to 5 days. Layer them between sheets of parchment paper to prevent the decorations from smudging. Don’t refrigerate them — the fridge dries out cookies and makes them taste stale. I keep mine in a cookie jar on the counter, and they’re usually gone within two days anyway.
Freezing: These cookies freeze beautifully. Place the undecorated baked cookies in a single layer on a baking sheet and freeze for 1 hour, then transfer to a freezer-safe bag or container. They’ll keep for up to 3 months. When you’re ready to serve, thaw at room temperature for about 30 minutes, then decorate. I do this every year for Halloween — bake a big batch in September and decorate as needed throughout October.
Reheating: If you want that fresh-from-the-oven warmth, pop a cookie in the microwave for 10 seconds. It softens the chocolate chips and makes the cookie taste freshly baked. Just don’t overdo it or the candy corn might get melty.
One thing I love about these cookies is that the flavors actually develop over time. Day-old cookies taste even richer and more chocolatey than fresh ones. So don’t stress about making them the day before — they might actually be better.
Nutritional Information & Benefits
Let’s be real — these are cookies, not health food. But here’s the estimated nutritional breakdown per cookie (based on 24 cookies):
- Calories: 165
- Fat: 8g
- Carbohydrates: 22g
- Protein: 2g
- Sugar: 12g
- Fiber: 1g
That said, there are a few redeeming qualities. The cocoa powder is rich in antioxidants called flavonoids, which can help reduce inflammation and support heart health. Dark chocolate in any form has some benefits, and these cookies deliver a decent dose of cocoa. Plus, using real butter means you’re getting vitamin A and healthy fats — definitely better than the trans fats in store-bought versions.
For dietary considerations: These cookies contain gluten, dairy, and eggs. For a gluten-free version, use the substitution mentioned earlier. For dairy-free, swap the butter with vegan butter. The candy corn contains corn syrup and sugar, so if you’re watching your sugar intake, you can skip the ears and just use chocolate chips for the eyes.
From a wellness perspective, I see these as a treat to enjoy in moderation. They’re perfect for special occasions like Halloween when you want something fun and festive. I’d rather have one or two of these homemade cookies than a handful of ultra-processed store-bought candy. At least you know exactly what’s in them.
Conclusion
These adorable black cat Halloween sugar cookies are everything I want in a holiday recipe — they’re fun to make, absolutely gorgeous when decorated, and delicious enough that you’ll want to eat them all year round. I’ve made them for Halloween parties, classroom celebrations, and even just for a random Tuesday when I needed something cute in my life. They never disappoint.
The best part? You can make them your own. Add more candy corn for extra sweetness, skip the decorations for a simpler look, or experiment with different shapes and flavors. The base recipe is forgiving and flexible, which is exactly what a busy home baker needs. Whether you’re a seasoned cookie maker or a complete beginner, these cats will turn out adorable.
I’d love to hear how yours turn out! Drop a comment below with your decorating ideas, any variations you tried, or just show off your cute cat cookies. Don’t forget to tag me on Pinterest if you share your creations — I love seeing your versions. Happy Halloween, and happy baking!
Frequently Asked Questions
Can I make the dough ahead of time?
Absolutely! You can prepare the dough up to 3 days in advance and keep it wrapped tightly in the refrigerator. Let it sit at room temperature for about 10 minutes before rolling, as cold dough can be harder to work with. You can also freeze the dough for up to 3 months — just thaw overnight in the fridge before using.
Why did my cookies spread too much?
This usually happens for a few reasons. Your butter might have been too soft or even melted, the dough might have been too warm when it went into the oven, or you might have used too little flour. Next time, chill the dough for 15-20 minutes before baking, and make sure you’re measuring your flour correctly by spooning it into the measuring cup and leveling it off.
Can I use a different candy for the ears?
Definitely! If you’re not a fan of candy corn, try using orange M&Ms cut in half, small orange jelly beans, or even little triangles of orange fondant. I’ve also used dried apricot pieces in a pinch — they’re chewy and have a nice orange color that looks like cat ears.
How do I keep the cookies from sticking to the cookie cutter?
Dip your cookie cutter in flour before each cut. You can also lightly dust the cutter with cocoa powder if you don’t want white flour marks on your dark cookies. Another trick is to spray the cutter with non-stick cooking spray, though you’ll need to reapply after a few cuts.
Can I use this recipe for other shapes?
Yes, this is a great all-purpose sugar cookie recipe that works with any cookie cutter. The dough holds its shape well, so it’s perfect for detailed cutters. Just adjust the baking time slightly based on the size of your cookies — smaller shapes might need 7-8 minutes, while larger ones could take 10-12 minutes.
Pin This Recipe!
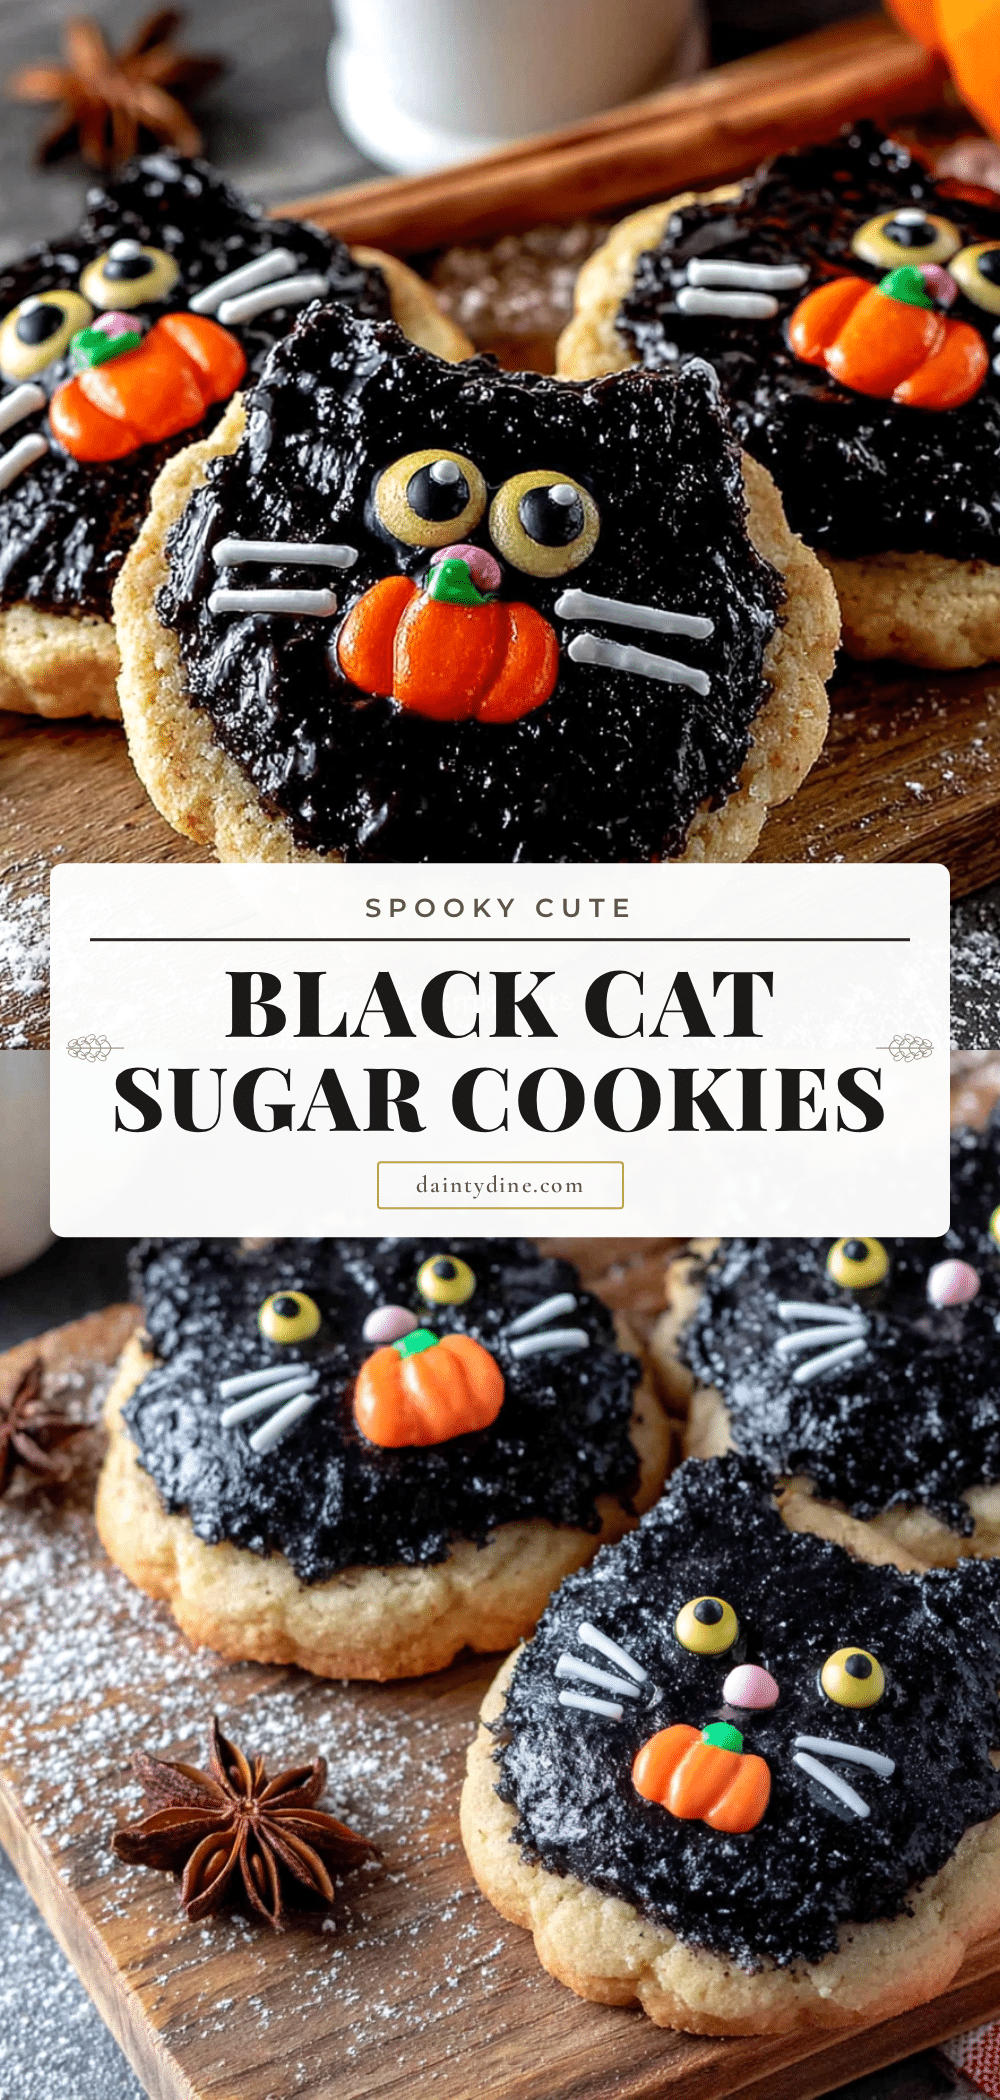
Adorable Black Cat Halloween Sugar Cookies: Best Easy Recipe

These adorable black cat Halloween sugar cookies are quick, easy, and made with simple ingredients. Perfect for last-minute Halloween treats, they feature a rich chocolate flavor, crisp edges, and soft centers, decorated with candy corn ears and chocolate chip eyes.
- Prep Time: 15 minutes
- Cook Time: 10 minutes
- Total Time: 45 minutes
- Yield: 24 servings 1x
- Category: Dessert
- Cuisine: American
Ingredients
- 1 cup (2 sticks, 226g) unsalted butter, softened
- 1 cup (200g) granulated sugar
- 1 large egg, room temperature
- 1 teaspoon vanilla extract
- 2 cups (260g) all-purpose flour
- ½ cup (50g) unsweetened cocoa powder
- ½ teaspoon baking powder
- ¼ teaspoon salt
- About 30 pieces candy corn (for ears)
- About 30 chocolate chips (for eyes)
- Black frosting or melted chocolate (for whiskers and details)
Instructions
- Preheat oven to 350°F (175°C). Line two baking sheets with parchment paper.
- In a large mixing bowl, beat softened butter and granulated sugar together until light and fluffy, about 3-4 minutes.
- Beat in egg and vanilla extract until fully incorporated, about 1 minute.
- In a separate bowl, whisk together flour, cocoa powder, baking powder, and salt.
- Gradually add dry ingredients to wet mixture, mixing on low speed until just combined. Dough should be soft but not sticky.
- On a lightly floured surface, roll dough to about ¼-inch (6mm) thickness.
- Dip cat-shaped cookie cutter in flour and cut out shapes. Place cookies about 2 inches apart on prepared baking sheets.
- Gently press two candy corn pieces into each cookie for ears, pointed side up, angled outward, pressing about halfway in.
- Bake for 8-10 minutes, until edges are set and tops look slightly cracked. Rotate pans halfway through.
- Let cookies cool on baking sheet for 5 minutes, then transfer to a wire rack to cool completely.
- Once completely cool, press chocolate chips into place for eyes. Use a piping bag with black frosting or melted chocolate to draw whiskers, nose, and other details.
Notes
For best results, use room temperature butter and egg. If dough gets too warm while rolling, chill for 10 minutes. Candy corn can melt if pressed too deep; press about halfway. Take cookies out when edges are set and centers are soft—they continue baking on the hot sheet. Store in an airtight container at room temperature for up to 5 days. Freeze undecorated cookies for up to 3 months.
Nutrition
- Serving Size: 1 cookie
- Calories: 165
- Sugar: 12
- Sodium: 75
- Fat: 8
- Saturated Fat: 5
- Carbohydrates: 22
- Fiber: 1
- Protein: 2
Keywords: Halloween cookies, black cat cookies, sugar cookies, chocolate cookies, easy Halloween recipe, cat-shaped cookies, candy corn cookies


