Love this? Save it for later!
Share the inspiration with your friends
There used to be a tiny bakery tucked between a dry cleaner and a vintage shop on the west side of town that made the most incredible oatmeal cups. When they closed their doors two summers ago—just a handwritten sign in the window saying “Thanks for the memories”—I actually felt a little pang of loss. That might sound dramatic for a bakery, but honestly, those oatmeal cups were my Wednesday morning ritual. After about seven tries—including one batch that was more like hockey pucks than breakfast—I finally got it right with these Wholesome Baked Pumpkin Chocolate Chip Oatmeal Cups.
The original version used all butter and about a pound of brown sugar, which was delicious but left me crashing by ten AM. I wanted something that felt just as satisfying but actually kept me full until lunch. The pumpkin was my own addition, and let me tell you, it was a game-changer. It adds this incredible moisture without any oil, plus a boost of vitamin A that makes you feel like you’re doing something good for yourself. The first time I pulled a batch out of the oven and took that first bite—the warmth of pumpkin spice hitting my nose, the melty chocolate chips, the chewy oats—I knew I’d cracked the code.
These oatmeal cups have become my go-to for meal prep Sundays, and I think you’ll understand why once you try them. There’s something about having a batch ready in the fridge that makes weekday mornings feel less chaotic. Maybe you’ve been there—standing in front of the pantry at seven AM, hangry and indecisive? These solve that problem beautifully. They’re the kind of recipe that makes you feel like you have your life together, even when you definitely don’t.
Why You’ll Love This Recipe
These Wholesome Baked Pumpkin Chocolate Chip Oatmeal Cups aren’t just another breakfast option—they’re the breakfast option you’ve been looking for. I’ve tested this recipe more times than I care to admit, tweaking the ratios, trying different mix-ins, and even burning a batch or two (RIP to those little guys). What I landed on is a perfect balance of healthy and indulgent that actually works for real life.
- Quick & Easy: From mixing bowl to oven in under 15 minutes. These come together faster than you can decide what to order for breakfast delivery.
- Simple Ingredients: You probably have most of these in your pantry right now. No weird health food store ingredients that cost a fortune and sit in your cupboard forever.
- Perfect for Meal Prep: Make a batch on Sunday and you’ve got breakfast sorted for the whole week. They actually get better after a day or two in the fridge.
- Crowd-Pleaser: My kids devour these without knowing they’re eating something healthy. The chocolate chips do some serious heavy lifting here.
- Unbelievably Delicious: The texture is spot-on—tender and moist from the pumpkin, with little pops of melty chocolate in every bite. It’s comfort food that doesn’t weigh you down.
What makes these different from every other oatmeal cup recipe out there? It’s the ratio of wet to dry ingredients, honestly. Most recipes end up either too dry or too mushy. I spent weeks getting that perfect balance where the oats are cooked through but still have a little chew, and the pumpkin keeps everything moist without making it soggy. Plus, I use just enough chocolate chips to satisfy that craving without turning breakfast into dessert. It’s a delicate dance, and I’ve done the footwork for you.
This is the kind of recipe that makes eating well feel effortless. No deprivation, no bland “healthy” food—just real, satisfying flavor that happens to be good for you. Perfect for busy mornings, post-workout refueling, or those afternoons when you need something to get you through the last stretch of the workday.
What Ingredients You Will Need
This recipe uses simple, wholesome ingredients that work together to create something truly special. Most are pantry staples, and the few that aren’t are easy to find at any grocery store. Here’s what you’ll need:
- Rolled oats, 2 cups (not instant—they get too mushy. I prefer Bob’s Red Mill for consistent texture)
- Canned pumpkin puree, 1 cup (not pumpkin pie filling—make sure it’s 100% pure pumpkin. Libby’s is my go-to)
- Ripe banana, 1 large, mashed (the spottier the better—more natural sweetness)
- Eggs, 2 large, room temperature (helps everything bind together properly)
- Honey or maple syrup, 1/4 cup (use maple for a deeper flavor, honey for milder sweetness)
- Unsweetened almond milk, 1/3 cup (any milk works—dairy, oat, or coconut)
- Coconut oil, 2 tablespoons, melted (or butter if you’re not dairy-free)
- Vanilla extract, 1 teaspoon (pure, not imitation—trust me on this)
- Pumpkin pie spice, 2 teaspoons (or make your own: 1 tsp cinnamon, 1/2 tsp ginger, 1/4 tsp nutmeg, 1/4 tsp cloves)
- Cinnamon, 1 teaspoon (I add extra because I’m obsessed)
- Baking powder, 1 teaspoon (for a little lift)
- Baking soda, 1/2 teaspoon
- Salt, 1/4 teaspoon (don’t skip it—it balances the sweetness)
- Semi-sweet chocolate chips, 1/2 cup (I use Enjoy Life for dairy-free, or Ghirardelli for extra indulgence)
- Optional mix-ins: 1/4 cup chopped pecans or walnuts, 2 tablespoons flax seeds
When you’re shopping for pumpkin puree, look for cans that feel heavy for their size—that means less air and more pumpkin. And if you can find organic pumpkin, the flavor is noticeably richer. For the chocolate chips, I’ve found that mini chips distribute more evenly throughout the batter, giving you chocolate in every bite rather than one big pocket of it.
If you’re out of pumpkin pie spice, don’t stress. Just mix equal parts cinnamon, ginger, nutmeg, and a pinch of cloves. I’ve done it more times than I can count when I’ve run out mid-recipe. The flavor is slightly different but still delicious.
Equipment Needed
You don’t need a fancy kitchen to make these oatmeal cups. Here’s what you’ll need:
- Muffin tin (standard 12-cup works perfectly)
- Muffin liners (silicone ones are great for easy release, but paper works too)
- Large mixing bowl
- Medium mixing bowl
- Whisk
- Rubber spatula
- Measuring cups and spoons
- Cooling rack
If you don’t have a muffin tin, you can use a mini loaf pan or even an 8×8 baking dish—just adjust the baking time. I’ve made these in a silicone muffin pan and they popped out beautifully with zero sticking. If you’re using paper liners, give them a quick spray with cooking spray to prevent the oatmeal from sticking. Learned that one the hard way after losing half a batch to torn liners.
For the budget-conscious, a basic muffin tin from any department store works just fine. You don’t need the expensive non-stick ones—I’ve been using a well-loved tin from Target for years and it still does the job.
Preparation Method
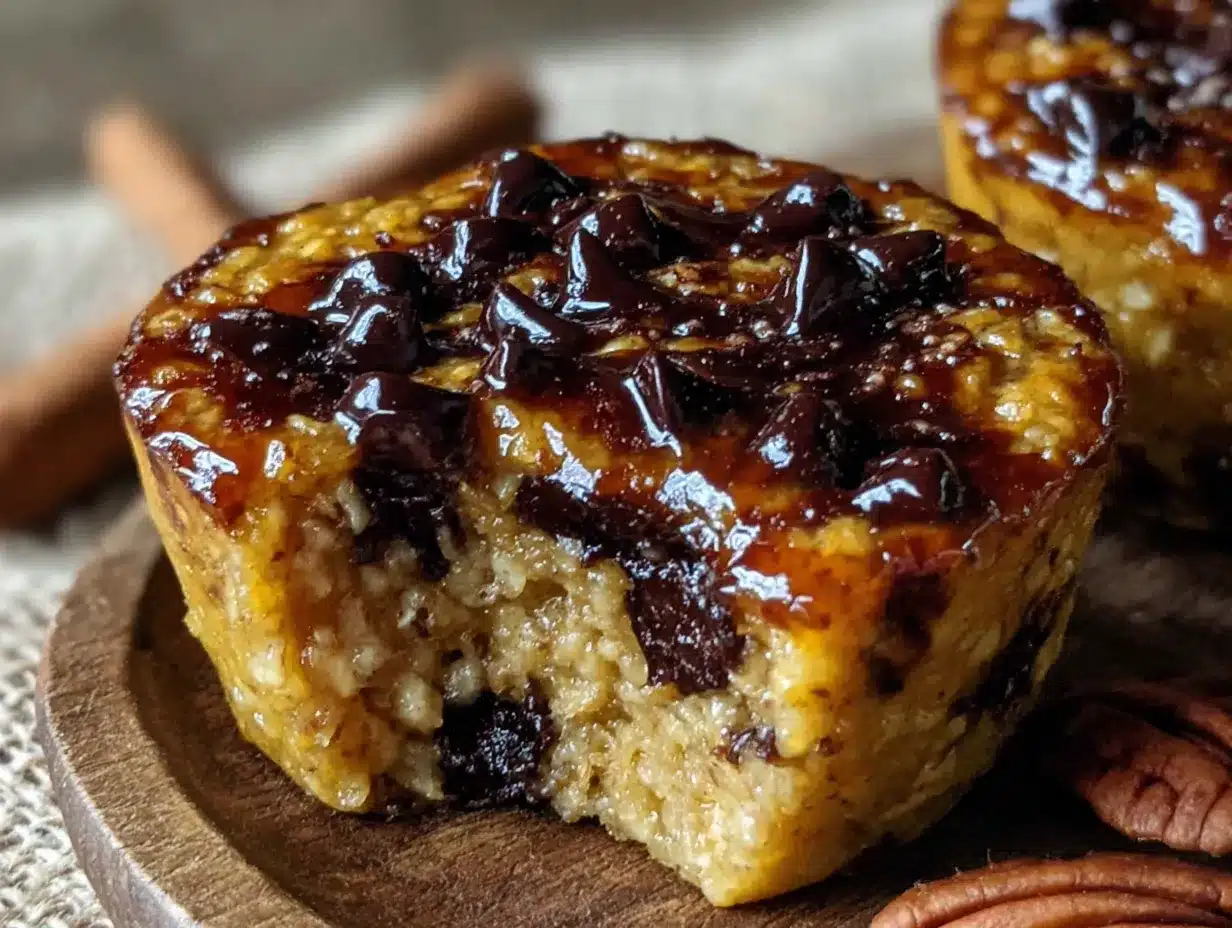
Let’s get cooking! This recipe comes together in about 30 minutes total, with most of that being hands-off oven time.
- Preheat your oven to 350°F (175°C). Line a 12-cup muffin tin with liners or grease it well. Trust me, the liners make life easier.
- In a large bowl, mash the banana until it’s smooth with just a few lumps. Add the pumpkin puree, eggs, honey (or maple syrup), almond milk, melted coconut oil, and vanilla extract. Whisk everything together until it’s well combined and smooth. The mixture should look like a thick, orange-hued batter.
- In a separate medium bowl, combine the dry ingredients: rolled oats, pumpkin pie spice, cinnamon, baking powder, baking soda, and salt. Stir with a fork to distribute everything evenly. This step matters—you don’t want a pocket of baking soda in one oatmeal cup.
- Pour the dry ingredients into the wet ingredients and fold together with a rubber spatula until just combined. Be careful not to overmix—about 15-20 strokes should do it. The batter will be thick and chunky, which is exactly what you want.
- Fold in the chocolate chips (and any optional nuts or seeds) gently. Reserve a few chocolate chips to press into the tops of each cup for that bakery-style look.
- Let the batter rest for 5 minutes. This is my secret step—it lets the oats absorb some of the liquid, which gives you a better texture. Use this time to clean up a few dishes or just stare out the window. No judgment.
- Scoop the batter into the prepared muffin tin, filling each cup about 3/4 full. I use a cookie scoop for even portions, but a spoon works fine. Press a few reserved chocolate chips into the top of each cup.
- Bake for 18-22 minutes, or until the tops are set and golden brown and a toothpick inserted in the center comes out mostly clean (a few moist crumbs are fine). The edges should be slightly darker than the center. My oven runs hot, so I start checking at 18 minutes.
- Let them cool in the pan for 5 minutes, then transfer to a cooling rack. This resting time is crucial—they’ll be too fragile to move right out of the oven. After 5 minutes, they’ll hold together perfectly.
- Cool completely before storing. If you can resist eating one warm, you have more willpower than me. The chocolate chips are so melty and good right out of the oven.
One thing I learned the hard way: don’t overfill the cups. I got greedy once and filled them to the brim, and they overflowed into a giant oatmeal blob. Still tasted good, but presentation was not my friend that day.
Cooking Tips & Techniques
After making these Wholesome Baked Pumpkin Chocolate Chip Oatmeal Cups more times than I can count, I’ve picked up a few tricks that make a real difference.
Room temperature eggs matter. I know, I know, who has time for that? But cold eggs can make the coconut oil seize up, leaving you with lumpy batter. Just set your eggs out on the counter while you gather your ingredients, and they’ll be ready by the time you start mixing. If you forget (which I do constantly), place them in a bowl of warm water for 5 minutes.
Don’t skip the rest time. That 5-minute rest before baking is non-negotiable. The oats need time to hydrate, otherwise you’ll end up with crunchy, undercooked oats in the center. I learned this after impatiently rushing a batch into the oven and regretting it.
Check for doneness with your senses. The toothpick test is helpful, but also look for the edges pulling away slightly from the liner, and a firm, springy top when you gently press it. The smell is also a dead giveaway—when your whole kitchen smells like pumpkin spice and toasted oats, they’re probably done.
Rotate your pan halfway through. Most ovens have hot spots, and rotating ensures even baking. I forgot to do this once and ended up with half a batch that was overdone and half that was underdone. Not my finest moment.
Let them cool completely before storing. If you put warm oatmeal cups in an airtight container, the steam will make them soggy. I’ve made this mistake more times than I’d like to admit, ending up with sad, wet tops. Patience pays off here.
Variations & Adaptations
One of the best things about this recipe is how adaptable it is. Here are some variations I’ve tried and loved:
- Vegan version: Replace the eggs with flax eggs (2 tablespoons ground flaxseed mixed with 6 tablespoons water, let sit for 5 minutes). Use maple syrup instead of honey, and dairy-free chocolate chips. The texture is slightly denser but still delicious.
- Gluten-free option: Use certified gluten-free rolled oats. That’s literally it—oats are naturally gluten-free, but some are processed in facilities with wheat. Bob’s Red Mill makes a great gluten-free option.
- Higher protein: Add 2 scoops of vanilla or unflavored protein powder. You’ll need to increase the milk by 2-3 tablespoons to compensate for the extra dry ingredients. I’ve done this with collagen peptides and it works beautifully.
- Lower sugar: Use only 2 tablespoons of maple syrup and add an extra 1/4 cup of mashed banana. The chocolate chips add enough sweetness that you won’t miss the extra sugar.
- Seasonal twist: In summer, swap the pumpkin for mashed strawberries or blueberries (reduce the milk slightly since fruit has more water). In fall, add a tablespoon of fresh grated ginger for extra warmth.
- Nut-free: Skip the optional nuts and use sunflower seed butter instead of almond milk. Simple enough.
My personal favorite variation is adding a tablespoon of mini chocolate chips on top of each cup before baking—it gives them that bakery-style look that makes people think you spent way more effort than you actually did. Works every time.
Serving & Storage Suggestions
These Wholesome Baked Pumpkin Chocolate Chip Oatmeal Cups are versatile enough for any time of day. Here’s how to make the most of them:
Serving: Enjoy them warm or at room temperature. If you’re reheating, 15-20 seconds in the microwave brings back that fresh-from-the-oven texture. For a special treat, split one in half, toast it lightly, and spread with a little butter or almond butter. The contrast of warm, toasted oats with cold butter is honestly life-changing.
Storage: Keep them in an airtight container in the refrigerator for up to 5 days. They actually get better on day 2 as the flavors meld together. For longer storage, freeze them in a single layer on a baking sheet, then transfer to a freezer bag. They’ll keep for up to 3 months. Grab one straight from the freezer and microwave for 30-40 seconds for an instant breakfast.
Pairing suggestions: These are perfect with a hot cup of coffee or tea in the morning. For a more substantial breakfast, serve alongside Greek yogurt and fresh fruit. In the afternoon, they’re great crumbled over a smoothie bowl for extra texture. I’ve even crumbled one over vanilla ice cream for a quick dessert—no regrets.
One thing I love about these is how the flavors develop. The pumpkin spice becomes more pronounced after a day in the fridge, and the oats soften into this perfect, tender texture. They’re honestly better the next day, which makes them perfect for meal prep.
Nutritional Information & Benefits
Here’s the nutritional breakdown for one oatmeal cup (based on 12 servings):
- Calories: 185
- Protein: 5g
- Carbohydrates: 28g
- Fiber: 4g
- Sugar: 12g (mostly natural from banana and honey)
- Fat: 7g
- Vitamin A: 80% of daily value (from the pumpkin)
- Iron: 8% of daily value
These oatmeal cups are packed with nutritional benefits. The pumpkin provides a serious dose of vitamin A, which supports eye health and immune function. Oats are rich in beta-glucan, a type of soluble fiber that helps lower cholesterol and keeps you full longer. The banana adds potassium and natural sweetness, while the chocolate chips—well, they add joy, which is its own kind of nutrition.
For anyone watching their sugar intake, these are a great option. Most of the sweetness comes from the banana and a small amount of honey or maple syrup, with the chocolate chips adding just enough indulgence to keep things interesting. They’re also naturally dairy-free if you use almond milk and dairy-free chocolate chips.
Conclusion
These Wholesome Baked Pumpkin Chocolate Chip Oatmeal Cups have become a staple in my kitchen for good reason. They’re easy enough for a busy weekday morning but special enough to serve to guests. The combination of warm pumpkin spice, sweet banana, and melty chocolate chips is just unbeatable—especially when you know you’re eating something that’s actually good for you.
I love that this recipe proves you don’t have to choose between healthy and delicious. It’s possible to have both, and these oatmeal cups are living proof. Whether you’re meal-prepping for the week, looking for a healthier breakfast option, or just craving something cozy and satisfying, these little cups deliver every time.
I’d love to hear how they turn out for you! Drop a comment below and let me know if you tried any variations—I’m always looking for new ideas to test in my kitchen. And if you loved them, share this recipe with a friend who could use a little pumpkin spice in their life. Happy baking!
Frequently Asked Questions
Can I use quick oats instead of rolled oats?
You can, but the texture will be different. Quick oats absorb more liquid and will give you a softer, more uniform texture—almost like a muffin. Rolled oats give you that chewy, hearty texture that makes these oatmeal cups so satisfying. If you only have quick oats, reduce the milk by 2 tablespoons.
How do I make these without banana?
If you’re not a fan of banana or don’t have one on hand, substitute with 1/2 cup of unsweetened applesauce. The texture will be slightly less dense, but still delicious. You might need to add an extra tablespoon of honey or maple syrup since applesauce is less sweet than banana.
Can I make these in advance and freeze them?
Absolutely! These freeze beautifully. Let them cool completely, then place them in a single layer on a baking sheet and freeze for an hour. Transfer to a freezer-safe bag or container. They’ll keep for up to 3 months. To reheat, microwave for 30-40 seconds straight from the freezer.
Why did my oatmeal cups turn out dry?
This usually happens from overbaking or using too much oat-to-liquid ratio. Make sure you’re measuring your oats correctly—scoop them into the measuring cup and level off, don’t pack them down. Also, check your oven temperature with an oven thermometer; many run hot. Start checking for doneness at 18 minutes.
Can I add protein powder to these?
Yes! Add 1-2 scoops of vanilla or unflavored protein powder. You’ll need to increase the milk by 2-3 tablespoons to keep the batter from getting too thick. I’ve done this with collagen peptides and whey protein—both work well. Just be aware that the texture will be slightly denser and less tender.
Pin This Recipe!
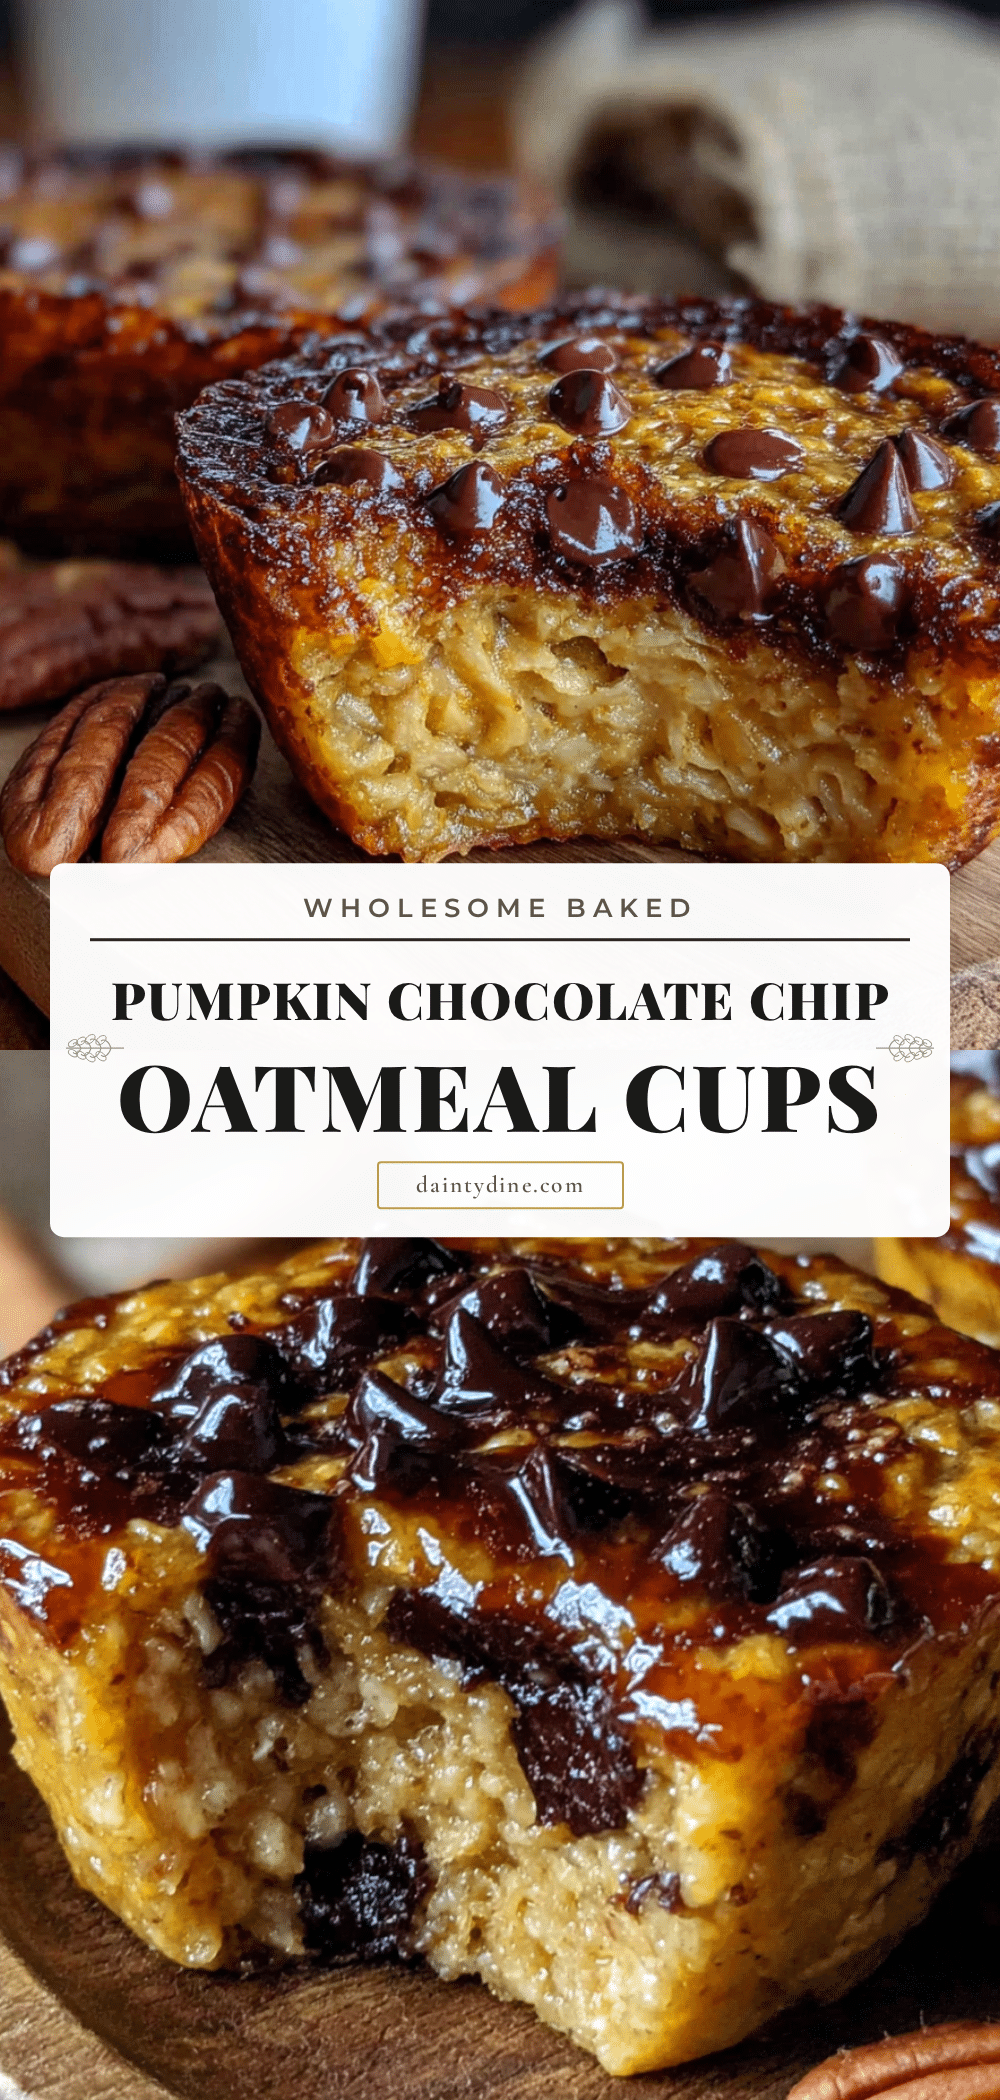
Wholesome Baked Pumpkin Chocolate Chip Oatmeal Cups

These Wholesome Baked Pumpkin Chocolate Chip Oatmeal Cups are a perfect balance of healthy and indulgent, made with simple ingredients and ready in under 30 minutes. They’re ideal for meal prep, keeping you full until lunch with a boost of vitamin A from pumpkin and melty chocolate chips in every bite.
- Prep Time: 15 minutes
- Cook Time: 20 minutes
- Total Time: 35 minutes
- Yield: 12 servings 1x
- Category: Breakfast
- Cuisine: American
Ingredients
- 2 cups rolled oats (not instant)
- 1 cup canned pumpkin puree (100% pure pumpkin)
- 1 large ripe banana, mashed
- 2 large eggs, room temperature
- 1/4 cup honey or maple syrup
- 1/3 cup unsweetened almond milk (or any milk)
- 2 tablespoons coconut oil, melted (or butter)
- 1 teaspoon vanilla extract (pure)
- 2 teaspoons pumpkin pie spice
- 1 teaspoon cinnamon
- 1 teaspoon baking powder
- 1/2 teaspoon baking soda
- 1/4 teaspoon salt
- 1/2 cup semi-sweet chocolate chips
- Optional: 1/4 cup chopped pecans or walnuts, 2 tablespoons flax seeds
Instructions
- Preheat your oven to 350°F (175°C). Line a 12-cup muffin tin with liners or grease it well.
- In a large bowl, mash the banana until smooth with a few lumps. Add pumpkin puree, eggs, honey (or maple syrup), almond milk, melted coconut oil, and vanilla extract. Whisk until well combined and smooth.
- In a separate medium bowl, combine rolled oats, pumpkin pie spice, cinnamon, baking powder, baking soda, and salt. Stir with a fork to distribute evenly.
- Pour the dry ingredients into the wet ingredients and fold together with a rubber spatula until just combined (about 15-20 strokes). The batter will be thick and chunky.
- Fold in the chocolate chips (and any optional nuts or seeds) gently. Reserve a few chocolate chips to press into the tops of each cup.
- Let the batter rest for 5 minutes to allow the oats to absorb liquid.
- Scoop the batter into the prepared muffin tin, filling each cup about 3/4 full. Press a few reserved chocolate chips into the top of each cup.
- Bake for 18-22 minutes, or until the tops are set and golden brown and a toothpick inserted in the center comes out mostly clean (a few moist crumbs are fine).
- Let them cool in the pan for 5 minutes, then transfer to a cooling rack.
- Cool completely before storing.
Notes
For best texture, use rolled oats (not instant). Let the batter rest for 5 minutes before baking to hydrate the oats. Rotate the pan halfway through baking for even cooking. Cool completely before storing to avoid sogginess. These keep in the refrigerator for up to 5 days and freeze well for up to 3 months.
Nutrition
- Serving Size: 1 oatmeal cup
- Calories: 185
- Sugar: 12
- Sodium: 180
- Fat: 7
- Saturated Fat: 3
- Carbohydrates: 28
- Fiber: 4
- Protein: 5
Keywords: pumpkin oatmeal cups, baked oatmeal cups, healthy breakfast, meal prep breakfast, pumpkin chocolate chip oatmeal cups, wholesome breakfast


