Love this? Save it for later!
Share the inspiration with your friends
My neighbor Priya watched me fumbling with a block of cheese at a potluck last fall, my knife slipping sideways as I tried to make neat cubes. She didn’t say anything at first, just smiled and handed me a small, well-worn wooden board from her bag. Then she started layering things—a handful of spiced nuts here, a smear of honey there, some dried figs tucked into the corners like little secrets. I watched her work, and she told me about the Friendsgiving boards she makes every year for her book club. “It’s not about the fancy stuff,” she said, arranging things with her fingers. “It’s about making a table that feels like a hug.” I scribbled notes on a napkin that night, and honestly, I’ve been building on her wisdom ever since. That conversation—the way she talked about feeding people as an act of love—stuck with me more than any recipe could. I’ve tweaked and tested and probably made a mess of my kitchen a dozen times since then, but this board? It’s the one that makes people stop mid-conversation and just stare at the table for a second before diving in. Maybe you’ve been there, standing over a spread, hoping it looks as good as it tastes. Let me tell you, this one delivers every single time.
Why You’ll Love This Recipe
This isn’t just another cheese board thrown together ten minutes before guests arrive. I’ve tested this exact combination at four different Friendsgivings now, and honestly, it steals the show every time. Here’s why this one is different:
- Made for a Crowd: This board scales beautifully from six to sixteen people without breaking a sweat. Perfect for those potlucks where you never know exactly how many are coming.
- Prep-Ahead Friendly: Almost everything can be assembled the night before. You’ll actually get to enjoy your own party instead of hiding in the kitchen.
- Visual Showstopper: The color contrast alone—deep reds, creamy whites, golden honey, green herbs—makes people pull out their phones before they even grab a plate.
- No-Cook Option: Aside from maybe toasting some nuts or warming a dip, there’s zero cooking involved. Your oven stays free for the turkey.
- Customizable to the Max: Picky eaters? Dietary restrictions? This board adapts like a champ. Everyone finds something they love.
What really sets this board apart is the balance—salty prosciutto next to sweet figs, tangy goat cheese against honey, crunchy nuts beside silky pâté. It’s the kind of spread that makes people close their eyes after that first bite. I’ve watched it happen at three separate gatherings now. There’s something about sharing food this way, grazing and talking and reaching across the table, that makes a Friendsgiving feel like actual family.
What Ingredients You Will Need
This recipe uses simple, high-quality ingredients that work together to create something that feels way more impressive than the effort it takes. Most of these are pantry staples or easy to find at any grocery store.
The Cheeses (The Foundation)
- Aged Cheddar, 8 ounces, sliced into thin wedges (sharp, crumbly texture that stands up to fruit)
- Brie, 8 ounces, whole wheel or large wedge (creamy, mild, perfect for spreading on crackers)
- Goat Cheese Log, 4 ounces, sliced into rounds (tangy and soft, balances sweet elements)
- Manchego, 6 ounces, cut into thin triangles (nutty, firm, holds its own next to cured meats)
The Meats (The Savory Backbone)
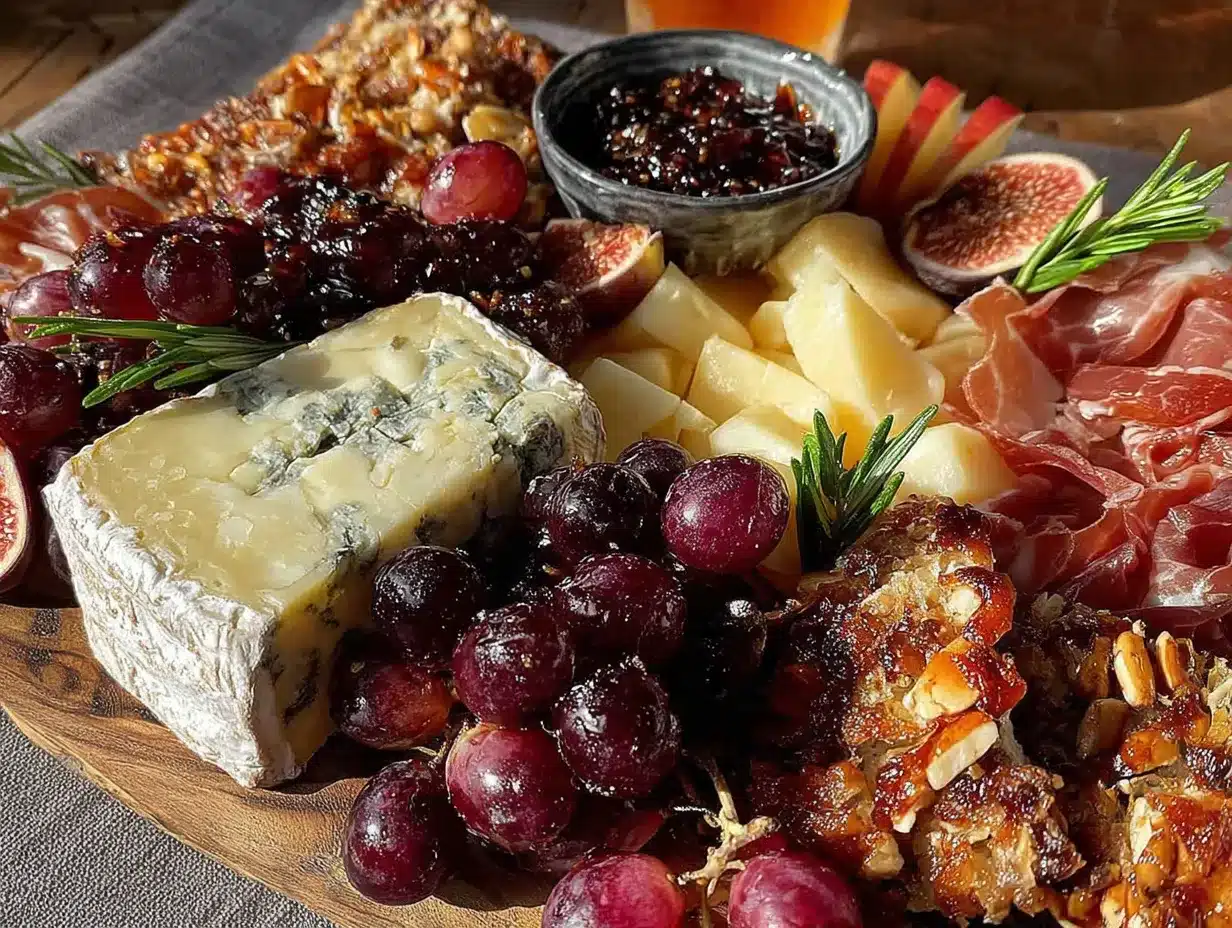
- Prosciutto, 6 ounces, thinly sliced (salty, delicate, best torn into ribbons)
- Salami, 6 ounces, sliced into thin rounds (I prefer Genoa salami for its peppery kick)
- Soppressata, 4 ounces, sliced (spicy, rustic, adds a nice heat)
The Accompaniments (The Magic Makers)
- Honey, 1/4 cup, for drizzling (local honey adds floral notes that store-bought lacks)
- Fig Jam or Membrillo, 1/2 cup (sweet, thick, pairs beautifully with Manchego)
- Mixed Olives, 1 cup, drained (look for a mix of Castelvetrano and Kalamata for color contrast)
- Cornichons, 1/2 cup (tiny pickles that cut through rich cheese and meat)
- Spiced Almonds, 1 cup (store-bought or homemade—rosemary and sea salt work wonders)
- Dried Figs or Dates, 1 cup, halved (chewy sweetness that balances salty meat)
- Fresh Grapes, 1 cup, small clusters (adds freshness and a pop of purple)
- Apple Slices, 1 apple, thinly sliced (toss in lemon water to prevent browning)
The Crunch Factor
- Artisan Crackers, 8 ounces (choose a mix of water crackers, rosemary crackers, and seeded flatbreads)
- Baguette Slices, 1 baguette, sliced thin and lightly toasted (adds rustic texture)
- Breadsticks, 1 small bundle (great for scooping soft cheese)
Garnish (Don’t Skip This)
- Fresh Rosemary Sprigs, 3-4 sprigs
- Fresh Thyme, a few sprigs
- Edible Flowers, optional but gorgeous (nasturtiums or pansies work well)
Equipment Needed
You don’t need fancy equipment to make a stunning board, but a few tools make the process smoother. Here’s what I use:
- Large Wooden Board or Slate Platter, at least 18 inches long (a baking sheet lined with parchment works in a pinch—I’ve done it)
- Small Bowls, 3-4 ramekins or small dishes for honey, jam, olives, and nuts
- Cheese Knives, at least 2 (one for soft cheese, one for hard cheese)
- Paring Knife, for slicing fruit and trimming cheese
- Small Spoons, for honey and jam
- Cocktail Forks or Toothpicks, for easy grabbing
- Serving Tongs, for meats and olives
I picked up my board at a flea market for fifteen dollars, and honestly, it works better than the expensive ones. Look for something with a slight lip to catch any runaway olives or honey drips.
Preparation Method
Building a charcuterie board is more art than science, but following a loose order helps everything come together without chaos. Here’s my step-by-step process:
- Start with the bowls (5 minutes): Place your small bowls on the board first. Position them asymmetrically—one near a corner, one in the middle, one at the opposite end. Fill them with honey, fig jam, olives, and cornichons. This anchors your layout.
- Add the cheeses (5 minutes): Place your cheese wedges around the board, leaving space between each type. Slice the brie into wedges but keep them clustered together so people know it’s one cheese. Fan the goat cheese rounds in a small row. The cheddar and manchego should sit opposite each other for visual balance.
- Layer the meats (5 minutes): Tear the prosciutto into ribbons and pile them loosely in a few spots. Fold the salami slices into quarters and arrange them in a small stack. Drape the soppressata in a flowing line that connects two sections of the board. Don’t overthink this—wrinkles and folds add texture.
- Fill in with fruit and nuts (5 minutes): Scatter the dried figs and dates in gaps between cheese and meat. Tuck grape clusters near the edges. Arrange apple slices in a fan shape next to the brie. Sprinkle spiced almonds in any remaining empty spaces—they should look like they fell there naturally.
- Add the crunch (5 minutes): Arrange crackers and baguette slices in small clusters around the board, not in one big pile. People should be able to reach crackers from multiple spots. Place breadsticks vertically in a small cup or tucked under a cheese wedge.
- Garnish and final touches (3 minutes): Tuck rosemary sprigs between cheese wedges and scatter a few thyme leaves over the goat cheese. If using edible flowers, place them delicately on top of jam or near the brie. Drizzle a little honey over the goat cheese and around the brie for a glossy finish.
- Step back and adjust (2 minutes): Look at the board from above. Fill any bare spots with extra nuts or crackers. Make sure nothing is crowded—guests need room to grab things without knocking over bowls. Trust your eyes here; if it looks balanced, it probably is.
I always taste a little bit of everything before guests arrive—partly to check quality, partly because I can’t resist. The honey-drizzled goat cheese with a fig on a rosemary cracker is my favorite bite, and it usually disappears first.
Cooking Tips & Techniques
After building this board more times than I can count, I’ve learned a few things the hard way. Here are the tips that make a real difference:
- Bring cheese to room temperature: Take the cheese out of the fridge 30-45 minutes before serving. Cold cheese loses all its flavor and texture. I learned this after serving rock-hard brie at my first Friendsgiving.
- Slice some cheese ahead: Pre-slice a few wedges of the hard cheeses so guests don’t have to wrestle with a knife while holding a plate. Leave the brie whole—it’s meant to be spread.
- Don’t overcrowd the board: Leave about 20% empty space. A crowded board looks messy and makes it hard for people to grab things. If you have too much food, use a second board or a side plate.
- Layer textures: Alternate soft and crunchy elements visually. A pile of nuts next to a creamy cheese looks intentional. Clustering all the crackers together makes the board feel flat.
- Prep everything the night before: Slice cheeses, wash grapes, toast baguette slices, and arrange bowls. Cover everything with plastic wrap and assemble the board 20 minutes before guests arrive. You’ll thank yourself when everyone shows up early.
- Make extra honey: People always want more honey than you think. Put out a small bowl and keep a backup in the kitchen. Same goes for crackers—they disappear fast.
One time I forgot the honey entirely and had to drizzle it on after guests arrived. Honestly, it looked better that way—the honey pooled in interesting spots instead of being perfectly placed. Sometimes happy accidents work in your favor.
Variations & Adaptations
This board is endlessly flexible. Here are some ways to tweak it based on your crowd or what you have on hand:
- Vegetarian Version: Skip the meats entirely and double up on cheese varieties. Add roasted red peppers, marinated artichoke hearts, and grilled eggplant slices for savory depth. The texture contrast still works beautifully.
- Dairy-Free Option: Use aged hard cheeses like manchego (naturally low in lactose) or try cashew-based cheese alternatives. Add extra nuts, olives, and roasted vegetables to compensate for missing cheese variety.
- Sweet Tooth Twist: Add dark chocolate chunks, candied pecans, and fresh berries alongside the cheese. Drizzle chocolate sauce instead of honey over the brie. It feels indulgent but still balanced.
- Spicy Version: Swap soppressata for spicy capicola, add pickled jalapeños, and use chili-infused honey. Include pepper jack cheese if your crowd handles heat well. The sweetness of the figs balances the spice perfectly.
- Seasonal Swap: In summer, use fresh peaches and cherries instead of figs and apples. In winter, add roasted chestnuts and pomegranate seeds. The board adapts to what’s fresh without losing its soul.
I tried a Mediterranean version last year with feta, hummus, and roasted red peppers instead of the traditional cheeses. It was a hit, but honestly, I missed the creamy brie. Stick with what you love and swap around the edges.
Serving & Storage Suggestions
Presentation matters, but so does practicality. Here’s how to serve and store this board like a pro:
- Serving Temperature: Serve everything at room temperature. Cheese and meats taste best when they’ve had 30 minutes to warm up. Keep the board out for up to 2 hours during a party.
- What to Serve Alongside: This board pairs beautifully with a crisp Sauvignon Blanc or a light Pinot Noir. For non-alcoholic options, sparkling water with lemon or a spiced apple cider works wonderfully.
- Presentation Tip: Place the board in the center of the table with small plates and napkins on both sides. Put out a few small bowls for discarded toothpicks or olive pits. It keeps the table tidy.
- Storage: Store leftover cheese wrapped in wax paper (not plastic wrap—it suffocates the cheese) in the fridge. Meats should be wrapped tightly and used within 3 days. Store crackers and nuts in an airtight container at room temperature.
- Reheating: If you toasted baguette slices and they go stale, pop them in a 350°F oven for 3-4 minutes to crisp them back up. Brie can be warmed in the oven at the same temperature for 5-7 minutes if you want a gooey center.
- Flavor Development: The honey and fig jam actually taste better after a day in the fridge—the flavors meld and deepen. Leftover prosciutto crisps up nicely in a hot pan and makes a great salad topping the next day.
I always make extra because leftovers make the best lunch the next day. A little cheese, some crackers, and a handful of nuts feels like a treat, not just scraps.
Nutritional Information & Benefits
This board is indulgent, but it also offers some surprising nutritional perks. Here’s a rough breakdown per serving (assuming 8 servings):
- Calories: Approximately 450-550 per serving (varies based on cheese and meat choices)
- Protein: 18-22 grams from cheese and cured meats
- Healthy Fats: Cheese and nuts provide monounsaturated and polyunsaturated fats that support heart health
- Fiber: 4-6 grams from dried fruit, nuts, and apple slices
- Calcium: 20-25% of daily value from cheese
- Antioxidants: Figs and grapes are rich in polyphenols that fight inflammation
The key is balance—this board is meant to be shared and enjoyed in moderation. Pair it with plenty of vegetables or a light salad to round out the meal. I personally love that I can offer something for everyone without cooking a single thing. It’s a win for the host and the guests.
Conclusion
This Friendsgiving charcuterie board is more than just food—it’s the centerpiece of the table, the thing people gather around, the reason conversations start. Priya’s wisdom about making a table feel like a hug stuck with me, and this board embodies that idea perfectly. It’s forgiving, flexible, and always impressive, even when you’re rushing at the last minute. I love that I can make it my own every time, swapping in seasonal fruit or trying a new cheese without losing the heart of the recipe.
I’d love to hear how your board turns out. Did you add something unexpected? Swap in a favorite cheese? Drop a comment below and share your version—I’m always looking for new ideas to try. And if you make this for your Friendsgiving, tag me in your photos. Nothing makes me happier than seeing someone else’s table full of good food and good people. Now go build something beautiful!
Frequently Asked Questions
How far ahead can I assemble the charcuterie board?
You can prep all the components the night before and assemble the board up to 2 hours before serving. Just cover it loosely with plastic wrap and keep it in a cool spot (not the fridge if possible, to avoid condensation on crackers). Add fresh garnishes like herbs right before guests arrive.
What if I don’t have a large board?
No problem at all. Use a large baking sheet, a clean cutting board, or even a flat serving platter. If you’re really stuck, arrange everything on separate plates and let guests build their own combinations. The flavors work the same way.
Can I make this board vegetarian or vegan?
Absolutely. For vegetarian, skip the meat and add more cheese varieties, roasted vegetables, and marinated artichokes. For vegan, use cashew-based cheese alternatives, hummus, roasted nuts, and plenty of fresh fruit and vegetables. The board still looks and tastes amazing.
How do I keep the board from getting messy as guests eat?
Place small bowls for olive pits, toothpicks, and used napkins nearby. Refill crackers and nuts in small batches rather than dumping everything out at once. If the board starts looking sparse, transfer remaining items to a smaller plate to keep it looking intentional.
What’s the best way to arrange the board for a large crowd?
Make two smaller boards instead of one giant one. Place them at opposite ends of the table so people don’t have to reach across. Duplicate the most popular items—honey, crackers, and cheese—on both boards to avoid traffic jams.
Pin This Recipe!
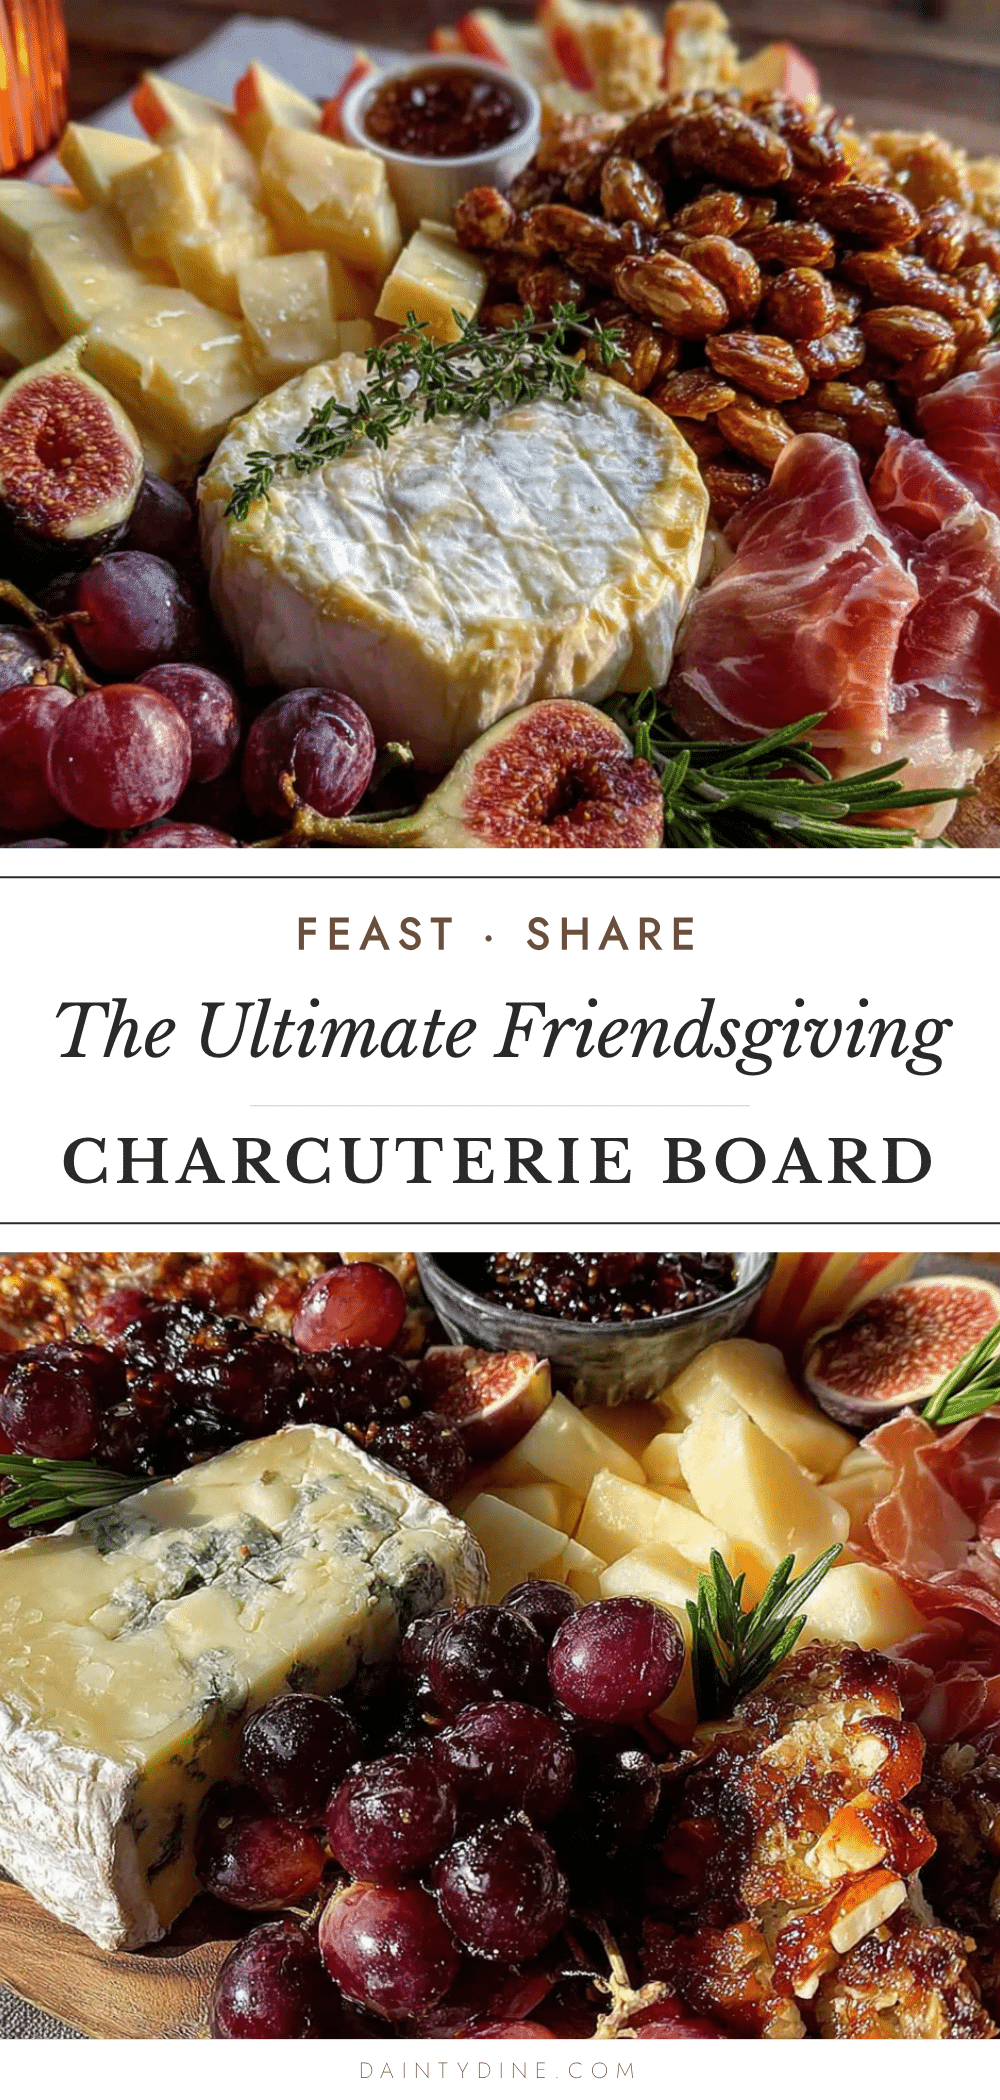
The Ultimate Friendsgiving Charcuterie Board Your Guests Will Devour
A stunning, no-cook charcuterie board featuring a balanced mix of cheeses, cured meats, fruits, nuts, and crackers. Perfect for Friendsgiving gatherings, this board is designed to be a visual showstopper and a crowd-pleaser that scales easily from six to sixteen people.
- Prep Time: 30 minutes
- Cook Time: 0 minutes
- Total Time: 30 minutes
- Yield: 8 servings 1x
- Category: Appetizer
- Cuisine: American
Ingredients
- 8 ounces Aged Cheddar, sliced into thin wedges
- 8 ounces Brie, whole wheel or large wedge
- 4 ounces Goat Cheese Log, sliced into rounds
- 6 ounces Manchego, cut into thin triangles
- 6 ounces Prosciutto, thinly sliced
- 6 ounces Salami (Genoa), sliced into thin rounds
- 4 ounces Soppressata, sliced
- 1/4 cup Honey
- 1/2 cup Fig Jam or Membrillo
- 1 cup Mixed Olives (Castelvetrano and Kalamata), drained
- 1/2 cup Cornichons
- 1 cup Spiced Almonds
- 1 cup Dried Figs or Dates, halved
- 1 cup Fresh Grapes, small clusters
- 1 Apple, thinly sliced (tossed in lemon water)
- 8 ounces Artisan Crackers (water crackers, rosemary crackers, seeded flatbreads)
- 1 Baguette, sliced thin and lightly toasted
- 1 small bundle Breadsticks
- 3–4 sprigs Fresh Rosemary
- A few sprigs Fresh Thyme
- Edible Flowers (optional, e.g., nasturtiums or pansies)
Instructions
- Start with the bowls (5 minutes): Place small bowls on the board asymmetrically. Fill with honey, fig jam, olives, and cornichons.
- Add the cheeses (5 minutes): Place cheese wedges around the board, leaving space between each. Slice brie into wedges but keep clustered. Fan goat cheese rounds in a small row. Place cheddar and manchego opposite each other.
- Layer the meats (5 minutes): Tear prosciutto into ribbons and pile loosely. Fold salami slices into quarters and stack. Drape soppressata in a flowing line connecting sections.
- Fill in with fruit and nuts (5 minutes): Scatter dried figs and dates in gaps. Tuck grape clusters near edges. Arrange apple slices in a fan shape next to brie. Sprinkle spiced almonds in empty spaces.
- Add the crunch (5 minutes): Arrange crackers and baguette slices in small clusters around the board. Place breadsticks vertically in a small cup or tucked under a cheese wedge.
- Garnish and final touches (3 minutes): Tuck rosemary sprigs between cheese wedges, scatter thyme leaves over goat cheese. Place edible flowers delicately. Drizzle honey over goat cheese and around brie.
- Step back and adjust (2 minutes): Look at the board from above. Fill bare spots with extra nuts or crackers. Ensure nothing is crowded.
Notes
Bring cheese to room temperature 30-45 minutes before serving. Pre-slice some hard cheeses for easy grabbing. Leave about 20% empty space on the board to avoid overcrowding. Prep everything the night before and assemble 20 minutes before guests arrive. Make extra honey and crackers as they disappear fast.
Nutrition
- Serving Size: 1 serving (approxima
- Calories: 500
- Sugar: 18
- Sodium: 900
- Fat: 32
- Saturated Fat: 14
- Carbohydrates: 35
- Fiber: 5
- Protein: 20
Keywords: charcuterie board, Friendsgiving, cheese board, appetizer, party food, no-cook, holiday entertaining


