Love this? Save it for later!
Share the inspiration with your friends
The school Halloween party was in six hours and I’d completely forgotten. My son had reminded me exactly seventeen times over the past two weeks, but somehow, between back-to-school nights and soccer practice and that one day I accidentally scheduled two dentist appointments, it slipped right through the cracks. Everyone else would be bringing elaborate cakes shaped like graveyards, cookie platters decorated with royal icing spiders, and those Pinterest-perfect treats that take three days to assemble. I had a box of cake mix, a bag of marshmallows, and about forty-five minutes before I needed to leave for carpool.
Let me tell you, panic-baking is a real thing. I was standing in my kitchen, staring at the pantry like it owed me something, when my eyes landed on a bag of jumbo marshmallows leftover from a camping trip last summer. And that’s when it hit me — ghosts. Easy, adorable, no-fuss ghosts. I could make cupcakes, slap some marshmallow frosting on top, stick a marshmallow on each one, and call it a day. Honestly, the idea was so simple I almost felt guilty about it. Almost.
Well, the party came and went. And you know what? Those quick ghost cupcakes with marshmallow frosting were the first thing to disappear. Not the fancy graveyard cake. Not the cookie spiders. The little marshmallow ghosts that took me less than an hour to throw together. The other parents kept asking for the recipe, and I kept saying, “It’s literally just cupcakes and marshmallows.” But they didn’t believe me. They wanted the details. And now, here I am, writing them down for you — because maybe you’ve been there too, scrambling at the last minute, wondering how you’re going to pull off something cute for a party. I promise, this is the answer.
Why You’ll Love This Recipe
These quick ghost cupcakes with marshmallow frosting are the ultimate Halloween hack. I’ve tested this recipe at three different parties now — including one where I had to make them in a friend’s kitchen with a borrowed mixer — and they never fail. Here’s why you need them in your life:
- Quick & Easy: From start to finish, you’re looking at about 45 minutes. That includes cooling time. I’m not kidding.
- Simple Ingredients: Cake mix, butter, powdered sugar, marshmallows, and a few pantry staples. No specialty stores required.
- Perfect for Halloween Parties: Whether it’s a school event, office potluck, or neighborhood gathering, these cupcakes steal the show.
- Crowd-Pleaser: Kids love the marshmallows. Adults love the nostalgic frosting. Everyone wins.
- Unbelievably Delicious: The marshmallow frosting is silky and cloud-like, and the contrast with the fluffy marshmallow ghost on top is pure magic.
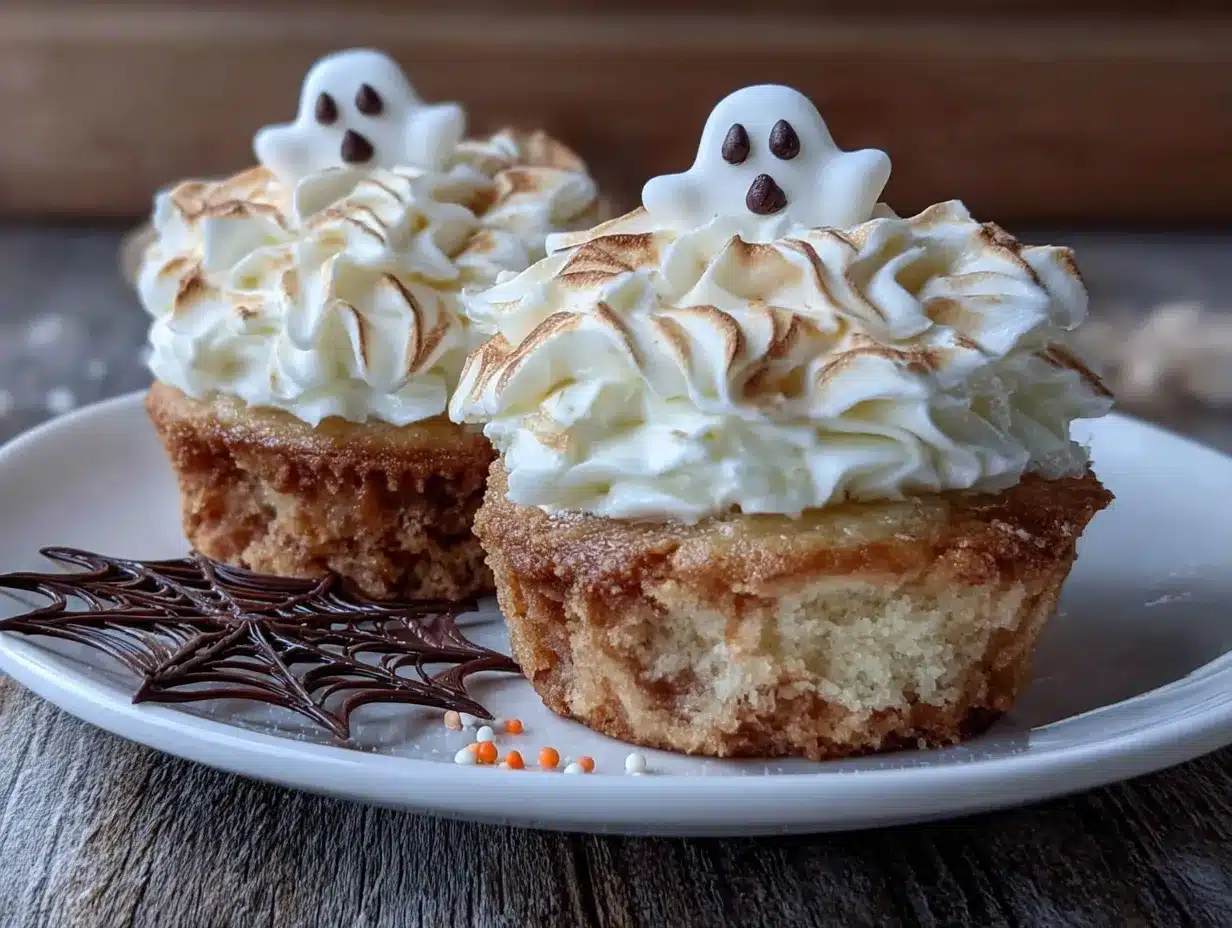
What makes these different from every other Halloween cupcake out there? It’s the frosting. Most recipes use buttercream, which is fine, but it’s heavy. This marshmallow frosting is light, airy, and tastes exactly like the inside of a Lucky Charms marshmallow. I use a technique of whipping the frosting with marshmallow creme to get that perfect texture — it’s a game-changer. Plus, you don’t need any fancy piping skills. Just spread it on, stick a marshmallow on top, and you’re done. No piping bags, no frosting tips, no stress.
This recipe isn’t just good — it’s the kind that makes you close your eyes after the first bite. It’s Halloween fun without the Halloween hassle. Perfect for impressing other parents without spending your entire weekend in the kitchen.
What Ingredients You Will Need
This recipe uses simple, everyday ingredients to create something that looks like it took way more effort than it actually did. Everything here is a pantry staple or an easy grocery run item.
For the Cupcakes
- 1 box vanilla cake mix (I prefer Betty Crocker or Duncan Hines for consistent results)
- 3 large eggs, room temperature
- 1/2 cup vegetable oil (or melted coconut oil for a subtle flavor twist)
- 1 cup water (or milk for richer cupcakes)
- 1 teaspoon vanilla extract (adds depth to the flavor)
For the Marshmallow Frosting
- 1 cup unsalted butter, softened (I use Kerrygold — the flavor is noticeably better)
- 1 jar (7 oz) marshmallow creme (Fluff is my go-to brand)
- 2 cups powdered sugar, sifted
- 1 teaspoon vanilla extract
- Pinch of salt (balances the sweetness)
- 1-2 tablespoons heavy cream (adjust for consistency)
For the Ghost Decorations
- 12 jumbo marshmallows (look for fresh, soft ones — stale marshmallows crack)
- Mini chocolate chips (for eyes — about 24 total)
- Black gel food coloring (for mouth details, optional but cute)
A note on marshmallow selection: I’ve tried this with both name-brand and store-brand marshmallows. The store-brand ones tend to be drier and crack when you try to shape them. Spend the extra dollar on Jet-Puffed or Campfire marshmallows — it makes a difference. For the marshmallow creme, don’t substitute with melted marshmallows. The texture won’t be the same. Marshmallow creme is stabilized differently and gives that perfect fluffy consistency.
If you’re gluten-free, use a gluten-free cake mix and double-check that your marshmallows are certified gluten-free (most are, but some brands add wheat starch). For dairy-free, swap the butter with a good vegan butter stick (I like Miyoko’s) and use coconut cream instead of heavy cream.
Equipment Needed
You don’t need much for these quick ghost cupcakes with marshmallow frosting, which is honestly half the appeal. Here’s what you’ll need:
- 12-cup muffin tin (standard size — mini won’t work for the marshmallows)
- Paper cupcake liners (Halloween-themed ones make it extra festive, but plain white works too)
- Large mixing bowl (for the cupcake batter)
- Electric hand mixer or stand mixer (you can whisk by hand for the cupcakes, but the frosting really needs the mixer)
- Cooling rack (wire rack works best — don’t skip this or your cupcakes will get soggy bottoms)
- Spatula (for spreading frosting — I use a small offset spatula, but a butter knife works in a pinch)
- Small piping bag or zip-top bag (for the chocolate eyes, optional)
I’ve made these in a friend’s kitchen with a cheap hand mixer she bought at a garage sale, and they still turned out great. Don’t overthink the equipment. If you have a bowl and a spoon, you can make the cupcakes. The frosting is where you want the mixer, but even then, you can whisk it by hand if you’ve got strong arms and patience.
Preparation Method
Let’s get these ghosts made. I’ve broken this down so even a beginner baker can follow along without stress.
Step 1: Make the Cupcakes (5 minutes prep, 18-20 minutes bake)
Preheat your oven to 350°F (175°C). Line your muffin tin with paper liners. In a large bowl, combine the cake mix, eggs, oil, water, and vanilla extract. Mix on low speed for 30 seconds, then scrape the bowl. Increase to medium speed and beat for 2 minutes. The batter should be smooth and slightly thick. Divide the batter evenly among the 12 liners — fill them about 2/3 full. Bake for 18-20 minutes, or until a toothpick inserted in the center comes out clean. The tops should be golden and spring back when lightly touched.
Here’s a trick I learned the hard way: don’t overfill the liners. I did that once and ended up with cupcake tops that spread out like pancakes. The marshmallow needs a nice flat surface to sit on. Also, let the cupcakes cool in the pan for 5 minutes, then transfer them to a wire rack to cool completely. If you frost them while they’re warm, the frosting will melt into a puddle. Trust me on this one.
Step 2: Make the Marshmallow Frosting (10 minutes)
While the cupcakes are cooling, make the frosting. In a large bowl, beat the softened butter with an electric mixer on medium speed until it’s smooth and creamy — about 2 minutes. Add the marshmallow creme and beat until combined, scraping the bowl as needed. It might look a little separated at first, but keep mixing. Gradually add the sifted powdered sugar, one cup at a time, beating on low speed to avoid a sugar cloud. Add the vanilla extract and salt. Increase to medium-high speed and beat for 3-4 minutes until the frosting is light and fluffy. If it’s too thick, add heavy cream one tablespoon at a time until it reaches a spreadable consistency. If it’s too thin, add more powdered sugar.
The texture you’re looking for is like a cloud — soft, spreadable, but stable enough to hold a marshmallow on top. If you’re making these ahead, the frosting will firm up slightly in the fridge, so you might need to let it sit at room temperature for 10 minutes before spreading.
Step 3: Assemble the Ghosts (15 minutes)
Once the cupcakes are completely cool, spread a generous layer of marshmallow frosting on top of each one. Use the back of a spoon or an offset spatula to create a smooth surface. Take a jumbo marshmallow and place it in the center of the frosting. Gently press down so it sticks. The frosting should come up slightly around the base of the marshmallow, hiding the seam.
For the ghost faces, you have two options. Option one: press two mini chocolate chips into the marshmallow for eyes. This is the easiest method and looks adorable. Option two: use black gel food coloring to draw eyes and a little “o” mouth on each ghost. I prefer the chocolate chip eyes because they add a little crunch and the kids love eating them. If you’re using the gel method, dip a toothpick in the coloring and dot it on carefully. You can also draw a wavy mouth for a spooky look.
One thing I learned from my first batch: don’t make the eyes too low on the marshmallow. The top half of the marshmallow is where the face should go, leaving the bottom half as the ghost’s body. If you put the eyes in the middle, it looks like a marshmallow with eyes, not a ghost.
Step 4: Serve or Store (5 minutes)
These are best served the same day, but they’ll keep for up to 2 days in an airtight container at room temperature. If you’re transporting them, place them in a single layer in a cupcake carrier — stacking will squish the marshmallows. I once stacked two layers with paper towels between them and ended up with ghost pancakes. Not cute.
Cooking Tips & Techniques
I’ve made these quick ghost cupcakes with marshmallow frosting at least a dozen times now, and I’ve collected some wisdom along the way. Here’s what I wish someone had told me:
Don’t overmix the cupcake batter. I know it’s tempting to keep beating until everything is perfectly smooth, but overmixing develops the gluten and makes the cupcakes tough. You want them light and tender. Mix just until the flour is incorporated, then stop.
Room temperature ingredients matter. Cold eggs and cold butter don’t emulsify properly. If you forgot to take your eggs out of the fridge, place them in a bowl of warm water for 5 minutes. For the butter, cut it into small cubes and let it sit on the counter for 15 minutes. Your frosting will come together in half the time.
The marshmallow ghost trick. If your marshmallows are a little stale, they’ll crack when you press them into the frosting. To fix this, microwave them for 5 seconds — just enough to soften them slightly. They’ll be pliable and won’t crack. Don’t overdo it, or they’ll collapse into a sticky mess.
My biggest failure: The first time I made these, I used a buttercream frosting recipe that was too stiff. When I pressed the marshmallow down, the frosting cracked and the marshmallow toppled over. That’s when I switched to marshmallow frosting — it’s more forgiving and actually helps anchor the marshmallow in place. Learn from my mistakes.
Timing strategy: Bake the cupcakes the night before and store them in an airtight container. Make the frosting and assemble the ghosts the morning of your event. This way, the cupcakes are completely cool, and the marshmallows stay fresh and puffy. I’ve done this for three parties now and it works perfectly.
Variations & Adaptations
One of the best things about this recipe is how easy it is to customize. Here are a few variations I’ve tried and loved:
Chocolate Ghost Cupcakes
Swap the vanilla cake mix for chocolate cake mix. The dark cake contrasts beautifully with the white marshmallow frosting and ghost. My son’s friends at school went crazy for these. You can even add a tablespoon of cocoa powder to the frosting for a chocolate marshmallow twist.
Gluten-Free Version
Use your favorite gluten-free vanilla cake mix. I’ve tested this with King Arthur’s gluten-free mix and it works great. Just make sure to let the cupcakes cool completely before frosting, as gluten-free cakes tend to be more delicate when warm. Also, check that your marshmallows are certified gluten-free — most are, but it’s worth verifying.
Mummy Cupcakes
Instead of ghost faces, turn these into mummies. Use the marshmallow frosting to pipe thin strips across the marshmallow, leaving a gap for eyes. Place two candy eyes (you can buy these at any craft store) in the gap. It’s a fun twist if you’re making these for a variety of Halloween parties and want something different.
Mini Ghost Cupcakes
Use a mini muffin tin and mini marshmallows instead. Bake the mini cupcakes for 10-12 minutes. These are perfect for classroom parties where you need to feed a crowd without overwhelming anyone. The mini marshmallows are also easier for little hands to hold.
Serving & Storage Suggestions
These cupcakes are best served at room temperature. The frosting is soft and creamy, and the marshmallow ghost stays perfectly puffy. If you’ve refrigerated them, let them sit out for about 20 minutes before serving. Cold marshmallows get chewy and lose that light, airy texture.
For presentation, I like to arrange them on a white platter or a black cake stand — the contrast makes the ghosts pop. Sprinkle some edible glitter or silver dragees around the base for a spooky-chic look. If you’re serving these at a party, place them on a table with some fake spiderwebs and plastic spiders for ambiance. Kids love that stuff.
Storage-wise, keep them in an airtight container at room temperature for up to 2 days. Do not refrigerate them if you can avoid it — the marshmallows will get hard and the frosting will lose its fluffiness. If you must refrigerate, let them come to room temperature before serving. You can freeze the unfrosted cupcakes for up to 3 months. Wrap them individually in plastic wrap, then place them in a freezer bag. Thaw at room temperature, then make the frosting and assemble fresh.
The flavors actually get better after a few hours. The marshmallow frosting sinks into the cupcake slightly, creating a gooey, almost pudding-like layer right under the frosting. It’s accidental but delicious.
Nutritional Information & Benefits
Let’s be honest — these are a treat, not a health food. But here’s the estimated breakdown per cupcake (based on 12 servings):
| Nutrient | Amount |
|---|---|
| Calories | 385 |
| Total Fat | 18g |
| Saturated Fat | 8g |
| Carbohydrates | 54g |
| Sugar | 38g |
| Protein | 3g |
On the plus side, marshmallows are fat-free and low in calories compared to other candy. The marshmallow frosting uses less butter than traditional buttercream, so you’re saving a few grams of saturated fat per serving. If you use a gluten-free cake mix, these can be a safe option for those with celiac disease or gluten sensitivity. Just double-check all your ingredients.
I personally love that this recipe doesn’t use any artificial food coloring. The ghosts are naturally white, and the chocolate chips add a touch of dark chocolate, which has antioxidants. I mean, it’s a stretch, but every little bit counts, right? The main thing is that these are a fun, festive treat that brings joy without requiring a chemistry degree to make.
Frequently Asked Questions
Can I use homemade vanilla cupcakes instead of box mix?
Absolutely. If you have a favorite vanilla cupcake recipe, use it. The box mix is just for convenience and consistency. I’ve used my go-to vanilla cupcake recipe from scratch and it works perfectly. Just make sure the cupcakes are completely cool before frosting.
How do I keep the marshmallows from falling over?
Press the marshmallow gently into the frosting so the frosting comes up slightly around the base. The marshmallow frosting is sticky enough to hold it in place. If your marshmallows are particularly top-heavy, you can trim a tiny sliver off the bottom to create a flat surface. But honestly, I’ve never needed to do that with jumbo marshmallows.
Can I make these dairy-free?
Yes. Use a dairy-free cake mix (or make cupcakes with oil instead of butter), vegan butter for the frosting, and coconut cream instead of heavy cream. Most marshmallows are dairy-free, but check the label. I’ve made a dairy-free version for a friend’s allergy-friendly party and they turned out great.
How far in advance can I make these?
You can bake the cupcakes up to 2 days ahead and store them in an airtight container. Make the frosting and assemble the ghosts the day you plan to serve them. The marshmallows will start to soften after about 24 hours, so same-day assembly is best for that perfect puffy ghost look.
Can I freeze the assembled cupcakes?
I don’t recommend it. The marshmallows will get rubbery when frozen and the frosting will separate when thawed. If you need to prep ahead, freeze the unfrosted cupcakes and make the frosting fresh. It only takes 10 minutes, I promise.
Conclusion
These quick ghost cupcakes with marshmallow frosting are proof that you don’t need to spend days in the kitchen to create something magical for Halloween. They’re the recipe I turn to every October when the school party sneaks up on me, when I need a last-minute treat for a neighborhood gathering, or when I just want to make my kids smile without breaking a sweat. The marshmallow frosting is everything — light, sweet, and impossibly fluffy — and the ghost design is so simple that even my six-year-old can help assemble them.
I hope you give these a try, whether you’re in a panic like I was or you’re just looking for a fun weekend baking project with the kids. Customize them however you like — turn them into mummies, make them chocolate, or keep them classic. The beauty of this recipe is that it works every time, no matter what twist you add. And honestly, that’s the best kind of recipe to have in your back pocket.
I’d love to hear how yours turn out! Drop a comment below and let me know if you tried any variations, or tag me in your photos on social media. Happy Halloween, and happy baking!
Pin This Recipe!
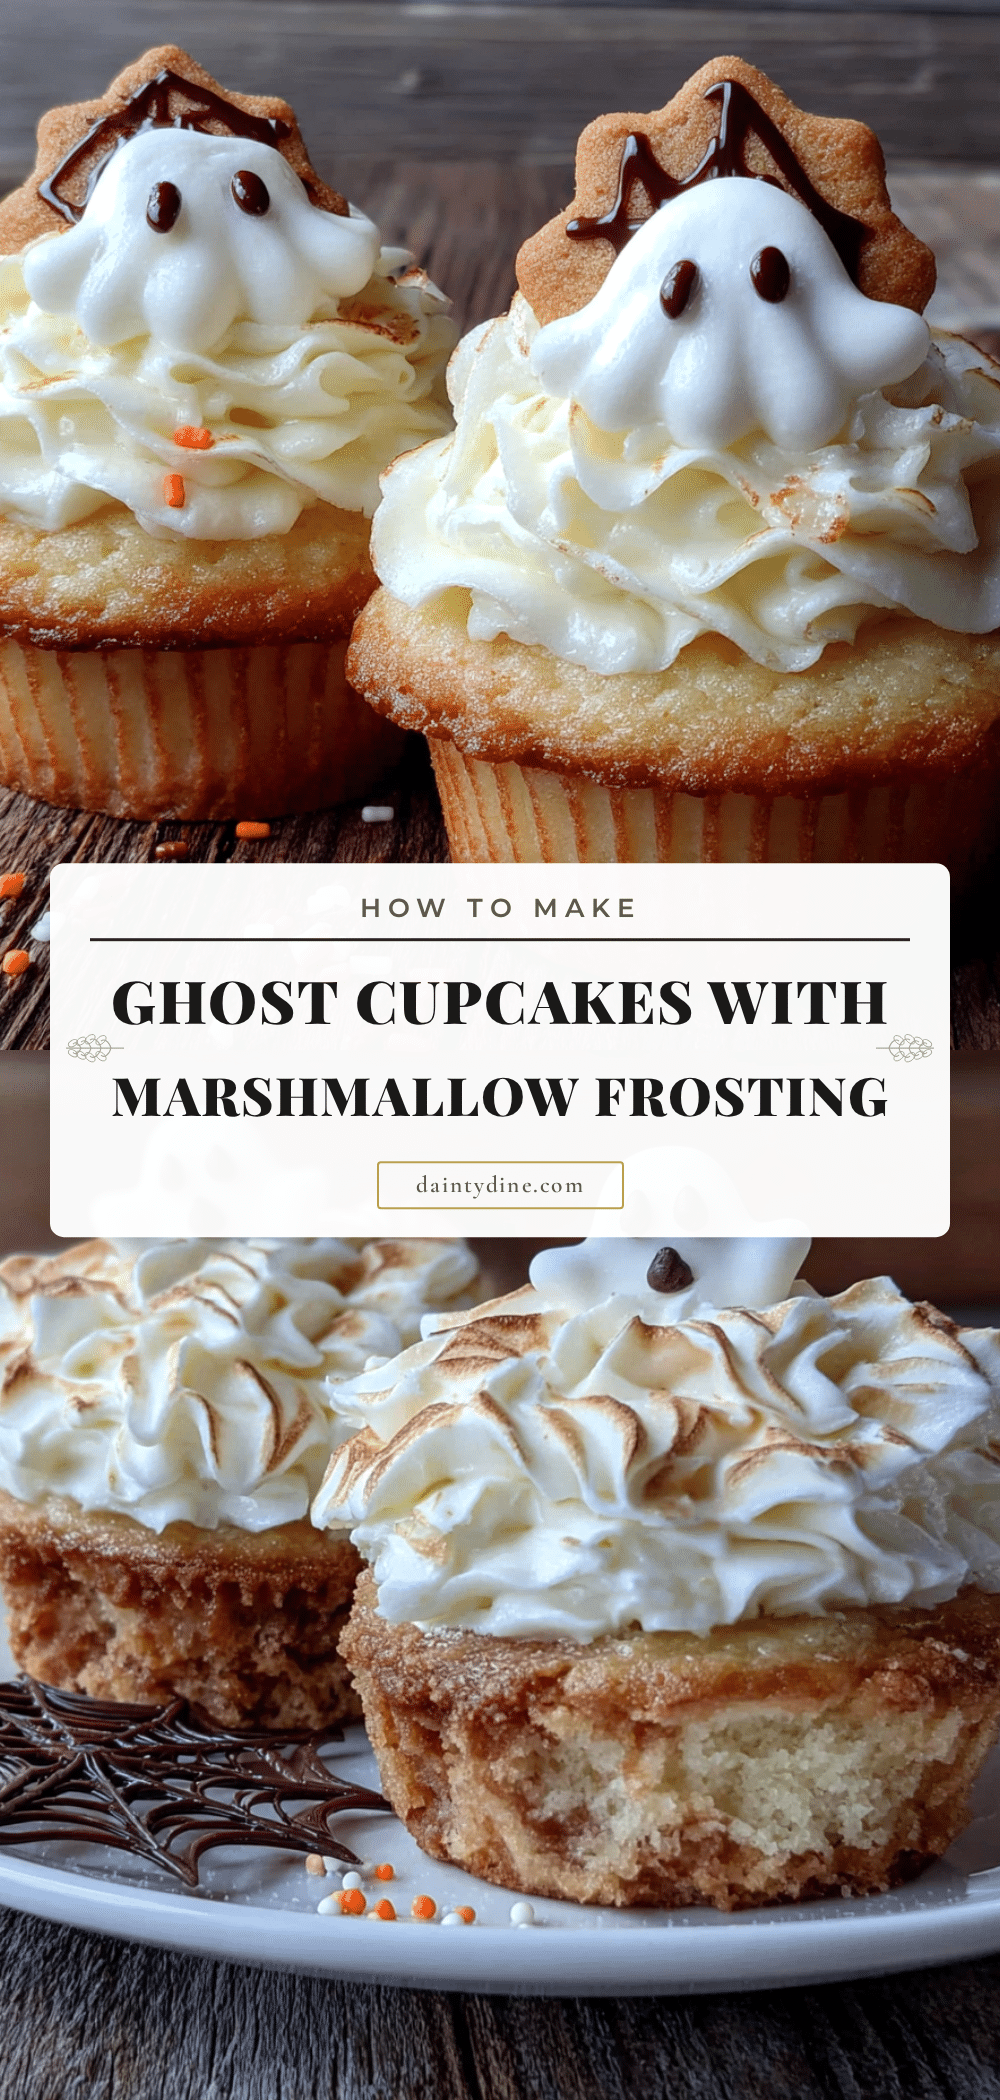
Quick Ghost Cupcakes with Marshmallow Frosting
These quick ghost cupcakes with marshmallow frosting are the ultimate Halloween hack. Made with simple ingredients like cake mix and marshmallows, they come together in about 45 minutes and are perfect for last-minute parties.
- Prep Time: 15 minutes
- Cook Time: 20 minutes
- Total Time: 45 minutes
- Yield: 12 servings 1x
- Category: Dessert
- Cuisine: American
Ingredients
- 1 box vanilla cake mix (Betty Crocker or Duncan Hines recommended)
- 3 large eggs, room temperature
- 1/2 cup vegetable oil (or melted coconut oil)
- 1 cup water (or milk for richer cupcakes)
- 1 teaspoon vanilla extract
- 1 cup unsalted butter, softened (Kerrygold recommended)
- 1 jar (7 oz) marshmallow creme (Fluff recommended)
- 2 cups powdered sugar, sifted
- 1 teaspoon vanilla extract
- Pinch of salt
- 1–2 tablespoons heavy cream (adjust for consistency)
- 12 jumbo marshmallows (Jet-Puffed or Campfire recommended)
- Mini chocolate chips (about 24 total, for eyes)
- Black gel food coloring (for mouth details, optional)
Instructions
- Preheat oven to 350°F (175°C). Line a 12-cup muffin tin with paper liners.
- In a large bowl, combine cake mix, eggs, oil, water, and vanilla extract. Mix on low speed for 30 seconds, scrape bowl, then beat on medium speed for 2 minutes until smooth and slightly thick.
- Divide batter evenly among the 12 liners, filling each about 2/3 full. Bake for 18-20 minutes, or until a toothpick inserted in the center comes out clean. Cool in pan for 5 minutes, then transfer to a wire rack to cool completely.
- While cupcakes cool, make frosting: In a large bowl, beat softened butter with an electric mixer on medium speed until smooth and creamy, about 2 minutes.
- Add marshmallow creme and beat until combined, scraping bowl as needed. Gradually add sifted powdered sugar, one cup at a time, beating on low speed. Add vanilla extract and salt.
- Increase speed to medium-high and beat for 3-4 minutes until light and fluffy. If too thick, add heavy cream one tablespoon at a time until spreadable. If too thin, add more powdered sugar.
- Once cupcakes are completely cool, spread a generous layer of marshmallow frosting on top of each cupcake, creating a smooth surface.
- Place a jumbo marshmallow in the center of each frosted cupcake, gently pressing down so it sticks. The frosting should come up slightly around the base.
- For ghost faces: Press two mini chocolate chips into the marshmallow for eyes, or use black gel food coloring with a toothpick to draw eyes and a small ‘o’ mouth. Place eyes on the top half of the marshmallow.
- Serve immediately or store in an airtight container at room temperature for up to 2 days. Best served the same day.
Notes
Don’t overmix the cupcake batter to avoid tough cupcakes. Room temperature ingredients are important for proper emulsification. If marshmallows are stale, microwave for 5 seconds to soften. Bake cupcakes the night before and assemble the day of for best results. Do not refrigerate assembled cupcakes as marshmallows will get hard. For gluten-free, use a gluten-free cake mix and certified gluten-free marshmallows. For dairy-free, use vegan butter and coconut cream instead of heavy cream.
Nutrition
- Serving Size: 1 cupcake
- Calories: 385
- Sugar: 38
- Fat: 18
- Saturated Fat: 8
- Carbohydrates: 54
- Protein: 3
Keywords: Halloween cupcakes, ghost cupcakes, marshmallow frosting, quick dessert, easy Halloween treat, last-minute party dessert


