Love this? Save it for later!
Share the inspiration with your friends
This was supposed to be a batch of classic snickerdoodles. I had the butter softening on the counter, the cinnamon ready to go, and a very specific vision of those crackly, sugar-dusted cookies I’ve been making since I was a kid. But then I opened the fridge and realized I was out of milk—the one ingredient I needed to get the dough to the right consistency. Standing there with the door open, feeling that blast of cold air, I spotted the carton of eggnog leftover from a party two weeks ago. I was already running late for a work call, the kitchen was a mess, and honestly, I was this close to just giving up on the whole idea. But I grabbed the eggnog, shrugged, and poured it in. Let me tell you, I was fully prepared for a disaster. What came out of the oven was nothing like the plan—and so much better.
The first bite had this unexpected warmth. Not just the cinnamon, but this subtle, creamy depth that made the cookie taste both familiar and completely new. I stood there in my messy kitchen, holding a slightly misshapen cookie, and just laughed. I mean, how often does a panic move actually work out? The edges were perfectly crisp, the centers were soft and pillowy, and that eggnog flavor was woven through every single crumb. It wasn’t overpowering—it was like the cookie had been kissed by the holidays. I knew right then I couldn’t keep this to myself.
Maybe you’ve been there, staring into your fridge, convinced you don’t have what you need, ready to scrap the whole plan. That’s exactly where this recipe was born. It’s proof that sometimes the best things come from a little chaos and a lot of eggnog. These cookies have become my go-to for holiday cookie swaps and lazy December afternoons. They’re quick, they’re forgiving, and they taste like a happy accident you’ll want to repeat on purpose.
Why You’ll Love This Recipe
These Quick Eggnog Snickerdoodle Cookies aren’t just another cookie recipe—they’re the kind of cookie that makes you wonder why you haven’t been adding eggnog to everything. I’ve tested this recipe six times to get the balance just right, tweaking the flour ratio and the spice blend until every batch came out consistently perfect. Here’s why I think you’ll fall for them too:
- Quick & Easy: From start to finish, these cookies are ready in about 25 minutes. No chilling the dough, no complicated steps—just mix, roll, and bake. Perfect for those weeknights when you need a sweet fix fast.
- Simple Ingredients: You probably have most of these in your pantry right now. The eggnog is the star, but everything else is basic baking staples. No special trips to the store required.
- Perfect for Holiday Baking: Whether it’s a cookie exchange, a family gathering, or just a cozy night in, these cookies bring that festive spirit without the fuss of a complicated recipe.
- Crowd-Pleaser: I’ve brought these to three different gatherings now, and every single time, people ask for the recipe. Kids love them, adults can’t stop at one, and even the pickiest eaters go back for seconds.
- Unbelievably Delicious: The texture is spot-on—crispy edges with a soft, tender center. The eggnog adds a richness that regular milk just can’t match, and the nutmeg-cinnamon coating gives it that classic snickerdoodle vibe with a holiday twist.
What makes this recipe different from the rest? It’s the way the eggnog interacts with the butter and sugar to create a cookie that’s both tender and slightly chewy. I’ve tried versions with heavy cream and half-and-half, but nothing gives you that same depth of flavor. This isn’t just another version of a snickerdoodle—it’s my best version, perfected through trial and error so you don’t have to figure it out yourself.
These cookies are the kind that make you close your eyes after the first bite. They’re comfort food reimagined—faster, easier, but with the same soul-soothing satisfaction that only a warm cookie can bring. Perfect for impressing guests without stress, or turning a simple Tuesday night into something worth celebrating.
What Ingredients You Will Need
This recipe uses simple, wholesome ingredients to deliver that bold eggnog flavor and satisfying snickerdoodle texture. Most of these are pantry staples, and the eggnog is the only thing you might need to pick up during the holiday season. Let me walk you through what you’ll need and why each one matters.
For the Cookie Dough
- Unsalted butter, softened (1 cup / 226g) — I always use unsalted so I can control the salt level. Let it sit out for about 30 minutes before you start. If you’re in a rush, you can microwave it for 10 seconds, but be careful not to melt it.
- Granulated sugar (1 cup / 200g) — Standard white sugar works best here. It gives the cookies that classic structure and sweetness.
- Large egg (1, room temperature) — The egg helps bind everything together. If you forgot to take it out of the fridge, place it in a bowl of warm water for 5 minutes.
- Eggnog (1/3 cup / 80ml) — This is the star ingredient. I recommend using a full-fat eggnog for the best flavor and texture. Light eggnog works in a pinch, but the cookies won’t be as rich. I’ve tried it with both store-bought and homemade, and honestly, store-bought works perfectly—just make sure it’s fresh.
- Vanilla extract (1 teaspoon) — Pure vanilla extract adds warmth and depth. If you only have imitation, it’ll still work, but the flavor won’t be as nuanced.
- All-purpose flour (2 1/2 cups / 312g) — Spoon and level your flour for the most accurate measurement. Scooping directly from the bag can pack in too much flour and make the cookies dry.
- Cream of tartar (2 teaspoons) — This is what gives snickerdoodles their signature tangy flavor and chewy texture. Don’t skip it—baking powder isn’t a good substitute here.
- Baking soda (1 teaspoon) — Works with the cream of tartar to help the cookies rise and spread just right.
- Salt (1/2 teaspoon) — Balances the sweetness and enhances all the flavors. I use fine sea salt for baking.
- Ground nutmeg (1/2 teaspoon) — This reinforces the eggnog flavor. Freshly grated nutmeg is amazing if you have it, but pre-ground works just fine.
For the Cinnamon-Sugar Coating
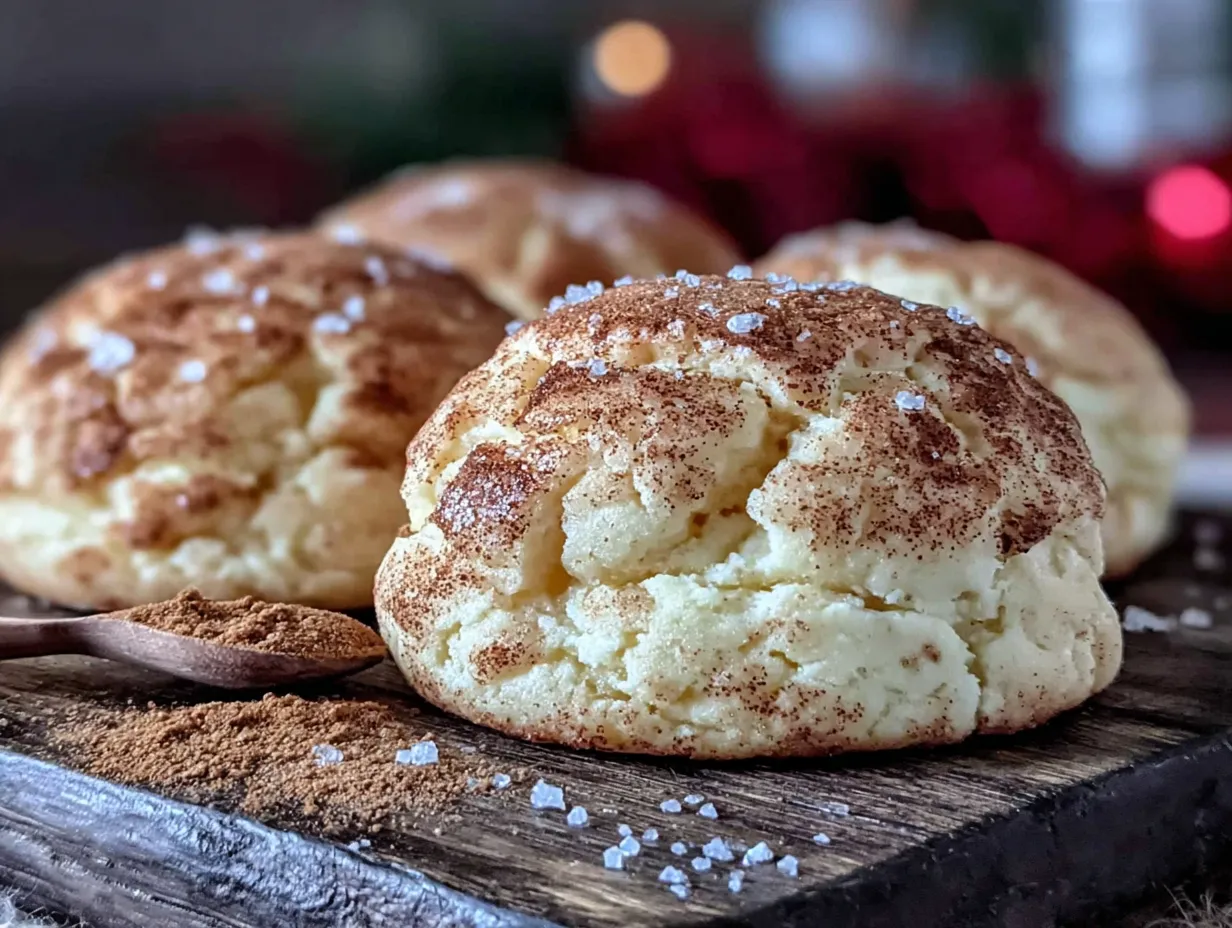
- Granulated sugar (1/4 cup / 50g) — Creates that sparkly, crunchy exterior.
- Ground cinnamon (2 teaspoons) — The classic snickerdoodle coating. I prefer Saigon cinnamon for its bold, warm flavor.
- Ground nutmeg (1/2 teaspoon) — Adds an extra layer of holiday spice that complements the eggnog in the dough.
Ingredient Selection Tip: When choosing eggnog, look for one that’s thick and creamy—the texture should be similar to heavy cream. Thin, watery eggnog won’t give you the same richness in the finished cookie. And if you’re making these outside of the holiday season, you can usually find eggnog in the dairy section year-round at larger grocery stores, or you can make a quick homemade version with milk, cream, sugar, and spices.
Equipment Needed
You don’t need any fancy gadgets for these cookies, which is part of why I love this recipe. Here’s what you’ll need to have on hand:
- Mixing bowls — One medium bowl for the dry ingredients and one large bowl for the wet ingredients. I use glass bowls because they don’t retain odors, but any bowl will work.
- Electric mixer (handheld or stand) — You can cream the butter and sugar by hand if you’re feeling ambitious, but an electric mixer makes it much easier and faster. I’ve used my trusty hand mixer for years and it gets the job done in about 2 minutes.
- Measuring cups and spoons — Accurate measurements matter in baking. I recommend using dry measuring cups for the flour and sugar, and a liquid measuring cup for the eggnog.
- Baking sheets — Two standard half-sheet pans work perfectly. If you only have one, just bake in batches and let the pan cool completely between rounds.
- Parchment paper or silicone baking mat — This prevents sticking and makes cleanup a breeze. I prefer parchment paper because it’s disposable and gives the cookies a slightly crisper bottom.
- Cooling rack — Essential for letting the cookies cool evenly. If you don’t have one, you can transfer the cookies to a plate, but they might get a bit soggy on the bottom.
- Small bowl for the cinnamon-sugar coating — Something shallow works best for rolling the dough balls.
- Cookie scoop (optional but helpful) — A 1.5-tablespoon scoop gives you perfectly uniform cookies every time. If you don’t have one, just use a regular spoon and try to make the balls about the same size.
Budget-Friendly Tip: You don’t need to buy expensive equipment for this recipe. A simple hand mixer costs around $15 and will last for years. If you’re really on a budget, you can cream the butter and sugar with a wooden spoon—it just takes a bit more elbow grease and about 5 extra minutes.
Preparation Method
Let’s get baking! This recipe comes together quickly, so I recommend having all your ingredients measured and ready before you start. Trust me, it makes the whole process smoother.
- Preheat your oven to 375°F (190°C). Line two baking sheets with parchment paper or silicone mats. Getting the oven hot before you start mixing ensures even baking from the moment the cookies go in.
- Cream the butter and sugar. In a large mixing bowl, beat the softened butter and granulated sugar together with an electric mixer on medium speed until light and fluffy—about 2 to 3 minutes. You’ll know it’s ready when the mixture looks pale and has a slightly grainy texture. Scrape down the sides of the bowl halfway through to make sure everything incorporates evenly.
- Add the wet ingredients. Beat in the egg, eggnog, and vanilla extract until well combined. The mixture might look a little curdled at this point—don’t panic, that’s normal. The eggnog and butter don’t always emulsify perfectly, but the flour will bring everything together in the next step. Mix until just combined, about 30 seconds.
- Combine the dry ingredients. In a separate medium bowl, whisk together the all-purpose flour, cream of tartar, baking soda, salt, and ground nutmeg. Whisking ensures the leavening agents and spices are evenly distributed throughout the flour. If you skip this step, you might end up with a pocket of baking soda in one cookie and none in another.
- Mix the dry into the wet. Gradually add the dry ingredients to the wet mixture, mixing on low speed or folding with a spatula until just combined. Be careful not to overmix—stop as soon as you no longer see streaks of flour. Overworking the dough can make the cookies tough. The dough will be soft and slightly sticky, which is exactly what you want.
- Prepare the cinnamon-sugar coating. In a small shallow bowl, whisk together the 1/4 cup granulated sugar, 2 teaspoons cinnamon, and 1/2 teaspoon nutmeg. Set it near your baking sheets so you can roll the cookies quickly.
- Shape and coat the cookies. Using a cookie scoop or a spoon, portion out rounded tablespoons of dough (about 1.5 tablespoons each). Roll each portion into a smooth ball between your palms. Drop the dough ball into the cinnamon-sugar mixture and roll it around until fully coated. Place the coated balls on the prepared baking sheets, spacing them about 2 inches apart. They’ll spread a bit, so give them room to breathe.
- Bake for 10 to 12 minutes. The cookies are done when the edges are set and lightly golden, but the centers still look slightly soft and puffy. Don’t wait for the centers to look fully baked—they’ll continue cooking from the residual heat of the pan. For softer, chewier cookies, pull them out at 10 minutes. For crisper edges, go for 12 minutes. Your kitchen should smell like a holiday bakery at this point!
- Cool on the baking sheet. Let the cookies rest on the hot baking sheet for 5 minutes. This step is crucial—the cookies are too fragile to move right out of the oven, and this resting time allows them to set properly. After 5 minutes, transfer them to a wire cooling rack to cool completely. If you try to move them too early, they’ll fall apart in your hands.
My Personal Tip: I like to sprinkle a tiny pinch of flaky sea salt on top of each cookie right when they come out of the oven. That little salty contrast makes the sweet eggnog flavor pop even more. It’s not necessary, but it takes these cookies from great to unforgettable.
Cooking Tips & Techniques
After making these Quick Eggnog Snickerdoodle Cookies more times than I can count, I’ve picked up a few tricks that make the process smoother and the results more consistent. Here are the lessons I learned the hard way so you don’t have to.
Don’t skip the cream of tartar. I know it’s one of those ingredients you might not have on hand, but it’s non-negotiable for snickerdoodles. Cream of tartar gives the cookies their distinctive tangy flavor and that signature chewy texture. I tried making a batch with just baking powder once, and the cookies came out flat and cakey—nothing like a snickerdoodle should be. If you bake snickerdoodles regularly, just keep a jar in your spice cabinet; it lasts forever.
Room temperature ingredients matter. I know, I know, nobody plans ahead perfectly. But here’s the thing: cold butter doesn’t cream properly with sugar, and cold eggnog can make the dough seize up. If you forgot to set things out, cut your butter into small cubes and let it sit for 15 minutes. For the egg, place it in a bowl of warm water for 5 minutes. These small steps make a real difference in the final texture.
Watch your bake time carefully. The difference between a perfect cookie and an overbaked one is about 60 seconds. Every oven runs a little differently, so start checking at the 9-minute mark. The cookies should look puffy and soft in the center, with just a hint of golden color around the edges. They’ll look underdone when you pull them out, but trust the process. That 5-minute rest on the hot pan finishes the baking perfectly.
Chill the dough if it’s too sticky. Depending on the humidity and your specific eggnog brand, the dough might feel overly sticky. If you’re struggling to roll it into balls without it sticking to your hands, pop the bowl in the fridge for 15 to 20 minutes. This firms up the butter and makes the dough much easier to handle. I’ve had to do this on humid summer days, and it works like a charm.
Use a cookie scoop for uniform size. This isn’t just about aesthetics—uniform cookies bake evenly. If some are bigger and some are smaller, the small ones will burn before the big ones are done. A 1.5-tablespoon scoop costs about $5 and is one of the best investments you can make for consistent baking.
Variations & Adaptations
One of the things I love about this recipe is how adaptable it is. I’ve experimented with several variations over the past few months, and here are my favorites that I think you’ll enjoy too.
Gluten-Free Version: Swap the all-purpose flour with a 1:1 gluten-free baking flour blend. I’ve tested this with Bob’s Red Mill Gluten-Free 1-to-1 Baking Flour, and the cookies turned out almost identical to the original. Just be sure your blend contains xanthan gum, which helps replicate the structure of gluten. The dough might be slightly more delicate, so handle it gently when rolling.
Dairy-Free Adaptation: Use vegan butter (I like Earth Balance buttery sticks) and replace the eggnog with a dairy-free alternative like almond milk nog or coconut milk nog. The flavor will be slightly different, but still delicious. Keep in mind that dairy-free eggnogs tend to be thinner, so you might need to add an extra tablespoon of flour to compensate.
Spiced-Up Version: Add 1/4 teaspoon of ground cloves and 1/4 teaspoon of ground ginger to the dough for a more complex spice profile. This turns the cookies into something closer to a gingerbread-snickerdoodle hybrid. I made this version for a cookie exchange last month, and they were the first to disappear from the table.
Eggnog Glaze Drizzle: For an extra festive touch, whisk together 1 cup of powdered sugar, 2 tablespoons of eggnog, and 1/4 teaspoon of nutmeg until smooth. Drizzle this over the cooled cookies for a beautiful finish. It adds a bit of sweetness, so you might want to reduce the sugar in the coating slightly if you go this route.
Bourbon-Infused Eggnog Cookies: Add 1 tablespoon of bourbon to the wet ingredients along with the eggnog. The alcohol bakes off during cooking, leaving behind a subtle warmth that pairs beautifully with the nutmeg and cinnamon. Just don’t tell the kids—this one is strictly for the adults.
I tried the spiced-up version last Christmas when I realized I was out of cinnamon and had to improvise with what was in my spice drawer. It turned out to be one of those happy accidents that I now make on purpose every year. Feel free to mix and match these ideas to create your own signature version.
Serving & Storage Suggestions
These cookies are best enjoyed warm, when the centers are still soft and the edges have that perfect snap. But they’re pretty amazing at room temperature too, so don’t stress about timing.
Serving Temperature: I love serving these slightly warm with a cold glass of milk or a mug of hot coffee. The contrast between the warm, spiced cookie and the cold drink is pure comfort. For a holiday gathering, arrange them on a platter with a dusting of powdered sugar and a few cinnamon sticks for a festive look.
Complementary Pairings: These cookies pair beautifully with eggnog (obviously), hot chocolate, chai tea, or a spiced apple cider. If you’re serving them for dessert, a scoop of vanilla ice cream or a dollop of whipped cream takes them to the next level. I’ve also crumbled them over vanilla yogurt for a quick breakfast treat—no judgment here.
Storage Instructions: Store the cookies in an airtight container at room temperature for up to 5 days. Place a slice of bread in the container to keep them soft—the cookies will absorb the moisture from the bread. Just replace the bread slice every couple of days if you’re storing them longer.
Freezer Instructions: These cookies freeze beautifully. You can freeze the baked cookies in a single layer on a baking sheet, then transfer them to a freezer-safe bag for up to 3 months. Thaw at room temperature for about 30 minutes before serving. Alternatively, freeze the unbaked dough balls on a baking sheet, then store them in a freezer bag. When you’re ready to bake, just roll them in the cinnamon-sugar coating and add 1 to 2 minutes to the bake time—no need to thaw first.
How Flavors Develop: Honestly, these cookies taste even better the next day. The spices meld together and the eggnog flavor becomes more pronounced. I’ve been known to hide a few in the back of the cookie jar just for myself. If you can resist eating them all on day one, you’re in for a treat on day two.
Nutritional Information & Benefits
Let’s be real—these are cookies, not health food. But I believe in enjoying treats in moderation, and these have a few redeeming qualities worth mentioning.
Estimated Nutritional Values (per cookie, based on 24 cookies):
- Calories: 165
- Total Fat: 8g
- Saturated Fat: 5g
- Cholesterol: 30mg
- Sodium: 95mg
- Total Carbohydrates: 22g
- Dietary Fiber: 0.5g
- Sugars: 12g
- Protein: 2g
Health Benefits of Key Ingredients: Eggnog contains calcium and vitamin D from the dairy, which supports bone health. Cinnamon has anti-inflammatory properties and can help regulate blood sugar levels. Nutmeg in small amounts has been linked to improved digestion and contains antioxidants. Of course, these benefits are minimal in a cookie, but it’s nice to know you’re getting a little something extra with your treat.
Dietary Considerations: This recipe contains gluten, dairy, and eggs, so it’s not suitable for those with allergies to these ingredients. However, the gluten-free and dairy-free variations I mentioned earlier work well for most dietary needs. If you’re watching your sugar intake, you can reduce the sugar in the dough to 3/4 cup, though the cookies won’t spread as much and will be slightly less tender.
My Personal Perspective: I believe in balance. These cookies are a treat, and there’s nothing wrong with enjoying them as part of a varied diet. I make them for holidays, special occasions, and sometimes just because it’s Tuesday. Life is short—eat the cookie.
Conclusion
These Quick Eggnog Snickerdoodle Cookies started as a kitchen mistake and became one of my most requested recipes. They’re proof that you don’t need a perfect plan to create something wonderful—sometimes you just need a little eggnog and a willingness to try something different. The combination of warm spices, tender centers, and that signature snickerdoodle tang is pure magic, and I’m so glad I stumbled into it.
I hope you give these cookies a try, whether you’re baking for a holiday party, a family gathering, or just because you need a little sweetness in your day. Feel free to customize them with the variations I shared, or come up with your own twist. That’s the beauty of baking—it’s always an adventure.
I’d love to hear how they turn out for you! Drop a comment below and let me know if you tried any variations, or share a photo of your cookies on Pinterest and tag me. Happy baking, and remember—the best recipes often come from the most unexpected moments.
Frequently Asked Questions
Can I use light eggnog instead of full-fat?
Yes, you can use light eggnog, but the cookies won’t be as rich or tender. Full-fat eggnog gives the best texture and flavor because it has more fat and a thicker consistency. If you only have light eggnog on hand, consider adding an extra tablespoon of melted butter to compensate for the reduced fat.
Why did my cookies turn out flat?
Flat cookies usually mean the butter was too soft or the dough was overmixed. Make sure your butter is softened but not melted—it should still hold its shape slightly when pressed. Also, avoid overmixing once you add the flour; mix just until the streaks disappear. If your baking soda is old, it might not provide enough lift, so check the expiration date.
Can I make the dough ahead of time?
Absolutely! You can prepare the dough, roll it into balls (without the cinnamon-sugar coating), and refrigerate it for up to 48 hours. When you’re ready to bake, roll the chilled dough balls in the coating and bake as directed. You might need to add 1 to 2 minutes to the bake time since the dough is cold.
How do I get that classic snickerdoodle crackle top?
The crackly top comes from the cream of tartar reacting with the baking soda and the sugar coating. For the best crackle, make sure your cream of tartar is fresh (check the date on the jar), and roll the dough balls generously in the cinnamon-sugar mixture. Don’t press the coating into the dough—just let it cling naturally.
Can I freeze the baked cookies?
Yes, baked cookies freeze wonderfully. Let them cool completely, then place them in a single layer in a freezer-safe bag or container with parchment paper between layers. They’ll keep for up to 3 months. Thaw at room temperature for about 30 minutes, or pop them in a 300°F oven for 5 minutes to warm them up and crisp the edges again.
Pin This Recipe!
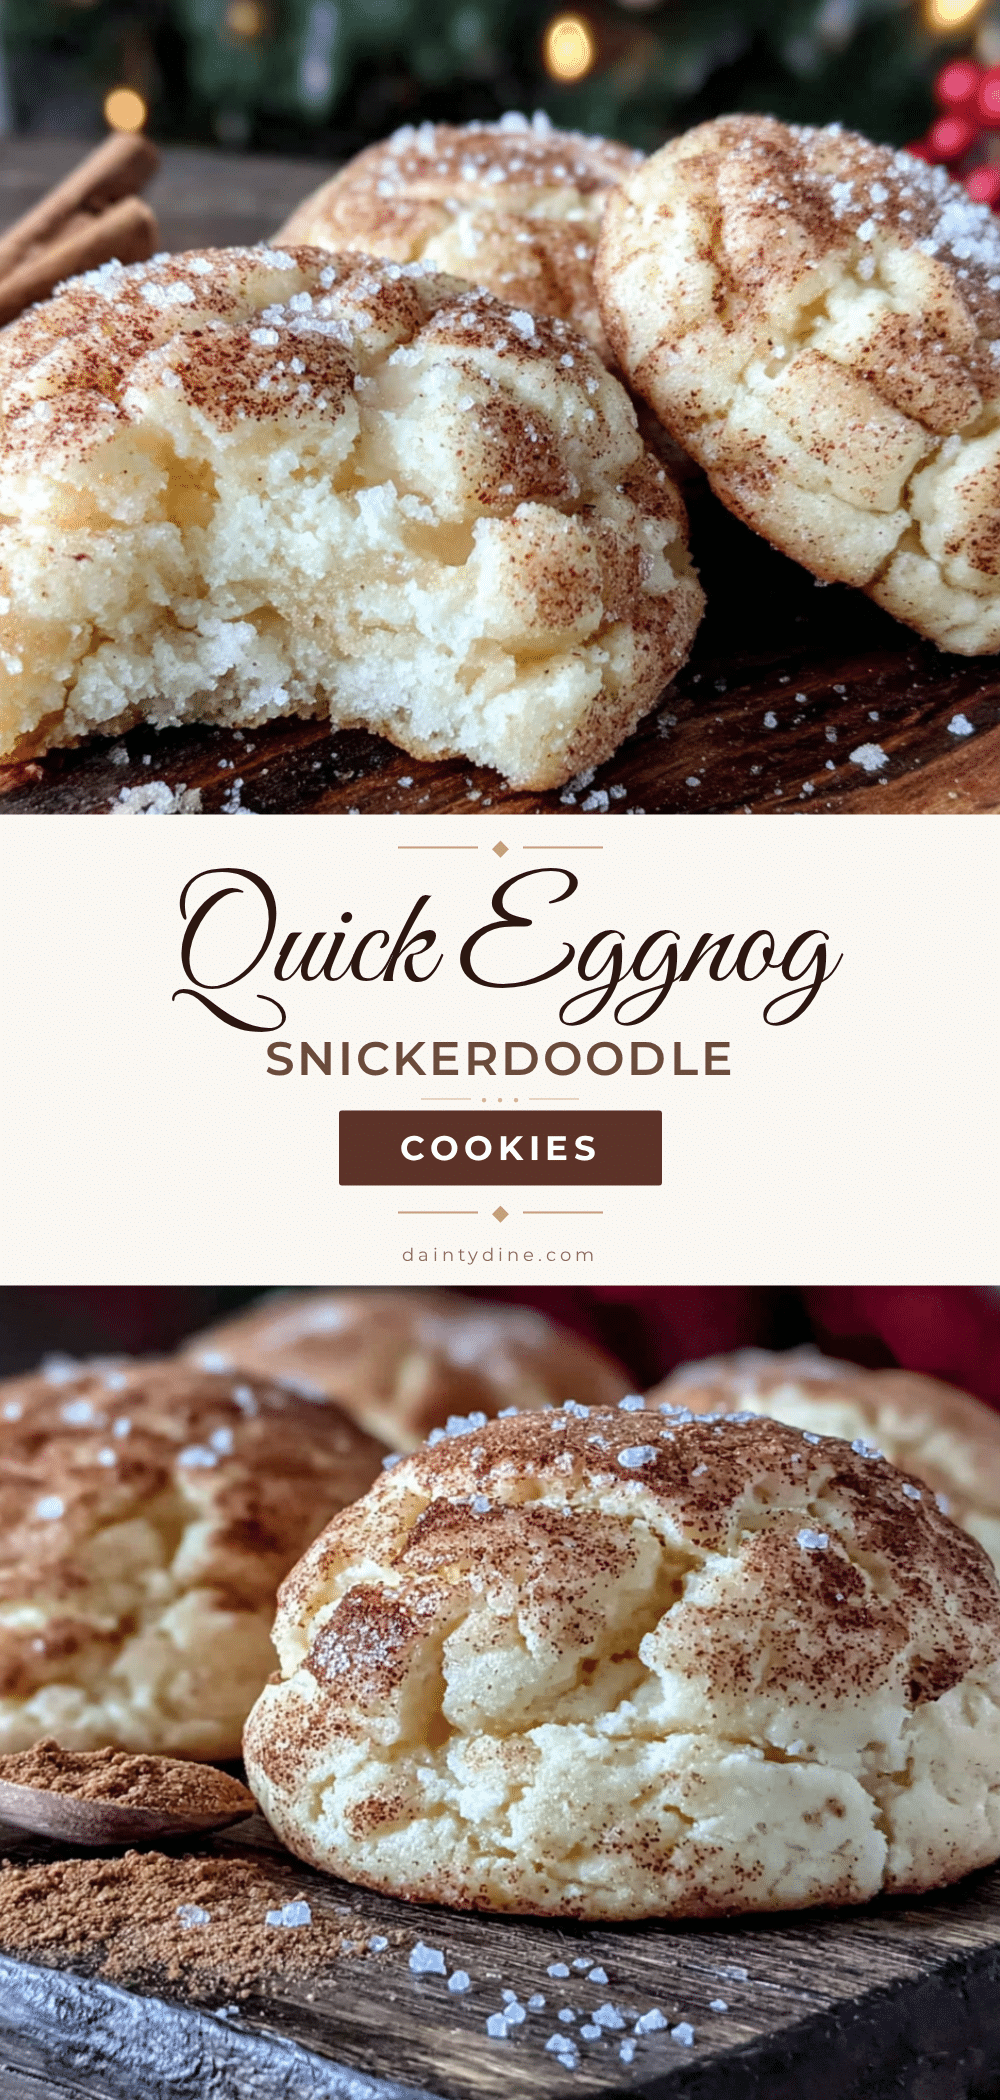
Quick & Easy Eggnog Snickerdoodle Cookies

These Quick Eggnog Snickerdoodle Cookies are a happy accident turned holiday favorite—soft, chewy centers with crisp edges, infused with warm eggnog and a cinnamon-nutmeg coating. Ready in about 25 minutes, they’re the perfect last-minute treat for cookie swaps or cozy December afternoons.
- Prep Time: 15 minutes
- Cook Time: 12 minutes
- Total Time: 27 minutes
- Yield: 24 cookies 1x
- Category: Dessert
- Cuisine: American
Ingredients
- 1 cup (226g) unsalted butter, softened
- 1 cup (200g) granulated sugar
- 1 large egg, room temperature
- 1/3 cup (80ml) full-fat eggnog
- 1 teaspoon vanilla extract
- 2 1/2 cups (312g) all-purpose flour
- 2 teaspoons cream of tartar
- 1 teaspoon baking soda
- 1/2 teaspoon salt
- 1/2 teaspoon ground nutmeg
- 1/4 cup (50g) granulated sugar (for coating)
- 2 teaspoons ground cinnamon (for coating)
- 1/2 teaspoon ground nutmeg (for coating)
Instructions
- Preheat oven to 375°F (190°C). Line two baking sheets with parchment paper or silicone mats.
- In a large bowl, beat softened butter and 1 cup granulated sugar with an electric mixer on medium speed until light and fluffy, about 2-3 minutes. Scrape down sides as needed.
- Beat in egg, eggnog, and vanilla extract until well combined (mixture may look slightly curdled).
- In a separate medium bowl, whisk together flour, cream of tartar, baking soda, salt, and 1/2 teaspoon nutmeg.
- Gradually add dry ingredients to wet mixture, mixing on low speed or folding with a spatula until just combined. Do not overmix. Dough will be soft and slightly sticky.
- In a small shallow bowl, whisk together 1/4 cup granulated sugar, 2 teaspoons cinnamon, and 1/2 teaspoon nutmeg for the coating.
- Using a cookie scoop or spoon, portion dough into rounded tablespoons (about 1.5 tablespoons each). Roll into smooth balls, then coat each ball in the cinnamon-sugar mixture. Place 2 inches apart on prepared baking sheets.
- Bake for 10-12 minutes, until edges are set and lightly golden but centers still look soft and puffy. For chewier cookies, bake 10 minutes; for crisper edges, bake 12 minutes.
- Let cookies rest on baking sheet for 5 minutes, then transfer to a wire rack to cool completely.
Notes
For best results, use full-fat eggnog. If dough is too sticky, chill for 15-20 minutes. Sprinkle flaky sea salt on cookies right out of the oven for extra flavor. Cookies taste even better the next day.
Nutrition
- Serving Size: 1 cookie
- Calories: 165
- Sugar: 12
- Sodium: 95
- Fat: 8
- Saturated Fat: 5
- Carbohydrates: 22
- Fiber: 0.5
- Protein: 2
Keywords: eggnog snickerdoodle cookies, quick eggnog cookies, holiday cookies, snickerdoodle recipe, easy Christmas cookies


