Love this? Save it for later!
Share the inspiration with your friends
My brother-in-law, Mark, claimed for years that he didn’t like chocolate chip cookies. Said they were too sweet, too dry, too… basic. For a guy who devours anything with caramel or peanut butter, this seemed like a personal attack on my baking identity. I mean, how can you not like a chocolate chip cookie? But I let it slide. We’d have family dinners, I’d bring a tray of cookies, and he’d politely pass. Then one Tuesday night, I was testing this small-batch recipe—just six cookies, purely for myself, because I had a craving and zero desire for leftovers. I pulled them out of the oven, let them cool for maybe three minutes, and went to answer the door for a package. When I came back, Mark was standing at the counter, mid-chew, with a guilty look on his face. “These are different,” he said, reaching for another. And honestly? That quiet victory was sweeter than the cookies themselves.
That night, I realized something important. Not every batch of cookies needs to feed a crowd. Sometimes you just want a few perfect ones—crispy edges, gooey centers, melty chocolate in every bite—without the temptation of a full dozen staring at you from the counter. This recipe was born from that exact moment. It’s designed for those times when you want to impress without the pressure. Maybe you’re hosting a small dinner party, or you just want to show up at a friend’s house with something warm and homemade. These cookies deliver that “wow” factor, but they’re secretly simple to pull off. And let me tell you, when you see someone’s face light up after that first bite—especially someone who swore they didn’t like cookies—it’s a feeling you’ll chase again and again.
Why You’ll Love This Recipe
Look, I’ve tested a lot of cookie recipes over the years. Some are too fussy, some spread into flat puddles, and some just don’t deliver that nostalgic, bakery-quality taste. This one hits all the right notes. Here’s why it’s become my go-to for every small gathering:
- Quick & Easy: From mixing bowl to cooling rack in under 30 minutes. No chilling required, which means you can satisfy that craving or welcome unexpected guests in no time.
- Simple Ingredients: You probably have everything in your pantry right now. Butter, sugar, an egg, flour, vanilla, baking soda, salt, and chocolate chips. That’s it. No fancy extracts or special flours.
- Perfect for Hosting: This is the ideal recipe when you’re having people over. It makes just six generous cookies—enough to share without being stuck with leftovers for a week. Plus, warm cookies fresh from the oven make any gathering feel special.
- Crowd-Pleaser: I’ve served these at book club, game night, and casual Sunday dinners. They disappear every single time. Even the pickiest eaters reach for seconds.
- Unbelievably Delicious: The texture is where these cookies shine. Golden and slightly crunchy on the outside, soft and chewy on the inside. Each bite has pockets of melted chocolate that just make you close your eyes for a second.
What Ingredients You Will Need
This recipe uses simple, everyday ingredients to create cookies that taste anything but ordinary. The magic is in the proportions and a few small tricks that make a big difference. Here’s what you’ll need:
- Unsalted butter, melted and slightly cooled – 4 tablespoons (56g). Melting the butter gives these cookies a chewier texture and deeper flavor than creaming cold butter. I like using unsalted so I can control the salt level. Let it cool for a couple minutes after melting so it doesn’t cook the egg.
- Granulated sugar – 3 tablespoons (38g). White sugar helps create those crispy, caramelized edges. It also adds sweetness without heaviness.
- Light brown sugar, packed – 2 tablespoons (28g). Brown sugar brings moisture and a hint of molasses flavor, which gives the cookies their soft, chewy centers. Make sure you pack it firmly into the spoon.
- Large egg yolk – 1 yolk (about 18g). Using just the yolk instead of the whole egg reduces water content, which means less spreading and a richer, more tender cookie. Save the white for breakfast or freeze it for later.
- Vanilla extract – ½ teaspoon. Pure vanilla makes a difference here. I prefer Nielsen-Massey or simply store-brand pure extract—just avoid imitation if you can.
- All-purpose flour – ⅔ cup (85g). Spoon and level your flour. Scooping directly from the bag packs it down and can make your cookies dry. Fluff it up first, then spoon into the measuring cup and level with a knife.
- Baking soda – ¼ teaspoon. This helps the cookies spread just enough and gives them a slight lift. Too much and they’ll puff up and fall flat.
- Salt – ¼ teaspoon, plus a pinch for sprinkling. Salt balances the sweetness and enhances the chocolate flavor. A sprinkle of flaky sea salt on top right after baking takes these to another level.
- Semi-sweet chocolate chips or chopped chocolate – ⅓ cup (60g). I love using a mix of chips and chopped chocolate for variety. Ghirardelli chips work great, but try chopping a dark chocolate bar for those melty pools. If you only have milk chocolate, reduce the sugar by a tablespoon.
Substitution notes: For a dairy-free version, use plant-based butter sticks (not spreadable margarine) and dairy-free chocolate chips. Coconut sugar can replace both sugars, though the cookies will be slightly less crisp. If you’re out of brown sugar, use all granulated and add ½ teaspoon of molasses or maple syrup.
Equipment Needed
You don’t need much to make these cookies, which is part of their beauty. Here’s what I use every time:
- Mixing bowls – One medium bowl for the wet ingredients and one small for the dry. A glass or ceramic bowl works fine.
- Whisk – For combining the wet ingredients smoothly. A fork works in a pinch.
- Rubber spatula or wooden spoon – For folding in the flour and chocolate chips without overmixing.
- Measuring cups and spoons – Accurate measurements matter in a small batch. I recommend stainless steel for dry ingredients and a liquid measuring cup for the melted butter.
- Baking sheet – A half-sheet pan is ideal. If you only have a dark nonstick pan, reduce the oven temperature by 25°F to prevent over-browning.
- Parchment paper or silicone baking mat – Parchment paper makes cleanup effortless and prevents sticking. Silicone mats work too, but cookies might spread slightly more.
- Cookie scoop or tablespoon – A 1.5-tablespoon scoop gives you evenly sized cookies. If you don’t have one, use two spoons to portion the dough.
- Cooling rack – Letting cookies cool on a rack stops the carryover cooking and keeps the bottoms from getting soggy.
I’ve made these cookies with just a fork and a bowl when I was staying at a friend’s cabin. They turned out perfectly. Don’t let missing equipment stop you—improvisation is part of the fun.
Preparation Method
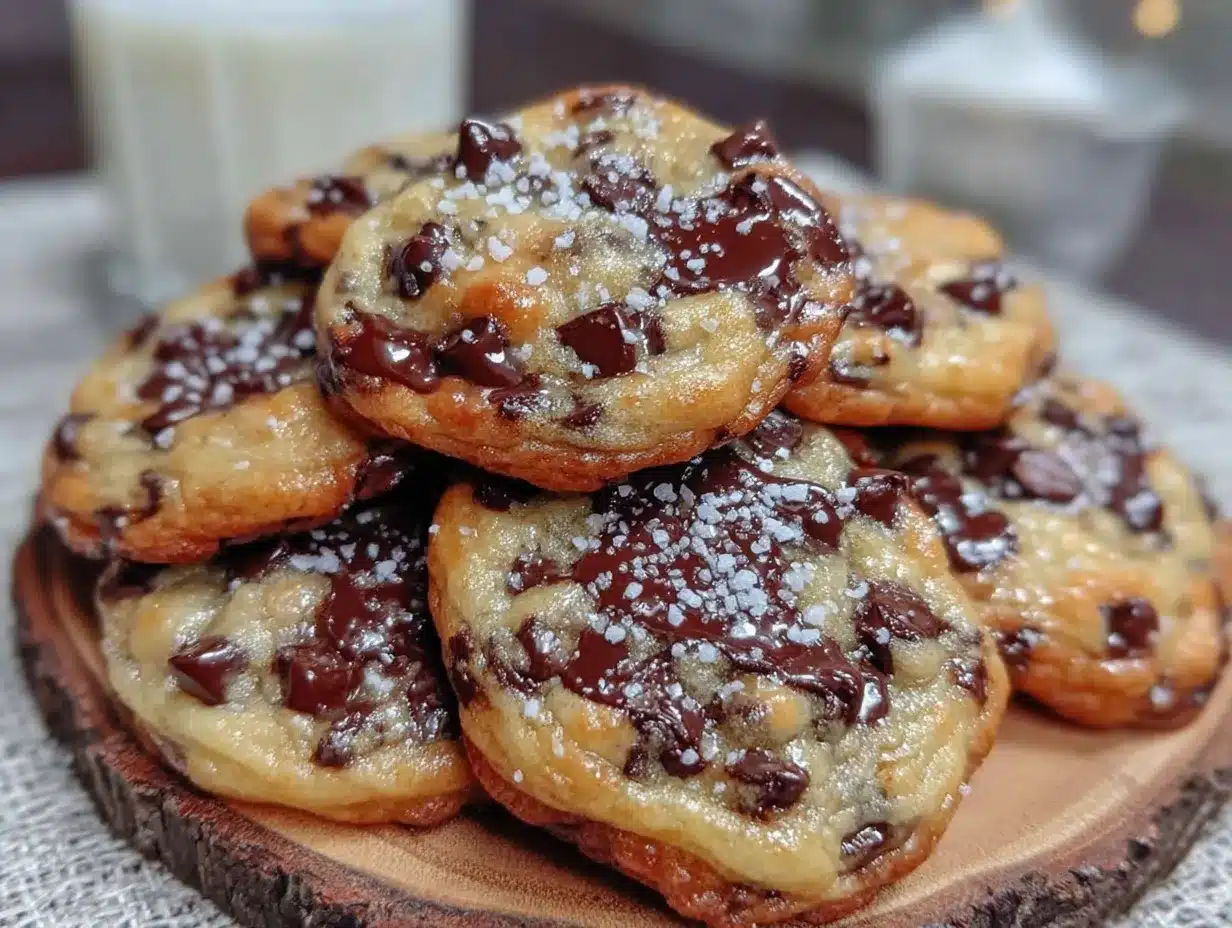
Let’s get baking. This recipe moves fast, so I like to have everything measured and ready before I start. Trust me, it makes the process smoother.
- Preheat your oven to 350°F (175°C). Line a baking sheet with parchment paper. Getting the oven hot while you mix ensures the cookies go in at the right temperature.
- Melt the butter. In a medium microwave-safe bowl, melt the 4 tablespoons of butter in 20-second bursts, stirring between each, until just melted. You don’t want it bubbling hot—just liquid. Let it sit for 2 minutes to cool slightly. If you’re using a stovetop, melt over low heat and then set aside.
- Combine the sugars and butter. Add the 3 tablespoons granulated sugar and 2 tablespoons packed brown sugar to the melted butter. Whisk vigorously for about 30 seconds until the mixture looks smooth and slightly thickened. It should smell like caramel at this point. If it separates, don’t worry—just keep whisking.
- Add the egg yolk and vanilla. Drop in the egg yolk and ½ teaspoon vanilla extract. Whisk again until everything is fully combined and the mixture looks pale and glossy, about 20 seconds. This step is important for creating that shiny, crackly top on the cookies.
- Mix the dry ingredients separately. In a small bowl, whisk together the ⅔ cup flour, ¼ teaspoon baking soda, and ¼ teaspoon salt. Make sure there are no lumps—baking soda loves to clump.
- Fold the dry into the wet. Pour the flour mixture into the butter mixture. Use your rubber spatula to fold gently, scraping from the bottom and turning the bowl. Stop as soon as you no longer see streaks of flour. Overmixing here will make the cookies tough. A few tiny flour patches are fine.
- Add the chocolate chips. Fold in the ⅓ cup chocolate chips until evenly distributed. If you want picture-perfect cookies, reserve a few chips to press onto the tops of the dough balls before baking.
- Portion the dough. Use your cookie scoop or a tablespoon to scoop six equal mounds of dough onto the prepared baking sheet, spacing them about 2 inches apart. The dough will be soft—that’s normal. If it feels too sticky to handle, chill it for 10 minutes.
- Bake. Place the baking sheet on the middle rack and bake for 9 to 11 minutes. At 9 minutes, the edges will be golden and set, but the centers will still look soft and slightly underdone. That’s exactly what you want. For crispier cookies, go to 11 minutes.
- Cool on the sheet. Let the cookies rest on the hot baking sheet for 3 minutes. This allows the centers to finish setting. If you move them too soon, they’ll fall apart. After 3 minutes, transfer them to a wire rack to cool completely—or serve warm, which is my favorite way.
Quick tip: Right when the cookies come out of the oven, gently press a few extra chocolate chips into the tops. It makes them look bakery-perfect and ensures every bite has chocolate. Also, sprinkle a tiny pinch of flaky sea salt over each cookie—it’s a game-changer.
Cooking Tips & Techniques
Over the years, I’ve learned a few things the hard way so you don’t have to. Here are my best tips for perfect small-batch chocolate chip cookies every time.
Don’t skip cooling the melted butter. I once rushed and used butter straight from the microwave. The cookies spread into thin, greasy puddles. Hot butter melts the sugar too quickly and thins out the dough. Let it cool for at least two minutes—until it’s warm but not hot to the touch.
Weigh your flour if you can. I know, I sound like a broken record, but measuring flour by volume is the number one reason cookies turn out dry or cakey. If you don’t have a scale, fluff the flour with a spoon, scoop it gently into your measuring cup, and level it with a knife. Never pack it down.
Use an egg yolk, not the whole egg. This is the secret to these cookies. A whole egg adds too much moisture and protein, which makes cookies puff up and then fall flat. The yolk alone gives you richness and tenderness without the excess liquid. Save the white for an omelet or add it to scrambled eggs.
Chill the dough if you have time. While this recipe works without chilling, letting the dough rest in the fridge for 30 minutes (or up to 24 hours) deepens the flavor and reduces spreading. The cookies will be slightly thicker and chewier. I’ve done both, and honestly, they’re delicious either way.
Watch the oven like a hawk. Ovens vary wildly. My friend’s oven runs hot and bakes these in exactly 8 minutes. Mine takes 10. Start checking at 8 minutes—you’re looking for golden edges and soft, puffy centers. The cookies will continue to cook on the hot pan after you pull them out.
Let them cool properly. I know it’s tempting to dive in immediately, but those 3 minutes on the baking sheet are non-negotiable. Moving them too early means broken cookies and frustrated baker. Trust the process.
Variations & Adaptations
One of the best things about this recipe is how easily it adapts. Here are some of my favorite twists.
Double Chocolate Chip: Replace 1 tablespoon of flour with unsweetened cocoa powder. Use white chocolate chips or dark chocolate chunks for a striking contrast. These are dangerously good and look stunning on a dessert plate.
Nutty Delight: Add ¼ cup of toasted, chopped pecans or walnuts along with the chocolate chips. Toast them first in a dry pan over medium heat for 3-4 minutes until fragrant—it brings out their oils and makes them crunchier. My dad swears by this version.
Gluten-Free Adaptation: Substitute the all-purpose flour with a 1:1 gluten-free baking flour blend that contains xanthan gum. I’ve used Bob’s Red Mill and King Arthur with great results. The cookies will be slightly more tender, but the flavor is spot-on.
Vegan Version: Use melted coconut oil or vegan butter in place of the dairy butter. Replace the egg yolk with 1 tablespoon of aquafaba (the liquid from a can of chickpeas) or a flax egg (1 tablespoon ground flaxseed mixed with 2.5 tablespoons water, left to thicken for 5 minutes). Use dairy-free chocolate chips. The texture will be a bit more cake-like, but still delicious.
Spiced Chai Cookies: Add ½ teaspoon of pumpkin pie spice or a mix of cinnamon, cardamom, and ginger to the dry ingredients. The warm spices pair beautifully with semi-sweet chocolate. I made these for a fall gathering and they were gone in minutes.
Serving & Storage Suggestions
These cookies are best served warm, straight from the oven, when the chocolate is still melty and the edges are crisp. For a dinner party, I like to bake them just as guests arrive—the smell alone sets the mood. Arrange them on a small wooden board or a simple white plate. A dusting of powdered sugar or a drizzle of melted chocolate makes them look extra special.
What to serve alongside: A glass of cold milk is the classic pairing, but don’t stop there. These cookies are fantastic with a scoop of vanilla bean ice cream, a dollop of whipped cream, or alongside a warm mug of coffee or chai tea. For a dessert board, pair them with fresh berries, sliced apples, and a few squares of dark chocolate.
Storage: If you have any leftovers (unlikely, but possible), store them in an airtight container at room temperature for up to 3 days. Place a slice of bread in the container to keep them soft—the cookies will absorb the moisture. Change the bread slice daily if storing longer.
Freezing: You can freeze the baked cookies for up to 2 months. Wrap them individually in plastic wrap and place in a freezer bag. Thaw at room temperature for 15 minutes, then warm in a 300°F oven for 5 minutes. Alternatively, freeze the raw dough balls on a baking sheet, then transfer to a freezer bag. Bake from frozen, adding 2 extra minutes to the baking time. This is my secret weapon for unexpected guests.
Reheating: Pop a cookie in the microwave for 10 seconds to revive that just-baked softness. For a crisper edge, warm in a toaster oven at 325°F for 3 minutes.
Nutritional Information & Benefits
Let’s be real—these are cookies, not health food. But knowing what’s in them helps you enjoy them mindfully. Per cookie (based on 6 cookies):
- Calories: approximately 210
- Fat: 12g (7g saturated)
- Carbohydrates: 26g (16g sugar)
- Protein: 3g
- Fiber: 1g
- Sodium: 150mg
Health highlights: Dark chocolate contains antioxidants called flavonoids, which can support heart health when consumed in moderation. Using butter instead of margarine means no hydrogenated oils or trans fats. The egg yolk provides vitamin D and choline, which supports brain function. And honestly? Sometimes the mental health benefit of enjoying a warm, homemade cookie with people you love is the most important nutrient of all.
Dietary considerations: This recipe contains gluten, dairy, and eggs. See the variations section for gluten-free and vegan adaptations. Not suitable for low-carb or keto diets due to the sugar content, but you can reduce the sugar to 4 tablespoons total (2 white, 2 brown) if needed.
Conclusion
This small-batch chocolate chip cookie recipe has become my secret weapon for hosting. It’s simple enough for a Tuesday night craving, but impressive enough to serve at a dinner party. The fact that it converted a self-proclaimed cookie hater? That’s just the cherry on top.
What I love most about this recipe is how forgiving it is. You don’t need fancy equipment or hours of chilling. You just need good ingredients, a little patience, and the willingness to share. Because honestly, cookies taste better when you’re eating them with someone else.
I’d love to hear how these turn out for you. Did you try a variation? Did you double the batch? Did anyone in your house claim they didn’t like chocolate chip cookies before tasting these? Drop a comment below or tag me in your photos. Happy baking, friend—you’ve got this.
Frequently Asked Questions
Can I double this recipe?
Absolutely. Simply double all the ingredients. Use one whole egg instead of two yolks (or keep it all yolks for extra richness). Bake in two batches or on two separate baking sheets to avoid overcrowding.
Why did my cookies spread too much?
This usually happens if the butter was too hot, you used too little flour, or the baking sheet was still warm from a previous batch. Make sure your butter is only slightly warm, measure your flour correctly, and always use a cool baking sheet.
Can I use salted butter instead of unsalted?
Yes, just reduce the added salt to ⅛ teaspoon. The cookies will have a slightly saltier flavor, which pairs beautifully with dark chocolate.
How do I make these cookies thicker?
Chill the dough for 30 minutes before baking. You can also add an extra tablespoon of flour to the dry ingredients. Both methods help the cookies hold their shape better.
What’s the best chocolate to use?
I prefer semi-sweet chocolate chips or a chopped dark chocolate bar (60-70% cocoa). Ghirardelli, Guittard, and Trader Joe’s chocolate bars all work wonderfully. Avoid chocolate chips with added stabilizers if you want those melty pools.
Pin This Recipe!
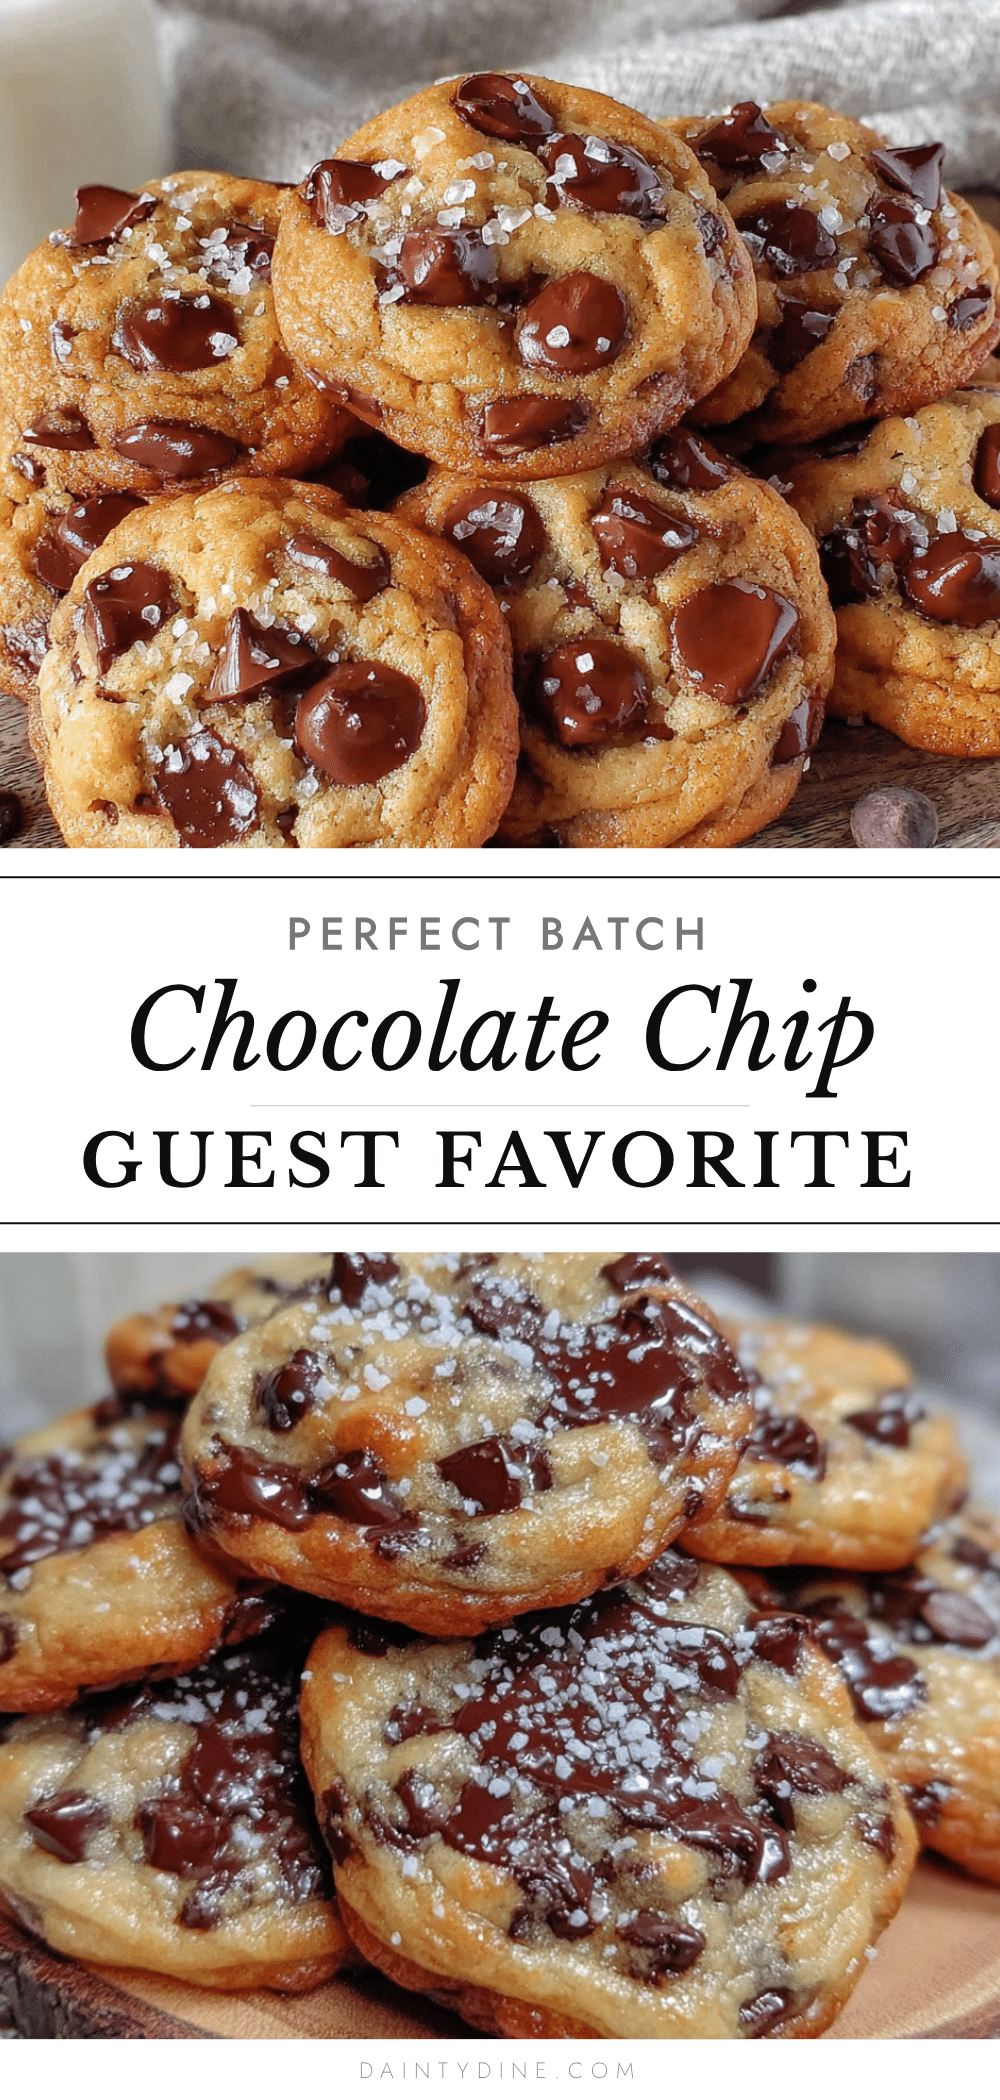
Perfect Small-Batch Chocolate Chip Cookies: Easy Guest-Favorite Dessert

These small-batch chocolate chip cookies are quick and easy, with crispy edges, gooey centers, and melty chocolate in every bite. Perfect for when you want to impress without the pressure of a full dozen.
- Prep Time: 10 minutes
- Cook Time: 10 minutes
- Total Time: 20 minutes
- Yield: 6 cookies 1x
- Category: Dessert
- Cuisine: American
Ingredients
- 4 tablespoons (56g) unsalted butter, melted and slightly cooled
- 3 tablespoons (38g) granulated sugar
- 2 tablespoons (28g) light brown sugar, packed
- 1 large egg yolk (about 18g)
- ½ teaspoon vanilla extract
- ⅔ cup (85g) all-purpose flour
- ¼ teaspoon baking soda
- ¼ teaspoon salt, plus a pinch for sprinkling
- ⅓ cup (60g) semi-sweet chocolate chips or chopped chocolate
Instructions
- Preheat your oven to 350°F (175°C). Line a baking sheet with parchment paper.
- Melt the butter in a medium microwave-safe bowl in 20-second bursts, stirring between each, until just melted. Let it sit for 2 minutes to cool slightly.
- Add the granulated sugar and packed brown sugar to the melted butter. Whisk vigorously for about 30 seconds until smooth and slightly thickened.
- Add the egg yolk and vanilla extract. Whisk again until fully combined and the mixture looks pale and glossy, about 20 seconds.
- In a small bowl, whisk together the flour, baking soda, and salt until no lumps remain.
- Pour the flour mixture into the butter mixture. Fold gently with a rubber spatula until just combined—stop as soon as you no longer see streaks of flour.
- Fold in the chocolate chips until evenly distributed. Reserve a few chips to press onto the tops of the dough balls before baking if desired.
- Scoop six equal mounds of dough onto the prepared baking sheet, spacing them about 2 inches apart. The dough will be soft.
- Bake on the middle rack for 9 to 11 minutes. At 9 minutes, edges will be golden and set, but centers will still look soft and slightly underdone.
- Let the cookies rest on the hot baking sheet for 3 minutes. Then transfer to a wire rack to cool completely or serve warm.
Notes
For best results, let the melted butter cool for at least 2 minutes before adding sugar. Weigh your flour if possible, or fluff and spoon it into the measuring cup. Chilling the dough for 30 minutes (or up to 24 hours) deepens flavor and reduces spreading. Right when cookies come out of the oven, press extra chocolate chips into the tops and sprinkle with flaky sea salt for a bakery look.
Nutrition
- Serving Size: 1 cookie
- Calories: 210
- Sugar: 16
- Sodium: 150
- Fat: 12
- Saturated Fat: 7
- Carbohydrates: 26
- Fiber: 1
- Protein: 3
Keywords: small-batch chocolate chip cookies, easy chocolate chip cookies, guest-favorite dessert, quick cookies, no-chill cookies


