Love this? Save it for later!
Share the inspiration with your friends
It was 11:17 PM on a quiet Thursday, and the urge to whip up something festive and unexpected hit me like a lightning bolt. I didn’t have the usual stash of pie crusts or fancy pastry tools that most people rely on to make something red, white, and blue for celebrations. But I did have a half-opened pack of cream cheese, a bag of frozen blueberries, and a box of graham crackers sitting quietly on the counter. The idea that arrived? Cheesecake bars—no fuss, no frills, just bold colors and rich flavors to match the mood of any festivity. Honestly, the kitchen was a bit of a mess by the time I finished, with flour dust on the floor and a cracked mixing bowl that added character to the whole experience.
You know that feeling when you try something in the middle of the night, completely wing it, and it turns out to be one of your best kitchen experiments? That’s exactly how these Perfect Red, White, and Blueberry Cheesecake Bars came to be my absolute go-to for any occasion that calls for a little sparkle on the dessert table. Maybe you’ve been there—half asleep, half inspired, and just needing a little edible joy. Let me tell you, this recipe stuck around for a reason: it’s simple, it’s stunning, and it’s ridiculously tasty.
Why You’ll Love This Recipe
I’m not saying this recipe is magic, but it sure feels like it—especially after a few tries and tweaks in my own kitchen. Here’s why these cheesecake bars have earned a permanent spot in my recipe box:
- Quick & Easy: Comes together in under 45 minutes, perfect for busy weeknights or last-minute celebrations.
- Simple Ingredients: No trips to specialty stores needed; you likely have everything in your pantry and fridge.
- Perfect for Celebrations: Whether it’s the Fourth of July, Memorial Day, or just a backyard barbecue, these bars add a festive touch.
- Crowd-Pleaser: Kids, adults, skeptics—they all keep coming back for seconds.
- Unbelievably Delicious: The creamy cheesecake layer with the tang of blueberries and the crumbly graham crust create a texture and flavor combo that’s pure comfort food.
This isn’t just another cheesecake bar recipe. The secret is in the layering technique and a touch of lemon zest that brightens up the rich cream cheese while balancing the sweetness. Plus, the way the berries burst in your mouth—honestly, it’s like fireworks in dessert form. And if you’ve ever tried to make a patriotic dessert that looks more “meh” than “wow,” this one will surprise you by being both pretty and perfectly balanced.
Ingredients You Will Need
This recipe uses simple, wholesome ingredients to deliver bold flavor and satisfying texture without the fuss. Most are pantry staples, and the fresh or frozen berries can be swapped depending on the season.
- For the crust:
- 1 ½ cups graham cracker crumbs (about 10 sheets, crushed finely)
- ¼ cup granulated sugar
- ½ cup unsalted butter, melted (I recommend using Kerrygold for a richer flavor)
- For the cheesecake layer:
- 16 oz (450g) cream cheese, softened (use Philadelphia brand for best texture)
- ¾ cup granulated sugar
- 2 large eggs, room temperature
- 1 tsp vanilla extract
- 1 tsp lemon zest (adds a fresh brightness)
- 2 tbsp all-purpose flour (optional, helps with firmness)
- For the topping:
- 1 cup fresh strawberries, sliced
- 1 cup fresh blueberries (or frozen, thawed and drained)
- 1 cup fresh raspberries
If you want to make this gluten-free, swap the graham crackers for gluten-free crumbs or finely crushed gluten-free cookies. For a dairy-free twist, you can use vegan cream cheese and coconut oil instead of butter. Just keep in mind this will slightly change the texture and flavor.
Equipment Needed
- 9×13 inch (23×33 cm) baking pan
- Mixing bowls (one large for batter, one small for crust)
- Electric mixer or hand mixer (for smooth cheesecake filling)
- Measuring cups and spoons
- Spatula (rubber/silicone preferred for scraping bowls)
- Knife and cutting board (for slicing berries)
- Aluminum foil or parchment paper (optional, for easier cleanup)
If you don’t have an electric mixer, a sturdy whisk and some arm power will do just fine—just expect the batter to take a little longer to get creamy. I’ve also used disposable foil pans when I needed to bring these bars somewhere, and they worked just as well without fuss.
Preparation Method
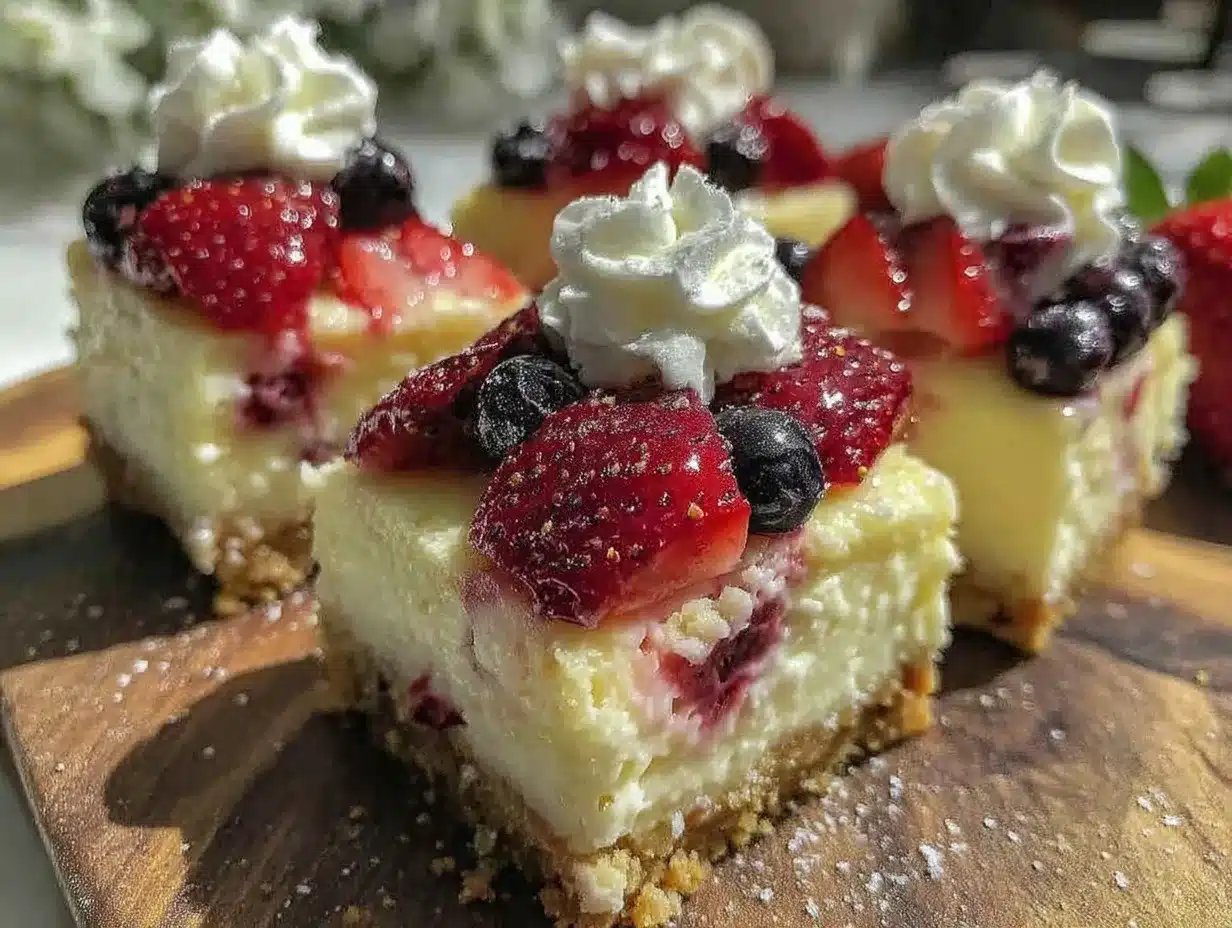
- Preheat your oven to 325°F (163°C). Grease the 9×13 inch baking pan or line with parchment paper for easy removal later. (5 minutes)
- Make the crust: In a medium bowl, combine 1 ½ cups graham cracker crumbs with ¼ cup sugar. Pour in ½ cup melted butter and stir until the mixture is evenly moistened and resembles wet sand. Press this mixture firmly into the bottom of your prepared pan to form an even layer. I find using the bottom of a measuring cup helps pack it down nicely. (10 minutes)
- Bake the crust: Place the pan in the oven and bake the crust for 10 minutes. This pre-bake helps the crust hold together under the cheesecake layer. Remove and set aside to cool slightly. (10 minutes)
- Prepare the cheesecake filling: In a large bowl, beat the softened cream cheese on medium speed until smooth and creamy. Gradually add ¾ cup sugar and continue mixing until fully incorporated and no lumps remain. Add the eggs one at a time, mixing well after each addition. Stir in vanilla extract, lemon zest, and flour if using. The batter should be thick but pourable. (10 minutes)
- Assemble the bars: Pour the cheesecake batter over the cooled graham cracker crust and spread evenly with a spatula. Arrange the sliced strawberries, blueberries, and raspberries on top in a red, white, and blue pattern or however you fancy. Be gentle so you don’t mix the berries into the batter. (10 minutes)
- Bake: Return the pan to the oven and bake for 35-40 minutes, or until the edges are set and the center jiggles slightly when gently shaken. Avoid overbaking to keep the cheesecake creamy. (35-40 minutes)
- Cool down: Let the cheesecake bars cool at room temperature for about 30 minutes, then refrigerate for at least 3 hours or preferably overnight. This chilling step is key—it firms up the bars and blends the flavors beautifully. (3+ hours)
- Serve: Once chilled, cut into squares with a sharp knife (wipe the blade clean between cuts for neat edges) and enjoy your festive creation! (5 minutes)
Tip: If the top cracks slightly during baking, don’t worry—it’s a common cheesecake quirk and doesn’t affect the flavor. Covering loosely with foil in the last 10 minutes can help prevent excessive browning.
Cooking Tips & Techniques
Making cheesecake bars might sound intimidating, but a few tricks can make all the difference. Here’s what I’ve learned over countless batches:
- Room temperature ingredients: Always soften your cream cheese and eggs before mixing. Cold ingredients cause lumps and uneven texture.
- Don’t overmix: Once the eggs go in, mix just until combined. Overmixing can trap air, leading to cracks or a spongy texture.
- Press crust firmly: A well-packed crust keeps the base from crumbling when you slice the bars.
- Use fresh or thawed berries: Frozen berries can add extra moisture. If you use frozen, drain them well to prevent sogginess.
- Chill thoroughly: Patience here pays off. The bars slice cleanly and taste better after a long chill.
- Knife cleaning: Warm your knife under hot water and dry it before slicing to get smooth, clean edges.
Once, I forgot to pre-bake the crust and ended up with a soggy bottom. Lesson learned! These little things might seem small but really boost your success and make the process more relaxing (and less like a kitchen panic).
Variations & Adaptations
This recipe is a perfect canvas for creativity. I’ve experimented with a few variations that you might want to try:
- Seasonal twists: Swap the berries for peaches and blackberries in late summer or pomegranate seeds and kiwi for a winter celebration.
- Chocolate lovers: Add a chocolate swirl to the cheesecake batter or sprinkle mini chocolate chips atop the crust before baking.
- Dietary swaps: Use almond flour for the crust to make it gluten-free, or coconut yogurt and vegan cream cheese for a dairy-free version.
- Flavor boosts: Add a teaspoon of almond extract or a pinch of cinnamon to the batter for a subtle flavor change.
- Cooking methods: If you want a no-bake option, skip baking the cheesecake layer and chill for 6+ hours, though the texture will be softer.
Personally, I once tried adding a layer of blueberry jam between the crust and the cheesecake layer for extra jammy goodness—totally worth the extra step!
Serving & Storage Suggestions
These cheesecake bars taste best chilled but not ice-cold. Let them sit at room temperature for 10-15 minutes before serving to bring out the creamy texture and flavors. They’re beautiful on a festive platter alongside a pitcher of iced tea or sparkling lemonade.
To store, cover the bars tightly with plastic wrap or store in an airtight container in the fridge for up to 5 days. You can also freeze them for up to 2 months; thaw overnight in the refrigerator before serving. Reheating isn’t recommended as it changes the texture, but letting frozen bars thaw slowly keeps them delicious.
Flavors actually deepen over time—if you can resist, letting the bars chill overnight makes the lemon zest and berry notes pop even more.
Nutritional Information & Benefits
Each cheesecake bar (assuming 16 servings) contains approximately:
| Calories | 280 |
|---|---|
| Fat | 18g |
| Carbohydrates | 24g |
| Protein | 5g |
The cream cheese provides a good source of protein and calcium, while the berries offer antioxidants and vitamin C. Using fresh fruit boosts the nutritional value and adds natural sweetness. For those watching carbs or dairy, substitutions can make this dessert fit your needs without losing the celebratory vibe.
Conclusion
There’s something truly special about making a dessert that looks as good as it tastes, especially when it’s tied to meaningful celebrations. These Perfect Red, White, and Blueberry Cheesecake Bars are more than just a recipe—they’re a reminder that with a little creativity (and maybe some late-night inspiration), you can make something memorable with the simplest ingredients.
I encourage you to make this recipe your own—try different berries, add your favorite zest, or even play with the crust. And if you do, please share your versions and stories. I love hearing how these bars show up in your kitchens and celebrations. After all, food is best when it’s shared, both in flavor and in story.
Here’s to many joyful, delicious moments ahead!
FAQs
Can I use frozen berries instead of fresh for this recipe?
Yes, you can use frozen berries, but make sure to thaw and drain them well to avoid excess moisture making the bars soggy.
How do I prevent cracks on the cheesecake surface?
To avoid cracks, don’t overmix the batter, bake at a moderate temperature, and avoid sudden temperature changes. Also, chilling thoroughly helps minimize cracks.
Can I make these cheesecake bars ahead of time?
Absolutely! They taste even better after chilling overnight and can be stored in the fridge for up to 5 days or frozen for longer storage.
What’s the best way to cut these bars neatly?
Use a sharp knife warmed under hot water and wiped dry before slicing. Clean the knife between cuts for the cleanest edges.
Are these bars gluten-free?
The original recipe isn’t, due to the graham cracker crust. To make it gluten-free, substitute the graham crackers with gluten-free cookie crumbs or almond flour crust.
Pin This Recipe!
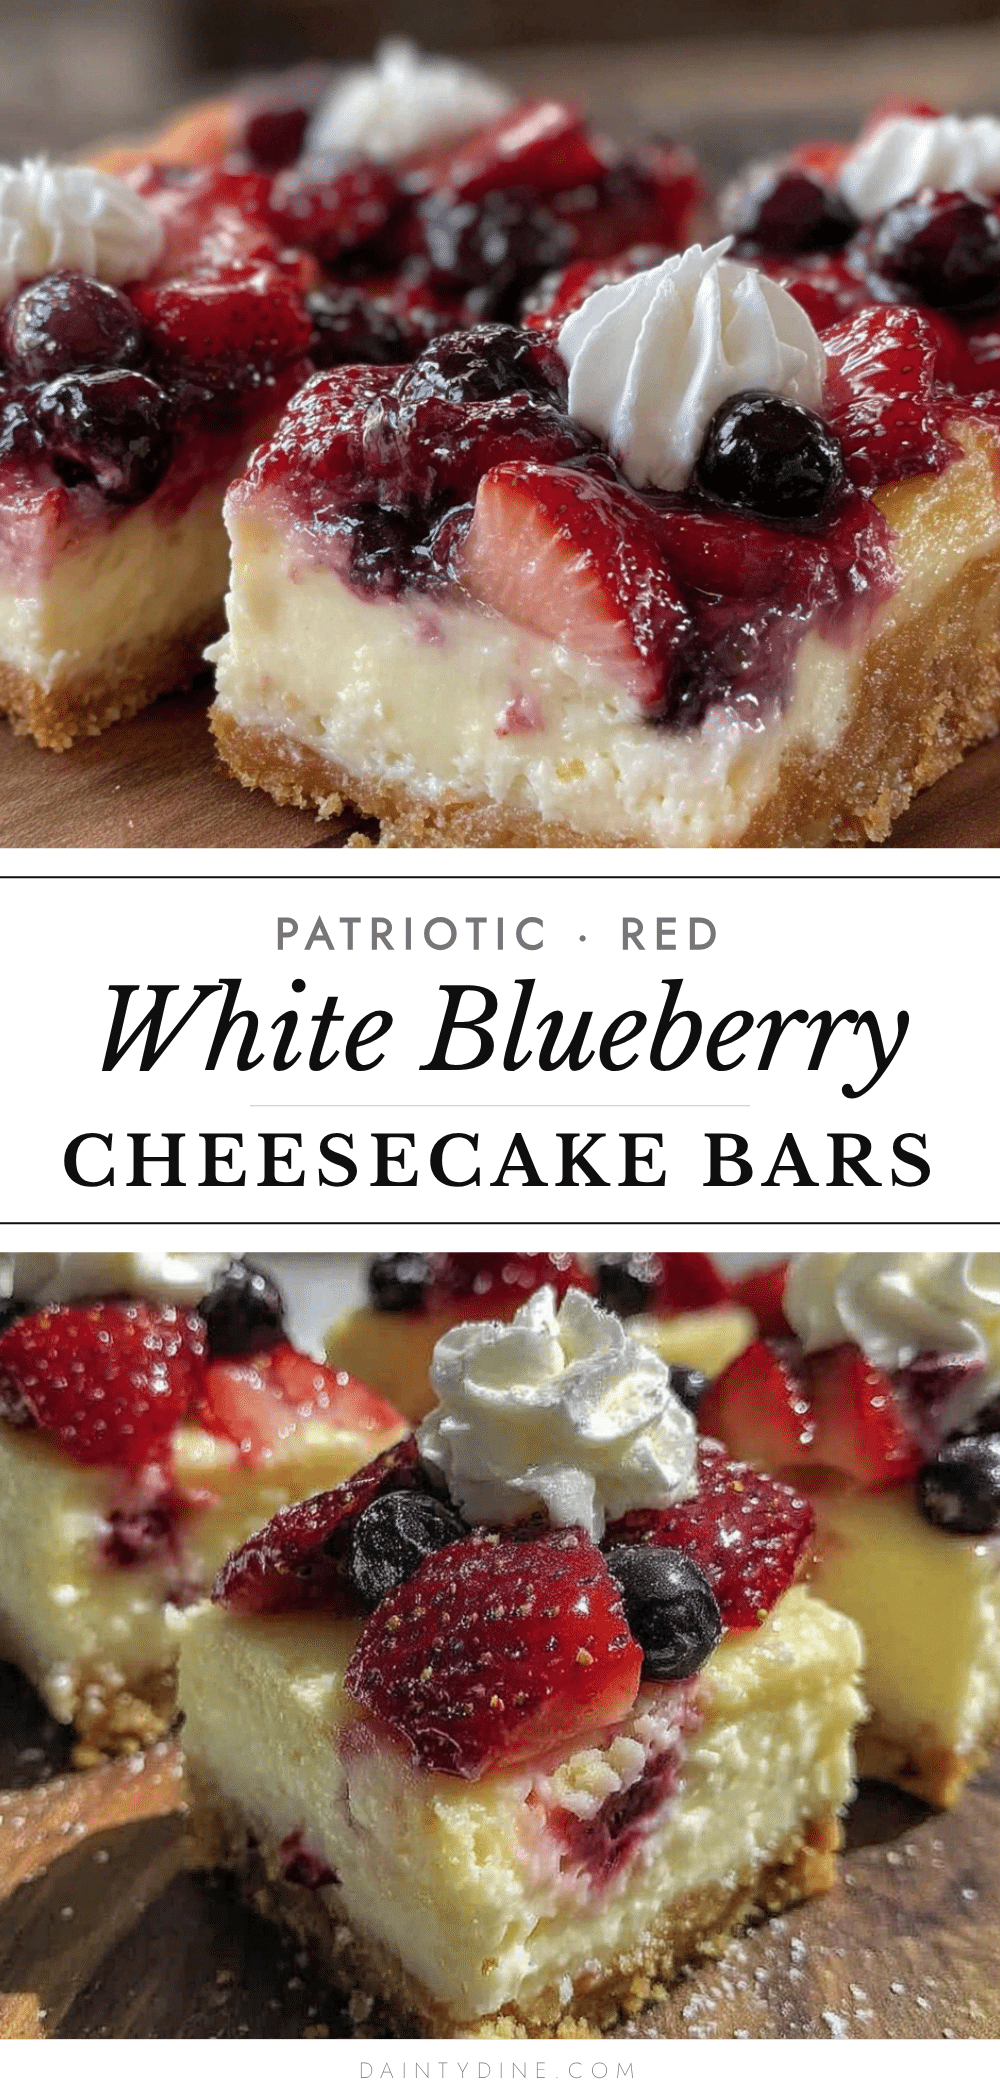
Perfect Red White and Blueberry Cheesecake Bars
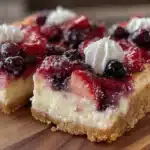
Festive and easy cheesecake bars with a graham cracker crust, creamy cheesecake layer, and a vibrant red, white, and blue berry topping. Perfect for celebrations and quick to prepare.
- Prep Time: 25 minutes
- Cook Time: 45 minutes
- Total Time: 4 hours 10 minutes
- Yield: 16 servings 1x
- Category: Dessert
- Cuisine: American
Ingredients
- 1 ½ cups graham cracker crumbs (about 10 sheets, crushed finely)
- ¼ cup granulated sugar
- ½ cup unsalted butter, melted
- 16 oz (450g) cream cheese, softened
- ¾ cup granulated sugar
- 2 large eggs, room temperature
- 1 tsp vanilla extract
- 1 tsp lemon zest
- 2 tbsp all-purpose flour (optional)
- 1 cup fresh strawberries, sliced
- 1 cup fresh blueberries (or frozen, thawed and drained)
- 1 cup fresh raspberries
Instructions
- Preheat your oven to 325°F (163°C). Grease the 9×13 inch baking pan or line with parchment paper for easy removal later.
- In a medium bowl, combine 1 ½ cups graham cracker crumbs with ¼ cup sugar. Pour in ½ cup melted butter and stir until the mixture is evenly moistened and resembles wet sand. Press this mixture firmly into the bottom of your prepared pan to form an even layer.
- Place the pan in the oven and bake the crust for 10 minutes. Remove and set aside to cool slightly.
- In a large bowl, beat the softened cream cheese on medium speed until smooth and creamy. Gradually add ¾ cup sugar and continue mixing until fully incorporated and no lumps remain. Add the eggs one at a time, mixing well after each addition. Stir in vanilla extract, lemon zest, and flour if using. The batter should be thick but pourable.
- Pour the cheesecake batter over the cooled graham cracker crust and spread evenly with a spatula. Arrange the sliced strawberries, blueberries, and raspberries on top in a red, white, and blue pattern or however you fancy. Be gentle so you don’t mix the berries into the batter.
- Return the pan to the oven and bake for 35-40 minutes, or until the edges are set and the center jiggles slightly when gently shaken. Avoid overbaking to keep the cheesecake creamy.
- Let the cheesecake bars cool at room temperature for about 30 minutes, then refrigerate for at least 3 hours or preferably overnight.
- Once chilled, cut into squares with a sharp knife (wipe the blade clean between cuts for neat edges) and enjoy.
Notes
Use room temperature cream cheese and eggs to avoid lumps. Do not overmix after adding eggs to prevent cracks. Press crust firmly to avoid crumbling. Use fresh or well-drained thawed frozen berries to prevent sogginess. Chill bars thoroughly for best texture and flavor. Warm and dry knife before slicing for clean edges. Cover loosely with foil in last 10 minutes of baking to prevent excessive browning.
Nutrition
- Serving Size: 1 bar (1/16th of rec
- Calories: 280
- Fat: 18
- Carbohydrates: 24
- Protein: 5
Keywords: cheesecake bars, red white and blue dessert, patriotic dessert, easy cheesecake, berry cheesecake bars, celebration dessert