Love this? Save it for later!
Share the inspiration with your friends
I was standing in the frozen foods aisle last Tuesday—trying to decide between two brands of frozen pizza, honestly feeling a little sorry for myself—when a woman walked past me, and I caught it. That warm, nutty, almost caramel-like smell that hits you when butter has been cooked just until it turns golden brown. And suddenly I was nine years old, standing on a step stool in my aunt Maggie’s tiny kitchen, watching her swirl a pan of butter on the stove while she hummed along to the radio. She wasn’t making anything fancy. Just cookies. But the way that smell filled her whole apartment—it felt like being wrapped in a blanket you didn’t know you needed.
I haven’t seen Aunt Maggie in years. She moved out to Arizona, and we mostly just send each other birthday texts now. But that smell? It stuck with me in a way I didn’t fully understand until I started trying to recreate it in my own kitchen. The problem was, every recipe I tried turned out too heavy, too sweet, or just… not right. They were good cookies, sure. But they weren’t her cookies. You know that feeling when you’re chasing a taste you can almost remember but not quite hold onto?
So I started experimenting. I wanted something lighter than the usual brown butter cookie—less dense, more delicate. Something that still had that deep, toasty flavor but didn’t leave you feeling like you’d eaten a brick. And after maybe a dozen batches (and one memorable incident where I forgot the flour entirely), I landed on this version. These light & buttery small batch brown butter chocolate chip cookies are exactly what I was looking for. They’re crisp on the edges, soft in the middle, and that brown butter flavor comes through in every single bite without overwhelming anything. I’ve been making them ever since, and honestly, I think Aunt Maggie would approve.
Why You’ll Love This Recipe
Let me tell you why these cookies have become my go-to—and why I think they’ll become yours too.
- Quick & Easy: From start to finish, you’re looking at about 30 minutes. No chilling required, which means you can have warm cookies in your hand before you even finish watching one episode of your show.
- Simple Ingredients: You probably already have everything in your pantry. The only slightly unusual step is browning the butter, but I promise it’s easier than it sounds.
- Perfect for Small Batches: This recipe makes exactly 8 cookies. No more, no less. Which means no leftover dough staring at you from the fridge, tempting you to bake just one more tray at 10 PM.
- Crowd-Pleaser: I’ve brought these to three different gatherings now, and every single time, someone asks for the recipe. Kids love them, adults love them—they’re just universally good.
- Unbelievably Delicious: The texture is what gets people. They’re light and almost airy, but still have that satisfying chew. And the brown butter adds this layer of flavor that makes regular chocolate chip cookies taste, well, a little boring.
What makes these different from every other brown butter cookie recipe out there is the ratio. Most brown butter cookies use a lot of butter and end up dense and greasy. I played around with the proportions until I found a balance that keeps the cookies light while still delivering that deep, nutty flavor. Plus, using a mix of white and brown sugar gives you the perfect crisp-to-chew ratio. It’s not just another version—it’s the version I keep coming back to, week after week.
These cookies are the kind that make you close your eyes after the first bite. They’re comfort food reimagined—familiar but somehow better than you remembered. Perfect for a quiet afternoon when you need a little pick-me-up, or for impressing someone without a ton of effort.
What Ingredients You Will Need
This recipe uses simple, wholesome ingredients to create something that tastes way more complicated than it actually is. Here’s what you’ll need:
For the Cookies
- Unsalted butter, 5 tablespoons (70g) — This is the star of the show. You’ll be browning it, so don’t try to substitute margarine or spreads. The water content matters here.
- All-purpose flour, ¾ cup (95g) — Spoon and level it. Don’t scoop directly from the bag or you’ll end up with too much flour and dry cookies.
- Granulated sugar, ¼ cup (50g) — Adds sweetness and helps with those crispy edges.
- Light brown sugar, ¼ cup packed (50g) — Pack it firmly. This gives the cookies moisture and that subtle molasses flavor that pairs so well with brown butter.
- One large egg yolk — Just the yolk. Using only the yolk keeps the cookies tender and rich without making them cakey. Save the white for scrambled eggs tomorrow.
- Vanilla extract, ½ teaspoon — I use pure vanilla extract, not imitation. It makes a difference, I promise.
- Baking soda, ¼ teaspoon — Helps the cookies spread just enough.
- Salt, ¼ teaspoon — Don’t skip this. Salt balances the sweetness and makes the brown butter flavor pop.
- Semi-sweet chocolate chips, ⅓ cup (60g) — I prefer Ghirardelli or Guittard for consistent melting. But honestly, any good-quality chip works fine.
Ingredient Tips & Substitutions
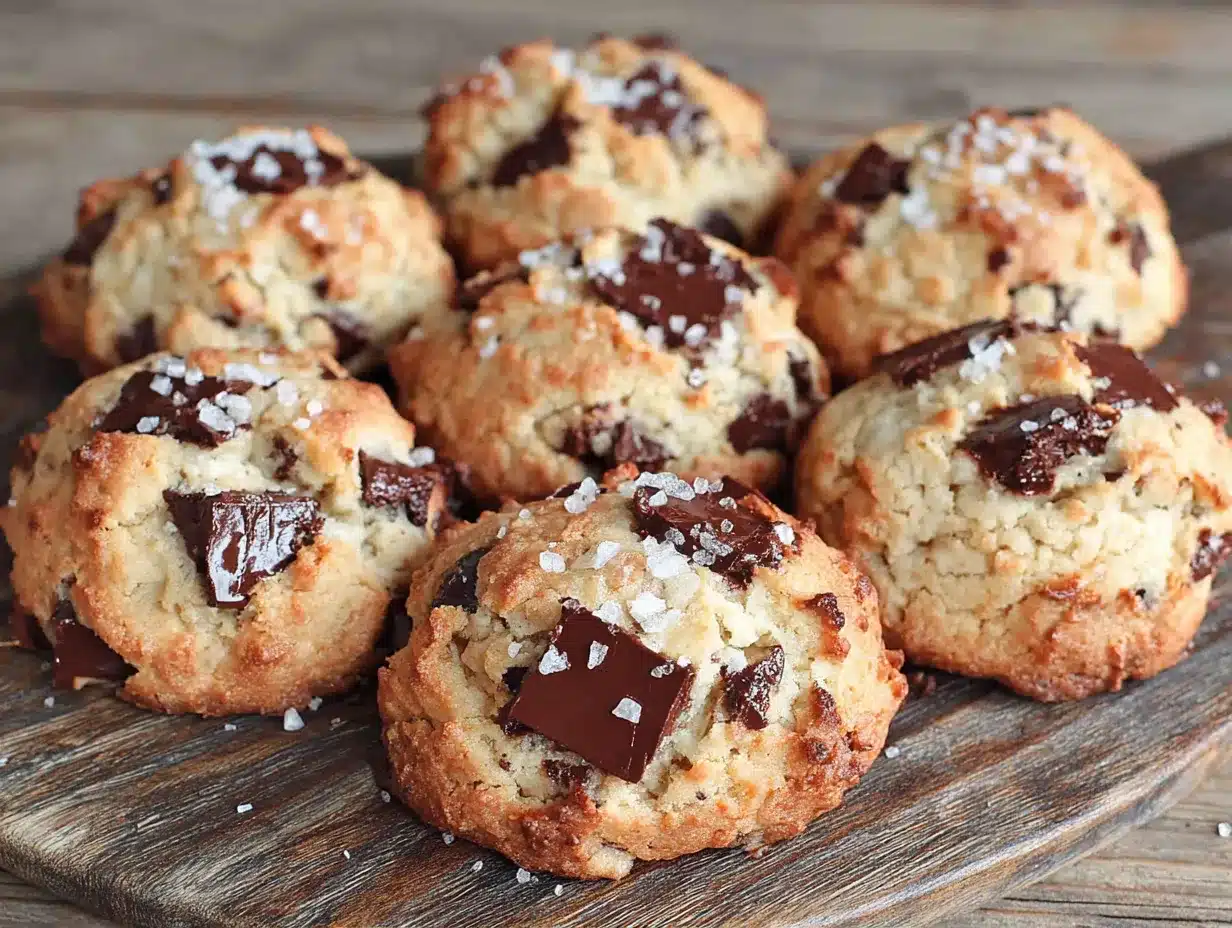
- For the butter, I recommend using a brand like Kerrygold or Plugrà if you can. Their higher butterfat content gives you a richer brown butter flavor. But store-brand works perfectly well too—I’ve tested it.
- If you only have salted butter on hand, just reduce the added salt to a pinch. Easy fix.
- For a dairy-free version, you can try using a plant-based butter stick (not the spreadable kind in a tub). Miyoko’s or Country Crock Plant Butter work decently for browning, though the flavor won’t be quite as deep.
- Feel free to swap the chocolate chips for chunks, or use dark chocolate if you prefer less sweetness. White chocolate also works here if that’s your thing—the brown butter pairs beautifully with it.
Equipment Needed
- Small saucepan — For browning the butter. A light-colored pan is actually helpful here because you can see the butter change color more easily.
- Mixing bowls — One medium, one small. Nothing fancy needed.
- Whisk — For combining the sugars and butter.
- Rubber spatula — For folding in the flour and chips. A wooden spoon works too.
- Baking sheet — A standard half-sheet pan is perfect. Line it with parchment paper for easy cleanup.
- Cookie scoop or tablespoon — For evenly sized cookies. I use a 1.5-tablespoon scoop, but a regular spoon works if you’re careful.
- Cooling rack — Helps the cookies set without getting soggy on the bottom.
If you don’t have a kitchen scale, don’t worry—I’ve given cup measurements too. But honestly, a scale makes baking so much more consistent. They’re like $15 on Amazon and totally worth it if you bake even semi-regularly.
Preparation Method
- Brown the butter: Place the 5 tablespoons of butter in a small saucepan over medium heat. Let it melt completely, then continue cooking, swirling the pan occasionally. You’ll see it start to foam and then turn golden. Watch closely—once you see brown specks forming at the bottom and it smells nutty, take it off the heat immediately. This usually takes about 4-5 minutes. Pour it into a heat-safe bowl to stop the cooking process. Let it cool for about 5 minutes. (Pro tip: If you burn it, just start over. Burnt butter tastes bitter and there’s no saving it.)
- Mix the sugars and butter: Add both the granulated sugar and brown sugar to the warm brown butter. Whisk vigorously until combined—it should look like wet sand. Let this sit for about 2 minutes to cool slightly.
- Add the egg yolk and vanilla: Whisk in the egg yolk and vanilla extract until the mixture is smooth and glossy. It might look a little separated at first, but keep whisking—it’ll come together.
- Combine the dry ingredients: In a small bowl, whisk together the flour, baking soda, and salt. Make sure there are no lumps.
- Fold in the flour mixture: Add the dry ingredients to the wet mixture. Use a rubber spatula to fold gently until just combined. A few streaks of flour are okay—overmixing will make the cookies tough.
- Fold in the chocolate chips: Add the chocolate chips and fold 3-4 times until evenly distributed. The dough will be soft and slightly greasy-looking. That’s normal.
- Portion the dough: Using a cookie scoop or tablespoon, scoop 8 equal portions of dough onto a parchment-lined baking sheet, spacing them about 2 inches apart. They’ll spread a bit, so give them room.
- Bake: Place the baking sheet in a preheated 350°F (175°C) oven. Bake for 9-11 minutes, or until the edges are golden brown and the centers still look slightly underdone and puffy. (The smell in your kitchen right now is going to be incredible.)
- Cool on the pan: Let the cookies rest on the baking sheet for 5 minutes. They’ll continue cooking from the residual heat. Then transfer them to a cooling rack to cool completely—or eat one warm. I won’t judge.
Cooking Tips & Techniques
I learned most of these the hard way, so you don’t have to.
Don’t rush the browning: The first time I made brown butter, I cranked the heat to high thinking it would go faster. It didn’t. The butter burned on the outside while the inside was still just melted. Low and slow is the way to go. Medium heat, patient swirling, and watch for those brown specks. Once you see them, you have about 10 seconds before it goes from perfect to burnt.
Measure your flour correctly: This is probably the most common mistake in cookie baking. If you scoop directly from the bag with your measuring cup, you can end up with 20-30% more flour than you need. Instead, fluff the flour with a spoon, then spoon it into your measuring cup and level it off with a knife. Your cookies will thank you.
Let the dough rest if you have time: I know I said no chilling required, and that’s true. But if you have an extra 30 minutes, letting the dough rest at room temperature allows the flour to fully hydrate and the flavors to meld. The cookies will be slightly chewier. If you’re in a hurry, they’ll still be amazing.
Underbake slightly: Pull the cookies out when the centers still look a tiny bit underdone. They’ll set up perfectly as they cool. Overbaked cookies are sad, dry cookies. Trust the process.
Use a light-colored pan if possible: Dark baking sheets absorb more heat and can cause the bottoms of your cookies to brown too quickly. If all you have is a dark pan, reduce the oven temperature by 25°F and check a minute earlier.
Variations & Adaptations
One of the best things about this recipe is how easy it is to play with. Here are some variations I’ve tried and loved:
- Add flaky sea salt: Right when the cookies come out of the oven, sprinkle a tiny pinch of flaky sea salt on top of each one. The salt crystals add a wonderful crunch and make the chocolate taste even richer. This is my personal favorite variation.
- Swap the chocolate: Try using chopped dark chocolate bars instead of chips for pools of melted chocolate. Or use white chocolate and macadamia nuts for a tropical twist. I once used chopped toffee bits mixed with milk chocolate chips and it was dangerously good.
- Add nuts: Fold in ¼ cup of toasted pecans or walnuts along with the chocolate chips. Toast them first in a dry pan for 3-4 minutes to bring out their flavor. The crunch is a lovely contrast to the soft cookie.
- Make them gluten-free: Substitute the all-purpose flour with a good gluten-free 1:1 baking flour blend (I like King Arthur’s or Bob’s Red Mill). The texture will be slightly different—a bit more delicate—but the flavor is still spot on.
- Double the batch: If 8 cookies just isn’t enough (I get it), simply double all the ingredients. The method stays exactly the same. Just make sure your bowl is big enough.
Serving & Storage Suggestions
These cookies are best served warm, about 5-10 minutes after they come out of the oven. The edges are crisp, the center is soft, and the chocolate is still melty. Pair them with a cold glass of milk, a hot cup of coffee, or honestly, just eat them on their own. They don’t need anything else.
If you’re serving them to guests, arrange them on a plate with a little ramekin of extra flaky salt on the side. It looks pretty and lets people customize their own.
Storage: Keep any leftover cookies (if there are any) in an airtight container at room temperature for up to 3 days. They’ll soften slightly over time, but they’re still delicious. I actually kind of like them on day two—the flavors settle and get even better.
Freezing: You can freeze the baked cookies for up to 2 months. Just layer them between sheets of parchment paper in a freezer-safe container. To reheat, pop one in a 300°F oven for 5 minutes, or microwave for 10-15 seconds. You can also freeze the raw dough balls on a baking sheet, then transfer them to a freezer bag. Bake straight from frozen, adding 2 extra minutes to the bake time.
Reheating tip: If you’re reheating a single cookie, 10 seconds in the microwave is perfect. It softens the center and makes the chocolate gooey again without overheating the whole thing.
Nutritional Information & Benefits
These are cookies, so let’s not pretend they’re health food. But here’s the estimated breakdown per cookie (based on 8 cookies):
- Calories: ~210
- Fat: 12g
- Carbohydrates: 26g
- Sugar: 16g
- Protein: 3g
That said, using brown butter actually lets you use less butter overall compared to many cookie recipes, since the browning process concentrates the flavor. So you get more taste with less fat. Plus, using just an egg yolk instead of a whole egg reduces the cholesterol slightly while keeping the texture rich.
The semi-sweet chocolate provides a small amount of antioxidants (flavonoids, specifically), and if you use a high-quality dark chocolate, you get even more. But honestly, the main benefit here is the joy they bring. Sometimes a cookie is just what you need for your mental health, and I’m fully here for that.
These cookies are vegetarian, and can be made gluten-free with the flour substitution mentioned above. They contain dairy and eggs, so they’re not suitable for vegan diets as written.
Conclusion
Look, I know there are a million chocolate chip cookie recipes out there. I’ve tried probably 30 of them myself. But these light & buttery small batch brown butter chocolate chip cookies are the ones I keep coming back to. They’re not trying to be everything to everyone—they’re just trying to be really, really good. And they are.
What I love most about them is how personal they feel. That brown butter smell still takes me right back to Aunt Maggie’s kitchen, but now I’m making my own memories with them. I’ve made them on rainy afternoons when I needed comfort. I’ve made them for friends who were going through hard times. I’ve made them just because it was Tuesday and I wanted something warm.
I hope you’ll try them and make them your own. Maybe you’ll add extra salt, or swap in dark chocolate, or eat three in a row while standing over the kitchen counter. No judgment here. That’s what cookies are for.
If you do make them, I’d love to hear how they turned out. Leave a comment below and let me know—did you add anything? Change anything? Eat them all before they cooled? I want to know. And if you have a cookie memory like mine, share that too. It’s nice to know we’re all chasing the same warm, buttery feeling.
Happy baking, friend.
Frequently Asked Questions
Can I make these cookies without browning the butter?
Technically yes, but you’ll lose the whole point of the recipe. The browning adds a nutty, caramel-like depth that regular melted butter just doesn’t have. If you’re short on time, you can melt the butter and add a teaspoon of browned butter extract, but it won’t be quite the same.
Why did my cookies turn out flat?
Flat cookies usually mean the butter was too warm when you mixed in the dry ingredients. Let the brown butter cool for at least 5 minutes before adding the egg yolk. Also, make sure your baking soda isn’t expired—it loses its effectiveness over time.
Can I use whole eggs instead of just the yolk?
You can, but the texture will change. Using just the yolk keeps the cookies tender and rich. A whole egg adds more moisture and protein, which makes the cookies slightly cakey. If you only have whole eggs, use one whole egg and reduce the butter by 1 tablespoon.
How do I know when the butter is properly browned?
Look for three signs: the butter will smell nutty and toasty, it will have turned a golden-amber color, and you’ll see tiny brown specks forming at the bottom of the pan. Once you see all three, pull it off the heat immediately.
Can I double this recipe?
Absolutely! Just double every ingredient and follow the same steps. The bake time might need an extra minute or two if you’re baking two sheets at once. Just rotate the pans halfway through for even baking.
Pin This Recipe!
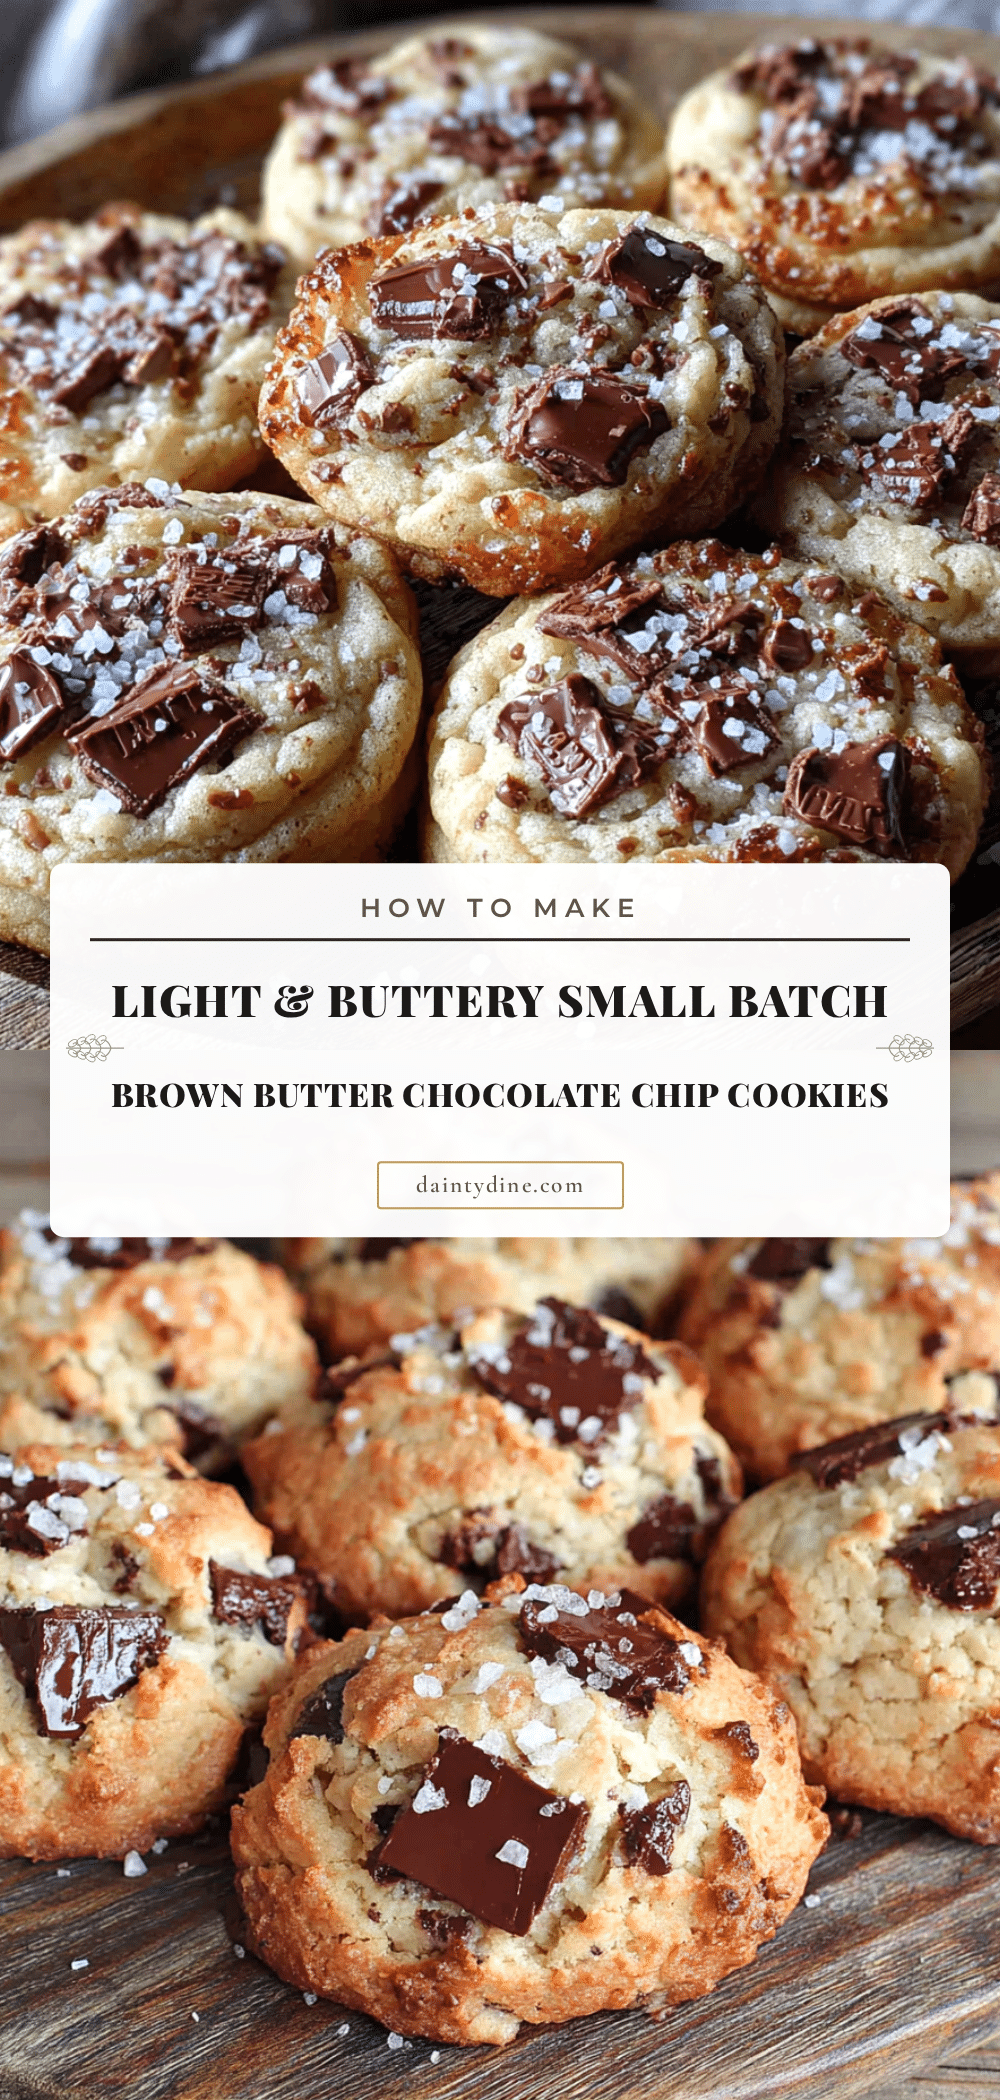
Light & Buttery Small Batch Brown Butter Cookies

These light & buttery small batch brown butter chocolate chip cookies are crisp on the edges, soft in the middle, with a deep, nutty brown butter flavor in every bite. Perfect for a quick, comforting treat that yields exactly 8 cookies.
- Prep Time: 15 minutes
- Cook Time: 10 minutes
- Total Time: 30 minutes
- Yield: 8 cookies 1x
- Category: Dessert
- Cuisine: American
Ingredients
- 5 tablespoons (70g) unsalted butter
- ¾ cup (95g) all-purpose flour
- ¼ cup (50g) granulated sugar
- ¼ cup packed (50g) light brown sugar
- 1 large egg yolk
- ½ teaspoon vanilla extract
- ¼ teaspoon baking soda
- ¼ teaspoon salt
- ⅓ cup (60g) semi-sweet chocolate chips
Instructions
- Brown the butter: Place the 5 tablespoons of butter in a small saucepan over medium heat. Let it melt completely, then continue cooking, swirling the pan occasionally. You’ll see it start to foam and then turn golden. Watch closely—once you see brown specks forming at the bottom and it smells nutty, take it off the heat immediately. This usually takes about 4-5 minutes. Pour it into a heat-safe bowl to stop the cooking process. Let it cool for about 5 minutes.
- Mix the sugars and butter: Add both the granulated sugar and brown sugar to the warm brown butter. Whisk vigorously until combined—it should look like wet sand. Let this sit for about 2 minutes to cool slightly.
- Add the egg yolk and vanilla: Whisk in the egg yolk and vanilla extract until the mixture is smooth and glossy. It might look a little separated at first, but keep whisking—it’ll come together.
- Combine the dry ingredients: In a small bowl, whisk together the flour, baking soda, and salt. Make sure there are no lumps.
- Fold in the flour mixture: Add the dry ingredients to the wet mixture. Use a rubber spatula to fold gently until just combined. A few streaks of flour are okay—overmixing will make the cookies tough.
- Fold in the chocolate chips: Add the chocolate chips and fold 3-4 times until evenly distributed. The dough will be soft and slightly greasy-looking. That’s normal.
- Portion the dough: Using a cookie scoop or tablespoon, scoop 8 equal portions of dough onto a parchment-lined baking sheet, spacing them about 2 inches apart. They’ll spread a bit, so give them room.
- Bake: Place the baking sheet in a preheated 350°F (175°C) oven. Bake for 9-11 minutes, or until the edges are golden brown and the centers still look slightly underdone and puffy.
- Cool on the pan: Let the cookies rest on the baking sheet for 5 minutes. They’ll continue cooking from the residual heat. Then transfer them to a cooling rack to cool completely—or eat one warm.
Notes
Don’t rush the browning process—medium heat and patient swirling are key. Measure flour correctly by spooning and leveling. For best results, underbake slightly; cookies will set as they cool. If using a dark baking sheet, reduce oven temperature by 25°F. Optional: sprinkle flaky sea salt on cookies right out of the oven.
Nutrition
- Serving Size: 1 cookie
- Calories: 210
- Sugar: 16
- Sodium: 120
- Fat: 12
- Saturated Fat: 7
- Carbohydrates: 26
- Fiber: 1
- Protein: 3
Keywords: brown butter cookies, small batch cookies, chocolate chip cookies, easy cookie recipe, no chill cookies


