Love this? Save it for later!
Share the inspiration with your friends
The school bake sale was in twelve hours and I’d completely forgotten. My son had reminded me three times that week, and I’d nodded along, thinking I had it handled. But there I was at 9 PM, staring into an almost-empty pantry, knowing every other parent would be bringing Pinterest-perfect creations. I had a can of pumpkin puree that had been sitting there since last Thanksgiving, some chocolate chips I’d stashed for emergency cookie cravings, and a nagging feeling that I was about to send my kid to school with a store-bought package of something sad.
I grabbed the pumpkin and started brainstorming. You know that feeling when you’re just throwing things together, not really expecting much? That was me, honestly. I figured if it turned out terrible, I’d at least have a funny story. I tossed in some cocoa powder because why not? And then I spotted the triple chocolate chips I’d been hoarding—milk, dark, and white—and thought, well, this is either gonna be a masterpiece or a disaster.
The bread came out of the oven at 10:30 PM, and the smell was ridiculous. I mean, it filled the whole house. I cut a tiny slice to test it—purely for quality control, you understand—and I actually let out a little gasp. The pumpkin kept it so moist, and the chocolate was this rich, melty surprise in every bite. My husband wandered in, pajama-clad, and ate two slices before I could stop him.
The next day, my son’s bake sale table was a mess of fancy cupcakes and elaborate cookies. Our bread sat there, humble and a little lopsided. And then it happened—the first kid tried it, made that face, and grabbed another piece. By the end, people were actually asking me for the recipe. I stood there, trying to look like I’d planned it all along. Honestly, I still make this bread every fall, and it never gets old. Maybe you’ve been there too—scrambling at the last minute, throwing things together, and somehow stumbling onto something magical. That’s this bread.
Why You’ll Love This Recipe
This isn’t just another pumpkin bread recipe. I’ve tested this thing about seven times to get it just right, and let me tell you, it’s the kind of bread that makes your kitchen smell like a cozy bakery without requiring a trip to the store for fancy ingredients. Here’s why this one’s a keeper:
- Quick & Easy: From start to finish, you’re looking at about an hour. One bowl, a whisk, and you’re done. No stand mixer, no complicated steps.
- Simple Ingredients: Everything is a pantry staple. Pumpkin puree, flour, sugar, eggs, oil, and chocolate chips. I bet you have most of this right now.
- Perfect for Busy Mornings: Slice it up for breakfast, pack it in lunchboxes, or serve it as an after-school snack. It’s versatile like that.
- Crowd-Pleaser: My kids fight over the last slice, and my husband hides it from himself. It’s that good.
- Unbelievably Delicious: The pumpkin keeps the bread incredibly moist, and the triple chocolate—milk, dark, and white chips—creates pockets of melty goodness in every bite. It’s like a hug in bread form.
What makes this recipe different from every other pumpkin bread out there? It’s the triple chocolate thing. Most pumpkin breads are one-note, but this one has layers of flavor. The dark chocolate adds depth, the milk chocolate brings sweetness, and the white chocolate chips give you these little bursts of creaminess. Plus, the pumpkin makes it so tender that you don’t even need butter. I mean, you can add butter if you want—I won’t judge—but you really don’t need it.
This recipe is the kind that makes you close your eyes after the first bite. It’s comfort food reimagined—faster, simpler, but with the same soul-soothing satisfaction. Perfect for impressing other parents at a bake sale without the stress, or turning a regular Tuesday morning into something memorable.
What Ingredients You Will Need
This recipe uses simple, wholesome ingredients to deliver that rich, chocolatey pumpkin flavor without any fuss. Most of these are pantry staples, so you probably won’t need a special trip to the store.
For the Bread
- 1 ¾ cups all-purpose flour (spooned and leveled—don’t scoop straight from the bag or you’ll get too much)
- 1 teaspoon baking soda (make sure it’s fresh; old baking soda won’t give you that nice rise)
- ½ teaspoon baking powder
- ½ teaspoon salt (I use fine sea salt; it blends in better)
- 1 ½ teaspoons pumpkin pie spice (or make your own: ½ tsp cinnamon, ¼ tsp nutmeg, ¼ tsp ginger, ⅛ tsp cloves)
- ¼ cup unsweetened cocoa powder (I prefer Ghirardelli for a deep, rich chocolate flavor)
- 1 cup granulated sugar
- ½ cup packed light brown sugar
- ½ cup vegetable oil (canola or melted coconut oil also work great)
- 2 large eggs, at room temperature (cold eggs can make the batter seize up)
- 1 teaspoon vanilla extract
- 1 ½ cups pumpkin puree (not pumpkin pie filling—make sure it’s 100% pure pumpkin)
- 1 cup chocolate chips, divided (I use a mix: ⅓ cup milk chocolate, ⅓ cup dark chocolate, ⅓ cup white chocolate)
Ingredient Notes: For the pumpkin puree, I always grab Libby’s—it’s consistent and not too watery. If you’re using homemade pumpkin puree, you might need to drain it a bit on paper towels first to remove excess moisture. For the chocolate chips, feel free to use all one kind if that’s what you have, but the triple combo really makes this bread special. And if you’re out of pumpkin pie spice, just mix up the individual spices—it takes two seconds.
Substitution Guidance: You can swap the all-purpose flour with a 1:1 gluten-free baking flour blend if needed. For a dairy-free version, use dairy-free chocolate chips. And if you want to cut back on sugar, reduce the granulated sugar to ¾ cup—the chocolate chips add plenty of sweetness.
Equipment Needed
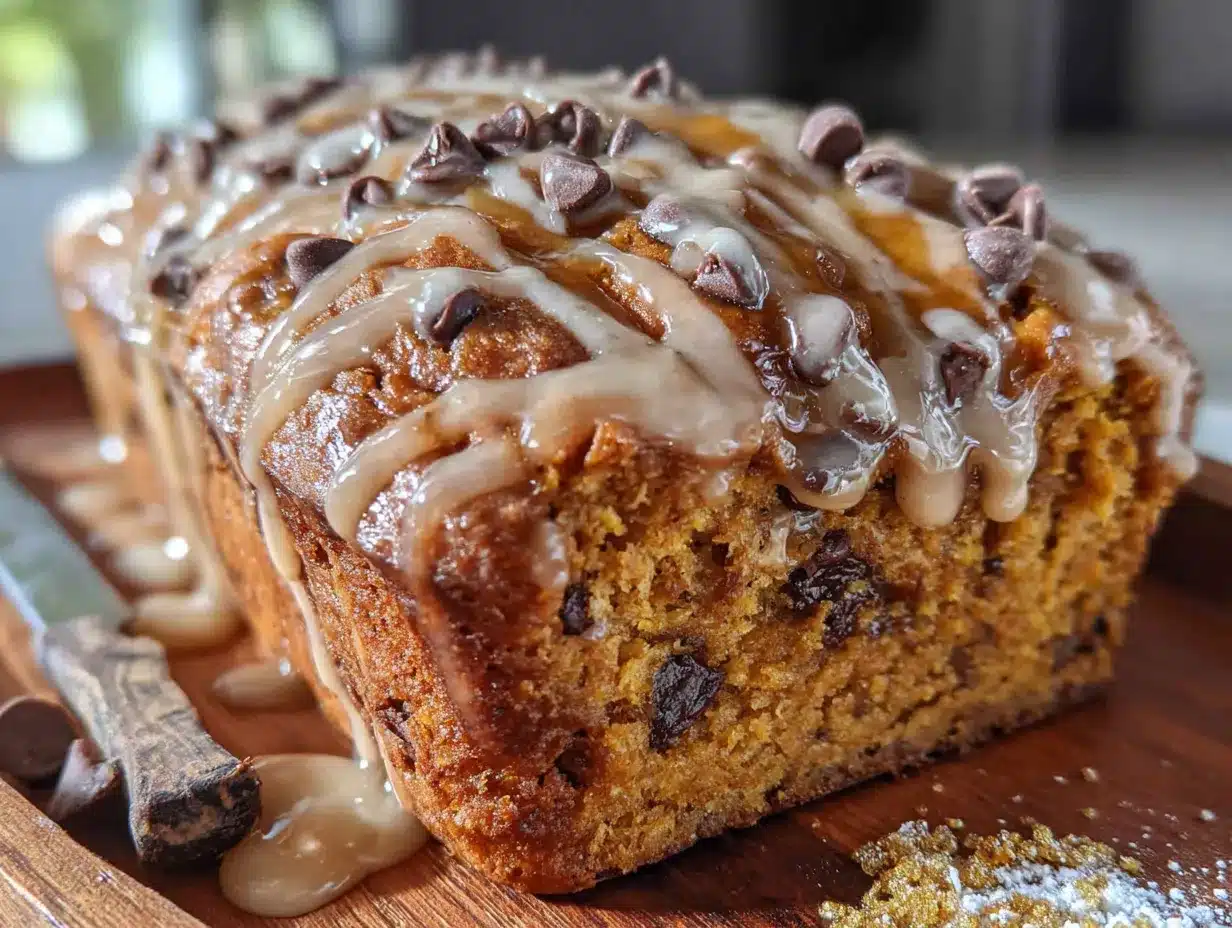
You don’t need a fancy kitchen to make this bread. Here’s what you’ll need:
- One large mixing bowl (any size works, but bigger is better for whisking without spilling)
- Whisk (a fork works in a pinch, but a whisk makes it easier)
- Rubber spatula (for folding in the chocolate chips and scraping the bowl clean)
- 9×5-inch loaf pan (if you don’t have one, an 8×4-inch pan works—just bake a few minutes longer)
- Parchment paper (optional but recommended for easy removal—I’ve used foil in a pinch, but parchment is better)
- Cooling rack (a wire rack lets air circulate so the bottom doesn’t get soggy)
- Measuring cups and spoons
I’ve made this bread with a cheap whisk I got at a dollar store and it turned out just fine. Seriously, don’t overthink the equipment. If you don’t have a cooling rack, just let the bread cool in the pan for 10 minutes, then tip it out onto a cutting board. My mom always used an old wooden cutting board, and the bread came out perfect every time.
Preparation Method
Let’s get baking! This is a one-bowl recipe, so cleanup is a breeze. Preheat your oven to 350°F (175°C) and grease your loaf pan or line it with parchment paper. I like to leave a little overhang on the sides so I can lift the bread out easily.
- Mix the dry ingredients: In your large bowl, whisk together the flour, baking soda, baking powder, salt, pumpkin pie spice, and cocoa powder. Make sure there are no lumps from the cocoa powder—I usually press them against the side of the bowl with my whisk. This takes about 30 seconds.
- Add the sugars and oil: Add the granulated sugar, brown sugar, and vegetable oil to the dry mixture. Stir with your whisk until everything looks like wet sand. It’ll be a bit clumpy, and that’s okay. Don’t overmix—just get it combined.
- Add the wet ingredients: Crack in the eggs, add the vanilla extract, and dump in the pumpkin puree. Stir everything together until you have a smooth, thick batter. It should be a beautiful deep chocolate color. If you see any streaks of flour, keep stirring gently. But don’t go crazy—overmixing can make the bread tough.
- Fold in the chocolate chips: Reserve about 2 tablespoons of your chocolate chip mix for the top. Gently fold the rest into the batter using your rubber spatula. I like to do about 10 folds, scraping the bottom to make sure the chips are evenly distributed. The batter will be thick and luscious at this point.
- Pour into the pan: Scrape the batter into your prepared loaf pan and spread it evenly. Sprinkle the reserved chocolate chips on top—this gives you that beautiful, bakery-style look. Give the pan a gentle tap on the counter to release any air bubbles.
- Bake: Place the pan in the center of your preheated oven and bake for 55-65 minutes. At the 50-minute mark, start checking. Insert a toothpick into the center—if it comes out clean or with just a few moist crumbs (not wet batter), it’s done. If the top is browning too fast but the center isn’t done, tent a piece of foil over the top loosely.
- Cool: Let the bread cool in the pan for 10-15 minutes. Then, using the parchment paper overhang, lift it out and transfer it to a cooling rack. Let it cool completely before slicing—I know it’s hard to wait, but if you cut it too soon, it’ll crumble. Trust me, I’ve learned this the hard way.
Sensory Cues: When it’s done, the bread should be springy to the touch, and the edges will have pulled away slightly from the pan. The smell is incredible—like a chocolate pumpkin hug. If you tap the top, it should feel firm, not jiggly.
Cooking Tips & Techniques
I’ve made this bread more times than I can count, and I’ve definitely had my share of failures. Here’s what I’ve learned:
Don’t overmix the batter. This is probably the most common mistake. Once you add the wet ingredients, stir just until everything comes together. Overmixing develops the gluten and makes the bread dense and tough. You want it tender and moist, not like a hockey puck.
Room temperature eggs matter. I know, it’s annoying to wait for eggs to come to room temperature. But cold eggs can make the batter seize up and create a lumpy texture. If you’re in a hurry, place the eggs in a bowl of warm water for 5 minutes before using them.
Check your pumpkin puree. Some brands are more watery than others. If your puree looks really runny, blot it with a paper towel before adding it to the batter. Too much moisture can make the bread sink in the middle. I’ve had that happen, and it’s heartbreaking.
Use a kitchen scale if you have one. Flour is notoriously tricky to measure by volume. One cup of flour can weigh anywhere from 120 to 150 grams depending on how you scoop it. If you want consistent results, weigh your flour: 1 ¾ cups should be about 210 grams.
Let it cool completely. I know the temptation is real, but warm bread is fragile. If you try to slice it while it’s still hot, you’ll end up with a crumbly mess. I once served it warm to my kids and they didn’t care, but for that perfect slice? Patience, my friend.
Variations & Adaptations
This recipe is super forgiving, so feel free to play around with it. Here are some variations I’ve tried and loved:
- Gluten-Free Version: Swap the all-purpose flour with a 1:1 gluten-free baking blend. I’ve used Bob’s Red Mill and King Arthur, and both work great. Just make sure the blend contains xanthan gum for structure.
- Dairy-Free Version: Use dairy-free chocolate chips. Enjoy Life makes great ones. Everything else in the recipe is already dairy-free (pumpkin, oil, eggs), so this is an easy swap.
- Nutty Twist: Add ½ cup of chopped pecans or walnuts along with the chocolate chips. The crunch adds a lovely texture. I did this once for a fall brunch and everyone raved about it.
- Spice It Up: Add ½ teaspoon of cinnamon and a pinch of cayenne pepper to the dry ingredients for a subtle warmth. It doesn’t make it spicy, just adds depth.
- Mini Loaves or Muffins: This batter makes 12 muffins or 3 mini loaves. Bake muffins for 18-22 minutes and mini loaves for 25-30 minutes. Check with a toothpick to be sure.
- Extra Chocolate: Are you a chocolate fiend like me? Add an extra ¼ cup of chocolate chips. No judgment here.
Serving & Storage Suggestions
This bread is delicious at room temperature, but I also love it slightly warmed. Pop a slice in the microwave for 10-15 seconds, and the chocolate chips get all melty again. It’s pure heaven.
Serving Ideas: Serve it for breakfast with a cup of coffee or tea. Pack it in lunchboxes for a sweet treat. Or dress it up for dessert with a scoop of vanilla ice cream and a drizzle of caramel sauce. I’ve even toasted slices and spread them with butter—ridiculously good.
Storage: Keep the bread in an airtight container at room temperature for up to 4 days. It actually gets better on day two as the flavors meld together. If you live in a humid climate, you might want to store it in the fridge after day three to prevent mold.
Freezing: This bread freezes beautifully. Wrap the cooled loaf tightly in plastic wrap, then in foil, and freeze for up to 3 months. To thaw, leave it on the counter overnight or pop individual slices in the microwave for 20 seconds. I always keep a loaf in the freezer for unexpected guests or lazy Sunday mornings.
Reheating: For that just-baked taste, warm slices in a 300°F oven for 5-7 minutes. The edges get slightly crisp while the inside stays soft. It’s like magic.
Nutritional Information & Benefits
Here’s the approximate nutritional breakdown per slice (assuming 12 slices):
- Calories: 320
- Fat: 14g
- Carbohydrates: 47g
- Fiber: 3g
- Sugar: 28g
- Protein: 5g
Health Benefits: Pumpkin is packed with vitamin A, which is great for your eyes and immune system. It’s also high in fiber, which helps keep you full. The dark chocolate chips contain antioxidants, and the eggs provide a good dose of protein. So while this is definitely a treat, it’s not totally empty calories.
Dietary Considerations: This recipe is vegetarian. To make it vegan, use flax eggs (2 tablespoons ground flaxseed mixed with 6 tablespoons water) and dairy-free chocolate chips. It’s not gluten-free as written, but the gluten-free swap works well.
Potential Allergens: Contains wheat, eggs, and dairy (from the chocolate chips). Check your chocolate chip labels if you have specific allergies.
Conclusion
This Kid-Approved Triple Chocolate Chip Pumpkin Bread is the recipe you’ll come back to again and again. It’s simple enough for a weeknight bake, impressive enough for a bake sale, and delicious enough to make you forget about all those fancy recipes that require a dozen steps. The pumpkin keeps it moist, the triple chocolate makes every bite exciting, and the one-bowl cleanup means you’re not stuck with a mountain of dishes.
I love this recipe because it reminds me that you don’t need to be a professional baker to create something amazing. Sometimes the best things come from scrambling, from using what you have, and from not overthinking it. That first bite—when the chocolate melts on your tongue and the pumpkin warmth spreads through you—is pure joy.
I’d love to hear how this bread turns out for you! Did you try any variations? Did your kids love it as much as mine do? Drop a comment below and share your experience. And if you snap a photo, tag me on Pinterest—I love seeing your creations. Happy baking, friends!
Frequently Asked Questions
Can I use fresh pumpkin instead of canned?
Yes, you can use fresh pumpkin puree. Just make sure to drain it well—fresh pumpkin tends to be more watery than canned. Roast a small sugar pumpkin, scoop out the flesh, and blend it until smooth. Then let it sit in a fine-mesh strainer for about 30 minutes to remove excess moisture.
Why did my bread sink in the middle?
This usually happens for a few reasons: the oven wasn’t hot enough (check your oven temperature with a thermometer), the batter was overmixed, or the pumpkin puree was too watery. Next time, blot the puree with a paper towel and make sure your baking soda is fresh.
Can I make this recipe into muffins?
Absolutely! This batter makes about 12 standard muffins. Fill the muffin cups about ¾ full and bake at 350°F for 18-22 minutes, or until a toothpick comes out clean. The bake time is shorter, so keep an eye on them after 15 minutes.
How do I know when the bread is fully baked?
Insert a toothpick or a thin knife into the center of the bread. If it comes out clean or with just a few moist crumbs (not wet batter), it’s done. You can also check the internal temperature—it should be around 200°F when fully baked.
Can I reduce the sugar in this recipe?
Yes, you can reduce the granulated sugar to ¾ cup without affecting the texture too much. The bread will be slightly less sweet, but the chocolate chips add plenty of sweetness. I wouldn’t reduce it further than that, as sugar helps with moisture and structure.
Pin This Recipe!
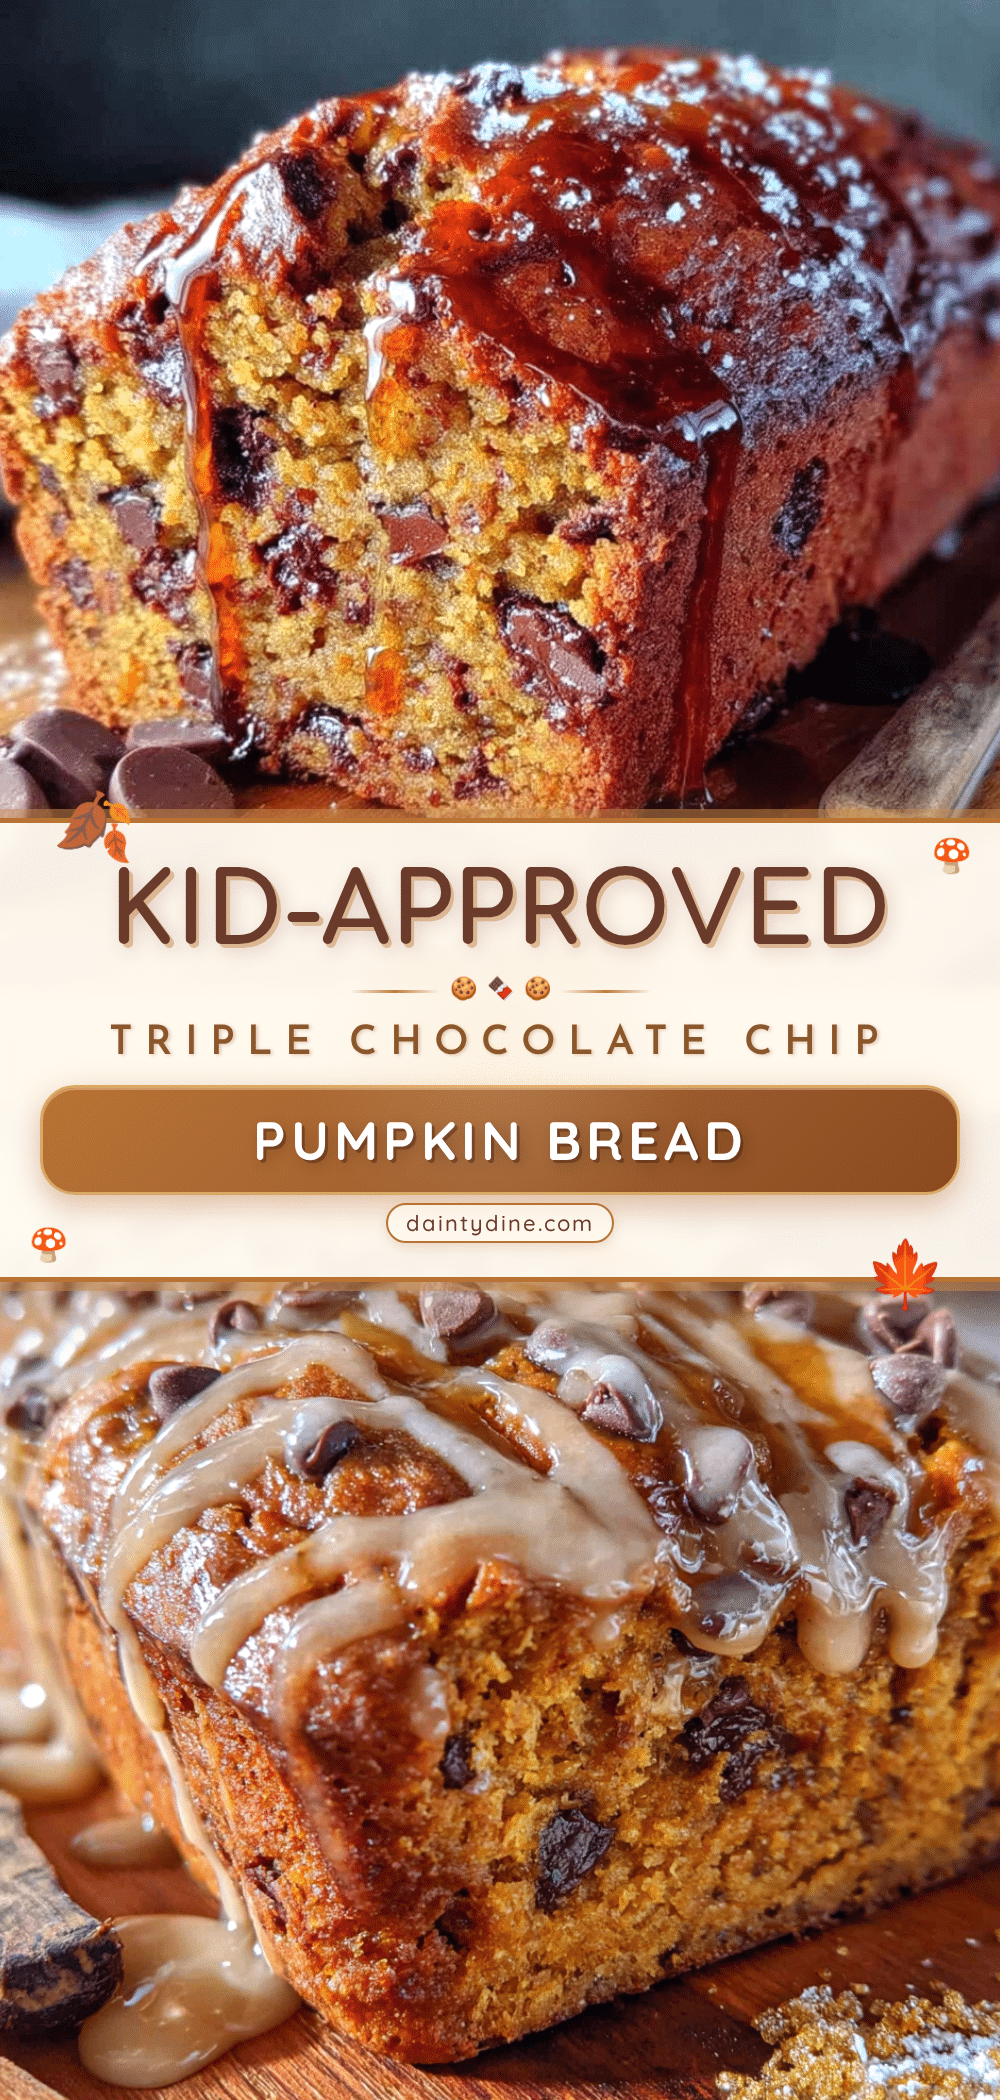
Kid-Approved Triple Chocolate Chip Pumpkin Bread: Easy 1-Bowl Recipe
This easy one-bowl pumpkin bread is packed with triple chocolate chips—milk, dark, and white—for a moist, tender loaf that’s perfect for bake sales, breakfast, or any fall occasion. It’s a crowd-pleaser that comes together in about an hour with simple pantry ingredients.
- Prep Time: 15 minutes
- Cook Time: 55-65 minutes
- Total Time: 1 hour 10 minutes
- Yield: 12 servings 1x
- Category: Dessert
- Cuisine: American
Ingredients
- 1 ¾ cups all-purpose flour (spooned and leveled)
- 1 teaspoon baking soda
- ½ teaspoon baking powder
- ½ teaspoon fine sea salt
- 1 ½ teaspoons pumpkin pie spice (or ½ tsp cinnamon, ¼ tsp nutmeg, ¼ tsp ginger, ⅛ tsp cloves)
- ¼ cup unsweetened cocoa powder
- 1 cup granulated sugar
- ½ cup packed light brown sugar
- ½ cup vegetable oil (canola or melted coconut oil work)
- 2 large eggs, at room temperature
- 1 teaspoon vanilla extract
- 1 ½ cups pumpkin puree (100% pure pumpkin, not pie filling)
- 1 cup chocolate chips, divided (⅓ cup milk, ⅓ cup dark, ⅓ cup white)
Instructions
- Preheat oven to 350°F (175°C). Grease a 9×5-inch loaf pan or line with parchment paper, leaving overhang for easy removal.
- In a large bowl, whisk together flour, baking soda, baking powder, salt, pumpkin pie spice, and cocoa powder until no lumps remain.
- Add granulated sugar, brown sugar, and vegetable oil to the dry mixture. Stir with a whisk until it resembles wet sand; do not overmix.
- Add eggs, vanilla extract, and pumpkin puree. Stir until smooth and thick, with no streaks of flour. Avoid overmixing.
- Reserve 2 tablespoons of chocolate chips for topping. Gently fold the remaining chips into the batter with a rubber spatula, about 10 folds.
- Pour batter into prepared pan and spread evenly. Sprinkle reserved chocolate chips on top. Tap pan gently on counter to release air bubbles.
- Bake for 55-65 minutes, checking at 50 minutes. Insert a toothpick into center—if it comes out clean or with a few moist crumbs, it’s done. If top browns too fast, tent with foil.
- Cool in pan for 10-15 minutes, then lift out using parchment and transfer to a wire rack. Cool completely before slicing.
Notes
Don’t overmix the batter to keep the bread tender. Use room temperature eggs to avoid a lumpy texture. If pumpkin puree is watery, blot with a paper towel. Let bread cool completely before slicing to prevent crumbling. For best results, weigh flour: 1 ¾ cups = about 210 grams.
Nutrition
- Serving Size: 1 slice
- Calories: 320
- Sugar: 28
- Sodium: 280
- Fat: 14
- Saturated Fat: 4
- Carbohydrates: 47
- Fiber: 3
- Protein: 5
Keywords: pumpkin bread, chocolate chip pumpkin bread, triple chocolate pumpkin bread, easy pumpkin bread, one bowl pumpkin bread, fall baking, bake sale recipe


