Love this? Save it for later!
Share the inspiration with your friends
My neighbor, a retired art teacher named Margot, watched me fumbling with a piping bag at my kitchen counter one October afternoon. I was attempting—and failing—to make creepy-crawly cupcakes for my kid’s class party. She didn’t say anything at first. She just leaned against the doorframe, sipping her tea, and let me struggle for a solid minute. Then she walked over, gently took the piping bag from my hands, and said, “You’re overthinking it, honey. Halloween is about the fun, not the fuss.” She pulled a bunch of green grapes from my fruit bowl, a handful of blueberries from the fridge, and a tiny jar of cream cheese. Within sixty seconds, she had transformed them into a cluster of monster eyeballs staring up at me from a plate. I laughed so hard I almost cried. Honestly, that moment changed how I approach every single holiday spread. Margot wasn’t trying to teach me a recipe—she was showing me that the best party food doesn’t need to be complicated. It just needs to make people smile. This Halloween monster eyeball fruit tray is the result of that kitchen counter lesson. It’s quick, it’s ridiculous, and it’s exactly the kind of thing you need when you’re short on time but still want to bring something fun to the table. You know that feeling when you’re running around like crazy and the party starts in twenty minutes? This tray is your answer. Let me tell you, it has saved me more times than I can count.
Why You’ll Love This Recipe
Let’s be real—Halloween is a blast, but the prep work can feel like a second job. Between carving pumpkins, hanging fake cobwebs, and figuring out costumes, the last thing you need is a complicated recipe that takes an hour to assemble. This monster eyeball fruit tray is here to rescue your sanity. I’ve tested it at three different parties now, and it never fails to get the exact reaction you want: laughter, followed by people grabbing handfuls of fruit.
- Quick & Easy: This comes together in under 10 minutes. I mean it—ten minutes flat. That’s less time than it takes to find a parking spot at the grocery store on Halloween afternoon.
- Simple Ingredients: You need exactly four things: green grapes, blueberries, cream cheese, and a tiny bit of powdered sugar. That’s it. No fancy grocery trips, no obscure ingredients you’ll never use again.
- Perfect for Halloween Parties: Whether it’s a school celebration, a work potluck, or your own front porch gathering, this tray fits right in. It’s the kind of thing kids go nuts over and adults secretly love too.
- Crowd-Pleaser: I’ve watched picky eaters, fruit-haters, and even my uncle who “doesn’t do healthy snacks” go back for seconds. The silly eyeball design makes everyone forget they’re eating something good for them.
- Unbelievably Delicious: The combination of juicy grapes, tart blueberries, and the sweet, creamy “eyeball white” is honestly addictive. The texture contrast—pop of grape, burst of blueberry, smooth cream cheese—is next-level comfort food disguised as a snack.
What makes this different from other Halloween fruit trays? It’s the visual payoff with almost zero effort. You’re not spending hours carving or arranging. You’re just assembling something that looks like it took way more work than it actually did. And honestly, isn’t that the best kind of party trick? This recipe isn’t just good—it’s the kind that makes people do a double-take and then ask you how you did it. Perfect for impressing guests without stress, or turning a simple healthy snack into something memorable.
What Ingredients You Will Need
This recipe uses simple, wholesome ingredients to deliver maximum visual impact and satisfying flavor without the fuss. You probably already have most of these in your kitchen right now.
- Green grapes – 2 cups (about 300g), washed and dried completely. These form the base of your eyeballs. Look for large, firm grapes—they’re easier to work with and look more like actual eyeballs. I prefer seedless ones, obviously.
- Fresh blueberries – 1 cup (about 150g), washed and dried. These become the pupils. You want them plump and dry so the cream cheese sticks properly.
- Cream cheese – 4 ounces (113g), softened to room temperature. This is the “white of the eye.” Use full-fat for the best texture and flavor, but low-fat works in a pinch. I usually go with Philadelphia brand because it’s consistent and spreads smoothly.
- Powdered sugar – 1 tablespoon (8g). This sweetens the cream cheese just enough to balance the tartness of the fruit. You can skip it if you prefer a tangier flavor, but I find it makes the eyeballs taste more like a treat.
- Optional: Vanilla extract – ¼ teaspoon. Adds a subtle warmth to the cream cheese mixture. Totally optional, but I like it.
- Optional: Red food coloring or strawberry jam – For making “bloodshot” veins on the eyeballs. If you want to go the extra creepy mile, a tiny dab of jam or a drop of food coloring mixed with a bit of water creates a gory effect. My kids demand this version now.
Ingredient Selection Tips: For the best results, choose grapes that are all roughly the same size. It makes the eyeballs look uniform and professional. If your grapes are too small, they’re harder to pipe the cream cheese onto. I learned this the hard way after spending ten minutes trying to decorate tiny grapes that kept rolling away. Also, make sure your cream cheese is truly at room temperature—cold cream cheese will tear the grape skins when you try to spread it.
Substitution Guidance: If you’re dairy-free, use a vegan cream cheese alternative. Just make sure it’s thick and spreadable, not the runny kind. You can also use Greek yogurt mixed with a little powdered sugar, but it won’t hold its shape as well. For a nut-free version, obviously everything here is fine. For a lower-sugar option, skip the powdered sugar entirely—the fruit is sweet enough on its own.
Equipment Needed
The beauty of this recipe is that you don’t need any fancy tools. If you have a kitchen, you probably already own everything on this list.
- Cutting board – Any size works. You just need a flat surface to work on.
- Small mixing bowl – For combining the cream cheese and powdered sugar.
- Spatula or spoon – To mix the cream cheese mixture. A rubber spatula works best for scraping every last bit.
- Piping bag or zip-top bag – A small zip-top bag works perfectly. You don’t need a fancy piping tip—just snip off a tiny corner. I’ve also used a sturdy plastic sandwich bag in a pinch.
- Serving platter or tray – A white or black platter makes the eyeballs pop visually. A dark slate board is especially dramatic for Halloween.
- Small knife – For trimming the grapes if needed (rarely necessary, but good to have).
- Paper towels – For drying the fruit thoroughly. Wet fruit = slippery cream cheese.
Budget-Friendly Options: Don’t have a piping bag? Just use a zip-top bag. I’ve done it dozens of times and it works exactly the same. If you don’t have a rubber spatula, a regular spoon works fine—you’ll just lose a little cream cheese to the bowl. Honestly, the most expensive thing here is the fruit, and even that’s pretty cheap for what you get.
Preparation Method
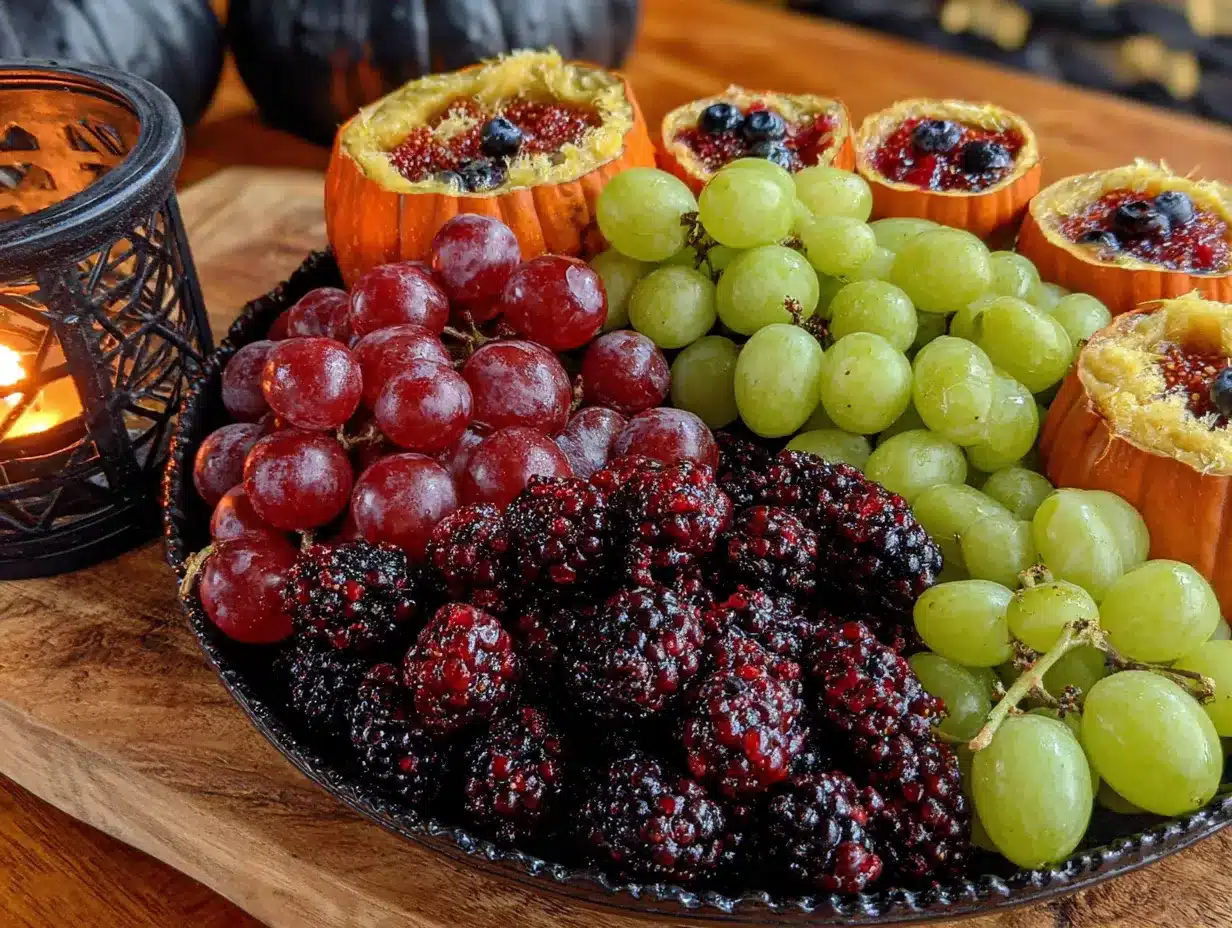
This is where the magic happens. Follow these steps, and you’ll have a tray of monster eyeballs staring back at you in under ten minutes.
- Wash and dry your fruit thoroughly. This is the most important step, and I cannot stress it enough. Wet grapes and blueberries will repel the cream cheese mixture like it’s coated in Teflon. I wash them, spread them on a clean kitchen towel, and pat them dry with paper towels. Let them sit for a minute or two while you prepare the cream cheese. (Time: 2 minutes)
- Soften the cream cheese. Take your 4 ounces of cream cheese out of the fridge and let it sit on the counter for about 15-20 minutes before you start. If you forgot (I forget all the time), microwave it in a small bowl for 10-15 seconds. Be careful—you want it soft, not melted. Melted cream cheese will slide right off the grapes. (Time: 1 minute if microwaving)
- Make the cream cheese mixture. In your small mixing bowl, combine the softened cream cheese, 1 tablespoon of powdered sugar, and the optional ¼ teaspoon of vanilla extract. Mix with your spatula or spoon until completely smooth. Taste it. Adjust the sweetness if you want—I sometimes add another half tablespoon of powdered sugar if I’m feeling indulgent. (Time: 1 minute)
- Prepare your piping bag. Scoop the cream cheese mixture into a small zip-top bag. Seal it tightly, squeezing out as much air as possible. Snip off a tiny corner of the bag—like, really tiny. You can always make the hole bigger, but you can’t make it smaller. I learned this the hard way when my first batch came out looking like cream cheese blobs instead of neat little eyeballs. (Time: 1 minute)
- Pipe the “eyeball white” onto the grapes. Hold a grape between your thumb and forefinger. Gently squeeze a small dot of cream cheese mixture onto the center of the grape. Don’t worry about making it perfect—it should look organic and slightly irregular, like a real eyeball. The cream cheese should cover about half to two-thirds of the grape surface. Place the piped grape on your serving tray, cream cheese side up. Repeat with all the grapes. (Time: 3-4 minutes for 2 cups of grapes)
- Add the pupils. Take a blueberry and gently press it into the center of the cream cheese on each grape. The cream cheese should hold it in place. If it doesn’t stick, you might need a bit more cream cheese or your fruit wasn’t dry enough. Press down gently but firmly. (Time: 1-2 minutes)
- Optional: Add “bloodshot” veins. If you’re going for the gory look, mix a tiny drop of red food coloring with a drop of water, or use a dab of strawberry jam. Use a toothpick to draw thin red lines radiating from the blueberry pupil outward into the cream cheese. This takes a steady hand but looks incredible. (Time: 2-3 minutes extra)
- Arrange and serve. Once all your eyeballs are assembled, arrange them on your platter in a way that looks chaotic and creepy. Cluster some together, leave a few isolated. The more random, the better. Serve immediately or refrigerate until ready to serve. (Time: 1 minute)
Sensory Cues: When you pipe the cream cheese, it should come out smoothly without any lumps. If it feels stiff or grainy, your cream cheese wasn’t soft enough. The grapes should feel cool and firm in your hand. When you press the blueberry into the cream cheese, you should feel a slight resistance before it settles into place. The finished eyeballs should look slightly glossy from the grape skin, with the matte cream cheese creating a nice contrast.
Cooking Tips & Techniques
I’ve made this recipe about a dozen times now, and I’ve definitely learned a few things the hard way. Let me save you some trouble.
The biggest mistake people make is using wet fruit. I cannot tell you how frustrating it is to pipe a perfect little cream cheese dot onto a grape, only to watch it slide off like a water slide. Dry your fruit completely. Pat each grape individually if you have to. It’s worth the extra thirty seconds.
Don’t overpipe the cream cheese. You want enough to look like an eyeball, but not so much that it overwhelms the grape. A dot about the size of a dime is perfect. If you put too much, the eyeball looks like it has a cataract. If that’s the look you’re going for, great—but most people want a more defined pupil.
Work in batches. I pipe all the cream cheese onto the grapes first, then go back and add the blueberries. Trying to do both at once is chaotic and you’ll end up with cream cheese on your fingers. Trust me on this.
Use a toothpick for precision. If your cream cheese blob looks messy, use a toothpick to gently nudge it into a more circular shape. You can also use the toothpick to create a slight indentation where the blueberry will go, which helps it stay put.
Keep the tray cold until serving. The cream cheese firms up in the fridge, which makes the eyeballs hold together better. If you’re making this ahead of time (which you totally can), assemble everything and refrigerate for up to 4 hours. Take it out about 10 minutes before serving to let the cream cheese soften slightly.
My biggest failure: The first time I made these, I used red grapes because that’s what I had in the fridge. They looked like weird, bloody eyeballs—not in a good way. Green grapes are essential for the “eyeball” look. Don’t make my mistake.
Variations & Adaptations
This recipe is incredibly flexible. Here are some ways to change it up depending on your needs or what you have on hand.
Dietary Variations: For a dairy-free version, use vegan cream cheese or a thick coconut cream. For a lower-sugar option, skip the powdered sugar entirely—the fruit provides plenty of natural sweetness. For a nut-free version, everything here is already safe. For a keto-friendly version, use full-fat cream cheese and skip the sugar, or use a sugar substitute like monk fruit sweetener.
Seasonal Adaptations: In the summer, swap the green grapes for honeydew melon balls cut to the same size. In the fall, you can use small apple slices as the base instead of grapes. For a Christmas-themed version, use red and green grapes with a cream cheese “snow” topping. For Easter, use pastel-colored fruit like white grapes and pink dragonfruit.
Flavor Twists: Add a pinch of cinnamon to the cream cheese mixture for a warm, spiced flavor. Mix in a tiny bit of honey instead of powdered sugar for a different sweetness. For a savory version (if that’s your thing), use herbed cream cheese and skip the sugar—though I think that’s a bit weird for Halloween.
Different Cooking Methods: You can also make these as a frozen treat! Pipe the cream cheese onto the grapes, add the blueberries, then freeze them on a baking sheet for about 30 minutes. They become little frozen eyeball pops that are perfect for a Halloween party. Kids love them, and they’re a great alternative to ice cream.
Personal Variation I’ve Tried: I once made a “zombie” version by mixing a drop of green food coloring into the cream cheese. The green “eyeballs” looked disgusting in the best way possible. My nephew refused to eat them because he thought they were actually monster parts. Success!
Serving & Storage Suggestions
These monster eyeballs are best served cold, straight from the fridge. The contrast between the cool fruit and the creamy topping is part of the magic. Arrange them on a dark platter or a black slate board for maximum visual impact. I like to scatter a few loose blueberries around the tray to look like “eyeballs that rolled away.” It’s a silly touch, but it always gets a laugh.
Complementary Dishes: This fruit tray pairs perfectly with other Halloween snacks. Serve it alongside a bowl of popcorn “spider webs,” some cheese and cracker “graveyard stones,” or a plate of veggie “witch fingers” (carrot sticks with almond fingernails). For drinks, a pitcher of “witches’ brew” (purple punch with dry ice) or some apple cider fits the theme beautifully.
Storage Instructions: If you have leftovers (honestly, that’s rare), store the eyeballs in an airtight container in the refrigerator for up to 24 hours. The cream cheese will soften slightly, and the grapes might release a little moisture, so they won’t look as perfect the next day. But they’ll still taste fine. Do not freeze the assembled eyeballs—the texture gets weird when thawed.
Reheating Methods: You don’t need to reheat these at all. If they’ve been in the fridge for a while and the cream cheese is too firm, let them sit at room temperature for about 10 minutes before serving. That’s it.
Flavor Development: Honestly, these are best eaten within a few hours of assembly. The grapes stay crisp, the blueberries stay firm, and the cream cheese is at its perfect texture. After about 6 hours, the grapes start to get a bit slippery from the moisture. So make them as close to serving time as possible.
Nutritional Information & Benefits
Let’s be honest—this is a fruit tray, so it’s pretty healthy by Halloween standards. No added sugars beyond the tiny bit of powdered sugar, no artificial anything (unless you add food coloring), and plenty of vitamins from the fruit.
- Estimated per serving (about 10-12 eyeballs): Approximately 120 calories, 4g fat, 20g carbohydrates, 2g protein, 2g fiber, 15g sugar (mostly natural from fruit).
- Key Health Benefits: Green grapes are rich in antioxidants like resveratrol, which supports heart health. Blueberries are packed with vitamin C and fiber. Cream cheese provides a small amount of calcium and protein.
- Dietary Considerations: This recipe is naturally gluten-free, vegetarian, and nut-free. It can easily be made dairy-free with substitutions. It’s also low in sodium and contains no artificial preservatives.
- Potential Allergens: Dairy (from the cream cheese). If you’re serving a crowd, it’s a good idea to label the tray so anyone with dairy allergies knows to skip the cream cheese portion.
From a wellness perspective, I love that this recipe lets you serve something fun without derailing anyone’s healthy habits. It’s a Halloween treat that doesn’t leave you feeling guilty. And honestly, when your kids are hyped up on candy, having a fruit option available is a lifesaver.
Conclusion
This Halloween monster eyeball fruit tray is proof that you don’t need to spend hours in the kitchen to create something memorable. It’s quick, it’s fun, and it’s the kind of recipe that makes people smile before they even take a bite. I’ve made it for classroom parties, neighborhood gatherings, and even just for my own family on Halloween night—and every single time, it’s the first thing to disappear from the table.
I encourage you to make this recipe your own. Add bloodshot veins if you’re feeling gory, use different fruit combinations, or experiment with flavored cream cheese. The beauty of this recipe is that it’s endlessly customizable. And honestly, the more ridiculous you make it, the better the reaction.
I’d love to hear how yours turn out! Leave a comment below with your favorite variation, or tag me in your photos if you share them online. Happy Halloween, and may your eyeballs be delightfully creepy!
Frequently Asked Questions
Can I make these monster eyeballs ahead of time?
Yes! You can assemble them up to 4 hours in advance and store them in the refrigerator. Just keep them in an airtight container or cover the tray with plastic wrap. Take them out about 10 minutes before serving to let the cream cheese soften slightly.
What if I can’t find large green grapes?
No problem! You can use any firm, round fruit as the base. Honeydew melon balls, small apple slices, or even large strawberries can work. Just make sure the fruit is dry before you pipe the cream cheese onto it.
Can I use a different fruit for the pupils?
Absolutely. If you don’t have blueberries, try using blackberries, raspberries, or even chocolate chips for a sweeter version. Just keep in mind that chocolate chips will melt if left out too long, so serve these quickly.
How do I keep the cream cheese from sliding off the grapes?
The key is making sure your grapes are completely dry. Wash them, pat them dry with paper towels, and let them sit for a few minutes before you start. Also, make sure your cream cheese is soft enough to spread easily but not melted.
Can I make this recipe vegan?
Yes! Use a vegan cream cheese alternative and skip the powdered sugar (or use a vegan powdered sugar). The fruit itself is already vegan, so the only swap you need to make is the cream cheese. Just make sure it’s thick and spreadable.
Pin This Recipe!
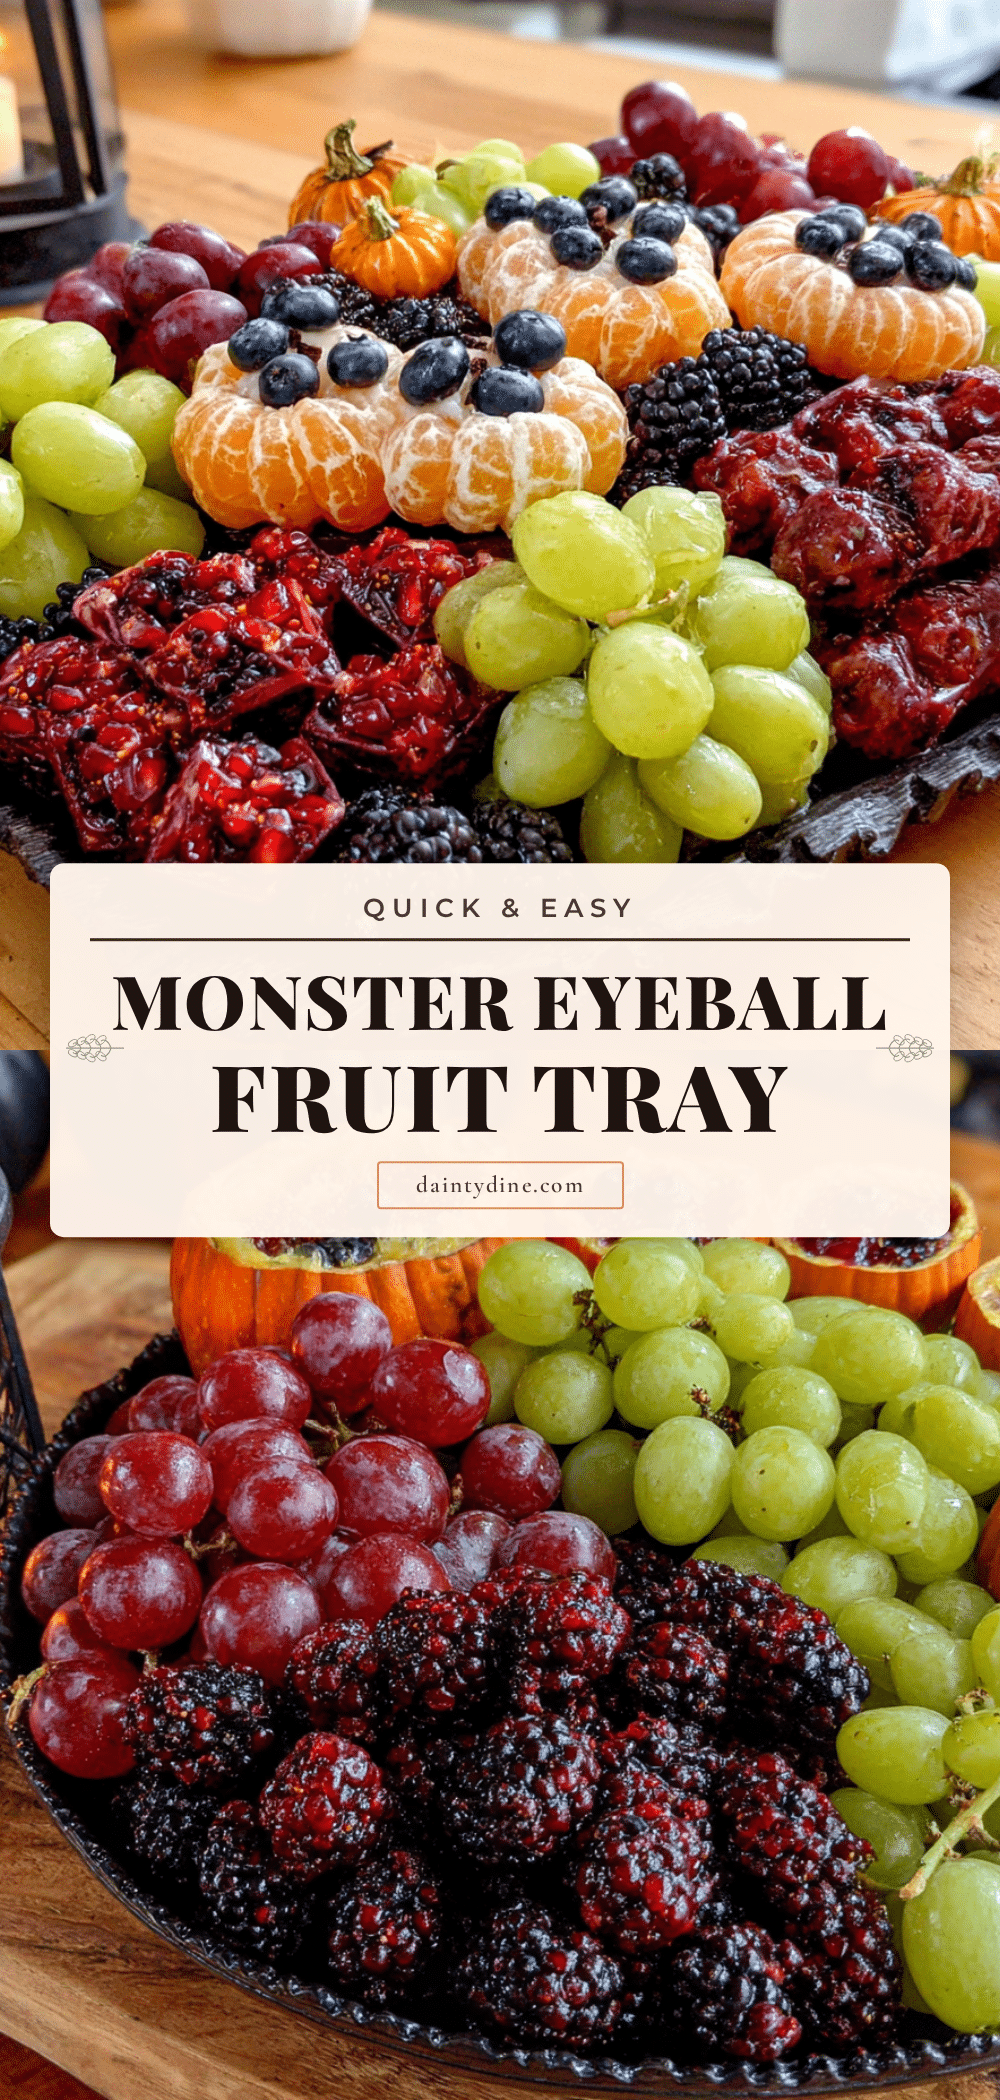
Halloween Monster Eyeball Fruit Tray: Easy 10-Minute Recipe
A quick and fun Halloween fruit tray made with green grapes, blueberries, and cream cheese, transformed into monster eyeballs in under 10 minutes. Perfect for parties and guaranteed to make everyone smile.
- Prep Time: 10 minutes
- Cook Time: 0 minutes
- Total Time: 10 minutes
- Yield: 4 servings 1x
- Category: Appetizer
- Cuisine: American
Ingredients
- 2 cups (about 300g) green grapes, washed and dried
- 1 cup (about 150g) fresh blueberries, washed and dried
- 4 ounces (113g) cream cheese, softened to room temperature
- 1 tablespoon (8g) powdered sugar
- ¼ teaspoon vanilla extract (optional)
- Red food coloring or strawberry jam (optional, for bloodshot veins)
Instructions
- Wash and dry your fruit thoroughly. Spread on a clean kitchen towel and pat dry with paper towels.
- Soften the cream cheese by letting it sit at room temperature for 15-20 minutes, or microwave for 10-15 seconds until soft but not melted.
- In a small mixing bowl, combine softened cream cheese, powdered sugar, and optional vanilla extract. Mix until completely smooth.
- Scoop the cream cheese mixture into a small zip-top bag. Seal tightly, squeezing out air, then snip off a tiny corner.
- Hold a grape between thumb and forefinger. Pipe a small dot of cream cheese mixture onto the center of the grape, covering about half to two-thirds of the surface. Place on serving tray, cream cheese side up. Repeat with all grapes.
- Press a blueberry gently into the center of the cream cheese on each grape to form the pupil.
- Optional: For bloodshot veins, mix a tiny drop of red food coloring with water or use a dab of strawberry jam. Use a toothpick to draw thin red lines radiating from the blueberry outward.
- Arrange the eyeballs on a platter in a chaotic, creepy pattern. Serve immediately or refrigerate until ready to serve.
Notes
Ensure grapes are completely dry to prevent cream cheese from sliding off. Use large, firm green grapes for best results. Can be assembled up to 4 hours in advance and refrigerated. For a dairy-free version, use vegan cream cheese.
Nutrition
- Serving Size: 10-12 eyeballs
- Calories: 120
- Sugar: 15
- Sodium: 60
- Fat: 4
- Saturated Fat: 2.5
- Carbohydrates: 20
- Fiber: 2
- Protein: 2
Keywords: Halloween, fruit tray, monster eyeballs, easy, 10-minute, party snack, kid-friendly


