Love this? Save it for later!
Share the inspiration with your friends
It was 11:47 PM on a random Wednesday in October, and I had a terrible, specific craving for something savory and dippable. I didn’t have the usual block of cheddar or the fancy crackers you’d normally see at a proper gathering, but I had a block of cream cheese, a bag of shredded mozzarella, and a single, slightly neglected turkey breast I’d roasted on a whim two days prior. Honestly, the idea just arrived, fully formed, like a late-night vision: what if I rolled all of this into a ball, made it look like a tiny turkey, and called it a party? I was tired, the kitchen was a wreck, and somewhere in my sleepy logic, this made perfect sense.
I got to work, mashing the cream cheese with some dried cranberries I found hiding in the pantry and a handful of chopped pecans. The turkey got shredded and mixed in, and I rolled the whole thing into a log, then a ball. I stuck a few pretzel sticks in for feathers and a candy corn for the beak. It was absurd, it was 11:47 PM, and it was honestly the most fun I’d had in the kitchen all week. I mean, who knew a leftover turkey breast could become a centerpiece for a party you weren’t even having?
That weird little creation became the blueprint for these Crowd-Pleasing Turkey Cheese Ball Bites. I’ve refined it, tested it on actual guests (not just my sleepy self), and it’s now my go-to for Friendsgiving. There’s something about a cheese ball that says “I’m trying” without actually being that hard. And when you make them into individual bites shaped like little turkeys? You’re the hero of the appetizer table. Maybe you’ve been there—staring down a fridge full of leftovers and a calendar full of holiday parties, wondering how to bridge the gap. This is your bridge.
Why You’ll Love This Recipe
Let me tell you why these little guys have become non-negotiable for my Friendsgiving spread. I’ve tested this recipe more times than I care to admit, tweaking the herb ratios and the cream cheese to turkey balance until it was just right. It’s the kind of appetizer that looks like you spent hours, but honestly, it comes together in about 20 minutes of active work.
- Quick & Easy: You can have these assembled in under 30 minutes. Seriously. The hardest part is waiting for the cream cheese to soften.
- Simple Ingredients: No weird grocery store scavenger hunts here. You likely have most of this in your fridge, especially if you just hosted Thanksgiving or bought a turkey breast.
- Perfect for Friendsgiving: These are the ultimate potluck or appetizer table hero. They’re portable, they’re portion-controlled, and they’re a guaranteed conversation starter.
- Crowd-Pleaser: Kids and adults alike go nuts for them. The savory-sweet combo from the cranberries and pecans is a total winner.
- Unbelievably Delicious: The texture is creamy from the cheese, with little pops of tart cranberry and crunchy nuts. It’s next-level comfort food in a bite-sized package.
What makes this different from every other cheese ball recipe out there is the technique. I use a combination of cream cheese and a little bit of softened butter to get a spreadable texture that holds its shape perfectly. The shredded turkey adds a savory depth that you just don’t get from a plain cheese ball. It’s not just another version—it’s the best version for using up leftover turkey in a way that feels fresh and festive. This is the recipe that makes you close your eyes after the first bite, wondering why you haven’t been making it for years. It’s comfort food reimagined—faster, more fun, and perfect for impressing your friends without any stress.
What Ingredients You Will Need
This recipe uses simple, mostly pantry-staple ingredients to deliver big flavor and a beautiful presentation without the fuss. The key is using quality ingredients where it counts, like a good cream cheese and fresh herbs.
- For the Cheese Ball Base:
- 8 oz cream cheese, softened: This is the backbone. Make sure it’s full-fat for the best texture and flavor. I always use Philadelphia brand—it just works better.
- 1/2 cup unsalted butter, softened: This adds richness and helps the cheese ball stay pliable. Don’t skip it!
- 1 cup cooked turkey, finely chopped: Leftover roasted or smoked turkey is perfect. Make sure it’s not too wet, or the mixture will be loose. (Pat it dry with a paper towel if needed.)
- 1/2 cup dried cranberries, finely chopped: These add little bursts of sweetness and color. You can use craisins or a fancy brand—both work great.
- 1/3 cup pecans, finely chopped: For crunch and nutty flavor. Toast them lightly in a dry pan for extra depth.
- 2 green onions, thinly sliced (white and light green parts): A subtle oniony bite that cuts through the richness.
- 1 teaspoon fresh thyme leaves: Or 1/2 teaspoon dried. Fresh is best here for a pop of herby flavor.
- 1/2 teaspoon garlic powder: Not fresh garlic, which can be too sharp and weep moisture.
- 1/4 teaspoon black pepper: Freshly ground, please.
- Pinch of salt: Go easy—the turkey and cheese are already salty.
- For the Coating & Decoration:
- 1/2 cup finely chopped pecans or walnuts: For rolling the balls. Gives a lovely texture on the outside.
- Pretzel sticks (about 24): These become the “tail feathers.” Break them in half for smaller bites.
- Candy corn (about 12 pieces): For the beak. Yes, candy corn. It’s a Friendsgiving thing.
- Candy eyes (about 24): You can find these at any baking supply store or online. Or use small dots of black sesame seeds for a less sweet option.
- Fresh rosemary sprigs (optional): For a festive garnish on the serving platter.
Ingredient Selection Tips: For the best texture, look for a block of cream cheese, not the spreadable kind in a tub. The block has a firmer structure that holds up better when mixed. If you’re using leftover turkey, make sure it’s not too dry. A little bit of moisture from the meat is good, but if it’s really dry, add a teaspoon of mayonnaise to the mix. For a gluten-free option, use gluten-free pretzel sticks. For a nut-free version, skip the pecans in the coating and use crushed, unsalted potato chips instead.
Equipment Needed
You don’t need a lot of fancy gear for this one, which is part of the charm. Here’s what you’ll want to have on hand:
- Large mixing bowl: For combining the cheese ball base. A glass or stainless steel bowl works best.
- Hand mixer or sturdy wooden spoon: A hand mixer makes quick work of softening the cream cheese and butter together. A wooden spoon works too, but you’ll need a bit of elbow grease.
- Measuring cups and spoons: For accuracy. I’ve eyeballed it before and the texture was never quite right.
- Cutting board and sharp knife: For chopping the turkey, cranberries, nuts, and green onions. A sharp knife makes a big difference.
- Small cookie scoop or tablespoon: For portioning the cheese ball mixture into even bites. A cookie scoop is my favorite tool for this—it’s fast and gives you perfectly round balls.
- Parchment paper or wax paper: For rolling the balls without making a sticky mess on your counter.
- Serving platter: Something festive to show off your little turkey creations. A wooden board or a white platter works beautifully.
I’ve made these without a hand mixer before, and honestly, it’s doable but your arm will get a workout. If you don’t have a cookie scoop, just use a tablespoon and roll the mixture into balls with your hands—just make sure your hands are slightly damp so the mixture doesn’t stick.
Preparation Method
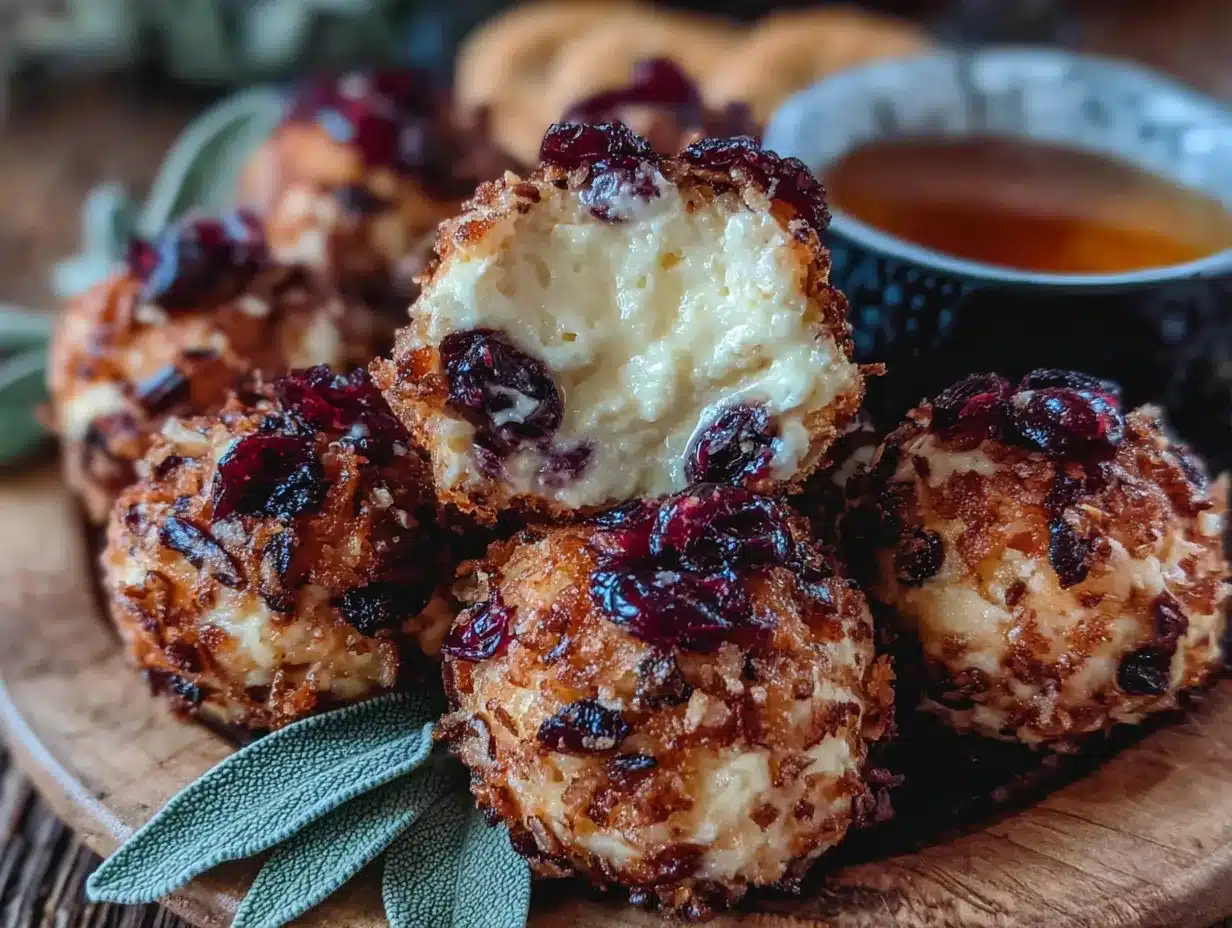
Alright, let’s make these little guys. I’ve broken it down into steps that are easy to follow, even if you’re multitasking in a busy kitchen. The total active time is about 20 minutes, plus 30 minutes of chilling time.
- Soften the Cream Cheese and Butter: Take your cream cheese and butter out of the fridge about 30 minutes before you start. You want them to be at room temperature. If you’re in a hurry (and who isn’t?), you can microwave the cream cheese on 50% power for 15-second intervals until it’s soft but not melted. The butter should be soft enough to leave a fingerprint when you press it.
- Combine the Base: In your large mixing bowl, add the softened cream cheese and butter. Beat them together with a hand mixer on medium speed until they’re smooth and fluffy—about 2 minutes. You’re looking for a pale, creamy mixture with no lumps. This is the foundation, so take your time here.
- Add the Savory Mix-Ins: Add the finely chopped turkey, dried cranberries, 1/3 cup chopped pecans, green onions, thyme, garlic powder, pepper, and a pinch of salt. Stir everything together with a spatula until it’s well combined. The mixture will be thick and slightly sticky. Taste it at this point—you can adjust the salt or pepper if needed. I always add a little more thyme because I love the herby flavor.
- Chill the Mixture: Cover the bowl with plastic wrap and pop it in the fridge for at least 30 minutes. This is a crucial step. Chilling the mixture makes it much easier to roll into balls without it sticking to your hands. You can even make it a day ahead and leave it in the fridge overnight. The flavors get even better with time.
- Prepare the Coating: While the mixture chills, set up your rolling station. Place the 1/2 cup of finely chopped pecans in a shallow bowl. Line a baking sheet or plate with parchment paper. This is where you’ll place the rolled balls before you decorate them.
- Roll the Bites: Take the chilled mixture out of the fridge. Using a small cookie scoop or a tablespoon, portion out about 1 1/2 tablespoons of the mixture. Roll it between your palms to form a smooth ball. Your hands should be slightly damp to prevent sticking. Roll the ball in the chopped pecans to coat it evenly, then place it on the parchment-lined sheet. Repeat with the remaining mixture. You should get about 12 to 14 balls.
- Create the Turkey Feathers: This is the fun part. Take a pretzel stick and break it in half. Gently insert 3 to 4 pretzel halves into the back of each cheese ball, fanning them out to look like turkey tail feathers. The cheese ball should hold them firmly in place. If some are a bit wobbly, just push them in a little deeper.
- Add the Face: For each turkey, press two candy eyes onto the front of the cheese ball. Then, take a piece of candy corn and press it into the center of the face, pointy side out, to form the beak. It should look like a tiny, adorable turkey head.
- Chill Again (Optional but Recommended): Place the finished turkey cheese ball bites back in the fridge for another 15 minutes to let the pretzels set firmly. This makes them easier to arrange on a platter without the feathers falling out.
- Serve: Arrange the bites on a serving platter. I like to tuck a few sprigs of fresh rosemary around them to look like little pine trees. Serve with an assortment of crackers, sliced apples, or celery sticks. They’re best served cold or at room temperature.
Sensory Cues: When you mix the base, it should feel smooth and slightly tacky. When you roll the balls, they should hold their shape without cracking. The pretzels should feel secure when you insert them—if they slide out, the mixture is too soft and needs more chilling. The finished bites should look like a tiny, whimsical turkey that makes everyone at the table smile.
Cooking Tips & Techniques
I’ve learned a few things the hard way so you don’t have to. Here are my best tips for making these turkey cheese ball bites perfect every time.
Don’t Overmix the Base: I know it’s tempting to keep beating the mixture until it’s super smooth, but overmixing can make the cream cheese and butter separate, leading to a greasy texture. Mix just until everything is combined and you can’t see any streaks of cream cheese.
Chill Twice for Best Results: The first chill is to firm up the mixture so you can roll it. The second chill, after you’ve added the pretzels and candy, helps everything set. I once skipped the second chill and the pretzels slid right out when I tried to arrange them on the platter. Don’t be like me.
Use a Damp Hand for Rolling: The mixture is sticky. Keep a small bowl of water nearby and dampen your hands slightly before rolling each ball. It makes the process so much smoother and less frustrating. Just don’t get your hands too wet, or the balls will be slippery.
Toast Your Nuts: This is a small step that makes a huge difference. Toasting the pecans for the coating in a dry pan over medium heat for 2-3 minutes brings out their natural oils and makes them incredibly fragrant. Just watch them closely—they burn fast.
Make Ahead for Stress-Free Hosting: This is my favorite tip for Friendsgiving. You can prepare the cheese ball mixture up to 2 days in advance and keep it in the fridge. On the day of, just roll, decorate, and serve. It takes the pressure off when you’re juggling a dozen other dishes.
Variations & Adaptations
One of the best things about this recipe is how easy it is to adapt. I’ve tried a few different versions, and they’ve all been hits.
Spicy Southwest Version: Swap the dried cranberries for chopped pickled jalapeños and the pecans for crushed tortilla chips. Add 1/2 teaspoon of cumin and a pinch of cayenne to the base. Use smoked turkey for an extra layer of flavor. The result is a spicy, savory bite that’s perfect for a game day spread.
Herby Garden Version: Omit the turkey and double the cream cheese and butter. Add 1/4 cup each of finely chopped fresh parsley, dill, and chives. Use walnuts instead of pecans for the coating. This makes a fantastic vegetarian option that’s bright and fresh. I made this for a friend who doesn’t eat meat, and she asked for the recipe three times.
Sweet & Savory Maple Version: Add 2 tablespoons of real maple syrup to the base along with the turkey. Use candied pecans for the coating instead of plain ones. The sweetness from the maple and the candy corn creates a lovely contrast with the savory turkey and cheese. This one is dangerously addictive.
Dairy-Free Adaptation: Use a high-quality dairy-free cream cheese (I like the brand Kite Hill) and a plant-based butter. The texture will be slightly softer, so you’ll need to chill the mixture for a full hour before rolling. The flavor is still fantastic, and no one will know the difference.
Serving & Storage Suggestions
These little turkeys are best served cold or at room temperature, making them ideal for a party where guests are grazing over a few hours. I like to arrange them on a large wooden board or a festive white platter. Tuck some fresh rosemary sprigs and a few whole cranberries around them for a pop of color. They’re the star of the appetizer table.
What to Serve Alongside: These bites are rich and creamy, so they pair beautifully with something crisp and fresh. I always offer a variety of crackers—butter crackers for a classic pairing, whole wheat crackers for a nutty flavor, and rice crackers for a lighter option. Sliced apple or pear wedges are also fantastic, as the sweetness of the fruit balances the savory cheese. For a drink, a crisp white wine like Sauvignon Blanc or a dry sparkling cider is perfect for Friendsgiving.
Storage Instructions: If you have leftovers (which is rare, but it happens), store the assembled bites in an airtight container in the refrigerator for up to 3 days. The pretzels may soften slightly over time, but they’ll still be delicious. I do not recommend freezing the assembled bites, as the texture of the cream cheese can become grainy when thawed.
Reheating: These are served cold, so no reheating is needed. If you’ve stored them in the fridge, just take them out about 15 minutes before serving to take the chill off. The flavors actually deepen after a day in the fridge, so they might taste even better the next day.
Nutritional Information & Benefits
Let’s be real—these are a treat, not a health food. But they do have some redeeming qualities. Each bite (based on 12 servings) contains approximately 180 calories, 14g of fat, 8g of protein, and 6g of carbohydrates. The protein comes from the turkey and the cream cheese, which helps keep you feeling full and satisfied.
The pecans are a great source of healthy fats, fiber, and antioxidants. They’re also packed with magnesium, which is good for muscle function and energy levels. The dried cranberries provide a small dose of vitamin C and fiber. And the turkey is a lean source of protein that’s also rich in B vitamins, which help convert food into energy.
Dietary Considerations: This recipe is naturally low-carb and can be made gluten-free by using gluten-free pretzels. It’s not dairy-free in its standard form, but I’ve included a dairy-free adaptation above. The main allergens to be aware of are dairy (cream cheese, butter), tree nuts (pecans), and gluten (pretzels). If you’re serving a crowd, it’s a good idea to label the dish with the ingredients so guests can make informed choices.
From my perspective, I love that these bites feel indulgent without being over-the-top. They’re a fun way to enjoy leftover turkey, and they bring a smile to everyone’s face. That counts for something in my book.
Conclusion
These Crowd-Pleasing Turkey Cheese Ball Bites are more than just a recipe—they’re a little piece of late-night inspiration that turned into a Friendsgiving tradition. They’re easy enough for a weekday snack but impressive enough for a holiday party. I love how they bring a sense of whimsy to the table without sacrificing flavor. Honestly, they’re the first thing to disappear at every gathering I bring them to.
I encourage you to make them your own. Swap in your favorite nuts, change up the herbs, or use a different type of cheese. The beauty of this recipe is its flexibility. And if you make them for your Friendsgiving, please let me know how they turn out. Leave a comment below or tag me in your photos—I love seeing your creations. Happy Friendsgiving, and may your appetizer table always be the best one there.
Frequently Asked Questions
Can I use canned turkey or chicken instead of leftover roasted turkey?
You can, but I don’t recommend it. Canned meat has a much softer, mushier texture and a different flavor profile. Leftover roasted or smoked turkey gives the best texture and taste. If you’re in a pinch, you can use rotisserie chicken from the store—just make sure to remove the skin and finely chop the meat.
How far in advance can I make these turkey cheese ball bites?
You can prepare the cheese ball mixture up to 2 days in advance and keep it covered in the refrigerator. I recommend rolling and decorating the bites no more than 24 hours before serving for the best texture and appearance. The pretzels will start to soften after a day, so it’s best to add them as close to serving time as possible.
Can I make these without the candy corn and candy eyes?
Absolutely. The candy decorations are purely for the festive turkey look. You can skip them entirely and serve the cheese balls plain, or use other decorations. I’ve used small pieces of red bell pepper for the beak and black sesame seeds for the eyes. It’s a fun way to customize them.
My cheese ball mixture is too sticky to roll. What should I do?
This usually happens if the cream cheese was too soft or if the turkey had too much moisture. The easiest fix is to chill the mixture for another 30 minutes to an hour. You can also add a tablespoon of finely chopped nuts or breadcrumbs to help absorb some of the moisture. Make sure your hands are damp when rolling, as that helps prevent sticking.
Can I freeze the cheese ball mixture?
I don’t recommend freezing the mixture. Cream cheese has a high water content, and freezing can cause it to become grainy and separate when thawed. The texture just won’t be the same. It’s best to make these fresh or up to 2 days in advance and store them in the refrigerator.
Pin This Recipe!
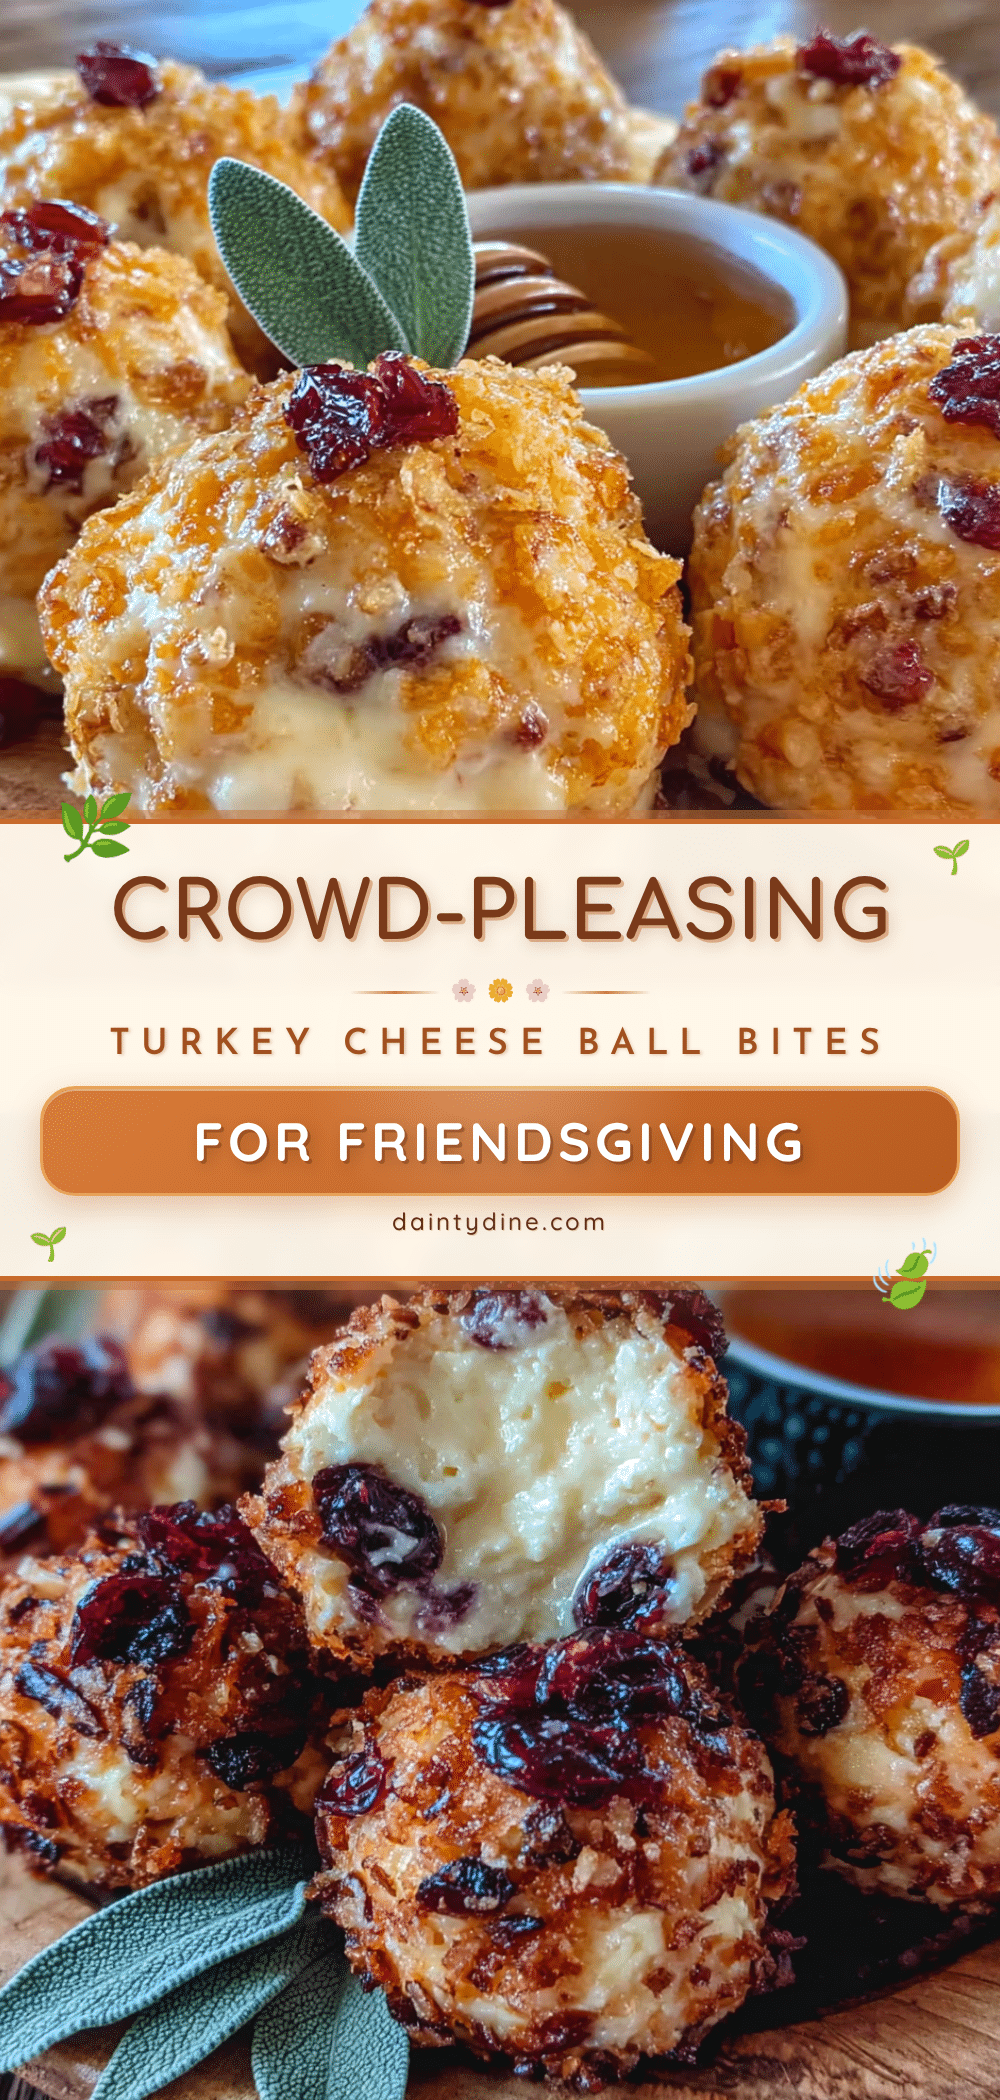
Easy Turkey Cheese Ball Bites for Friendsgiving

These adorable turkey-shaped cheese ball bites are the perfect Friendsgiving appetizer. Made with leftover turkey, cream cheese, dried cranberries, and pecans, they’re quick, easy, and a guaranteed crowd-pleaser.
- Prep Time: 20 minutes
- Cook Time: 0 minutes
- Total Time: 50 minutes (including 30 minutes chilling)
- Yield: 12-14 servings 1x
- Category: Appetizer
- Cuisine: American
Ingredients
- 8 oz cream cheese, softened
- 1/2 cup unsalted butter, softened
- 1 cup cooked turkey, finely chopped
- 1/2 cup dried cranberries, finely chopped
- 1/3 cup pecans, finely chopped
- 2 green onions, thinly sliced (white and light green parts)
- 1 teaspoon fresh thyme leaves (or 1/2 teaspoon dried)
- 1/2 teaspoon garlic powder
- 1/4 teaspoon black pepper, freshly ground
- Pinch of salt
- 1/2 cup finely chopped pecans or walnuts (for coating)
- Pretzel sticks (about 24)
- Candy corn (about 12 pieces)
- Candy eyes (about 24)
- Fresh rosemary sprigs (optional, for garnish)
Instructions
- Take cream cheese and butter out of the fridge about 30 minutes before starting to soften to room temperature. If in a hurry, microwave cream cheese on 50% power in 15-second intervals until soft but not melted.
- In a large mixing bowl, beat softened cream cheese and butter together with a hand mixer on medium speed until smooth and fluffy, about 2 minutes.
- Add finely chopped turkey, dried cranberries, 1/3 cup chopped pecans, green onions, thyme, garlic powder, pepper, and a pinch of salt. Stir with a spatula until well combined. Taste and adjust seasoning if needed.
- Cover the bowl with plastic wrap and refrigerate for at least 30 minutes (or up to overnight) to firm up the mixture.
- While mixture chills, place 1/2 cup finely chopped pecans in a shallow bowl. Line a baking sheet or plate with parchment paper.
- Using a small cookie scoop or tablespoon, portion out about 1 1/2 tablespoons of the chilled mixture. Roll between slightly damp palms to form smooth balls. Roll each ball in chopped pecans to coat evenly, then place on parchment-lined sheet. Repeat with remaining mixture (makes about 12-14 balls).
- Break pretzel sticks in half. Gently insert 3-4 pretzel halves into the back of each cheese ball, fanning them out to look like turkey tail feathers.
- Press two candy eyes onto the front of each cheese ball. Press a piece of candy corn into the center of the face, pointy side out, to form the beak.
- Optional: Place finished bites back in the fridge for 15 minutes to let pretzels set firmly.
- Arrange on a serving platter with fresh rosemary sprigs if desired. Serve with crackers, sliced apples, or celery sticks. Best served cold or at room temperature.
Notes
For best texture, use block cream cheese, not spreadable. If turkey is dry, add 1 teaspoon of mayonnaise. For nut-free version, use crushed unsalted potato chips instead of pecans. Make mixture up to 2 days ahead; roll and decorate within 24 hours of serving. Do not freeze.
Nutrition
- Serving Size: 1 bite
- Calories: 180
- Sugar: 4
- Sodium: 180
- Fat: 14
- Saturated Fat: 7
- Carbohydrates: 6
- Fiber: 1
- Protein: 8
Keywords: turkey cheese ball, Friendsgiving appetizer, leftover turkey recipe, turkey bites, holiday appetizer, cheese ball bites