Love this? Save it for later!
Share the inspiration with your friends
My older brother claimed to hate snow ice cream for twenty-seven years. Twenty-seven years. Every single winter, without fail, he’d stand there with his arms crossed while the rest of us scooped fresh powder into bowls, muttering something about “dirty snow” and “why would anyone eat frozen water with sugar.” Then last January, I caught him. He was standing at the kitchen counter at my parents’ house, spoon in hand, licking the bowl clean. He froze when he saw me, and I just raised an eyebrow. “That’s dirty snow you’re eating there, Mark.” He didn’t even have the decency to look embarrassed.
The thing is, I get the skepticism. Honestly, I do. Snow ice cream sounds like something kids make up when they’re desperate for a snow day activity and the pantry is running low on actual dessert ingredients. But here’s the truth I’ve learned after making this every winter for the past eight years: when you do it right, with the cleanest snow and the right ratio of ingredients, it’s genuinely good. Not just “good for snow” good. Actually, genuinely, creamy-and-sweet good.
I started making this recipe when my oldest was three and we got hit with a foot of snow that kept us inside for three days straight. Cabin fever was real, and I needed something, anything, that would turn the whining into giggles. That first batch was a mess—too milky, not sweet enough, and my daughter ended up with a blue tongue from the food coloring I thought was a good idea. But she beamed at me like I’d invented magic. And honestly? Maybe I had. This version has been refined over the years, and now it’s the one thing my kids actually check the weather forecast for. “Mom, is it supposed to snow this weekend? Can we make the ice cream?” Maybe you’ve been there too—desperate for a cheap, easy activity that actually delivers.
This recipe stayed with me because it’s more than just a treat. It’s the snow day ritual that turns a boring afternoon into a memory. And yes, it finally converted my brother. If it can do that, it can win over anyone.
Why You’ll Love This Recipe
Let me tell you why this snow ice cream recipe has earned a permanent spot in our winter rotation. I’ve tested it through blizzards, light dustings, and even that weird wet snow that’s more slush than fluff. This version works every single time.
- Quick & Easy: From snow collection to bowl in hand takes about five minutes. No cooking, no complicated steps, no waiting for anything to chill. Perfect for impatient little hands.
- Simple Ingredients: You need milk, sugar, vanilla, and snow. That’s it. No trips to the store, no special orders, no fancy extracts. If you have a basic pantry, you’re ready.
- Perfect for Snow Days: This is the ultimate winter activity. It turns a “we’re stuck inside” situation into “this is the best day ever.” The kids get to help scoop and stir, and they feel like little chefs.
- Crowd-Pleaser: I’ve served this to kids, adults, picky eaters, and my brother who claimed to hate it. Every single person has asked for seconds. It’s that good.
- Unbelievably Delicious: The texture is light and fluffy, almost like a snow cone but creamier. The sweetness is just right, and the vanilla rounds everything out. It’s comfort food in its purest form.
What makes this recipe different from every other snow ice cream recipe out there? It’s the ratio. I spent years tweaking the milk-to-sugar-to-vanilla balance until I found the sweet spot where the snow doesn’t melt into a watery mess and the flavor actually tastes like something. Most recipes are too milky or too sweet. This one is just right.
This recipe isn’t just good—it’s the kind that makes you close your eyes after the first bite. It’s winter magic in a bowl, made with love and a little bit of snow. And it costs practically nothing to make.
What Ingredients You Will Need
This recipe uses the simplest ingredients you probably already have in your kitchen. The magic happens when fresh, clean snow meets a perfectly balanced sweet milk base. Here’s what you need and why each ingredient matters.
- 8 cups fresh, clean snow (packed lightly, not compressed – this is the star of the show, so quality matters)
- 1 cup whole milk (adds richness; 2% works too but the texture won’t be as creamy)
- 1/2 cup granulated sugar (dissolves best; I’ve tried powdered sugar and it clumps)
- 1 teaspoon pure vanilla extract (I prefer Nielsen-Massey for the cleanest flavor, but store brand is fine)
- Pinch of salt (optional but recommended – it balances the sweetness like it does in cookies)
Ingredient Selection Tips: The snow is the most important ingredient here, and I cannot stress this enough. You want the freshest snow possible—the stuff that fell in the last few hours, not the crusty pile that’s been sitting by the driveway for three days. Collect it from an open area away from trees, roofs, and roads. I use a clean plastic bowl and scoop only the top layer. If the snow looks gray or has any debris, skip it and wait for a fresh fall. Trust me on this one.
Substitution Guidance: If you’re dairy-free, you can use oat milk or coconut milk in place of whole milk. Oat milk gives the creamiest texture of the non-dairy options. Almond milk makes it a bit watery, so I don’t recommend it. For a lower-sugar version, you can use maple syrup or honey instead of granulated sugar, but reduce the amount to 1/3 cup since they’re sweeter. Just know that liquid sweeteners will make the snow melt a little faster, so serve immediately. And if you want to get fancy, swap the vanilla for almond extract or peppermint extract for a different flavor profile. My kids love the peppermint version around Christmas.
Brand Recommendations: I’ve tested this with different milks and sugars, and honestly, the brand doesn’t matter much for the basics. But for vanilla extract, I’ve noticed a real difference. The cheap imitation vanilla gives a slightly artificial aftertaste that’s especially noticeable in a simple recipe like this. Spend the extra dollar on pure vanilla extract. Your taste buds will thank you.
Equipment Needed
You don’t need anything fancy for this recipe. That’s part of the beauty. Here’s what you’ll need to grab from your kitchen.
- Large mixing bowl – A metal or glass bowl works best. Plastic can retain odors, and you don’t want your snow ice cream tasting like last week’s spaghetti sauce. Ask me how I know.
- Whisk – For mixing the milk base. A fork works in a pinch, but a whisk dissolves the sugar much faster.
- Measuring cups and spoons – For accurate measurements. Eyeballing the sugar can lead to a too-sweet or not-sweet-enough disaster.
- Spatula or large spoon – For folding the snow into the milk mixture. A rubber spatula is my favorite because it doesn’t crush the snow.
- Small bowl or cup – For collecting the snow. I use a dedicated snow-collecting bowl that I keep clean just for this purpose.
- Serving bowls and spoons – For eating, obviously. Small bowls work best because the ice cream melts faster in large ones.
Budget-Friendly Options: You don’t need to buy anything special. Use what you have. That old mixing bowl from your college days? Perfect. The whisk that’s missing a wire? Still works. The only thing I recommend is using a metal bowl if you have one, because it keeps the snow colder longer than glass or plastic. But honestly, any bowl will do the job.
Preparation Method
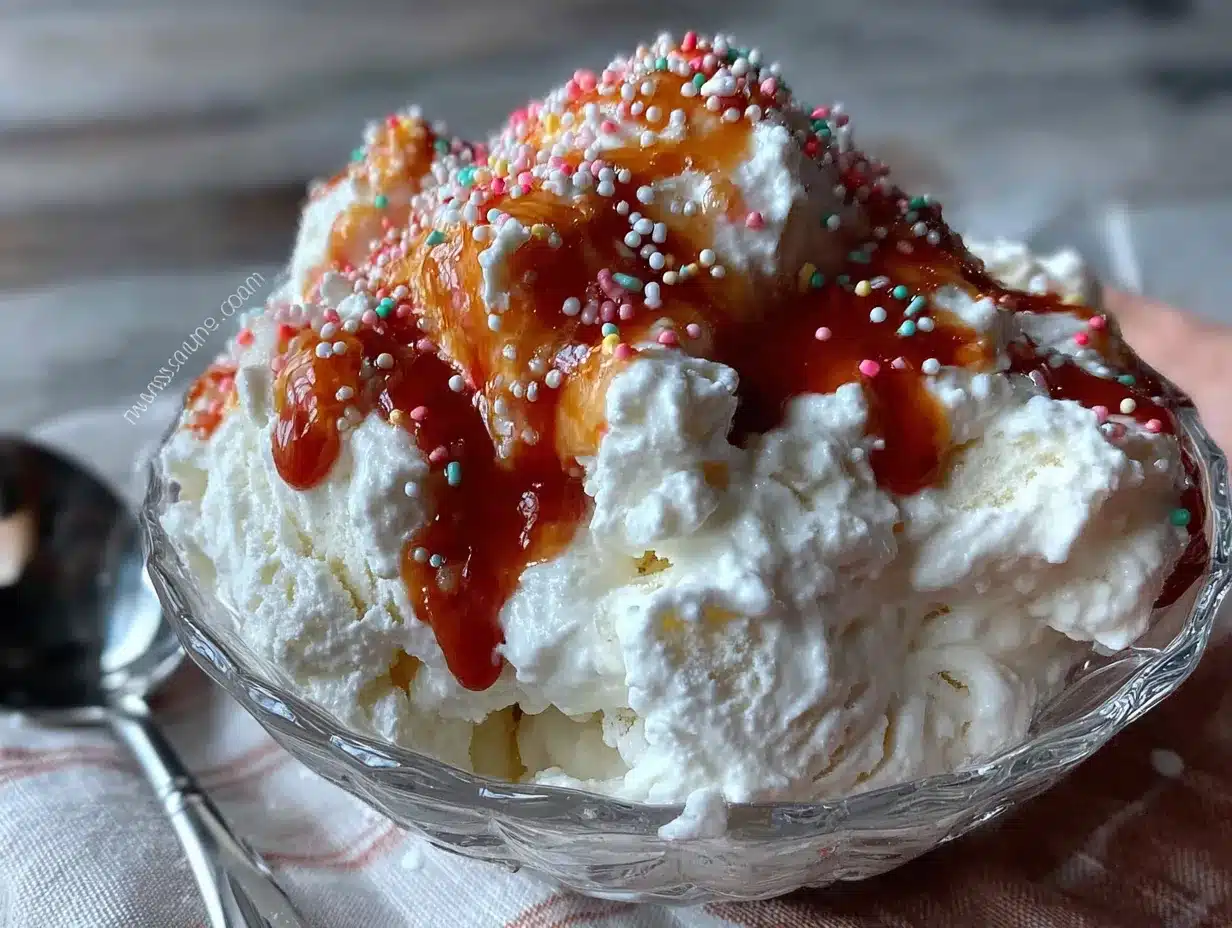
This is where the magic happens. Follow these steps carefully, and you’ll have perfect snow ice cream every single time. I’ve learned through trial and error—lots of error—so you don’t have to.
- Wait for fresh snow. This is step zero, and it’s the most important one. Don’t make snow ice cream with snow that’s been sitting for days. Wait for a fresh snowfall, ideally one that started in the last hour or two. The fresher the snow, the cleaner and fluffier your ice cream will be. I’ve made the mistake of using day-old snow, and it had a weird texture and a slightly off taste. Never again.
- Prepare your milk base. While the snow is falling, make the sweet milk mixture. In your large mixing bowl, combine 1 cup of whole milk, 1/2 cup of granulated sugar, 1 teaspoon of pure vanilla extract, and a pinch of salt. Whisk vigorously for about 30 seconds until the sugar is completely dissolved. You shouldn’t feel any grit at the bottom of the bowl. This step is crucial—undissolved sugar will make your ice cream crunchy in a bad way.
- Chill the milk base. Pop the bowl in the refrigerator for at least 15 minutes while you wait for the snow to accumulate. You want the milk mixture to be very cold before you add the snow. If it’s room temperature, it will melt the snow immediately and you’ll end up with sweet milk instead of ice cream. I learned this the hard way on a particularly impatient snow day.
- Collect the snow. Once you have a good layer of fresh snow—at least 2-3 inches—head outside with your clean collection bowl. Scoop up the top layer of snow, avoiding any that’s close to the ground or near trees. Fill your bowl with about 8 cups of loosely packed snow. Don’t pack it down; you want it light and fluffy. Work quickly—the snow starts to melt the moment it’s in the bowl.
- Combine and stir. Bring the snow inside immediately. Take your chilled milk base out of the fridge and pour it over the snow. Using your spatula or a large spoon, gently fold the milk mixture into the snow. Don’t stir vigorously—you’ll crush the snow and make it melt faster. Fold it like you’re making a soufflé, gentle and deliberate. The mixture will start to look like soft-serve ice cream.
- Check the consistency. If the mixture looks too soupy, add more snow a handful at a time and fold gently. If it looks too dry and crumbly, add a tiny splash of milk. The perfect texture is soft and scoopable, like soft-serve ice cream from a machine. It should hold its shape when you lift a spoonful but still look creamy.
- Serve immediately. This is not a recipe you can make ahead. Snow ice cream is best eaten the moment it’s made. Scoop it into small bowls and serve right away. The texture changes quickly as it sits, so don’t delay. I usually have everyone grab their spoons before I even start scooping.
Sensory Cues: When you fold the milk into the snow, you’ll hear a soft, almost whispery sound as the liquid coats the crystals. The mixture should look like wet snow at first, then transform into something that resembles ice cream as you continue folding. The color should be a very pale, creamy white—not translucent. If it looks clear or watery, you’ve added too much milk or the snow was too wet.
Troubleshooting Tip: If your snow ice cream turns out too watery, you probably used snow that was too wet or you stirred too much. Next time, use drier, fluffier snow and fold more gently. If it’s too icy and hard to scoop, you used snow that was too powdery or you didn’t add enough milk. Adjust and try again—it’s science, but delicious science.
Cooking Tips & Techniques
After eight winters of making this recipe, I’ve picked up a few tricks that make the difference between okay snow ice cream and unforgettable snow ice cream. Let me share what I’ve learned the hard way.
Temperature is everything. Your milk base needs to be thoroughly chilled before it touches the snow. I mean really cold—like, near-freezing. If you’re in a hurry, you can pop it in the freezer for 5-7 minutes instead of the fridge for 15, but watch it carefully. You want it cold, not frozen solid. I once forgot the milk base in the freezer for twenty minutes and ended up with frozen milk chunks that I had to pick out of the snow. Not ideal.
Work in batches if needed. If you’re making this for a crowd, don’t try to do it all in one giant bowl. The snow will melt before you can fold everything together. Make one batch, serve it, then make another. It takes the same amount of total time, and the texture is so much better. I learned this when I tried to make a double batch for a playdate and ended up with snow soup.
Keep extra snow in the freezer. Here’s a pro tip: while you’re collecting snow, grab a little extra and put it in a freezer-safe bag. Stick it in the freezer. If your ice cream gets too melty, you can add a handful of frozen snow to bring back the texture. It’s a lifesaver when the kids are taking too long to eat and the bowl is turning into a puddle.
Don’t overmix. This is the most common mistake I see people make. They stir and stir, trying to get the milk fully incorporated, and end up with a bowl of sweet water. Fold gently. Stop when it looks like soft-serve. A few streaks of white snow are fine—they’ll disappear as you eat.
The salt is not optional. I know I listed it as optional in the ingredients, but after testing it both ways, I strongly recommend including it. That tiny pinch of salt doesn’t make the ice cream salty. It makes the sweetness taste sweeter and rounds out the vanilla flavor. It’s the same principle as salted caramel. Trust the salt.
Variations & Adaptations
One of the best things about this recipe is how easy it is to customize. Over the years, I’ve tried all sorts of variations, and here are my favorites.
Chocolate Snow Ice Cream: This is my kids’ absolute favorite variation. Add 2 tablespoons of unsweetened cocoa powder to the milk base before whisking. Make sure it’s fully dissolved—no cocoa lumps allowed. You might need to add an extra tablespoon of sugar to balance the bitterness. The result is a light, fluffy chocolate ice cream that tastes like a frozen hot chocolate.
Fruity Snow Ice Cream: For a bright, fruity version, stir in 2 tablespoons of strawberry or raspberry jam into the milk base. You can also use fruit syrup, like the kind you put on pancakes. My personal favorite is using a spoonful of homemade strawberry jam—the little bits of fruit add a nice texture. Just know that the color will be more pink than red, and it will look gorgeous in the bowl.
Dairy-Free Version: As I mentioned earlier, oat milk is your best bet for a dairy-free version. I’ve tested it with coconut milk too, and it works, but the coconut flavor is pretty strong. If you like coconut, go for it. If not, stick with oat milk. Use the same measurements and follow the same steps. The texture will be slightly less creamy, but still delicious.
Peppermint Snow Ice Cream: This is my go-to for holiday gatherings. Replace the vanilla extract with 1/2 teaspoon of peppermint extract. Add a drop of red food coloring if you want that classic peppermint look, but it’s not necessary. Crush up a few candy canes and sprinkle them on top. It tastes exactly like a peppermint patty in ice cream form.
Maple Snow Ice Cream: This one feels very New England to me, and I love it. Replace the granulated sugar with 1/3 cup of pure maple syrup. Reduce the milk to 3/4 cup since the syrup adds liquid. The flavor is warm and cozy, perfect for a winter evening. My husband requests this version every single snow day.
Serving & Storage Suggestions
Snow ice cream is best enjoyed immediately, but I have a few tips for serving and the rare occasion when you have leftovers.
Serving Temperature: Serve snow ice cream right after you make it, while it’s still cold and fluffy. It should be scoopable but not frozen solid. If it sits for more than 5-10 minutes, it will start to melt and lose its texture. I recommend having everyone seated with spoons ready before you start scooping.
Presentation Ideas: Serve in small bowls or even in paper cups for a fun, casual feel. Top with sprinkles, chocolate shavings, or crushed cookies. My kids love when I add a drizzle of chocolate syrup and a cherry on top—it makes them feel like they’re at an ice cream parlor. For a grown-up version, a sprinkle of sea salt and a drizzle of good olive oil is surprisingly delicious.
Complementary Dishes: Snow ice cream pairs beautifully with warm desserts. Serve it alongside a slice of warm apple pie, a brownie fresh from the oven, or a chocolate chip cookie. The contrast between hot and cold is heavenly. It’s also great on its own as a light, refreshing treat after a heavy winter meal.
Storage Instructions: If you somehow have leftovers, you can store them in the freezer. Transfer the ice cream to an airtight container and press a piece of plastic wrap directly onto the surface to prevent ice crystals from forming. It will keep for up to 24 hours, but the texture won’t be the same. It becomes more icy and less creamy. Honestly, it’s better to just make a smaller batch and finish it.
Reheating Methods: You don’t reheat snow ice cream, but if it’s been in the freezer and turned too hard, let it sit at room temperature for 5-10 minutes to soften. You can also microwave it for 5-10 seconds, but watch it carefully—it goes from frozen to soup very quickly.
Flavor Development: Fresh snow ice cream has a bright, clean flavor that’s hard to beat. As it sits in the freezer, the vanilla flavor becomes more pronounced, but the texture suffers. If you must make it ahead, do it no more than an hour before serving and keep it in the coldest part of your freezer.
Nutritional Information & Benefits
Let’s be real—snow ice cream is a treat, not a health food. But it’s not as bad as you might think, especially compared to store-bought ice cream.
| Nutrient | Amount Per Serving (1/2 cup) |
|---|---|
| Calories | 85 |
| Total Fat | 1.5g |
| Saturated Fat | 1g |
| Cholesterol | 5mg |
| Sodium | 30mg |
| Total Carbohydrates | 17g |
| Sugars | 16g |
| Protein | 1g |
| Calcium | 40mg |
Health Benefits: The main ingredient is snow, which is just frozen water—zero calories, zero fat, zero sugar. The milk adds calcium and vitamin D, which are important for bone health. The sugar is the main calorie contributor, but you can control the amount. Compared to a half-cup of store-bought vanilla ice cream, which has around 140 calories and 7 grams of fat, this version is significantly lighter.
Dietary Considerations: This recipe is vegetarian. For a gluten-free version, just make sure your vanilla extract is certified gluten-free (most are). For a lower-sugar version, use a sugar substitute like stevia or monk fruit sweetener, but start with half the amount and adjust to taste. For a dairy-free version, use oat milk as I mentioned earlier.
Potential Allergens: This recipe contains dairy (milk) and may contain traces of gluten depending on your vanilla extract. If you’re serving a crowd, it’s always a good idea to ask about allergies. I’ve made the dairy-free version for my lactose-intolerant sister-in-law, and she was thrilled to be included in the snow day fun.
Personal Wellness Perspective: I believe in balance. Snow ice cream is a once-in-a-while treat, not an everyday thing. But when the snow falls and the kids are bouncing off the walls, this is the kind of memory that matters more than the sugar content. It’s about joy, togetherness, and making the most of winter. And honestly? A half-cup of this is way better for you than a store-bought ice cream bar loaded with preservatives and artificial ingredients.
Conclusion
This snow ice cream recipe is more than just a dessert—it’s a snow day tradition that brings families together. It’s simple enough for toddlers to help with, cheap enough that you don’t feel bad about making multiple batches, and delicious enough to convert even the biggest skeptics (yes, I’m looking at you, Mark).
I encourage you to make this recipe your own. Add your favorite toppings, experiment with different extracts, or double the batch and invite the neighbors over. The beauty of snow ice cream is that it’s endlessly customizable and always a hit. And the best part? It costs practically nothing and uses ingredients you already have.
Honestly, this recipe has become one of my favorite parts of winter. When the forecast calls for snow, my kids start asking if we have enough milk and sugar. They know the drill. And I love that they associate snow days with something we do together, not just with being stuck inside. It’s a small thing, but it matters.
So the next time the snow starts falling, grab your bowl and head outside. Collect that fresh, clean snow, whip up the milk base, and make some memories. And when you do, come back and let me know how it turned out. Did your kids love it? Did you try a fun variation? Drop a comment below—I’d love to hear your snow day stories. And if you loved this recipe, share it with a friend who needs a little winter magic in their life. Happy snow day, friends!
Frequently Asked Questions
Can I use any type of snow for this recipe?
Not all snow is created equal. You want the freshest, cleanest snow you can find—preferably snow that fell within the last hour or two. Avoid snow that’s been sitting for days, snow near roads or driveways, and snow that has any discoloration or debris. Collect from an open area away from trees and roofs. When in doubt, wait for a fresh snowfall.
Can I make snow ice cream without a mixer or special equipment?
Absolutely. You don’t need any special equipment for this recipe. A large bowl, a whisk or fork, a measuring cup, and a spoon are all you need. No mixer, no ice cream maker, no fancy gadgets. That’s part of what makes this recipe so great—it’s accessible to everyone.
How do I know if the snow is clean enough to eat?
Trust your eyes and your nose. Fresh snow should be bright white, fluffy, and smell like nothing—or like clean, cold air. If it looks gray, has any specks of dirt or debris, or smells at all musty, don’t use it. I also recommend collecting snow from an elevated surface like a clean patio table or a dedicated snow collection board rather than from the ground.
Can I freeze snow ice cream for later?
You can, but the texture won’t be the same. Snow ice cream is best eaten immediately. If you freeze it, it will become more icy and less creamy. If you must freeze it, transfer it to an airtight container, press plastic wrap onto the surface, and eat it within 24 hours. Let it soften at room temperature for 5-10 minutes before serving.
What if I don’t have whole milk? Can I use another type?
Yes, you can use 2% milk, but the texture will be slightly less creamy. Oat milk is the best non-dairy option—it’s creamy and neutral-tasting. Coconut milk works too, but it adds a coconut flavor. I don’t recommend almond milk because it makes the ice cream watery. Avoid skim milk if possible—it doesn’t have enough fat to create a creamy texture.
Pin This Recipe!
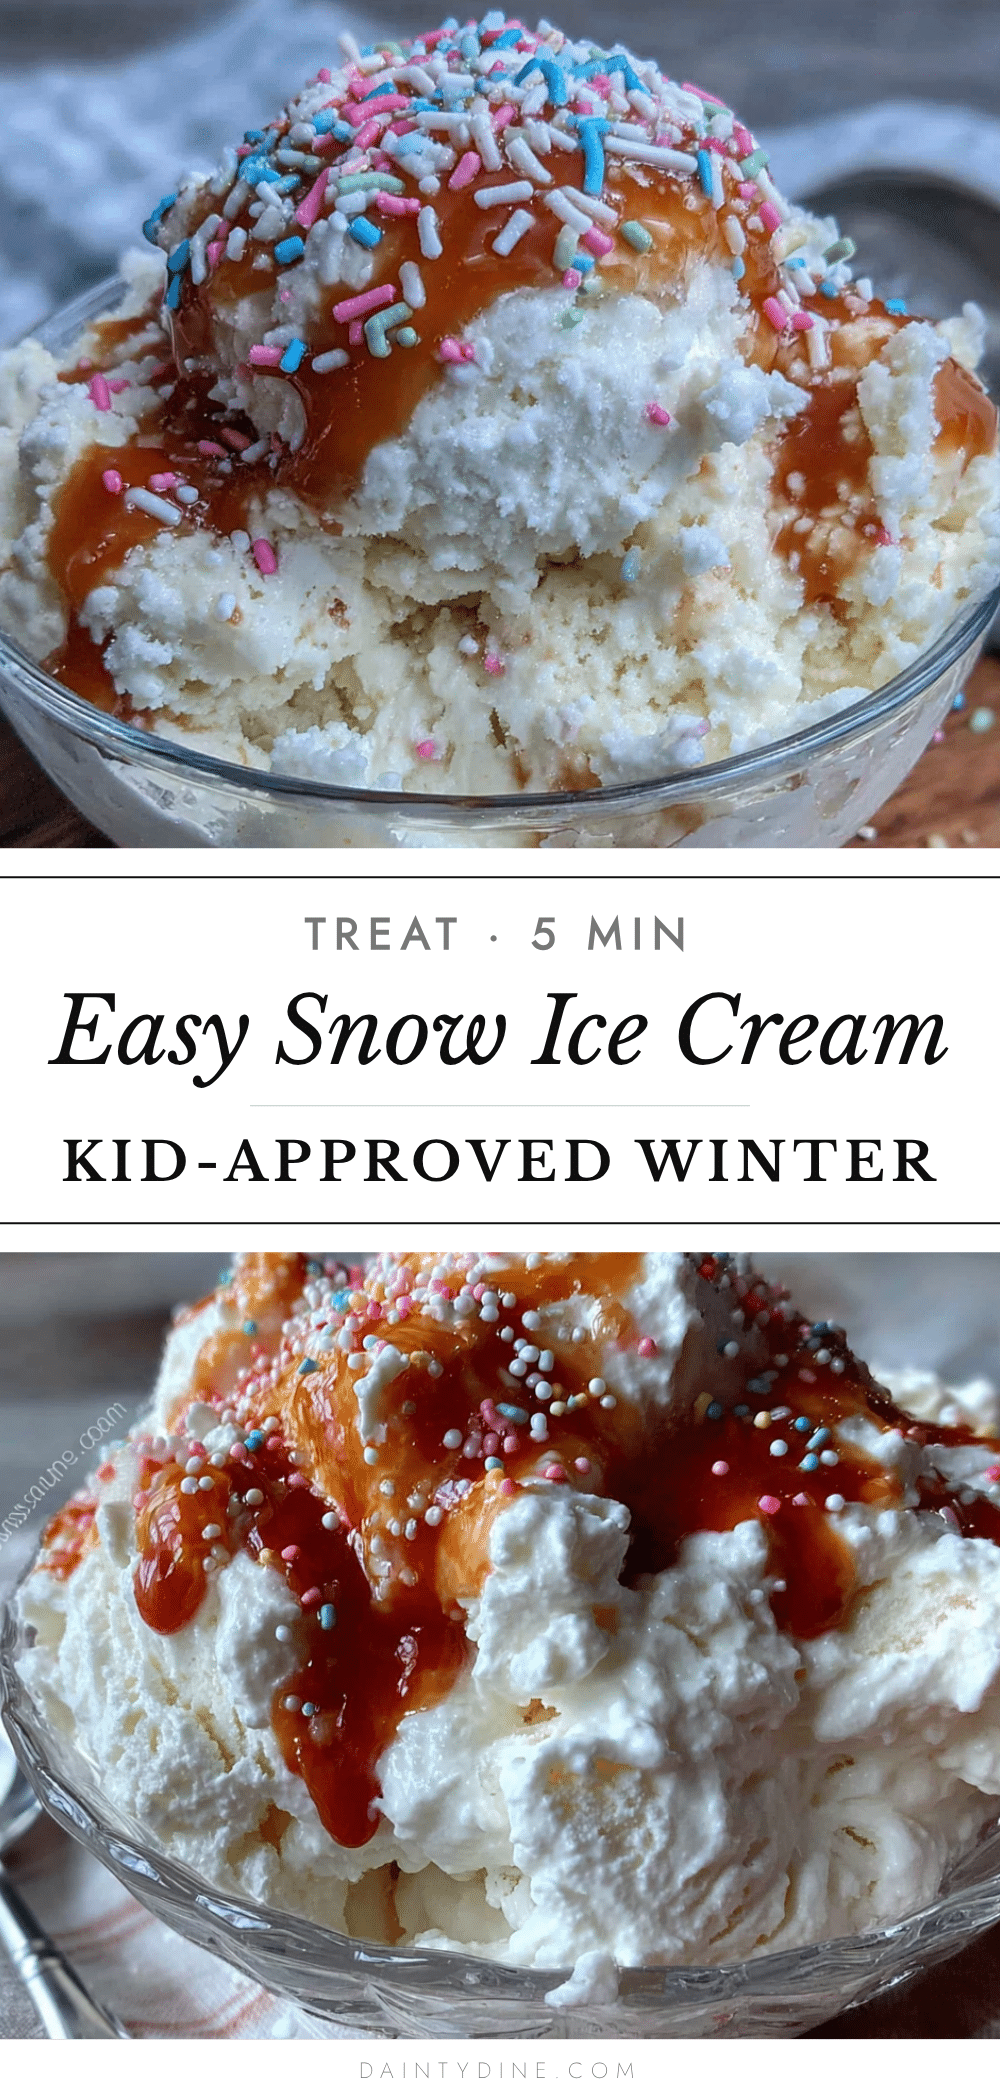
Easy Snow Ice Cream Recipe: A Kid-Approved Winter Treat

This easy snow ice cream recipe turns fresh snow into a creamy, sweet treat in just five minutes. Made with simple pantry ingredients, it’s the perfect snow day activity that kids and adults love.
- Prep Time: 5 minutes
- Cook Time: 0 minutes
- Total Time: 20 minutes (includes chilling time)
- Yield: 4 servings 1x
- Category: Dessert
- Cuisine: American
Ingredients
- 8 cups fresh, clean snow (packed lightly)
- 1 cup whole milk
- 1/2 cup granulated sugar
- 1 teaspoon pure vanilla extract
- Pinch of salt (optional but recommended)
Instructions
- Wait for fresh snow. Do not use snow that has been sitting for days.
- Prepare the milk base: In a large mixing bowl, combine 1 cup whole milk, 1/2 cup granulated sugar, 1 teaspoon pure vanilla extract, and a pinch of salt. Whisk vigorously for about 30 seconds until the sugar is completely dissolved.
- Chill the milk base in the refrigerator for at least 15 minutes until very cold.
- Collect the snow: Once you have at least 2-3 inches of fresh snow, head outside with a clean collection bowl. Scoop up the top layer of snow, avoiding ground or trees. Fill the bowl with about 8 cups of loosely packed snow.
- Bring the snow inside immediately. Pour the chilled milk base over the snow. Gently fold the milk mixture into the snow using a spatula or large spoon until it looks like soft-serve ice cream. Do not overmix.
- Check the consistency: If too soupy, add more snow a handful at a time. If too dry, add a tiny splash of milk. The perfect texture is soft and scoopable.
- Serve immediately in small bowls. This recipe is best eaten right away.
Notes
Use the freshest snow possible—ideally within the first hour or two of snowfall. Collect from an open area away from trees, roofs, and roads. For best results, chill the milk base thoroughly before combining. Do not overmix; fold gently. Serve immediately for the best texture. If making for a crowd, work in batches. Extra snow can be stored in the freezer to adjust consistency if needed.
Nutrition
- Serving Size: 1/2 cup
- Calories: 85
- Sugar: 16
- Sodium: 30
- Fat: 1.5
- Saturated Fat: 1
- Carbohydrates: 17
- Protein: 1
Keywords: snow ice cream, easy snow ice cream, winter treat, snow day recipe, kid-friendly dessert, homemade ice cream, no-cook dessert


