Love this? Save it for later!
Share the inspiration with your friends
Introduction
There used to be this charming little bakery tucked away on a quiet corner of Main Street in my hometown that made the most unforgettable flag icebox cake every Fourth of July. When they suddenly closed down one summer, honestly, it felt like losing a small piece of the holiday spirit itself. I remember the last time I bought that cake — the way the layers of cool whipped cream and vibrant berries tasted like sunshine and fireworks, all wrapped into one festive dessert. After a frustrating handful of attempts—some too soggy, others too bland—I finally got it just right.
Let me tell you, the journey wasn’t without its hiccups. One afternoon, I accidentally grabbed the wrong container and ended up with a very berry-heavy topping that made a mess on the counter (thank goodness for quick cleanups). But that’s the thing about this no-bake flag icebox cake: it’s forgiving, fun, and honestly, a bit of a crowd-pleaser whenever I bring it to backyard barbecues. Maybe you’ve been there too—chasing a taste from your past, hoping to bottle that exact feeling of celebration in a recipe.
That’s why this easy no-bake flag icebox cake recipe stays close to my heart. It’s not just dessert; it’s a little piece of summer, a splash of red, white, and blue, and the perfect way to make patriotic celebrations feel special without endless fuss in the kitchen.
Why You’ll Love This Recipe
This recipe truly nails the balance between simplicity and wow factor. After testing it several times (and tasting a ton of whipped cream), I can say with confidence it’s a winner for any patriotic gathering.
- Quick & Easy: Whips up in under 20 minutes, perfect for last-minute parties or relaxed holiday afternoons.
- Simple Ingredients: You likely have everything on hand, from graham crackers to fresh berries and whipped cream.
- Perfect for Patriotic Celebrations: Whether it’s Fourth of July, Memorial Day, or Labor Day, this cake’s red, white, and blue theme shines.
- Crowd-Pleaser: Kids and adults alike adore its creamy texture and fresh fruit flavors.
- Unbelievably Delicious: The layers soak up flavors just right, with a light crunch that softens into a melt-in-your-mouth treat.
This isn’t just another icebox cake. The trick is in how the graham crackers gently soften without turning mushy, and the whipped cream is lightly sweetened to let the berries pop. Honestly, it’s the kind of dessert that makes you close your eyes after the first bite and smile. And if you’re looking to impress guests with minimal effort, this is your go-to.
What Ingredients You Will Need
This recipe uses simple, wholesome ingredients to deliver bold flavor and satisfying texture without the fuss. Most are pantry staples or fresh seasonal finds you can easily swap if needed.
- Graham Crackers: About 2 sleeves (around 9 ounces or 255 grams). I prefer classic honey-flavored graham crackers for that perfect hint of sweetness.
- Heavy Whipping Cream: 2 cups (480 ml), chilled. For best results, use a trusted brand like Organic Valley for a rich, creamy texture.
- Powdered Sugar: 1/2 cup (60 grams), sifted to avoid lumps in the whipped cream.
- Vanilla Extract: 1 teaspoon for a warm, aromatic note.
- Fresh Strawberries: 1 1/2 cups (about 225 grams), sliced. In summer, swap in fresh organic berries for the brightest flavor.
- Fresh Blueberries: 1 cup (150 grams), washed and patted dry.
- Fresh Raspberries: 1 cup (120 grams). Optional, but they add a lovely tartness and vibrant color.
- Optional Garnishes: Mint leaves or edible flowers for a festive touch.
You can swap the heavy cream for a dairy-free coconut whipping cream if you need a vegan or lactose-free option. For a gluten-free version, use gluten-free graham crackers, which many brands now offer. Just make sure your powdered sugar is also gluten-free (most are, but it’s good to double-check).
Equipment Needed
- Mixing Bowl: A large bowl for whipping the cream. A metal or glass bowl works best for keeping the cream cold.
- Electric Mixer or Stand Mixer: Essential for whipping the cream to soft peaks quickly and easily. Hand-whisking is possible but takes serious arm power!
- 9×13-inch (23×33 cm) Rectangular Baking Dish or Pan: For layering the cake. I’ve used both glass and ceramic pans; just make sure it’s shallow enough for layers to show.
- Spatula: For folding in vanilla and spreading the whipped cream evenly.
- Knife and Cutting Board: For slicing berries. A serrated knife works well for strawberries.
If you don’t have an electric mixer, a whisk and some patience will do. Just chill your bowl and beaters first to help the cream whip faster. For budget-conscious cooks, inexpensive hand mixers get the job done without breaking the bank.
Preparation Method
- Chill your tools: Place your mixing bowl and beaters in the fridge for 15 minutes before whipping. This helps the cream whip up faster and fluffier. (Prep time: 15 minutes)
- Make the whipped cream: Pour 2 cups (480 ml) of cold heavy whipping cream into the chilled bowl. Beat on medium-high speed until it starts to thicken, then add 1/2 cup (60 grams) powdered sugar and 1 teaspoon vanilla extract. Continue beating until soft peaks form—when you lift the beaters, the cream should hold a gentle peak but still look smooth. (Time: 5-7 minutes)
- Prepare the fruit: Wash and dry the strawberries, blueberries, and raspberries. Slice strawberries into thin, even pieces for layering. Patting berries dry is key to prevent sogginess. (Time: 5 minutes)
- Layer the cake: Spread a thin layer of whipped cream evenly on the bottom of your 9×13-inch (23×33 cm) pan. Arrange a single layer of graham crackers to cover the cream. Don’t worry if you need to break some crackers to fill gaps—just keep the layer tight.
- Add whipped cream and berries: Spread about one-third of the whipped cream over the crackers. Then, arrange a layer of strawberries on one side for the red stripes of the flag, leaving space for blueberries to represent the blue field. Continue layering with graham crackers, then whipped cream, placing blueberries in the top-left corner to mimic the flag’s canton.
- Repeat layers: Add another graham cracker layer, more whipped cream, and finish with raspberries for the red stripes on the remaining side. Top with a final layer of whipped cream and scatter a few berries for garnish.
- Chill the cake: Cover the pan with plastic wrap and refrigerate for at least 4 hours, preferably overnight. This resting time lets the graham crackers soften into a cake-like texture without losing their slight crunch. (Rest time: 4+ hours)
- Serve: Slice with a sharp knife dipped in hot water for cleaner cuts. Serve chilled and enjoy the burst of creamy, fruity patriotism!
Pro tip: If your whipped cream starts to separate or get grainy, stop beating immediately. Over-whipping can turn it into butter, and no one wants that in their flag icebox cake!
Cooking Tips & Techniques
When working with whipped cream, patience is key. I’ve learned the hard way that chilling your tools beforehand really helps the cream whip up beautifully. Also, folding in vanilla gently keeps the cream light and airy.
Don’t rush the chilling step. The graham crackers need time to soak up moisture and soften but not become mushy. If you try to serve it too soon, the layers won’t meld properly.
For the berries, always rinse and dry them carefully. Excess moisture is the enemy—it can make your cake watery and soggy. I like to use a salad spinner lined with paper towels to gently dry the berries after washing.
When layering, be sure to press the crackers lightly but not too hard. They should stay intact for that satisfying texture contrast.
If you want a smoother whipped cream, you can sift the powdered sugar before mixing to avoid lumps. And don’t be shy about using fresh vanilla extract—it makes a noticeable difference compared to artificial flavors.
Finally, if you’re short on time, you can prepare the cake a day ahead. It actually tastes better the next day once all the flavors have mingled. Just cover it tightly to preserve freshness.
Variations & Adaptations
Feel like switching things up? This easy no-bake flag icebox cake is versatile enough to handle a few creative twists.
- Dietary Adaptation: Use dairy-free coconut cream and gluten-free graham crackers to make it vegan and gluten-free without losing texture or flavor.
- Seasonal Variation: In winter, swap fresh berries for frozen ones (thawed and drained) or use pomegranate seeds and kiwi slices for a festive twist.
- Flavor Boost: Add a tablespoon of lemon zest to the whipped cream for a fresh citrus kick that pairs beautifully with the berries.
- Alternative Layers: Use thin slices of pound cake or ladyfingers instead of graham crackers for a more decadent take.
- Personal Favorite: I’ve tried folding in a little mascarpone cheese with the whipped cream for extra richness—totally delicious and feels like dessert royalty.
Serving & Storage Suggestions
This cake is best served chilled, straight from the fridge. I like to let it sit at room temperature for about 10 minutes before slicing so it’s easier to cut. Presentation-wise, a few extra fresh berries and a sprig of mint on top add a lovely touch.
It pairs wonderfully with iced tea, lemonade, or even a light sparkling rosé if you’re celebrating with adults. For a fun twist, try serving alongside a bowl of fresh fruit salad to keep the theme going.
Store leftovers covered tightly in the refrigerator for up to 3 days. Freezing isn’t recommended since the whipped cream can separate. When reheating, just bring to room temperature briefly but avoid microwaving.
Flavors deepen a bit after resting overnight, so if you can plan ahead, this cake tastes even better the next day. Perfect for prepping before a holiday picnic or potluck.
Nutritional Information & Benefits
This no-bake flag icebox cake is a lighter dessert option compared to traditional cakes, mainly thanks to the use of whipped cream and fresh fruit. One serving (about 1/12th of the cake) contains approximately 220 calories, 10 grams of fat, 30 grams of carbohydrates, and 3 grams of protein.
Key ingredients like fresh berries provide antioxidants, vitamin C, and fiber, making this dessert a tasty way to sneak in some nutrients. Using real whipped cream over processed frostings also means fewer additives.
Gluten-free and dairy-free versions are easy to make, accommodating many dietary restrictions. It’s a treat that feels indulgent without going overboard, which makes it perfect for festive celebrations when you want a sweet treat and something fresh.
Conclusion
This easy no-bake flag icebox cake is more than just a dessert—it’s a tradition in the making, a slice of patriotic joy that’s simple to prepare and impossible not to love. Whether you’re hosting a backyard barbecue or just want a festive way to celebrate, this recipe lets you customize freely and enjoy the process as much as the result.
Honestly, it’s one I keep coming back to because it’s just so darn satisfying and pretty on the plate. I can’t wait to hear how you make it your own—leave a comment with your tweaks or share your photos! Here’s to sweet, simple celebrations that taste like summertime memories.
FAQs About Easy No-Bake Flag Icebox Cake
How long does the flag icebox cake need to chill?
At least 4 hours, but overnight chilling is best for the graham crackers to soften perfectly and for flavors to meld.
Can I use frozen berries for this recipe?
Yes, but thaw and drain them well first to avoid excess moisture that can make the cake soggy.
What can I substitute if I don’t have graham crackers?
Thin slices of pound cake, ladyfingers, or gluten-free crackers work well as alternatives.
Is it possible to make this cake vegan?
Absolutely. Use coconut whipping cream and vegan-friendly graham crackers to keep it dairy-free and vegan.
How do I get clean slices when serving?
Dip your knife in hot water and wipe it dry between cuts for neat slices without dragging the layers.
Pin This Recipe!
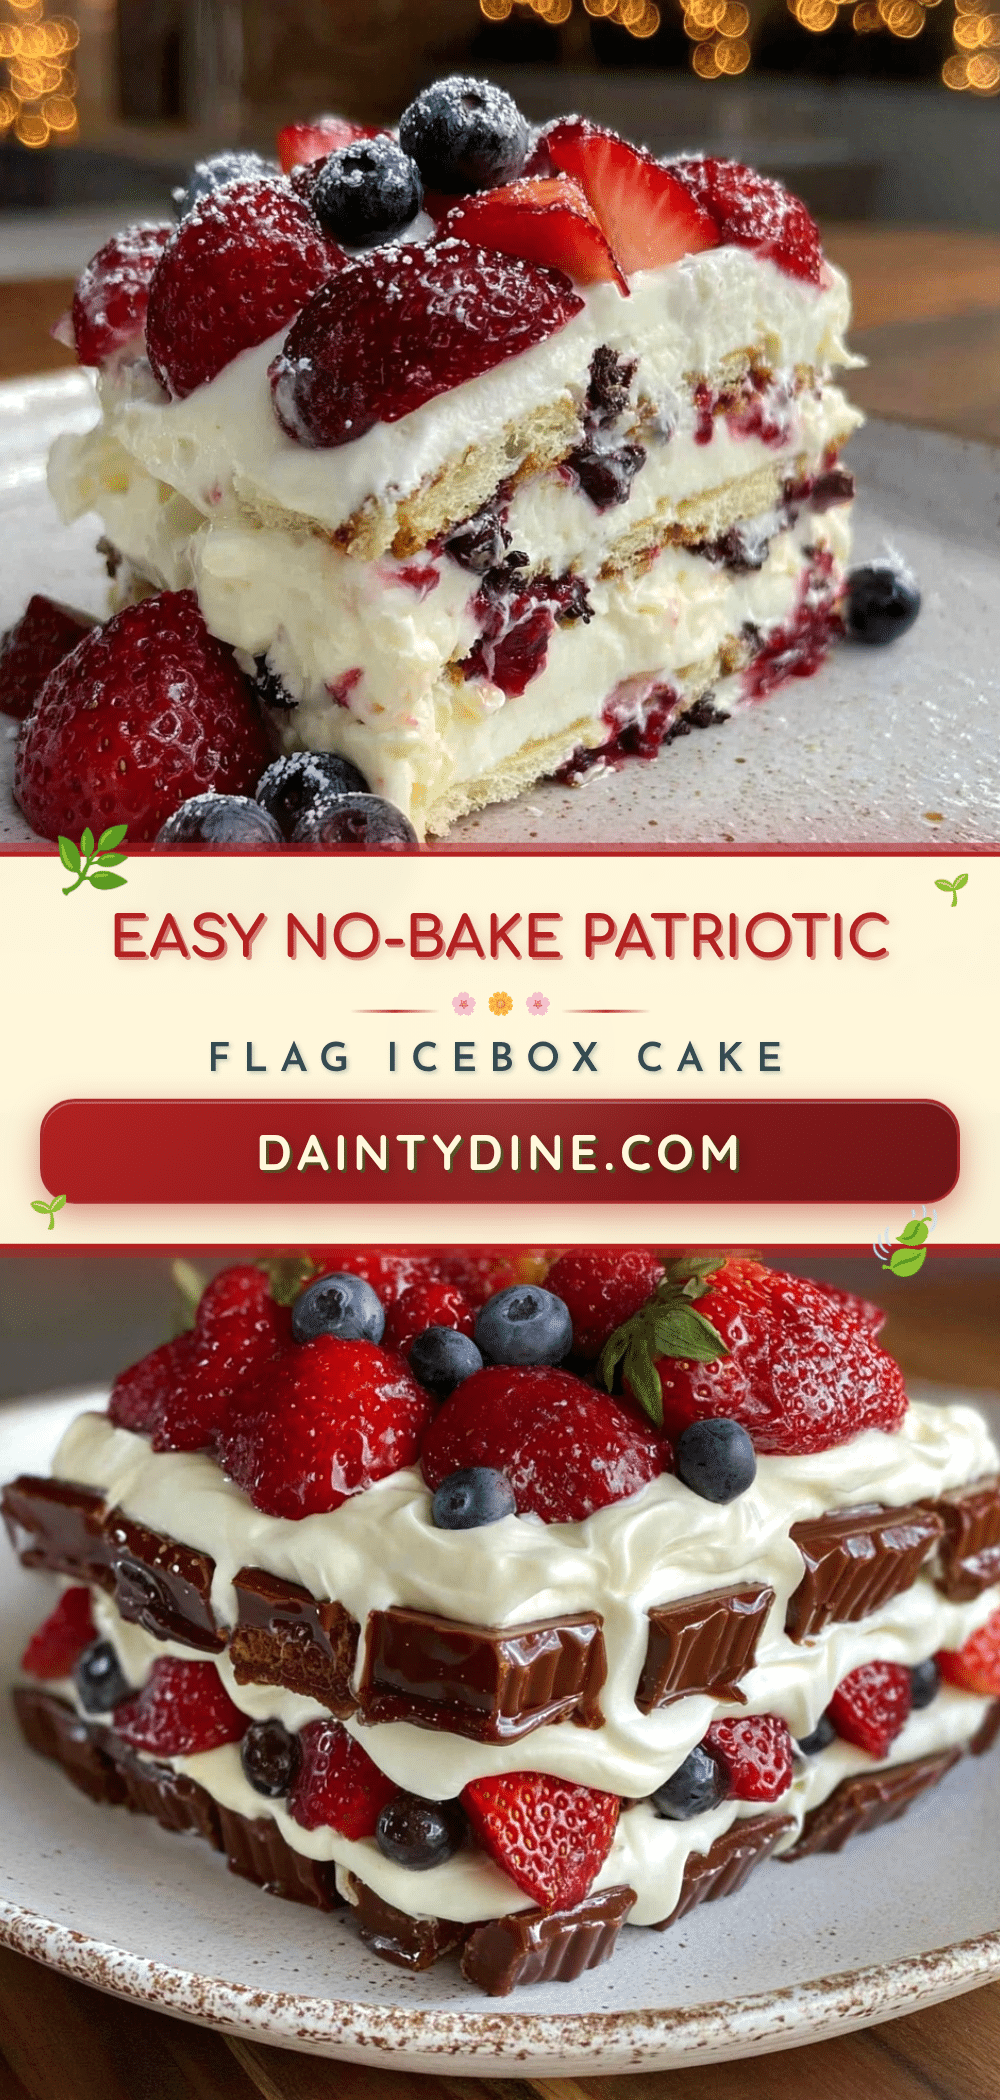
Easy No-Bake Flag Icebox Cake Recipe for Perfect Patriotic Celebrations
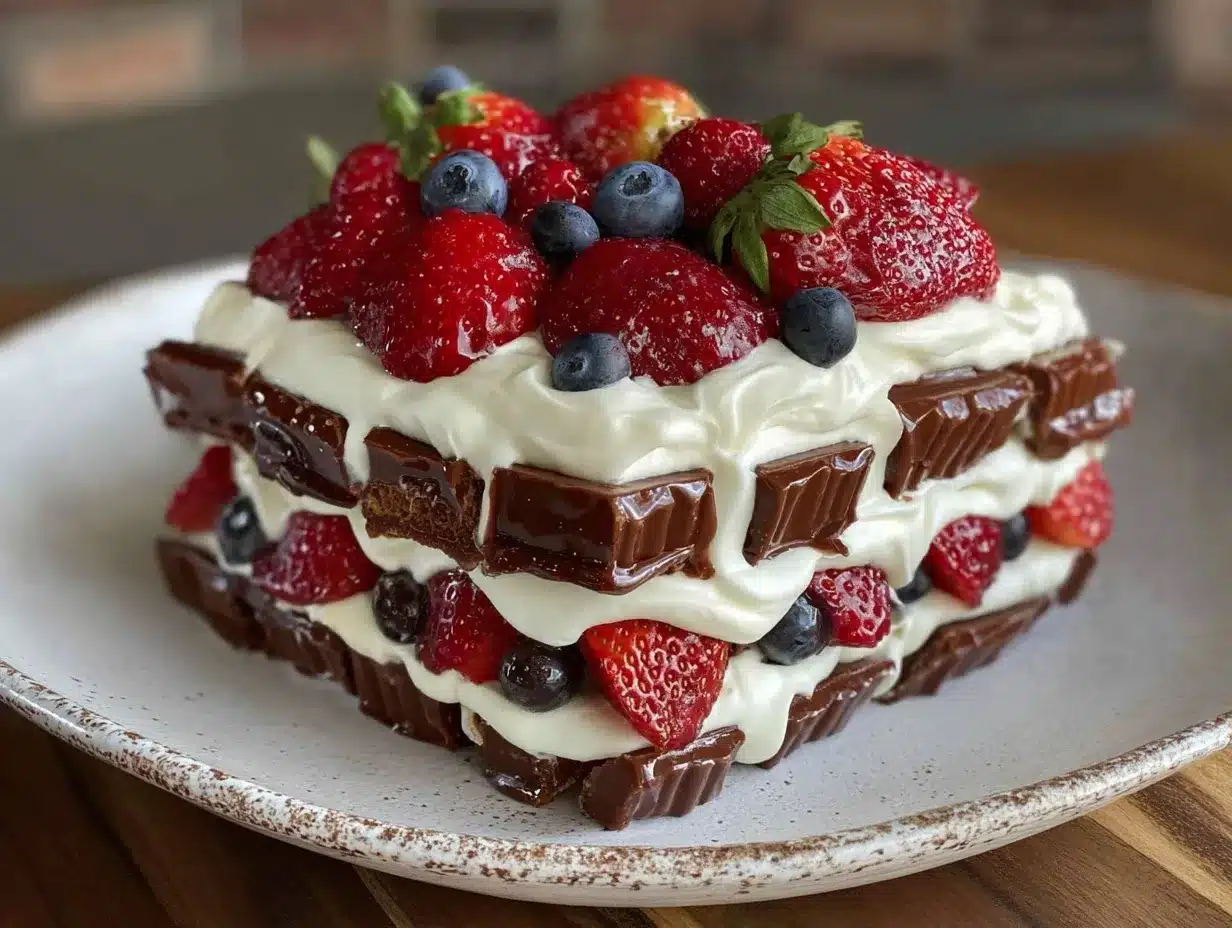
A simple, no-bake dessert featuring layers of whipped cream, graham crackers, and fresh berries arranged in a patriotic flag design. Perfect for Fourth of July and other patriotic celebrations.
- Prep Time: 20 minutes
- Cook Time: 0 minutes
- Total Time: 4 hours 20 minutes
- Yield: 12 servings 1x
- Category: Dessert
- Cuisine: American
Ingredients
- 2 sleeves (about 9 ounces or 255 grams) honey-flavored graham crackers
- 2 cups (480 ml) heavy whipping cream, chilled
- 1/2 cup (60 grams) powdered sugar, sifted
- 1 teaspoon vanilla extract
- 1 1/2 cups (about 225 grams) fresh strawberries, sliced
- 1 cup (150 grams) fresh blueberries, washed and patted dry
- 1 cup (120 grams) fresh raspberries (optional)
- Optional garnishes: mint leaves or edible flowers
Instructions
- Chill your mixing bowl and beaters in the fridge for 15 minutes to help the cream whip faster and fluffier.
- Pour 2 cups of cold heavy whipping cream into the chilled bowl. Beat on medium-high speed until it starts to thicken.
- Add 1/2 cup powdered sugar and 1 teaspoon vanilla extract. Continue beating until soft peaks form.
- Wash and dry the strawberries, blueberries, and raspberries. Slice strawberries thinly.
- Spread a thin layer of whipped cream evenly on the bottom of a 9×13-inch (23×33 cm) pan.
- Arrange a single layer of graham crackers to cover the cream, breaking crackers as needed to fill gaps.
- Spread about one-third of the whipped cream over the crackers.
- Arrange strawberries on one side for the red stripes, leaving space for blueberries in the top-left corner to mimic the flag’s canton.
- Continue layering with graham crackers, whipped cream, and blueberries in the top-left corner.
- Add another graham cracker layer, more whipped cream, and finish with raspberries for the remaining red stripes.
- Top with a final layer of whipped cream and scatter a few berries for garnish.
- Cover the pan with plastic wrap and refrigerate for at least 4 hours, preferably overnight.
- Slice with a sharp knife dipped in hot water for cleaner cuts and serve chilled.
Notes
Chill tools before whipping cream for best results. Avoid over-whipping cream to prevent it turning into butter. Pat berries dry to prevent sogginess. Let cake chill overnight for best flavor and texture. Use a knife dipped in hot water for clean slices. For vegan or gluten-free versions, substitute coconut whipping cream and gluten-free graham crackers.
Nutrition
- Serving Size: 1 slice (1/12th of c
- Calories: 220
- Fat: 10
- Carbohydrates: 30
- Protein: 3
Keywords: no-bake, icebox cake, patriotic dessert, Fourth of July, flag cake, easy dessert, berry dessert, whipped cream cake


