Love this? Save it for later!
Share the inspiration with your friends
Introduction
“You know that feeling when you’re staring at a mountain of ripe tomatoes and peppers, and suddenly the power blinks out?” That happened to me last August, right in the middle of my salsa-making spree. I was all set to can my fresh salsa batch using my fancy water bath canner, only to realize the power outage had other plans. Honestly, I was this close to tossing in the towel—until my neighbor, a retired gardener named Louisa, popped over with a grin and a surprising suggestion.
Louisa swore by canning salsa without any special equipment, just good old jars, a big pot, and some patience. Skeptical but desperate, I gave it a shot. Let me tell you, the results blew me away. Not only did I save that precious salsa batch, but I also stumbled onto a method so simple and fuss-free that I’ve kept using it ever since. Maybe you’ve been there—wanting to preserve that fresh garden bounty but feeling intimidated by all the gear you think you need. Well, this easy fresh salsa canning recipe is my go-to for just that reason.
There’s something genuinely satisfying about sealing that jar and knowing you’re capturing the summer’s best flavors without any fancy tools. So, if you’re ready to turn your fresh produce into shelf-stable salsa with nothing more than everyday kitchen stuff, follow along. This method keeps things straightforward, honest, and delicious—and honestly, that cracked measuring cup and slightly crooked lid I had that day just remind me it’s about the joy, not perfection.
Why You’ll Love This Recipe
After trying dozens of salsa canning methods over the years, this recipe has become my absolute favorite for a handful of reasons. It’s not just about the taste—though that’s incredible—it’s about how approachable and reliable the process feels. Here’s why you’ll want to keep this easy fresh salsa canning recipe in your kitchen arsenal:
- Quick & Easy: Comes together in under 45 minutes, perfect for those spontaneous canning urges or last-minute harvests.
- Simple Ingredients: You probably have everything on hand—fresh tomatoes, peppers, onions, and a few pantry staples.
- Perfect for Any Occasion: Whether it’s taco night, a backyard barbecue, or gift-giving season, this salsa shines.
- Crowd-Pleaser: Kids and adults alike rave about the fresh, vibrant flavors that taste like summer in a jar.
- Unbelievably Delicious: The balance of acidity, spice, and freshness is spot-on, thanks to a tested mix of ingredients.
What sets this recipe apart? It’s the method—no special canners, no pressure cookers, just a trusty large pot and basic kitchen tools. Plus, the salsa maintains a fresh, chunky texture you won’t find in store-bought versions. I’ve even swapped in a pinch of smoked paprika for a subtle twist that my family loves, but the core recipe stays true to classic flavors. Honestly, it’s the kind of salsa that makes you close your eyes and savor every bite.
What Ingredients You Will Need
This recipe uses simple, wholesome ingredients to deliver bold flavor and satisfying texture without the fuss. Most are pantry staples or fresh produce you can pick up at your local farmers’ market or grocery store. Feel free to adjust heat levels or swap peppers based on your spice tolerance!
- For the Salsa Base:
- 5 pounds fresh ripe tomatoes, cored and chopped (Roma or plum tomatoes work best for less watery salsa)
- 2 cups diced onions (yellow or white, for a mild bite)
- 1 cup chopped fresh cilantro (optional but adds freshness)
- 4 cloves garlic, minced (adds depth and aroma)
- For the Heat & Flavor:
- 2 to 3 jalapeño peppers, seeded and finely chopped (leave seeds for extra heat)
- 1 red bell pepper, diced (adds sweetness and color)
- 1 tablespoon ground cumin (gives a smoky undertone)
- 1 teaspoon smoked paprika (optional, for subtle smokiness)
- 1 teaspoon salt, or to taste (I like Morton kosher salt for consistency)
- 1/2 teaspoon black pepper, freshly ground
- For Preservation:
- 1/4 cup white vinegar (5% acidity) (use distilled white vinegar for best canning results)
- 1 tablespoon fresh lime juice (brightens the flavor)
- Optional: 1 teaspoon sugar (balances acidity if tomatoes are very tangy)
Substitution tips: If you want a milder salsa, swap jalapeños for Anaheim peppers. For a gluten-free version, all ingredients here are naturally gluten-free. If you don’t have fresh cilantro, you can omit it or add a pinch of dried herbs. And for a dairy-free option, this recipe is naturally free of dairy, so no worries there.
Equipment Needed
You don’t need a fancy canning setup for this easy fresh salsa recipe. Here’s what I use and recommend:
- Large heavy-bottomed pot (at least 6-quart capacity) – perfect for heating and processing salsa jars. I started with an old stockpot that’s still going strong after ten years.
- Wide-mouth mason jars with lids and bands – standard pint or half-pint sizes work well. I prefer Ball or Kerr jars for their reliability.
- Jar lifter or tongs – to safely lower and lift hot jars without burning your fingers. You can improvise with silicone-tipped tongs if needed.
- Funnel – makes filling jars less messy. A plastic or metal funnel designed for canning fits nicely.
- Clean kitchen towels – for wiping jar rims and handling hot lids.
- A slotted spoon or ladle – for stirring and scooping salsa into jars.
If you don’t have a specialized jar lifter, I’ve often used sturdy silicone oven mitts and tongs carefully. Just be cautious with hot jars! No pressure canner or water bath canner is needed here—just your regular big pot filled with water to cover the jars. It’s budget-friendly and perfect for beginners or anyone short on space.
Preparation Method
- Prepare jars and lids: Wash your mason jars, lids, and bands in hot soapy water. Rinse thoroughly. Place jars in your large pot filled with water and bring to a gentle simmer (not a boil) for 10 minutes to sterilize. Keep lids in hot water but do not boil (this keeps the sealing compound soft). This step takes about 15 minutes overall.
- Make the salsa base: While jars sterilize, combine chopped tomatoes, onions, red bell pepper, jalapeños, cilantro, and garlic in a large mixing bowl. Stir in cumin, smoked paprika, salt, and black pepper. Add vinegar, lime juice, and sugar if using. Mix well to blend all flavors. This takes around 10-15 minutes.
- Cook the salsa: Transfer the salsa mixture to a large heavy-bottomed pot. Bring to a boil over medium-high heat, then reduce to a gentle simmer. Cook uncovered for 10-15 minutes, stirring occasionally. You want the salsa to thicken slightly but remain chunky. Aroma and texture are your cues here—the kitchen will fill with a fresh, spicy scent, and the salsa should look vibrant with softened vegetables.
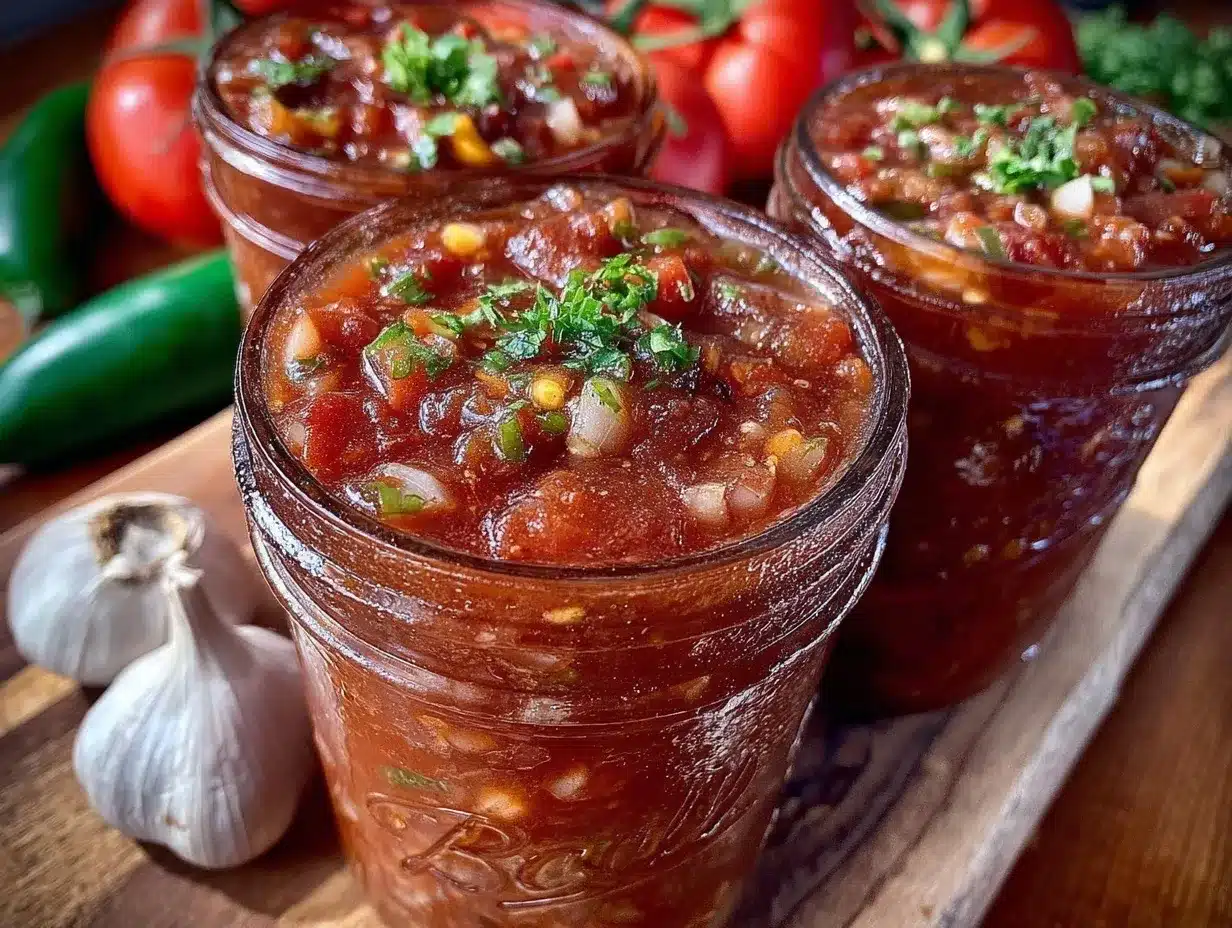
- Fill jars: Using your funnel and ladle, carefully fill sterilized jars with hot salsa, leaving about 1/2 inch (1.3 cm) headspace at the top. Wipe jar rims clean with a damp cloth to ensure a good seal. Place hot lids on top and screw on bands until fingertip tight. This step usually takes 15-20 minutes depending on your batch size.
- Process jars in boiling water: Place jars upright in your large pot filled with enough boiling water to cover jars by at least 1 inch (2.5 cm). Cover the pot and maintain a rolling boil for 15 minutes (adjust for altitude if needed). Use your jar lifter to remove jars and set them on a towel to cool undisturbed for 12-24 hours. You’ll hear the satisfying “pop” of lids sealing as they cool.
Pro tip: If a lid doesn’t seal, refrigerate that jar and use it first. Also, I sometimes forget to set a timer, and a quick check halfway through the boiling ensures water levels stay sufficient.
Cooking Tips & Techniques
For salsa canning without special equipment, a few tricks help keep things smooth and safe. First, always use high-acid ingredients like vinegar and lime juice to preserve freshness and prevent spoilage. The acidity also helps the salsa seal properly.
When cooking the salsa, don’t rush the simmering step. It’s tempting to crank the heat, but a gentle simmer keeps the texture fresh and the flavors balanced. Stir frequently to prevent sticking and burning, especially around the bottom.
One common mistake is not leaving enough headspace in jars, which can cause sealing failures. I’ve learned the hard way that 1/2 inch is a safe margin. Also, wiping the jar rims clean before sealing is critical — even tiny bits of salsa can stop lids from sealing properly.
When boiling jars for processing, keep the water at a steady rolling boil. If water evaporates too much, add boiling water carefully to maintain coverage. Multitasking is key here—while jars process, I prepare labels or clean up the kitchen to make the most of the time.
Lastly, don’t fret minor imperfections like slightly uneven jar lids or a few bubbles in the salsa. Those don’t affect taste or safety. Trust the process, and you’ll get consistent results.
Variations & Adaptations
You can easily tweak this salsa canning recipe to suit your taste or dietary needs. Here are a few of my favorite adaptations:
- Milder Salsa: Swap jalapeños for sweet mini bell peppers or remove seeds to reduce heat. Add a little extra sugar to balance flavors.
- Chunky vs. Smooth: For a smoother salsa, use an immersion blender to pulse the mixture before cooking. For extra chunky, leave veggies coarsely chopped.
- Seasonal Twists: In early fall, add roasted corn kernels or diced zucchini for a fresh spin. In winter, try canned tomatoes if fresh aren’t available—just adjust cooking time.
- Low-Sodium Version: Reduce salt and add a splash of fresh lemon juice for brightness. Taste and adjust seasoning after cooking.
- Smokier Flavor: Incorporate chipotle powder or smoked sea salt to give your salsa a deep, smoky kick. I add this when I’m craving something a little bold and unexpected.
One time, I made a batch with fresh mango puree stirred in at the end—totally unplanned and honestly, a happy accident that added a lovely sweet contrast. Salsa canning without special equipment leaves plenty of room for your own flavor experiments!
Serving & Storage Suggestions
This salsa is best served chilled or at room temperature, right out of the jar or spooned over your favorite dishes. It pairs beautifully with tortilla chips, grilled meats, tacos, or even scrambled eggs. For a casual party, I like to serve it alongside guacamole and sour cream for a full spread.
Store sealed jars in a cool, dark place like a pantry or cupboard. Properly canned salsa stays good for up to one year. Once opened, refrigerate and consume within two weeks for optimal freshness.
Reheating isn’t necessary unless you prefer warm salsa. If you do heat it, use a microwave-safe bowl or gently warm on the stovetop—avoid boiling, which can dull flavors.
Interestingly, the flavors tend to meld and deepen over time. I often find that salsa tastes even better a week after opening as the spices settle in. Just give it a good stir before serving.
Nutritional Information & Benefits
This fresh salsa recipe is naturally low in calories and packed with vitamins from fresh vegetables. Tomatoes provide lycopene, an antioxidant linked to heart health, while peppers add vitamin C and a metabolism boost.
It’s gluten-free, dairy-free, and vegan-friendly, making it accessible for many diets. The vinegar and lime juice help preserve the salsa safely without artificial additives.
From a wellness perspective, salsa is a guilt-free way to add flavor without extra fat or sugar. It’s also a great way to increase your daily vegetable intake while enjoying vibrant, homemade taste.
Conclusion
So there you have it—an easy fresh salsa canning recipe that doesn’t need special equipment but delivers big on flavor and satisfaction. Whether you’re preserving a summer harvest or just craving homemade salsa without the fuss, this method is a game changer.
Feel free to adjust the spice level or try out the variations to match your tastes. I love this recipe because it’s approachable, forgiving, and tastes like a little jar of sunshine.
If you try it, I’d love to hear how it turns out or what twists you add. Share your experiences or questions below—let’s keep this salsa adventure going. Happy canning, friends!
Frequently Asked Questions
Can I use this method to can other types of salsa?
Yes! This water bath method works well for most fresh salsas that have a similar acidity level. Just be sure to include enough vinegar or lime juice to keep it safe.
How do I know if my jars sealed properly?
Once cooled, lids should be concave (curved inward) and not pop when pressed. If a jar didn’t seal, refrigerate and use it soon.
Can I use frozen tomatoes for this recipe?
Fresh tomatoes give the best texture, but you can use thawed frozen tomatoes if needed. Just reduce added water or juice to avoid watery salsa.
Is it safe to can salsa without a pressure canner?
This recipe uses a boiling water bath, which is safe for high-acid foods like salsa when vinegar is added. Always follow tested recipes and acidity guidelines.
How long does canned salsa last unopened?
Stored in a cool, dark place, properly canned salsa can last up to one year. After opening, keep refrigerated and consume within two weeks.
Pin This Recipe!
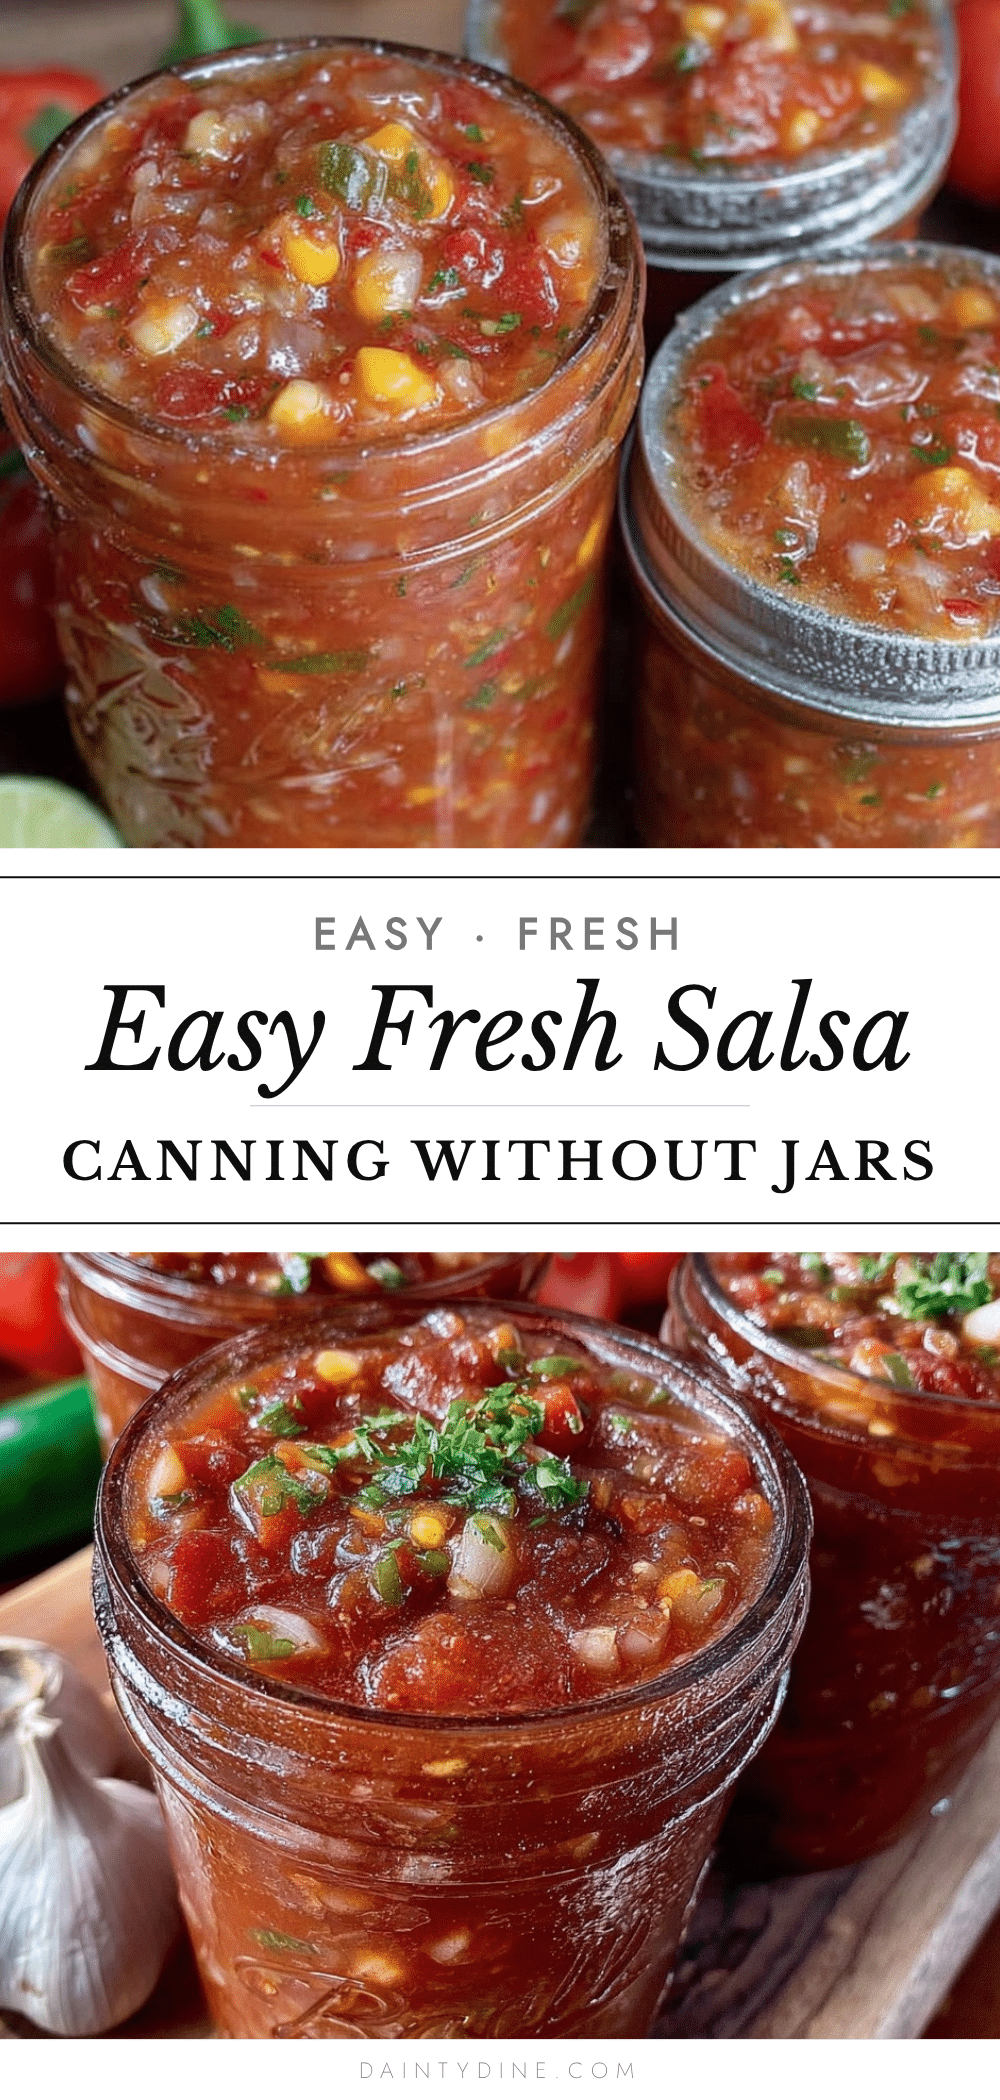
Easy Fresh Salsa Canning Recipe 5 Steps Without Special Equipment
A simple and reliable fresh salsa canning recipe that requires no special equipment, perfect for preserving garden bounty with everyday kitchen tools.
- Prep Time: 15 minutes
- Cook Time: 15 minutes
- Total Time: 45 minutes
- Yield: Approximately 6 to 8 pints 1x
- Category: Condiment
- Cuisine: Mexican
Ingredients
- 5 pounds fresh ripe tomatoes, cored and chopped (Roma or plum tomatoes preferred)
- 2 cups diced onions (yellow or white)
- 1 cup chopped fresh cilantro (optional)
- 4 cloves garlic, minced
- 2 to 3 jalapeño peppers, seeded and finely chopped (leave seeds for extra heat)
- 1 red bell pepper, diced
- 1 tablespoon ground cumin
- 1 teaspoon smoked paprika (optional)
- 1 teaspoon salt (Morton kosher salt recommended)
- 1/2 teaspoon black pepper, freshly ground
- 1/4 cup white vinegar (5% acidity, distilled preferred)
- 1 tablespoon fresh lime juice
- 1 teaspoon sugar (optional)
Instructions
- Prepare jars and lids: Wash mason jars, lids, and bands in hot soapy water. Rinse thoroughly. Place jars in a large pot filled with water and bring to a gentle simmer (not boiling) for 10 minutes to sterilize. Keep lids in hot water but do not boil. Total time about 15 minutes.
- Make the salsa base: Combine chopped tomatoes, onions, red bell pepper, jalapeños, cilantro, and garlic in a large mixing bowl. Stir in cumin, smoked paprika, salt, and black pepper. Add vinegar, lime juice, and sugar if using. Mix well. Takes about 10-15 minutes.
- Cook the salsa: Transfer mixture to a large heavy-bottomed pot. Bring to a boil over medium-high heat, then reduce to a gentle simmer. Cook uncovered for 10-15 minutes, stirring occasionally until salsa thickens slightly but remains chunky.
- Fill jars: Using a funnel and ladle, fill sterilized jars with hot salsa, leaving 1/2 inch headspace. Wipe jar rims clean with a damp cloth. Place hot lids on jars and screw on bands fingertip tight. This takes 15-20 minutes depending on batch size.
- Process jars in boiling water: Place jars upright in a large pot filled with boiling water covering jars by at least 1 inch. Cover pot and maintain a rolling boil for 15 minutes (adjust for altitude if needed). Remove jars with a jar lifter and cool undisturbed on a towel for 12-24 hours until lids seal.
Notes
Use high-acid ingredients like vinegar and lime juice to ensure safe preservation. Maintain a gentle simmer when cooking salsa to keep texture fresh. Leave 1/2 inch headspace in jars to prevent sealing failures. If a jar does not seal, refrigerate and use first. Keep water at a rolling boil during processing and add boiling water if needed to maintain coverage.
Nutrition
- Serving Size: About 2 tablespoons
- Calories: 15
- Sugar: 2.5
- Sodium: 230
- Fat: 0.1
- Carbohydrates: 3.5
- Fiber: 1
- Protein: 0.5
Keywords: fresh salsa, salsa canning, easy salsa recipe, no special equipment, homemade salsa, water bath canning, garden salsa, preserving salsa