Love this? Save it for later!
Share the inspiration with your friends
My father-in-law, a man of few words and strong opinions, swore he hated soda bread. For forty-seven years, he claimed. The stuff his mother made was a “doorstop.” The bakery version was “too sweet.” He’d wave his hand dismissively anytime it was mentioned at the Sunday dinner table. Then, one rainy Tuesday, I made a loaf just for myself—I had a craving for something warm and dense to go with my tea. I didn’t even tell him it was in the kitchen. An hour later, I found him standing at the counter, a thick slice slathered in butter, crumbs on his shirt. “This isn’t bad,” he mumbled, reaching for another piece. I just smiled. That’s the power of this recipe, honestly. It sneaks up on you.
This isn’t fancy bread. It’s the kind of loaf your grandmother might have thrown together on a Saturday morning without a second thought. There’s no yeast, no kneading for twenty minutes, no waiting around for it to rise. You mix it in one bowl, shape it with your hands, and bake it until the kitchen smells like a cozy pub in the countryside. The raisins add little pockets of sweetness, and the caraway seeds give it that distinct, almost savory warmth that just works. I mean, maybe you’ve been there—looking for a bread that feels special but doesn’t demand a whole afternoon of your time.
Let me tell you, that first loaf I made for myself was a bit of a mess. I forgot the baking soda and ended up with a dense, sad biscuit. But I kept at it, tweaking the ratios, figuring out how to get that perfect crust. Now, it’s the one bread I make on repeat. It’s the recipe that changed my father-in-law’s mind, and honestly, it might change yours too. It stays with you because it’s not trying to be anything other than what it is: honest, simple, and absolutely delicious.
Why You’ll Love This Recipe
This Classic Irish Soda Bread with Raisins and Caraway is the kind of recipe that just works for a busy family. I’ve tested this version more times than I can count, and it comes out perfectly every single time. Here’s why it’s become a staple in my kitchen:
- Budget-Friendly: You need flour, buttermilk, a bit of sugar, baking soda, salt, raisins, and caraway seeds. That’s it. No expensive specialty ingredients.
- Quick & Easy: From start to oven in under 15 minutes. No yeast, no rising time, no fuss. Perfect for those afternoons when you realize you have nothing for breakfast tomorrow.
- Simple Ingredients: You probably already have most of these in your pantry. The buttermilk is the only thing you might need to grab, but you can also make your own with milk and lemon juice.
- Perfect for Any Meal: It’s fantastic with a bowl of soup, toasted for breakfast with jam, or just eaten warm out of hand. It pleases everyone from toddlers to grandparents.
- Crowd-Pleaser: That combo of sweet raisins and earthy caraway is just magic. People who think they don’t like caraway end up loving it in this bread.
- Unbelievably Delicious: The crust is crisp and golden, while the inside is tender and a little crumbly. It’s the best kind of comfort food.
What makes this version different? It’s the texture. I’ve found the perfect balance of wet and dry ingredients so the bread isn’t too dry or too gummy. It’s the kind of bread that makes you close your eyes after the first bite—simple, soul-soothing, and just right. It’s comfort food at its most honest, perfect for turning a simple meal into something memorable without any stress.
What Ingredients You Will Need
This recipe uses a handful of simple, wholesome ingredients to create a loaf that’s full of flavor and character. Most of these are pantry staples, which is exactly what you want when feeding a family on a budget.
- All-Purpose Flour (4 cups / 480g): The backbone of the bread. I use unbleached all-purpose flour for the best texture. You can use regular bleached flour too, but I find unbleached gives a slightly better crumb. No need for bread flour here.
- Granulated Sugar (3 tablespoons / 36g): Just enough to add a hint of sweetness and help the crust brown. Don’t skip it—it’s not enough to make the bread sweet, but it makes a difference in the final texture.
- Baking Soda (1 teaspoon / 5g): This is the only leavening agent. Make sure it’s fresh! To test, drop a little in vinegar—it should fizz immediately. If it doesn’t, get a new box.
- Salt (1 teaspoon / 6g): Essential for flavor. I use fine sea salt. If you use kosher salt, you might need a bit more.
- Caraway Seeds (1 tablespoon / 9g): This is what gives Irish soda bread its signature flavor. They have a slightly sweet, anise-like taste that pairs beautifully with the raisins. If you’re not a fan, you can reduce them to 2 teaspoons, but I really encourage you to try them first.
- Unsalted Butter (2 tablespoons / 28g), cold and cubed: This is cut into the flour to create tenderness. It’s a small amount, but it makes the bread so much softer. I always use unsalted so I can control the salt level.
- Raisins (1 cup / 150g): I prefer golden raisins for a milder, sweeter flavor, but dark raisins work wonderfully too. The raisins add little bursts of sweetness throughout the bread. Make sure they’re fresh and not dried out.
- Buttermilk (1 ¾ cups / 420ml), cold: This is the liquid that activates the baking soda and gives the bread its signature tangy flavor. The acidity in the buttermilk is crucial—it reacts with the baking soda to create lift. If you don’t have buttermilk, you can make a quick substitute: add 1 tablespoon of lemon juice or white vinegar to a measuring cup, then fill with regular milk to the 1 ¾ cup line. Let it sit for 5 minutes before using.
I recommend using a good quality buttermilk like Kate’s or Maple Hill if you can find it—it really does make a difference in the final flavor. For the raisins, I usually buy the store brand; no need to splurge here. And for the caraway seeds, look for them in the spice aisle. They last a long time, so a small jar will go through many loaves.
Equipment Needed
You don’t need any fancy equipment to make this bread, which is part of its charm. Here’s what you’ll need:
- Large Mixing Bowl: A good-sized bowl for mixing the dry ingredients and then bringing the dough together. A ceramic or glass bowl works great.
- Whisk or Fork: For whisking the dry ingredients together to distribute the baking soda and salt evenly.
- Pastry Blender or Two Knives: To cut the cold butter into the flour. A pastry blender is easiest, but you can also use two knives in a crisscross motion. Your fingertips work too, but work quickly so the butter doesn’t warm up.
- Wooden Spoon or Rubber Spatula: For mixing the wet and dry ingredients together. A sturdy wooden spoon is my go-to.
- Baking Sheet (12×17-inch): Lined with parchment paper. You don’t need a special pan; you just shape the dough into a round and bake it on the sheet.
- Sharp Knife or Lame: For scoring the top of the loaf. A sharp serrated knife works perfectly. A lame is what bakers use for scoring bread, but a knife is fine.
- Wire Rack: For cooling the bread so the bottom doesn’t get soggy. If you don’t have one, you can carefully balance the loaf on its edge, but a rack is better.
- Parchment Paper: To line the baking sheet for easy cleanup and to prevent sticking.
I used a cheap baking sheet from the grocery store for years, and it worked just fine. The only thing I’d recommend splurging on is a good wire rack—it really does help the bread cool evenly.
Preparation Method
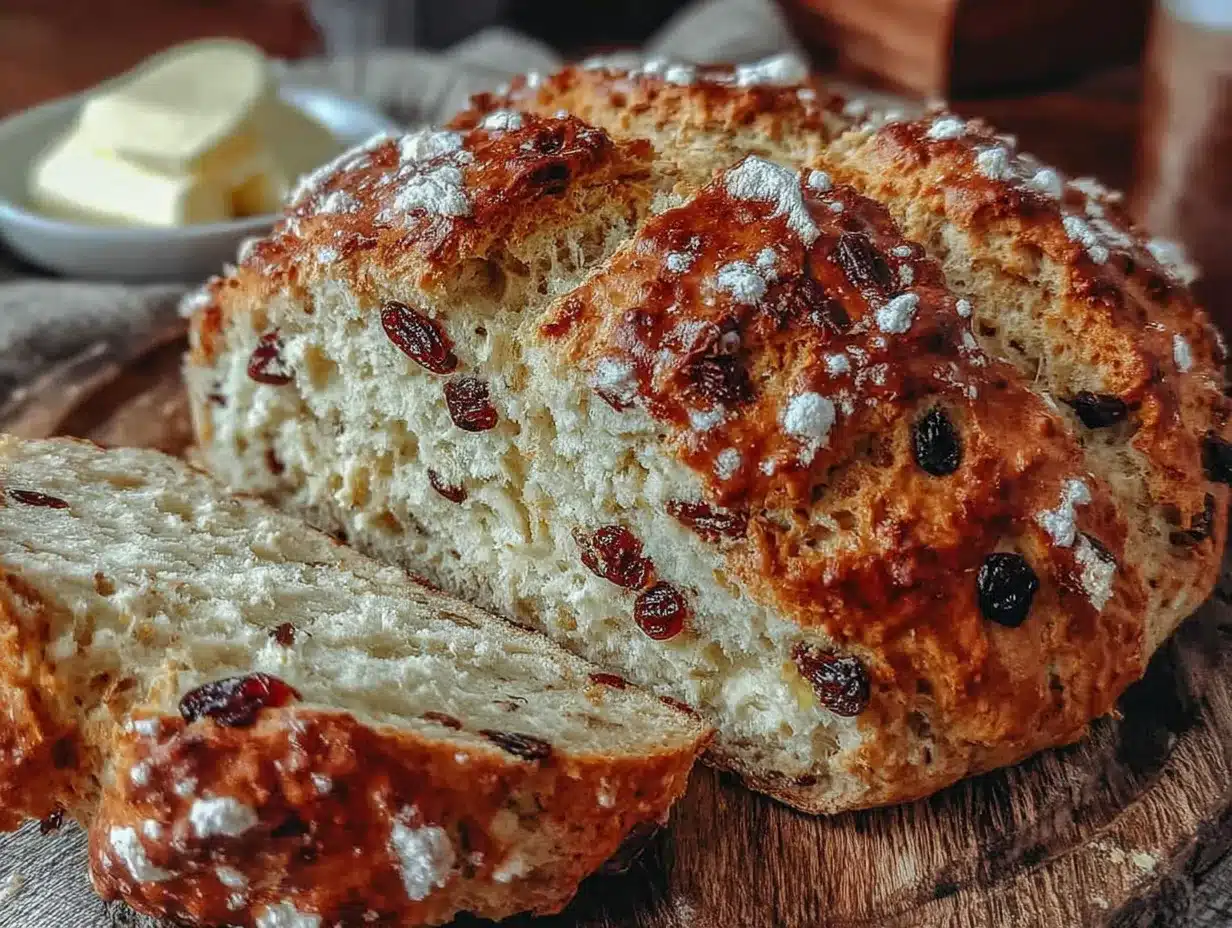
Making this bread is almost too easy. It’s a great recipe to get kids involved with, too. Let’s walk through it step by step.
- Preheat and Prepare: Preheat your oven to 400°F (200°C). Line a baking sheet with parchment paper and set it aside. Getting the oven hot is key for that initial burst of steam that helps the crust form.
- Mix Dry Ingredients: In your large mixing bowl, whisk together the 4 cups of all-purpose flour, 3 tablespoons of sugar, 1 teaspoon of baking soda, and 1 teaspoon of salt. Make sure the baking soda is evenly distributed—you don’t want a pocket of it in your finished bread. Then, stir in the 1 tablespoon of caraway seeds until they’re well dispersed.
- Cut in the Butter: Add the 2 tablespoons of cold, cubed butter to the flour mixture. Using a pastry blender or two knives, cut the butter into the flour until it looks like coarse meal with some pea-sized butter pieces remaining. This takes about a minute. Don’t overdo it—those little bits of butter create flakiness in the finished bread. Work quickly so the butter stays cold.
- Add the Raisins: Toss the 1 cup of raisins into the flour mixture and stir to coat them. Coating the raisins in flour helps prevent them from sinking to the bottom of the loaf during baking. This is a little trick I learned after a few sad, raisin-heavy bottoms!
- Add the Buttermilk: Make a well in the center of the flour mixture. Pour in the 1 ¾ cups of cold buttermilk all at once. Using a wooden spoon or your hands, mix until just combined. The dough will be shaggy and sticky—that’s exactly what you want. Do not overmix! Overmixing develops the gluten and makes the bread tough. Stop as soon as the flour is mostly incorporated. There should be some dry patches.
- Shape the Dough: Lightly flour your hands and the work surface. Turn the shaggy dough out onto the floured surface. Gently bring the dough together into a rough ball. You don’t need to knead it—just shape it. Too much handling will make it dense. It should look rustic and a bit messy. Don’t worry if it’s not perfectly round.
- Transfer and Score: Place the shaped dough onto your prepared baking sheet. Using a sharp knife, cut a deep “X” across the top of the loaf. The cut should be about ½ inch deep and go almost to the edges. This “X” is traditional—it helps the bread bake evenly and allows the heat to penetrate the center. It also gives the bread its classic look. Some people say it’s to let the fairies out!
- Bake: Bake for 35-40 minutes, until the loaf is golden brown and sounds hollow when you tap the bottom. The internal temperature should reach about 190°F (88°C) if you want to be precise. If the top is browning too quickly, tent it loosely with foil after 25 minutes.
- Cool: Transfer the bread to a wire rack to cool completely before slicing. I know it’s tempting to cut into it right away, but the inside needs time to finish setting. Let it cool for at least 30 minutes. The crust will soften slightly as it cools, which is perfect.
Sensory Cues: When you add the buttermilk, you should hear a slight fizz as the acid reacts with the baking soda—that’s a good sign. The dough should feel soft and a little tacky, not dry and stiff. After baking, the crust should be a deep golden brown, and the bread should feel light for its size when you pick it up.
Pro Tip: If your dough seems too dry, add a splash more buttermilk. If it’s too wet (sticking to everything), add a tablespoon or two more of flour. The weather and your flour can affect the moisture level, so trust your hands more than the exact measurements.
Cooking Tips & Techniques
After making this bread more times than I can count, I’ve picked up a few tricks that really make a difference. Let me share them so you can avoid my early mistakes.
Don’t Overmix. This is the number one mistake I see. The more you mix, the more gluten develops, and the tougher your bread will be. Mix until it just comes together—a few streaks of flour are fine. I once let my daughter “help” by mixing for an extra minute, and the bread came out like a hockey puck. Learn from my failure!
Keep Everything Cold. Cold butter and cold buttermilk are key. The cold butter creates steam pockets in the oven, which makes the bread tender. If your kitchen is warm, you can even chill your flour and bowl for 10 minutes before starting. It makes a noticeable difference.
Use Fresh Baking Soda. This is not the time for that open box that’s been in your cupboard for a year. Fresh baking soda is crucial for proper rise. I write the date on my box with a marker so I know when to replace it.
Score Deeply Enough. That “X” on top isn’t just decorative. It’s a weak point that allows the bread to expand as it bakes. If you score too shallowly, the bread will crack in an ugly, uncontrolled way. Don’t be shy—cut deep enough that you can see the dough underneath.
Let It Cool. I know, I know. The smell is intoxicating. But slicing into warm soda bread is a recipe for a gummy, doughy interior. The starches need time to set. I set a timer for 30 minutes and try to resist. It’s worth the wait.
Toast Leftovers. Day-old soda bread makes the most incredible toast. The slices crisp up beautifully in a toaster or under the broiler. It’s almost better than fresh—don’t tell anyone I said that.
Multitasking Tip: While the bread is baking, you can prep your dinner or make a pot of soup. The 35-40 minutes of bake time is perfect for getting a meal together. I often make this bread on the same day I’m making a big pot of hearty lentil soup—they’re a match made in heaven.
Variations & Adaptations
This recipe is wonderfully adaptable. Here are a few ways I’ve changed it up depending on what I have in the pantry or who I’m feeding.
Whole Wheat Version: Replace 1 cup of the all-purpose flour with 1 cup of whole wheat flour. The bread will be denser and nuttier, but still delicious. You might need to add an extra tablespoon or two of buttermilk since whole wheat flour absorbs more liquid. This is my go-to when I want to feel a little healthier.
Add Some Seeds: Sprinkle the top of the loaf with a tablespoon of rolled oats or sesame seeds before baking. It adds a lovely crunch and makes the loaf look more rustic. I’ve also added a tablespoon of flax seeds to the dough for extra fiber—the kids don’t even notice.
No Raisins, No Problem: If your family isn’t into raisins, you can leave them out entirely. The bread will still be delicious. You can also swap them for dried cranberries or chopped dried apricots. I once used chopped dried cherries, and it was amazing with the caraway.
Savory Soda Bread: Omit the sugar and raisins entirely. Add 1 cup of shredded sharp cheddar cheese, 2 tablespoons of chopped fresh rosemary, and an extra ¼ teaspoon of salt. It’s incredible alongside a bowl of tomato soup. This is what I make when I want something more savory for dinner.
Gluten-Free Option: I’ve had success using a 1:1 gluten-free baking flour blend. The texture is a little more delicate, but it works. Make sure your blend contains xanthan gum for structure. The baking time might be slightly shorter, so start checking at 30 minutes.
Personal Variation: My favorite twist is to add the zest of one orange to the dough along with the raisins. The orange flavor pairs beautifully with the caraway and adds a bright, fresh note. I discovered this by accident when I was out of lemon for my tea and just tossed the orange zest in. It was a happy accident!
Serving & Storage Suggestions
This bread is incredibly versatile when it comes to serving. Here’s how I like to enjoy it, plus how to keep it fresh.
Serving: Serve the bread warm or at room temperature. It’s perfect sliced and slathered with good salted butter. For breakfast, try it with a dollop of jam or honey. For a more savory meal, it’s fantastic alongside a hearty stew or soup. I especially love it with a bowl of creamy mushroom soup or a simple cabbage and bacon soup. The bread soaks up the broth beautifully.
Complementary Dishes: This bread is a natural partner for any kind of soup or stew. It’s also wonderful with a cheese board—think sharp cheddar, a soft brie, or some aged gouda. For a simple lunch, serve it with a hard-boiled egg and some sliced apple. It’s also the base for an amazing bread pudding if you have leftovers.
Storage: Store the completely cooled bread wrapped tightly in plastic wrap or in a bread box at room temperature. It will keep for 2-3 days. Do not refrigerate it—the fridge will dry it out and make it stale faster. The crust will soften a bit overnight, but that’s part of its charm.
Freezing: This bread freezes beautifully. Wrap the completely cooled loaf in a layer of plastic wrap, then a layer of foil. Freeze for up to 3 months. To thaw, leave it on the counter for a few hours or overnight. You can also slice it before freezing, then pop individual slices in the toaster directly from the freezer.
Reheating: To revive day-old bread, wrap it in foil and warm it in a 350°F (175°C) oven for 10-15 minutes. Or, just toast individual slices. I actually prefer it toasted the next day—the edges get crispy, and the inside stays soft.
Flavor Development: Honestly, this bread is best the day it’s made, when the crust is still crisp and the inside is tender. But the flavors do meld a bit overnight, and it’s still very good the next day. I’ve never had a loaf last longer than two days in my house, so I can’t vouch for beyond that!
Nutritional Information & Benefits
Here’s a rough estimate of the nutritional information per slice (assuming the loaf is cut into 12 slices). This is an estimate and will vary based on the exact ingredients you use.
| Nutrient | Amount per Slice |
|---|---|
| Calories | ~220 |
| Total Fat | ~3g |
| Saturated Fat | ~1.5g |
| Cholesterol | ~8mg |
| Sodium | ~300mg |
| Total Carbohydrates | ~42g |
| Dietary Fiber | ~2g |
| Sugars | ~10g |
| Protein | ~6g |
Health Benefits: This bread is a good source of carbohydrates for energy. The raisins provide a small amount of iron and fiber. The caraway seeds have been used in traditional medicine to aid digestion. While it’s not a health food, it’s a much better choice than many store-bought breads that are full of preservatives and added sugars. It’s a wholesome, homemade treat that fits well into a balanced diet.
Dietary Considerations: This recipe is vegetarian. It can be made dairy-free by using a dairy-free buttermilk substitute (plant milk + lemon juice) and a plant-based butter. It is not gluten-free unless you use a gluten-free flour blend.
Allergens: This bread contains wheat (gluten) and dairy (buttermilk, butter).
Personal Note: I love that this bread feels like a treat but isn’t loaded with sugar or fat. It’s the kind of thing I feel good about giving my family for breakfast or as an after-school snack. It fills them up without the crash that comes from processed snacks.
Conclusion
This Classic Irish Soda Bread with Raisins and Caraway is more than just a recipe—it’s a little piece of comfort that you can make with your own two hands. It’s the bread that changed my father-in-law’s mind, and it’s the bread I turn to again and again when I want something simple, satisfying, and honest. It’s proof that you don’t need fancy techniques or expensive ingredients to create something truly wonderful.
I encourage you to make this recipe your own. Add a little more caraway if you love it. Swap the raisins for something else. Serve it with butter and jam, or alongside a big bowl of soup. The best version of this bread is the one you make for the people you love. That’s what it’s all about.
I’d love to hear how it turns out for you! Drop a comment below and let me know if your family loved it as much as mine does. Did you try any fun variations? What did you serve it with? Your stories and questions are what make this community so special. Happy baking, friends!
Frequently Asked Questions
Can I use regular milk instead of buttermilk?
Not directly. The acidity in buttermilk is what reacts with the baking soda to make the bread rise. If you don’t have buttermilk, you can make a quick substitute: add 1 tablespoon of lemon juice or white vinegar to a measuring cup, then fill with regular milk to the 1 ¾ cup line. Let it sit for 5 minutes before using. It works perfectly.
Why did my soda bread turn out dense and heavy?
This is usually caused by overmixing the dough. Mix until it just comes together—a shaggy, sticky dough is what you want. Also, make sure your baking soda is fresh. If it’s old, it won’t provide enough lift.
Can I add other dried fruits or nuts?
Absolutely! Dried cranberries, chopped apricots, or even chopped dates work wonderfully. You can also add up to ½ cup of chopped walnuts or pecans. Just toss them in with the raisins in step 4.
How do I know when the bread is fully baked?
The loaf should be a deep golden brown and sound hollow when you tap the bottom. If you have an instant-read thermometer, the internal temperature should be around 190°F (88°C). If the top is browning too fast, tent it with foil for the last 10 minutes.
Can I make this bread in a cast iron skillet?
Yes! Preheat your cast iron skillet in the oven while it’s preheating. Carefully place the shaped dough into the hot skillet and bake as directed. The hot pan gives the bread a wonderfully crispy crust. Just be careful—the pan will be very hot.
Pin This Recipe!
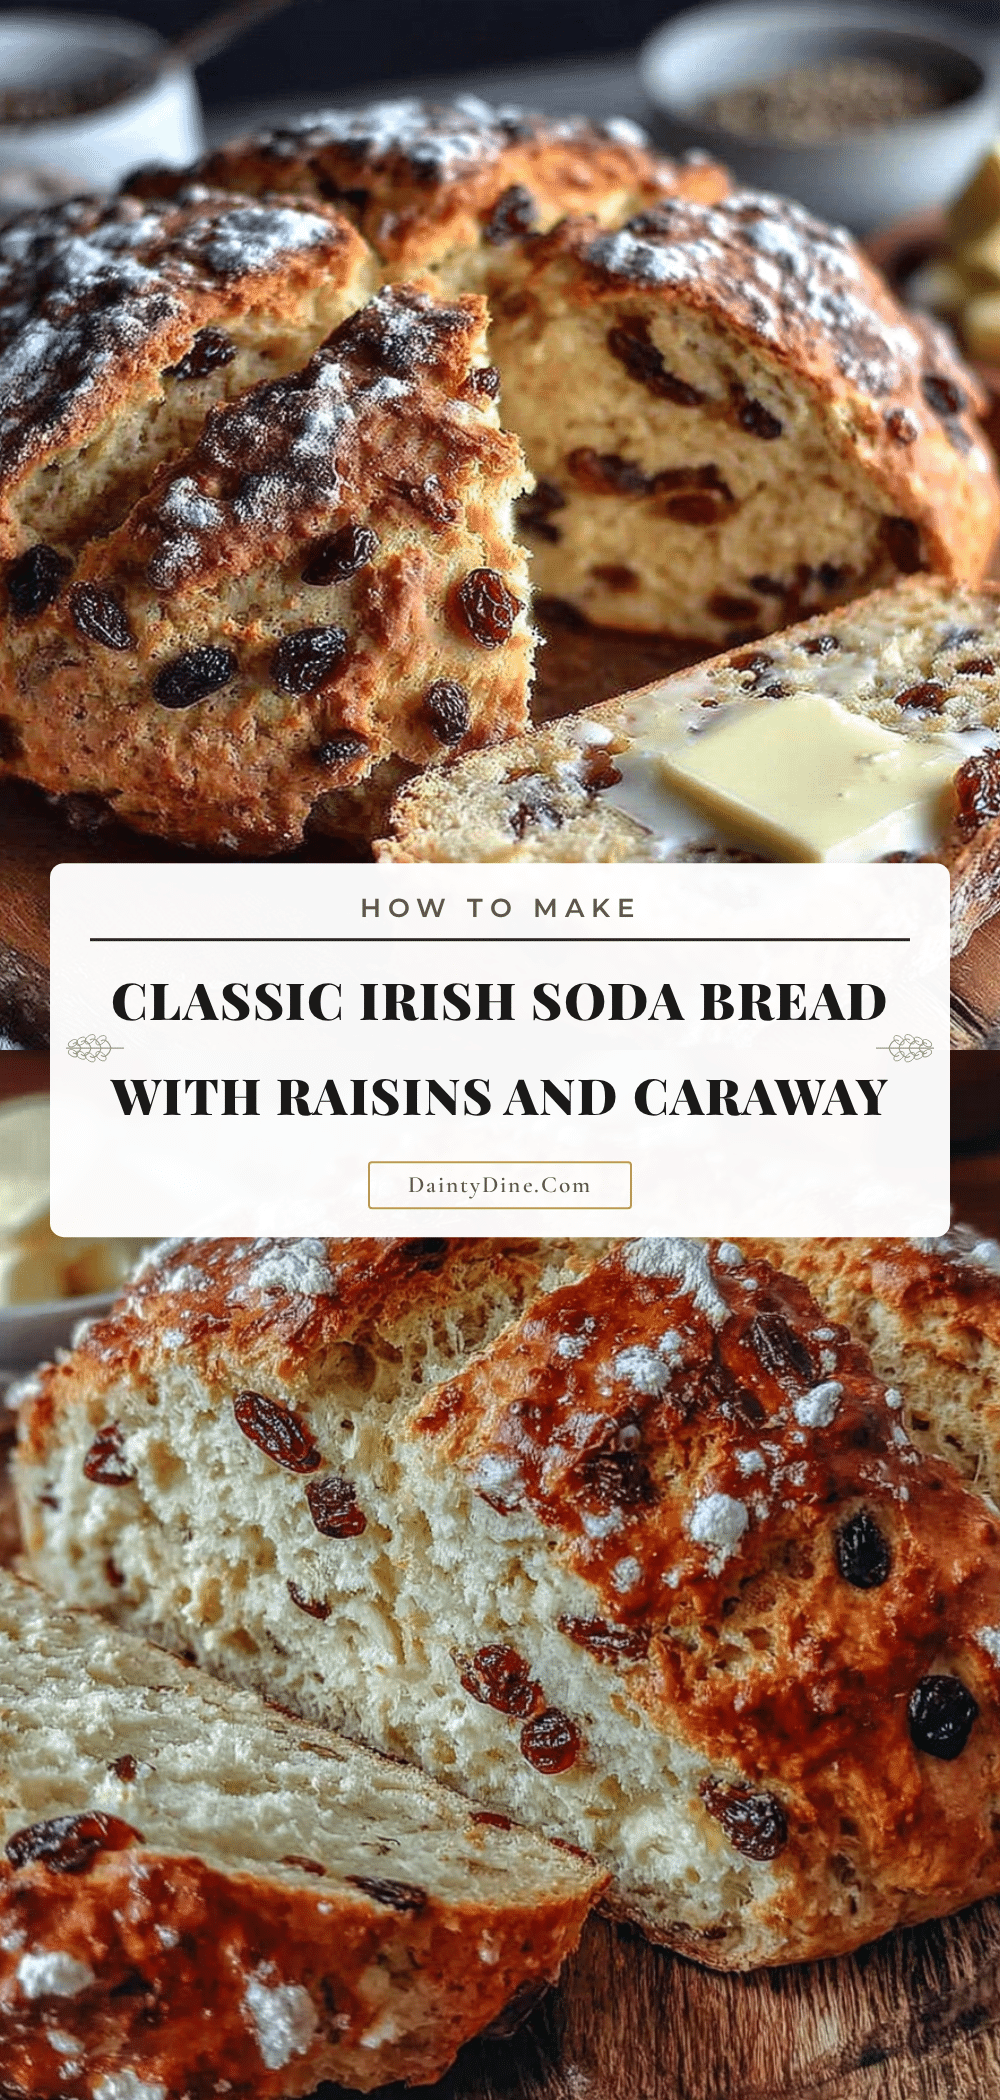
Easy Classic Irish Soda Bread with Raisins and Caraway

This classic Irish soda bread is a simple, no-yeast loaf with sweet raisins and earthy caraway seeds. It’s budget-friendly, quick to make, and perfect for any meal, from breakfast with jam to alongside a hearty soup.
- Prep Time: 15 minutes
- Cook Time: 35-40 minutes
- Total Time: 50-55 minutes
- Yield: 12 servings 1x
- Category: Bread
- Cuisine: Irish
Ingredients
- 4 cups (480g) all-purpose flour
- 3 tablespoons (36g) granulated sugar
- 1 teaspoon (5g) baking soda
- 1 teaspoon (6g) fine sea salt
- 1 tablespoon (9g) caraway seeds
- 2 tablespoons (28g) unsalted butter, cold and cubed
- 1 cup (150g) raisins (golden or dark)
- 1 ¾ cups (420ml) cold buttermilk
Instructions
- Preheat your oven to 400°F (200°C). Line a baking sheet with parchment paper and set aside.
- In a large mixing bowl, whisk together the all-purpose flour, sugar, baking soda, and salt. Stir in the caraway seeds until well dispersed.
- Add the cold, cubed butter to the flour mixture. Using a pastry blender or two knives, cut the butter into the flour until it resembles coarse meal with some pea-sized butter pieces remaining.
- Toss the raisins into the flour mixture and stir to coat them evenly.
- Make a well in the center of the flour mixture. Pour in the cold buttermilk all at once. Using a wooden spoon or your hands, mix until just combined. The dough will be shaggy and sticky—do not overmix.
- Lightly flour your hands and a work surface. Turn the dough out onto the floured surface and gently bring it together into a rough ball. Do not knead.
- Place the shaped dough onto the prepared baking sheet. Using a sharp knife, cut a deep ‘X’ across the top of the loaf, about ½ inch deep and reaching almost to the edges.
- Bake for 35-40 minutes, until the loaf is golden brown and sounds hollow when tapped on the bottom. The internal temperature should reach about 190°F (88°C). If the top browns too quickly, tent loosely with foil after 25 minutes.
- Transfer the bread to a wire rack to cool completely before slicing. Let it cool for at least 30 minutes.
Notes
Do not overmix the dough—mix until just combined for a tender loaf. Use fresh baking soda for proper rise. Keep butter and buttermilk cold. Let the bread cool for at least 30 minutes before slicing to avoid a gummy texture. Day-old bread makes excellent toast.
Nutrition
- Serving Size: 1 slice
- Calories: 220
- Sugar: 10
- Sodium: 300
- Fat: 3
- Saturated Fat: 1.5
- Carbohydrates: 42
- Fiber: 2
- Protein: 6
Keywords: Irish soda bread, raisin bread, caraway bread, quick bread, no yeast bread, easy bread recipe, St. Patrick's Day bread