Love this? Save it for later!
Share the inspiration with your friends
The woman at the community garden plot next to mine watched me staring at her broccoli plants for a solid minute before she finally spoke. “You keep looking at those like they’re going to tell you a secret,” she said, wiping dirt from her hands. I laughed and admitted I was trying to figure out what to do with the massive head of broccoli sitting in my fridge at home. She didn’t offer a recipe right then. Instead, she walked over, snapped off a few leaves from her plants, and said, “Come back tomorrow with your chicken. I’ll show you something simple.”
I showed up the next day with a pack of chicken breasts and absolutely no idea what I was getting into. Her name was Maria, and she had this way of cooking that made you feel like you were just hanging out in her kitchen, not taking a lesson. She chopped that broccoli into tiny florets while telling me about her son who refused to eat vegetables until she started roasting them with garlic. I burned my finger on the pan lid, dropped a piece of chicken on the floor, and honestly, it was the most relaxed I’d ever felt cooking with someone else.
What Maria taught me that afternoon became the foundation for these Easy Chicken and Broccoli Meal Prep Bowls. The magic isn’t in fancy techniques or exotic ingredients. It’s in the timing — getting that broccoli just crispy enough without turning mushy, and keeping the chicken tender even after sitting in the fridge for days. Maybe you’ve been there, staring at a fridge full of meal prep containers that turned into sad, soggy messes by Wednesday. I’ve definitely been there. This recipe fixed that problem for good.
I keep making these bowls because they actually work. The flavors hold up, the textures stay interesting, and honestly, they make Monday morning feel a little less terrible when you know lunch is already handled. Maria moved to a different city last year, but every time I roast broccoli, I think about her garden and that cracked spatula she insisted on using.
Why You’ll Love This Recipe
These Easy Chicken and Broccoli Meal Prep Bowls are the kind of recipe that makes you wonder why you ever struggled with meal prep in the first place. I’ve tested this exact method about a dozen times, tweaking the roasting time and the seasoning ratios until everything came together perfectly. Here’s what makes these bowls stand out from every other meal prep recipe you’ve tried:
- Ready in under 40 minutes — From chopping to packing, you can have a full week of lunches done before your favorite podcast finishes.
- Simple ingredients you already have — No trips to specialty stores or hunting down obscure spices. Everything here is basic grocery store fare.
- Perfect for busy weeks — Whether you’re juggling work, kids, or just trying to stay on top of life, having these bowls ready makes everything easier.
- Crowd-pleaser guaranteed — I’ve served these to picky eaters, fitness friends, and people who swear they hate meal prep. Everyone asks for the recipe.
- Actually stays good all week — The chicken stays juicy, the broccoli keeps its crunch, and the rice doesn’t turn into a paste. This is the meal prep recipe that works.
What makes this version different from the hundreds of chicken and broccoli recipes out there? It’s the roasting technique. Most recipes steam or boil the broccoli, which turns it into sad, limp greenery by day two. Roasting at high heat with a touch of oil keeps that slight char and firm texture that holds up beautifully in the fridge. The chicken gets a simple but perfectly balanced marinade that locks in moisture without making everything taste like a salt lick.
This recipe is the kind that makes you close your eyes after the first bite, not because it’s fancy, but because it’s exactly what you needed. It’s comfort food that actually supports your goals — healthier, faster, and somehow more satisfying than takeout. Perfect for impressing your meal prep skeptic friends or just making your own week a whole lot smoother.
What Ingredients You Will Need
This recipe relies on simple, wholesome ingredients that work together to create bold flavor and satisfying texture without any fuss. Most of these are pantry staples or easy to find at any grocery store.
For the Chicken Marinade
- 2 boneless, skinless chicken breasts (about 500g or 1 lb) — Look for breasts that are similar in size so they cook evenly. I prefer organic when possible, but regular works just fine.
- 3 tablespoons olive oil — A good quality extra virgin adds flavor, but regular olive oil works too. (I use California Olive Ranch most days.)
- 2 tablespoons low-sodium soy sauce — This adds savory depth without making things too salty. Tamari works great if you need gluten-free.
- 1 tablespoon honey or maple syrup — Just a touch of sweetness balances the savory and helps with caramelization during cooking.
- 2 cloves garlic, minced — Fresh garlic makes a difference here. Skip the jarred stuff if you can.
- 1 teaspoon paprika — Adds color and a mild smokiness that complements the broccoli beautifully.
- ½ teaspoon black pepper — Freshly ground is best, but pre-ground works in a pinch.
- ½ teaspoon salt — I use fine sea salt for even distribution.
For the Broccoli
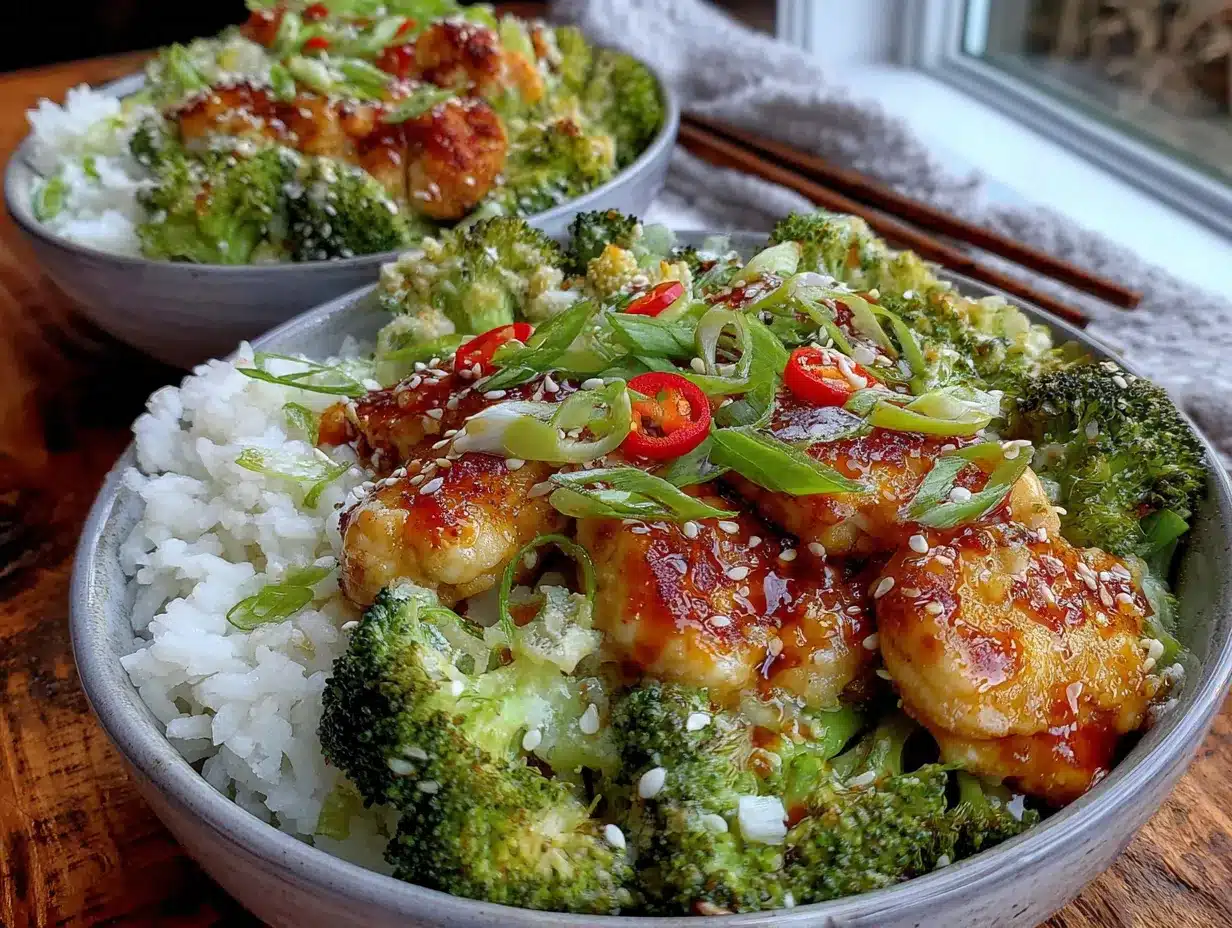
- 2 large heads of broccoli (about 600g or 1.3 lbs) — Look for firm, dark green florets with no yellowing. The stalks are great too — just peel and chop them.
- 2 tablespoons olive oil — Helps the broccoli roast instead of steam.
- 3 cloves garlic, thinly sliced — These get crispy and almost nutty during roasting. Honestly, they’re the best part.
- ½ teaspoon salt — Don’t skimp here. Broccoli needs salt to bring out its flavor.
- ¼ teaspoon red pepper flakes (optional) — Adds a gentle heat that pairs perfectly with the garlic.
For the Bowls
- 1½ cups cooked brown rice or quinoa (about 375g) — I use brown rice for the fiber and chewy texture. Quinoa works beautifully if you want extra protein.
- Optional toppings: Sesame seeds, sliced green onions, a squeeze of fresh lemon juice, or a drizzle of sriracha.
For the rice, I recommend cooking it fresh and letting it cool completely before assembling the bowls. Leftover rice from Chinese takeout works surprisingly well too — just fluff it with a fork first. If you’re watching your carbs, cauliflower rice is an excellent substitute, though it won’t hold up as well through the week.
Equipment Needed
You don’t need a fancy kitchen to make these bowls work. Here’s what you’ll actually use:
- Baking sheet (half-sheet pan) — A rimmed baking sheet prevents juices from spilling everywhere. I use Nordic Ware because they don’t warp in the oven.
- Parchment paper or silicone baking mat — Makes cleanup almost zero. Worth every penny.
- Mixing bowls (medium and large) — For the marinade and tossing the broccoli.
- Sharp chef’s knife — A dull knife makes chopping broccoli a frustrating experience. Trust me on this.
- Cutting board — Wood or plastic, whatever you prefer. Just make sure it’s stable.
- Meat thermometer — Not strictly necessary, but it takes the guesswork out of cooking chicken perfectly.
- Meal prep containers (4-5) — Glass containers with tight-fitting lids keep everything fresh longest. I use 3-cup (700ml) containers for the perfect portion size.
- Tongs — For flipping the chicken and broccoli halfway through cooking.
If you don’t have a meat thermometer, you can check doneness by cutting into the thickest part of the chicken. The juices should run clear, and there should be no pink remaining. Budget-friendly tip: a basic digital thermometer costs around $10 and saves you from dry chicken forever.
Preparation Method
Let me walk you through this step by step. I’ve arranged the timing so everything finishes around the same time, which makes the whole process smoother.
- Preheat your oven to 400°F (200°C). Line a large baking sheet with parchment paper or a silicone mat. Getting the oven hot before you start prepping saves time later.
- Start the rice. If you’re using brown rice, begin cooking it according to package directions. Brown rice takes about 30-35 minutes, which lines up perfectly with the roasting time. For quinoa, it’s closer to 15 minutes, so start it halfway through the chicken prep.
- Make the marinade. In a medium bowl, whisk together 3 tablespoons olive oil, 2 tablespoons soy sauce, 1 tablespoon honey, minced garlic, paprika, pepper, and salt. Take a quick taste — it should be savory with a hint of sweetness. Adjust the salt if needed.
- Prepare the chicken. Pat the chicken breasts dry with paper towels. This step matters more than you think — dry chicken browns better and holds onto the marinade. Place the chicken in the bowl with the marinade and turn to coat thoroughly. Let it sit while you prep the broccoli, at least 10 minutes. If you have more time, 30 minutes in the fridge is even better.
- Prep the broccoli. Cut the broccoli into medium florets — not too tiny or they’ll burn, not too big or they’ll stay raw in the middle. Aim for bite-sized pieces about 1½ inches across. Peel the stalks and slice them into thin rounds. In a separate bowl, toss the broccoli and sliced garlic with 2 tablespoons olive oil, salt, and red pepper flakes if using.
- Arrange everything on the baking sheet. Place the marinated chicken breasts on one side of the sheet. Spread the broccoli mixture on the other side. Make sure nothing overlaps too much — overcrowding leads to steaming instead of roasting. If things are too tight, use a second baking sheet.
- Roast for 20-25 minutes. Place the sheet in the preheated oven. At the 12-minute mark, use tongs to flip the chicken and stir the broccoli. This ensures even cooking on both sides.
- Check the chicken. After 20 minutes, insert a meat thermometer into the thickest part of a chicken breast. You’re looking for 165°F (74°C). If it’s not there yet, give it another 3-5 minutes. Every oven runs differently, so trust the thermometer over the timer.
- Rest the chicken. Transfer the chicken to a cutting board and let it rest for 5 minutes before slicing. This is not optional — resting redistributes the juices so your chicken stays moist instead of drying out. While it rests, let the broccoli stay in the warm oven or on the counter.
- Slice and assemble. Slice the chicken against the grain into strips about ½-inch thick. Divide the cooked rice among your meal prep containers. Top with a portion of roasted broccoli and sliced chicken. The broccoli should be tender-crisp with some charred edges — that’s exactly what you want.
A quick note about timing: if you’re new to meal prep, this might feel like a lot at first. But I promise, by the third time you make these bowls, you’ll have the whole process down to about 30 minutes flat. The first time, give yourself a little extra room to breathe.
Cooking Tips & Techniques
After making these bowls more times than I can count, I’ve learned a few things the hard way. Let me save you some trouble.
Don’t crowd the pan. This is the number one mistake people make with roasted broccoli. If the florets are piled on top of each other, they steam instead of roast. You want those crispy, caramelized edges that only come from direct heat contact. Use two baking sheets if you need to — it’s worth the extra dish.
Patience with the chicken. I ruined so many chicken breasts by constantly flipping them or cutting into them to check doneness. Leave the chicken alone while it roasts. Flipping once at the halfway point is plenty. Every time you open the oven door, heat escapes and cooking time increases.
The resting rule applies to meal prep too. Let everything cool completely before sealing the containers. If you put warm food in and close the lid, condensation forms and creates a soggy environment. I learned this the hard way when my Tuesday lunch turned into a sad, wet mess. Let the components cool on the counter for about 20-30 minutes before assembling and refrigerating.
Batch cooking strategy. If you’re making a double batch, cook the chicken and broccoli in separate batches rather than trying to cram everything onto one pan. Yes, it takes longer, but the quality difference is massive. I usually do two rounds — first batch goes in while I clean up the prep mess, second batch goes in while the first one cools.
Season in layers. Don’t rely only on the marinade for flavor. Season the broccoli separately, season the rice with a pinch of salt, and consider a final sprinkle of sesame seeds or a squeeze of lemon when you eat it. Layered seasoning makes every bite interesting instead of one-note.
Variations & Adaptations
This recipe is incredibly flexible. Here are some ways I’ve adapted it depending on what I have in the fridge or who I’m cooking for:
Protein swaps. Chicken thighs work beautifully here — they’re even more forgiving and stay juicier through the week. Just increase the cooking time by about 5 minutes. For a vegetarian version, try firm tofu or chickpeas. Press the tofu well, cube it, and toss it in the same marinade. Roast alongside the broccoli for about 20 minutes.
Different vegetables. Broccoli is the star, but it plays well with others. Add bell peppers, zucchini, or snap peas to the roasting pan. Just be aware that different vegetables cook at different rates — add quick-cooking veggies like zucchini halfway through the roasting time.
Grain variations. Brown rice is my go-to, but I’ve made these bowls with quinoa, farro, cauliflower rice, and even regular white rice. Each gives a slightly different texture. Cauliflower rice is great for low-carb days but won’t hold up as long in the fridge — eat those bowls within 3 days.
Spice it up. If you like heat, add more red pepper flakes or a drizzle of sriracha before serving. My personal favorite variation includes a tablespoon of gochujang (Korean chili paste) mixed into the marinade. It adds a sweet-spicy depth that’s absolutely addictive.
Dairy addition. Sometimes I sprinkle a little crumbled feta or shredded Parmesan over the bowls before eating. It adds a salty, tangy element that contrasts beautifully with the savory chicken and roasted broccoli.
Serving & Storage Suggestions
These bowls are designed to be eaten cold or reheated, depending on your preference. Here’s how to get the best experience either way.
For serving cold: These bowls are fantastic as a cold lunch, especially in warmer months. The flavors actually meld together nicely after a day or two in the fridge. Add a squeeze of fresh lemon juice and some sesame seeds right before eating to brighten everything up.
For reheating: Microwave for 2-3 minutes, stirring halfway through. If you have time, reheating in a skillet with a splash of water or broth brings back some of the roasted texture. The broccoli won’t be as crispy as day one, but it will still be enjoyable. For best results, remove the chicken and reheat the rice and broccoli first, then add the chicken for the last 30 seconds. This prevents the chicken from drying out.
Storage guidelines: Store in airtight containers in the refrigerator for up to 4 days. I don’t recommend freezing these bowls — the texture of the broccoli and rice suffers too much. If you must freeze, freeze the chicken separately and make fresh rice and broccoli when you’re ready to eat.
Flavor development: Here’s something interesting — the flavors actually get better on day two. The marinade continues to infuse the chicken, and the garlic flavor mellows into something more rounded. Day three is still great. By day four, the broccoli starts to soften noticeably, but it’s still perfectly edible.
Packing tip: If you’re adding fresh toppings like lemon wedges, green onions, or avocado, pack them separately and add just before eating. This keeps everything fresh and prevents sogginess.
Nutritional Information & Benefits
Each bowl (based on 4 servings) contains approximately:
- Calories: 420-450
- Protein: 35g
- Carbohydrates: 35g
- Fiber: 7g
- Fat: 16g
- Iron: 15% DV
- Vitamin C: 135% DV
- Calcium: 8% DV
Broccoli is a nutritional powerhouse — it’s loaded with vitamin C, vitamin K, and fiber, plus compounds called sulforaphane that have been studied for their anti-inflammatory properties. Chicken provides lean protein that keeps you full and supports muscle maintenance. Brown rice adds complex carbohydrates for sustained energy without the blood sugar spike of white rice.
This recipe is naturally gluten-free if you use tamari instead of soy sauce. It’s also dairy-free and nut-free, making it suitable for most common dietary restrictions. If you’re watching your sodium, use low-sodium soy sauce and go easy on the added salt. For a lower-carb version, swap the rice for cauliflower rice or extra roasted vegetables.
Frequently Asked Questions
Can I use frozen broccoli instead of fresh?
You can, but I don’t recommend it for this recipe. Frozen broccoli releases a lot of water as it thaws, which makes it steam instead of roast. You’ll end up with soggy broccoli that doesn’t hold up well through the week. If frozen is all you have, thaw it completely and pat it very dry before roasting. The texture won’t be quite as good, but it will still taste fine.
How do I keep the chicken from drying out in the fridge?
The key is not overcooking it in the first place. Cook the chicken to exactly 165°F (74°C) and no higher. Let it rest before slicing. When you store it, make sure the containers are sealed tightly. The moisture from the roasted broccoli and rice actually helps keep the chicken moist. If you’re really worried, add a teaspoon of water to each container before reheating.
Can I make these bowls in advance for the whole week?
Absolutely. These bowls are designed to be made on Sunday and eaten through Thursday. I recommend making no more than 4-5 days’ worth at a time for the best texture. After day 4, the broccoli starts to soften noticeably, though it’s still safe to eat. If you want to stretch further, make the chicken and broccoli separately and store them apart from the rice until you’re ready to assemble.
What can I use instead of soy sauce?
Coconut aminos are a great soy-free alternative with a similar flavor profile. Tamari works if you need gluten-free. For a completely different flavor, try using balsamic vinegar mixed with a little honey — it gives a tangy-sweet result that pairs surprisingly well with the broccoli. Just reduce the amount since vinegar is more acidic than soy sauce.
Can I cook everything in an air fryer instead?
Yes, and it works beautifully. Cook the chicken at 375°F (190°C) for about 15-18 minutes, flipping halfway. The broccoli will cook faster — about 8-10 minutes at 375°F. You’ll need to cook them in separate batches since they cook at different rates. The air fryer gives the broccoli an even crispier texture, which is honestly amazing.
Conclusion
These Easy Chicken and Broccoli Meal Prep Bowls are proof that eating well during a busy week doesn’t have to be complicated or boring. The combination of tender, flavorful chicken, perfectly roasted broccoli, and hearty brown rice creates a balanced meal that actually tastes good — not just “good for meal prep.”
I’ve made these bowls more times than I can count, and they never get old. The best part is how customizable they are. Add different vegetables, swap the protein, change up the spices — make them your own. That’s the beauty of a solid foundation recipe like this one.
I’d love to hear how these turn out for you. Did you try a variation I haven’t thought of? Did your picky eater actually ask for seconds? Drop a comment below and let me know. And if you found this helpful, share it with a friend who’s been struggling with meal prep. We all need a little help in the kitchen sometimes.
Happy cooking, and here’s to a week of lunches you’ll actually look forward to!
Pin This Recipe!
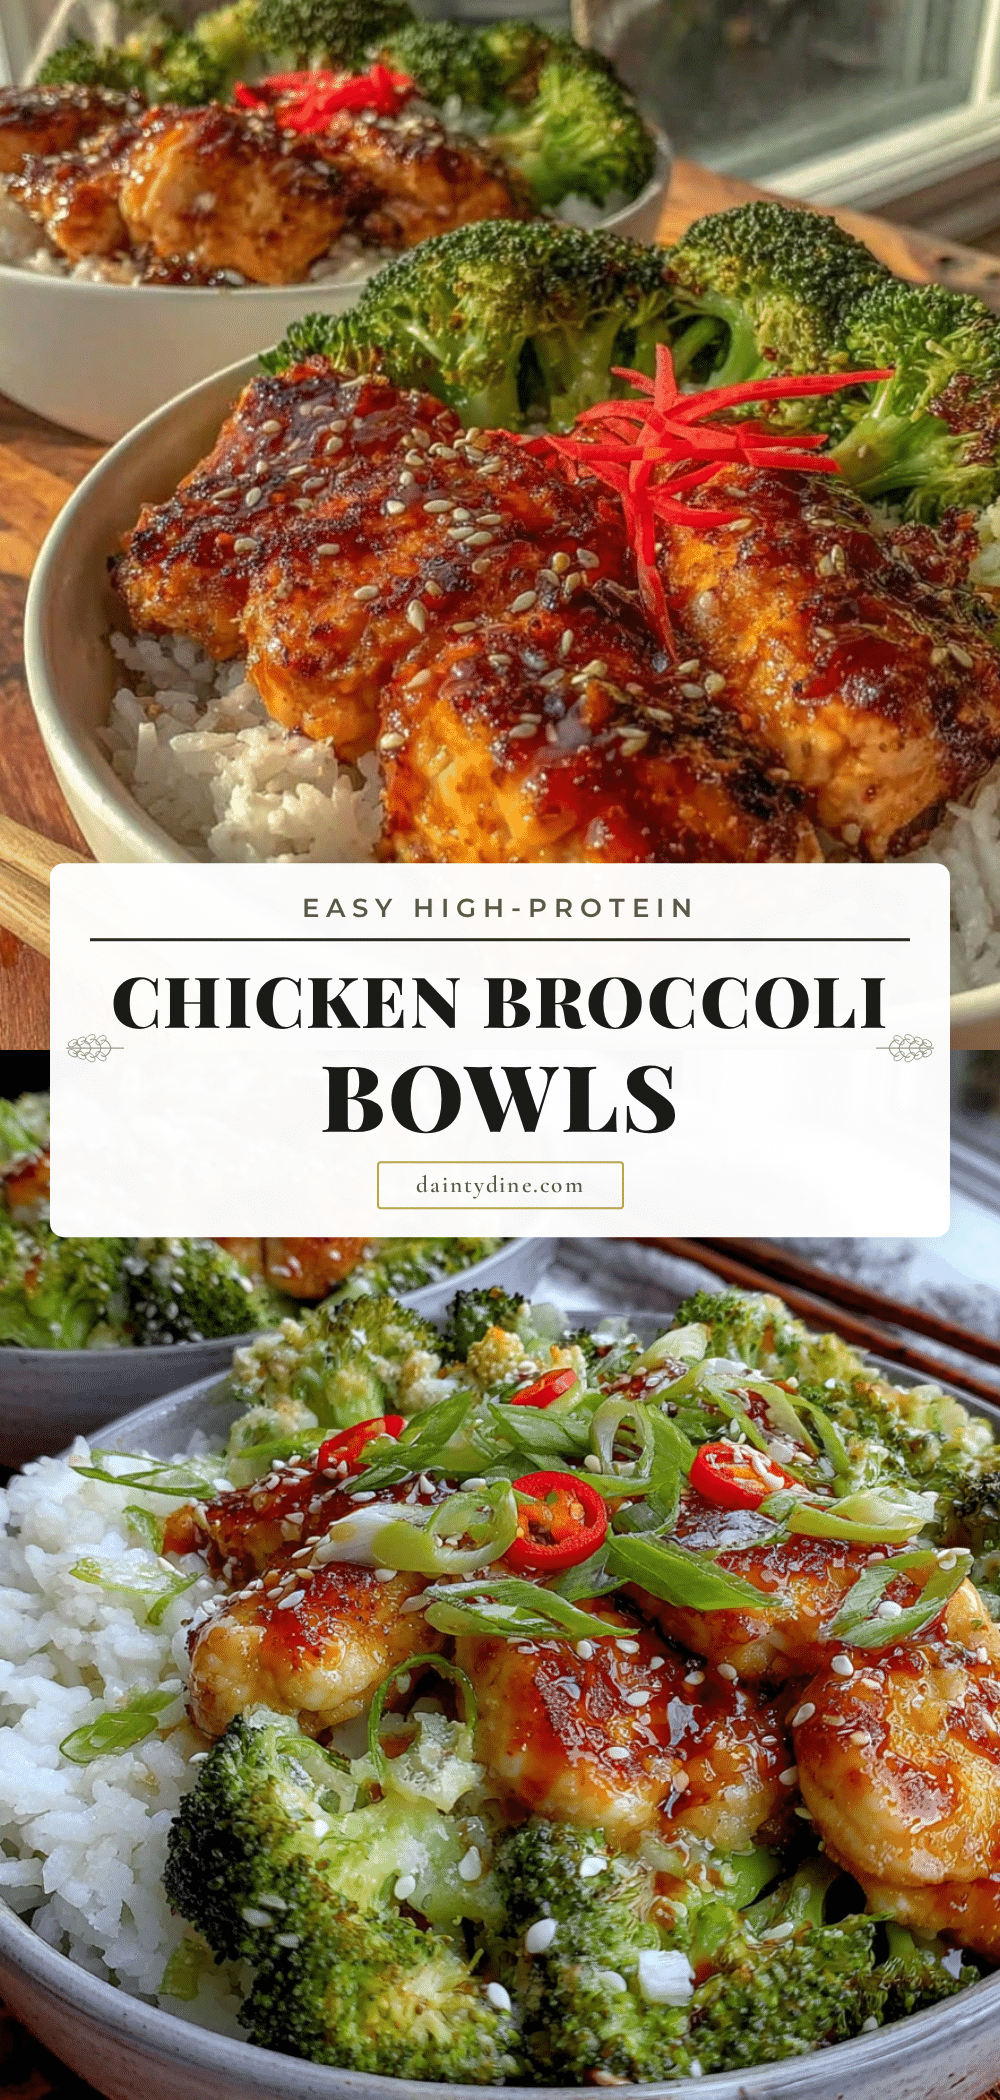
Easy Chicken and Broccoli Meal Prep Bowls

These Easy Chicken and Broccoli Meal Prep Bowls are the perfect solution for busy weeks, featuring tender marinated chicken, perfectly roasted broccoli, and hearty brown rice. Ready in under 40 minutes, they stay delicious all week long.
- Prep Time: 15 minutes
- Cook Time: 25 minutes
- Total Time: 40 minutes
- Yield: 4 servings 1x
- Category: Main Course
- Cuisine: American
Ingredients
- 2 boneless, skinless chicken breasts (about 500g or 1 lb)
- 3 tablespoons olive oil
- 2 tablespoons low-sodium soy sauce
- 1 tablespoon honey or maple syrup
- 2 cloves garlic, minced
- 1 teaspoon paprika
- ½ teaspoon black pepper
- ½ teaspoon salt
- 2 large heads of broccoli (about 600g or 1.3 lbs)
- 2 tablespoons olive oil
- 3 cloves garlic, thinly sliced
- ½ teaspoon salt
- ¼ teaspoon red pepper flakes (optional)
- 1½ cups cooked brown rice or quinoa (about 375g)
- Optional toppings: sesame seeds, sliced green onions, fresh lemon juice, sriracha
Instructions
- Preheat your oven to 400°F (200°C). Line a large baking sheet with parchment paper or a silicone mat.
- Start the rice. If using brown rice, begin cooking it according to package directions (about 30-35 minutes). For quinoa, start it halfway through the chicken prep (about 15 minutes).
- Make the marinade: In a medium bowl, whisk together 3 tablespoons olive oil, 2 tablespoons soy sauce, 1 tablespoon honey, minced garlic, paprika, pepper, and salt.
- Prepare the chicken: Pat the chicken breasts dry with paper towels. Place in the bowl with the marinade and turn to coat thoroughly. Let sit while you prep the broccoli, at least 10 minutes.
- Prep the broccoli: Cut the broccoli into medium florets (about 1½ inches across). Peel the stalks and slice into thin rounds. In a separate bowl, toss the broccoli and sliced garlic with 2 tablespoons olive oil, salt, and red pepper flakes if using.
- Arrange everything on the baking sheet: Place the marinated chicken breasts on one side and the broccoli mixture on the other side. Avoid overcrowding.
- Roast for 20-25 minutes. At the 12-minute mark, flip the chicken and stir the broccoli.
- Check the chicken: Insert a meat thermometer into the thickest part; it should read 165°F (74°C). If not, roast another 3-5 minutes.
- Rest the chicken: Transfer to a cutting board and let rest for 5 minutes before slicing.
- Slice and assemble: Slice the chicken against the grain into strips about ½-inch thick. Divide the cooked rice among meal prep containers. Top with roasted broccoli and sliced chicken.
Notes
Let everything cool completely before sealing containers to prevent sogginess. The flavors improve on day two. For best reheating, microwave 2-3 minutes or reheat in a skillet with a splash of water. Store in airtight containers in the refrigerator for up to 4 days. Not recommended for freezing.
Nutrition
- Serving Size: 1 bowl
- Calories: 420450
- Sugar: 8
- Sodium: 600
- Fat: 16
- Saturated Fat: 2
- Carbohydrates: 35
- Fiber: 7
- Protein: 35
Keywords: chicken and broccoli, meal prep, healthy lunch, easy recipe, roasted broccoli, chicken bowls


