Love this? Save it for later!
Share the inspiration with your friends
Introduction
This was supposed to be a batch of homemade granola bars, but honestly, I grabbed the wrong jar — the peanut butter instead of the almond butter — and my kitchen timer was already ticking down with a looming school run. The oven was acting up too, heating unevenly as usual, and I was halfway through mixing ingredients when my phone buzzed with a last-minute work email. What came out was nothing like the plan — a little rustic, a bit chewy, and surprisingly satisfying: easy 5-ingredient peanut butter oat bars that quickly became the go-to school snack in our house.
I remember the mess on the counter — flour sprinkled like confetti, a cracked mixing bowl that I should’ve tossed ages ago, and a sticky countertop that made me question my multitasking skills. Maybe you’ve been there, juggling too many things and ending up with something unexpected but delicious. These bars weren’t supposed to be a recipe highlight, but they stuck around because they’re honest, simple, and, frankly, foolproof.
Let me tell you, the first time I packed these bars in my son’s lunchbox, I wasn’t sure if he’d even touch them. But he did — and then he asked for more. Since that day, I’ve made these peanut butter oat bars countless times, tweaking here and there but never straying far from the original happy accident. I keep making them because they remind me that sometimes, the best snacks come from the most chaotic moments in the kitchen.
Why You’ll Love This Recipe
Having tested many snack recipes in my kitchen (and survived the occasional baking flop), I can honestly say these easy 5-ingredient peanut butter oat bars have earned their spot as a staple. Here’s why they’re a winner:
- Quick & Easy: Ready in under 30 minutes, perfect for busy mornings or last-minute snack prep.
- Simple Ingredients: No fancy or hard-to-find items — just pantry basics you probably already have on hand.
- Perfect for School Snacks: Portable, mess-free, and kid-approved, making them ideal for lunchboxes or after-school bites.
- Crowd-Pleaser: My picky nephew loves these, and honestly, so do the adults I share them with.
- Unbelievably Delicious: The chewy oats combined with creamy peanut butter create a texture and flavor that feels like a treat without the guilt.
What sets this recipe apart? The magic happens with the balance of ingredients — just five, but each one plays a crucial role. The peanut butter isn’t just a flavor; it’s the glue holding everything together. Plus, no need for baking powder or complicated steps — simple stirring and pressing into the pan are all it takes. This isn’t just another granola bar recipe; it’s the one I reach for when time is short, but the craving for something wholesome is strong.
Honestly, it’s the kind of recipe that makes you close your eyes after the first bite and smile. Whether you’re packing school lunches or looking for a quick snack to carry on-the-go, these peanut butter oat bars deliver comfort and convenience in every chewy square.
What Ingredients You Will Need
This recipe uses simple, wholesome ingredients to deliver bold flavor and satisfying texture without the fuss. Most of these are pantry staples, and substitutions are easy if needed.
- Rolled oats (2 cups / 180 g): The base of the bars, providing chewiness and fiber. Look for old-fashioned oats rather than quick oats for the best texture.
- Natural peanut butter (1 cup / 250 g): Creamy or chunky works — I prefer a no-sugar-added brand like Smucker’s Natural for pure flavor.
- Honey (½ cup / 170 g): Acts as a natural sweetener and binder. Raw or regular honey both work fine.
- Vanilla extract (1 teaspoon): Adds subtle warmth and depth to the bars.
- Salt (¼ teaspoon): Balances the sweetness and enhances the peanut butter flavor.
Optional: If you want to boost nutrition or texture, you can toss in ¼ cup chopped nuts, chocolate chips, or dried fruit, but that’s purely up to you.
For gluten-free needs, swap rolled oats with certified gluten-free oats. If peanut allergies are a concern, sunflower seed butter is a great alternative, though the flavor shifts slightly.
Equipment Needed
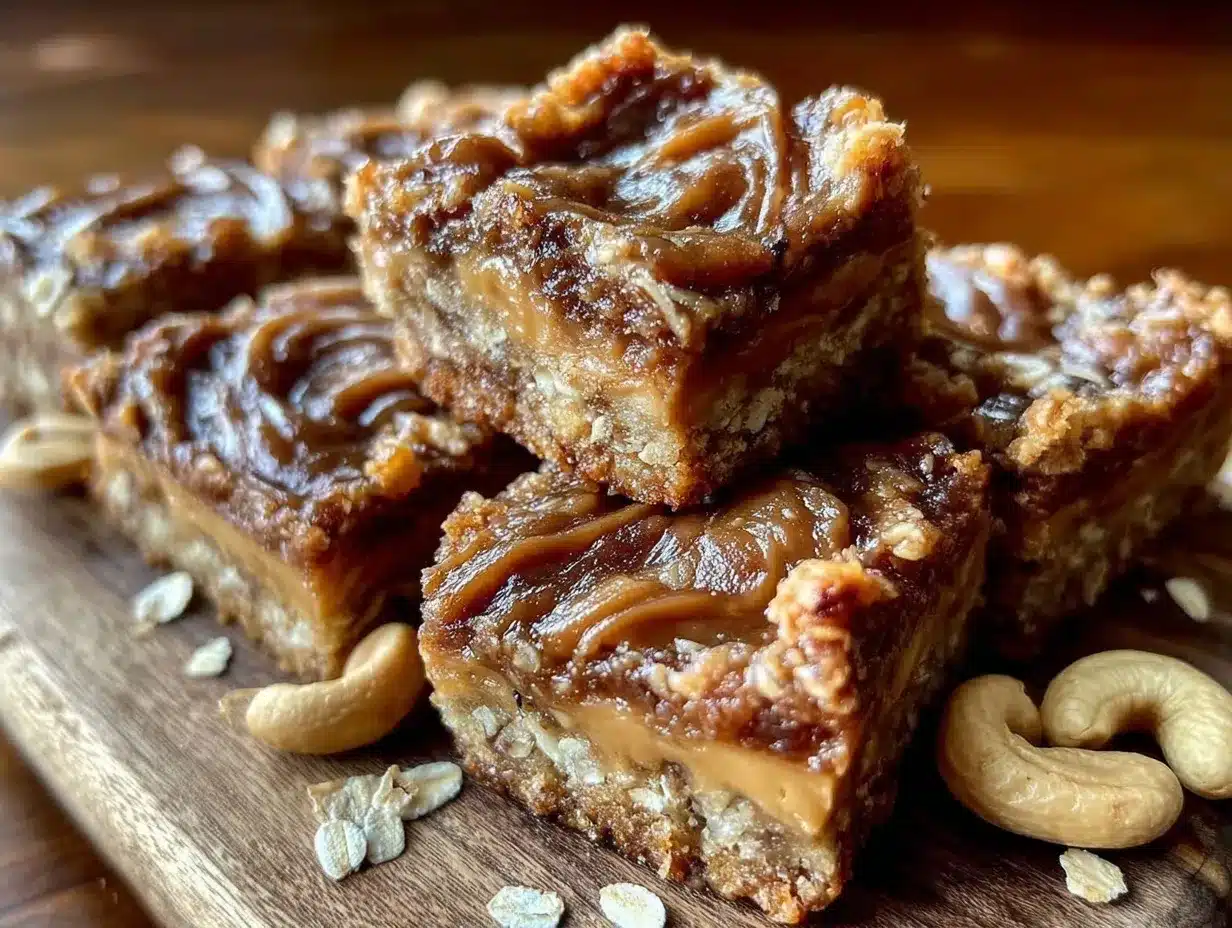
Not much gear is required for these peanut butter oat bars, which is part of why I love making them.
- Mixing bowl: A medium to large bowl for combining ingredients. I often use a glass bowl since it’s easy to clean and doesn’t absorb odors.
- Measuring cups and spoons: For accuracy — especially important with sticky ingredients like honey and peanut butter.
- Spatula or wooden spoon: To mix and press the mixture evenly into the pan.
- 8×8 inch (20×20 cm) baking pan: You can line it with parchment paper for easy removal. I once used a loaf pan in a pinch — just adjust thickness and cutting accordingly.
- Oven: The bars need a short bake to set and develop a light golden color.
You don’t need any fancy equipment or special tools. I remember once trying a silicone mold set for bars that was more hassle than help — stick to a good old baking pan and parchment paper for best results.
Preparation Method
- Preheat your oven to 350°F (175°C). Line an 8×8 inch (20×20 cm) baking pan with parchment paper, leaving some overhang for easy lifting later. This step prevents sticking and makes clean-up a breeze (approx. 10 minutes).
- Mix the wet ingredients: In your mixing bowl, combine 1 cup (250 g) of natural peanut butter and ½ cup (170 g) honey. Stir well until creamy and smooth — it may take a minute or two, especially if your peanut butter is thick. Add 1 teaspoon vanilla extract and ¼ teaspoon salt, mixing to blend (about 3-4 minutes).
- Add oats: Slowly fold in 2 cups (180 g) rolled oats, stirring gently but thoroughly so every oat is coated in that peanut butter goodness. The mixture should be sticky but manageable. If it feels too dry, add a splash of milk (dairy or plant-based) one teaspoon at a time (5 minutes).
- Transfer to pan: Spoon the mixture into your prepared pan. Use your spatula or clean fingers to press firmly and evenly into the pan’s corners and edges. Pressing well here helps the bars hold together — a loose press means crumbly bars later (5 minutes).
- Bake: Pop the pan into the preheated oven and bake for 12-15 minutes. You’ll want the edges to turn a light golden brown. Don’t overbake, or the bars might become too hard (watch closely after 12 minutes).
- Cool completely: Once baked, remove the pan from the oven and let it cool on a wire rack for at least 30 minutes. This step is crucial — the bars firm up as they cool. You can refrigerate them for 10-15 minutes to speed this up if you’re impatient like me.
- Cut and serve: Using the parchment paper overhang, lift the bars out of the pan. Cut into 12 squares or rectangles with a sharp knife. Store any leftovers in an airtight container.
Pro tip: If your bars seem crumbly after cooling, press a little more firmly next time and bake no longer than 15 minutes. I’ve learned the hard way that overbaking turns these into hockey pucks.
Cooking Tips & Techniques
Making these peanut butter oat bars is straightforward, but a few tips can make a difference between “meh” and “wow”:
- Use natural peanut butter: The kind with just peanuts and maybe salt — no added oils or sugars. It binds better and tastes cleaner.
- Don’t skip pressing firmly: I can’t stress this enough. Pressing the mixture firmly into the pan before baking helps bars hold together and slice cleanly.
- Watch your bake time: The oven’s heat can vary, so start checking at 12 minutes. The bars should be lightly golden but still soft to touch.
- Mix gently: Overmixing can crush oats and result in a dense bar. Fold ingredients just enough to combine.
- Multitasking tip: While bars bake, clean your workspace — it saves time later and keeps you from feeling overwhelmed.
I once skipped the vanilla extract, thinking it was a minor detail, and honestly, the bars lacked that subtle warmth that makes them so satisfying. Also, if your peanut butter is cold from the fridge, warm it slightly to make mixing easier.
Variations & Adaptations
Feel free to customize these peanut butter oat bars to suit your tastes or dietary needs. Here are a few ideas I’ve tried or considered:
- Chocolate chip twist: Add ¼ cup mini chocolate chips for a sweet surprise. They melt just enough during baking for pockets of gooey goodness.
- Nut-free version: Replace peanut butter with sunflower seed butter or tahini if allergies are a concern.
- Boost the protein: Mix in 2 tablespoons of chia seeds or hemp seeds for extra nutrition and texture.
- Seasonal flavors: Swap vanilla extract for cinnamon and add dried cranberries or raisins for a fall-inspired snack.
- No-bake option: Skip the oven and refrigerate the pressed bars for at least 2 hours. They’ll be softer but still hold together nicely.
One personal variation I love is sprinkling a pinch of flaky sea salt on top right after baking — it cuts through the sweetness beautifully and makes these bars feel a bit more gourmet.
Serving & Storage Suggestions
These peanut butter oat bars are perfect for packing in lunchboxes or grabbing on the run. I usually serve them at room temperature, but they’re also delicious chilled — especially on warmer days.
Pair them with a glass of milk, a fresh fruit salad, or even a cup of tea for a satisfying snack or light breakfast. They hold up well in an airtight container at room temperature for up to 5 days and in the fridge for about 7 days.
For longer storage, wrap individually and freeze for up to 3 months. To thaw, leave them at room temperature for 30 minutes or microwave briefly (10-15 seconds) — they taste almost like freshly made that way.
Flavor-wise, these bars mellow and soften a bit after a day or two, making them even more enjoyable if you can wait that long.
Nutritional Information & Benefits
Each bar (assuming 12 bars per batch) roughly provides:
| Calories | 160 kcal |
|---|---|
| Protein | 5g |
| Fat | 8g |
| Carbohydrates | 18g |
| Fiber | 3g |
| Sugar | 9g (from honey and peanut butter) |
The oats provide sustained energy and fiber, helping keep kids fuller longer during school hours. Peanut butter adds healthy fats and protein, which are essential for growing bodies and active minds. Using natural ingredients keeps added sugars low compared to store-bought bars.
These bars are naturally gluten-free if you use certified oats, and they’re free from preservatives and artificial additives. Just keep an eye on peanut allergies if you’re sharing with classmates.
Conclusion
If you’re looking for a snack that’s simple, wholesome, and genuinely tasty, these easy 5-ingredient peanut butter oat bars deserve a spot in your recipe box. They’re proof that sometimes, the best kitchen creations come from those imperfect moments — and that delicious doesn’t have to be complicated.
Feel free to tweak the recipe to your liking, whether you want to add chocolate chips, swap nut butters, or try a no-bake version. I love how versatile and forgiving this recipe is, and I hope it becomes a favorite in your household too.
Don’t be shy — leave a comment sharing your own spin on these bars or how they worked out for your family. Sharing recipes and stories is what makes cooking fun and rewarding!
Happy baking and snacking!
Frequently Asked Questions
Can I use crunchy peanut butter instead of creamy?
Yes! Crunchy peanut butter adds extra texture, which some people love. Just be sure to press the mixture firmly so the bars hold together well.
Are these bars suitable for freezing?
Absolutely. Wrap individual bars tightly and freeze for up to 3 months. Thaw at room temperature or microwave briefly before eating.
Can I substitute honey with maple syrup or agave?
Yes, both maple syrup and agave work as liquid sweeteners. The flavor will be slightly different but still delicious.
What if my bars crumble after baking?
This usually means they weren’t pressed firmly enough or baked too long. Next time, press the mixture down harder and watch the bake time carefully.
Can I add protein powder to this recipe?
You can! Add 1-2 tablespoons of your favorite protein powder, but reduce oats slightly to keep the texture balanced.
Pin This Recipe!
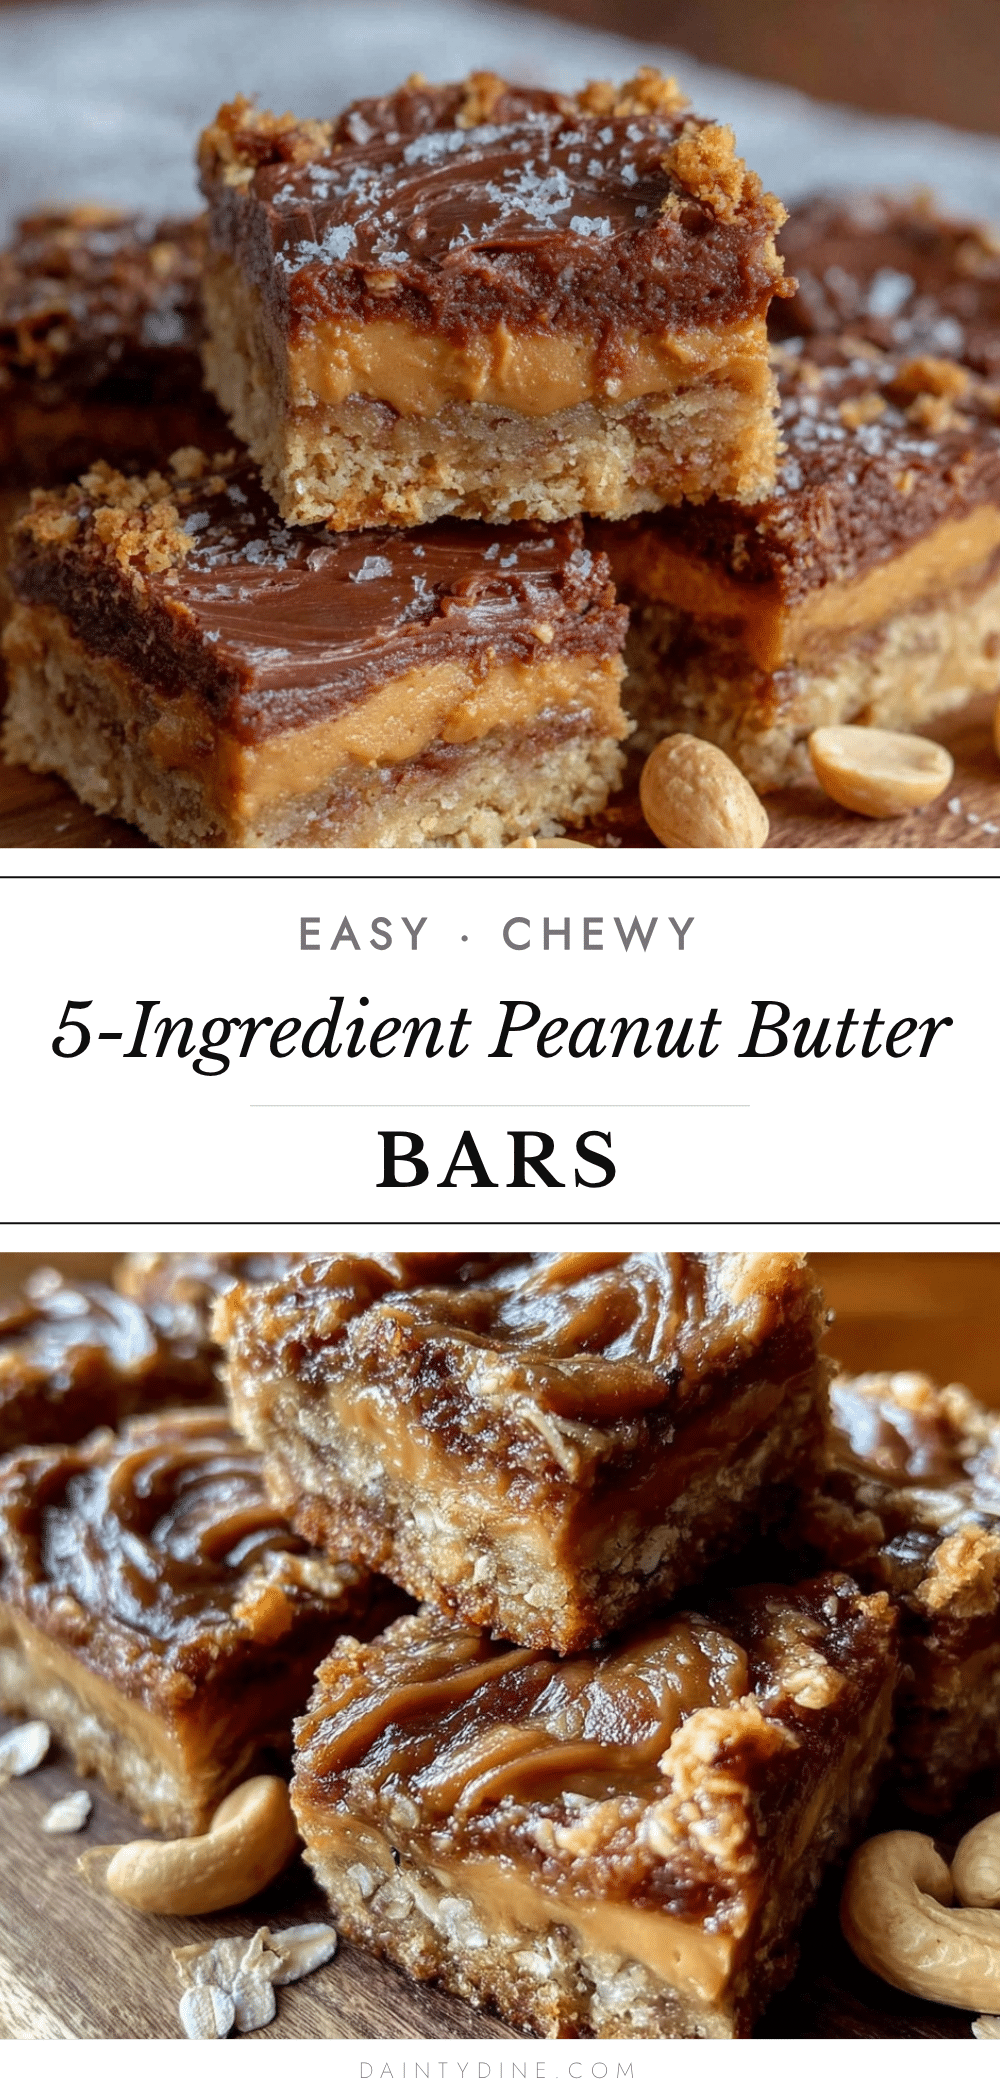
Easy 5-Ingredient Peanut Butter Oat Bars Perfect for School Snacks
These easy 5-ingredient peanut butter oat bars are quick, simple, and perfect for school snacks. They are chewy, satisfying, and kid-approved, making them a go-to treat for busy mornings or on-the-go.
- Prep Time: 10 minutes
- Cook Time: 15 minutes
- Total Time: 40 minutes
- Yield: 12 bars 1x
- Category: Snack
- Cuisine: American
Ingredients
- 2 cups (180 g) rolled oats
- 1 cup (250 g) natural peanut butter
- ½ cup (170 g) honey
- 1 teaspoon vanilla extract
- ¼ teaspoon salt
Instructions
- Preheat your oven to 350°F (175°C). Line an 8×8 inch (20×20 cm) baking pan with parchment paper, leaving some overhang for easy lifting later.
- In a mixing bowl, combine 1 cup (250 g) natural peanut butter and ½ cup (170 g) honey. Stir well until creamy and smooth. Add 1 teaspoon vanilla extract and ¼ teaspoon salt, mixing to blend.
- Slowly fold in 2 cups (180 g) rolled oats, stirring gently but thoroughly so every oat is coated. If the mixture feels too dry, add a splash of milk one teaspoon at a time.
- Spoon the mixture into the prepared pan. Press firmly and evenly into the pan’s corners and edges using a spatula or clean fingers.
- Bake for 12-15 minutes until edges turn light golden brown. Watch closely after 12 minutes to avoid overbaking.
- Remove from oven and cool completely on a wire rack for at least 30 minutes. Refrigerate for 10-15 minutes to speed cooling if desired.
- Lift bars out using parchment paper overhang and cut into 12 squares or rectangles. Store leftovers in an airtight container.
Notes
Use natural peanut butter with no added oils or sugars for best binding and flavor. Press the mixture firmly into the pan to prevent crumbly bars. Watch bake time carefully to avoid hard bars. Optional add-ins include chopped nuts, chocolate chips, or dried fruit. For a no-bake version, refrigerate pressed bars for at least 2 hours instead of baking.
Nutrition
- Serving Size: 1 bar (1 of 12)
- Calories: 160
- Sugar: 9
- Fat: 8
- Carbohydrates: 18
- Fiber: 3
- Protein: 5
Keywords: peanut butter oat bars, easy snack, school snacks, 5-ingredient bars, homemade granola bars, kid-friendly snacks, quick snack recipe


