Love this? Save it for later!
Share the inspiration with your friends
The office potluck was in six hours and I’d completely forgotten. Everyone else would be bringing those fancy, multi-layered dishes they’d probably spent all weekend on. I had a butternut squash sitting on my counter, a box of pasta, and maybe thirty minutes before I needed to run out the door. Honestly, I almost just stopped for a rotisserie chicken on the way. But then I remembered a trick my neighbor had mentioned last fall—blending roasted squash into a cheese sauce. I figured, what did I have to lose? It was either that or a sad bag of chips.
So I threw the cubed squash into the microwave (yes, microwave, judge me later), boiled some pasta, and started building a sauce with whatever cheese was lingering in my fridge. I wasn’t trying to win anything. I was just trying not to show up empty-handed. The whole thing came together in a blur of steam and cheddar. I dumped it in a baking dish I’d grabbed from a garage sale, tossed some breadcrumbs on top—because why not—and ran out the door, still zipping my coat.
Here’s the thing. That dish didn’t just get eaten. It got talked about. People came back for seconds. Someone asked for the recipe before I’d even sat down. And I had to sheepishly admit it took me half an hour and I used the microwave. Maybe you’ve been there—that moment where your last-minute scramble somehow turns into your greatest hit. This easy butternut squash mac and cheese is that recipe for me. It’s the one I now make on purpose, not just in a panic, because it’s actually that good.
Why You’ll Love This Recipe
Let’s be real for a second. Weeknight dinners are hard. You’re tired, the kids are hungry, and the last thing you want to do is spend an hour over a hot stove. This recipe was built for those exact nights. It’s the kind of meal that feels like a warm hug but doesn’t ask for much in return.
- Quick & Easy: From start to table in just 30 minutes. The microwave does most of the heavy lifting for the squash, so you’re not waiting around. It’s faster than ordering takeout in some neighborhoods.
- Simple Ingredients: You probably already have most of this stuff. Pasta, cheese, milk, butter. The butternut squash is the only “special” thing, and these days you can find it pre-cut in most grocery stores. No fancy trips required.
- Perfect for Busy Weeknights: This isn’t a Sunday-project recipe. It’s a Tuesday-night-save-your-sanity recipe. It’s also great for potlucks, as I learned the hard way, or for getting a vegetable into picky eaters without a fight.
- Crowd-Pleaser: My kids have no idea there’s a whole vegetable blended into their cheese sauce. And honestly? Neither did my coworkers. It’s that sneaky good.
- Unbelievably Delicious: The squash adds this subtle sweetness and a velvety texture that regular mac and cheese just can’t touch. It’s not weird or “healthy tasting.” It’s just better.
What makes this different from every other mac and cheese recipe out there? It’s the method. By microwaving the squash and blending it right into the cheese sauce, you skip the roasting step without sacrificing any of that creamy, comforting flavor. It’s a shortcut that actually works. This isn’t just another version of mac and cheese—it’s the one you’ll actually make on a Wednesday night when you’re running on empty.
What Ingredients You Will Need
This recipe uses simple, pantry-friendly ingredients to deliver a creamy, comforting dinner without the fuss. Most of these are things you probably already have on hand, which is exactly the point.
- Butternut Squash: 2 cups, peeled and cubed (about 1 small squash, or use pre-cut from the store to save time). Look for firm, bright orange flesh. Frozen cubed squash also works in a pinch—just thaw and drain it first.
- Elbow Macaroni: 8 ounces (about 2 cups dry). I prefer Barilla or De Cecco for pasta that holds its shape. You can also use cavatappi, shells, or even penne—whatever you’ve got.
- Sharp Cheddar Cheese: 1 ½ cups, freshly shredded. Pre-shredded cheese has anti-caking agents that prevent it from melting smoothly. Trust me, shredding your own from a block makes a huge difference here. I recommend Cabot or Tillamook for great flavor.
- Milk: 1 cup, whole milk preferred for maximum creaminess. 2% works fine in a pinch. Avoid skim milk—the sauce will be thinner.
- Butter: 2 tablespoons, unsalted. If you only have salted, just reduce the added salt later.
- All-Purpose Flour: 2 tablespoons. This helps thicken the sauce. For a gluten-free version, use a 1:1 gluten-free flour blend.
- Chicken or Vegetable Broth: ½ cup. Low-sodium is best so you can control the salt level. The broth adds a savory depth that water just can’t match.
- Garlic Powder: ½ teaspoon. Don’t use fresh garlic here—it can become bitter in a quick sauce. Garlic powder blends in seamlessly.
- Onion Powder: ¼ teaspoon. Adds a subtle background flavor that makes the cheese taste cheesier.
- Salt and Black Pepper: To taste. Start with ½ teaspoon salt and ¼ teaspoon pepper, then adjust.
- Breadcrumbs (Optional): ¼ cup panko breadcrumbs for a crunchy topping. Mix with 1 tablespoon melted butter and sprinkle on before serving.
- Pinch of Nutmeg: Optional, but highly recommended. A tiny grating brings out the sweetness of the squash and complements the cheese beautifully.
Substitution guidance: For a dairy-free version, use unsweetened oat milk and a good-quality vegan cheddar shreds. The texture won’t be exactly the same, but it’ll still be creamy and delicious. For a lower-carb option, swap the pasta for cooked cauliflower florets.
Equipment Needed
You don’t need a fancy kitchen to pull this off. Here’s what you’ll actually use:
- Large Pot: For boiling the pasta. A 4-quart pot is perfect.
- Microwave-Safe Bowl: For cooking the squash. I use a glass Pyrex measuring cup—it’s easy to pour from later.
- Blender or Immersion Blender: To puree the cooked squash until smooth. An immersion blender is easier to clean, but a regular blender works fine. Just let the steam escape a bit before blending.
- Medium Saucepan: For making the cheese sauce. A heavy-bottomed pan prevents scorching.
- Whisk: To keep the sauce smooth and lump-free. A wooden spoon works in a pinch, but a whisk is better.
- Cheese Grater: Please, for the love of all things cheesy, grate your own cheese. A box grater or Microplane works great.
- Colander: For draining the pasta.
- Baking Dish (Optional): If you’re adding a breadcrumb topping and want to broil it. An 8×8 or 9×9 dish works well.
I’ve made this recipe with a $10 immersion blender from a discount store and it worked just fine. Don’t stress about having the “right” equipment. If you have a fork and a pot, you can make this work.
Preparation Method
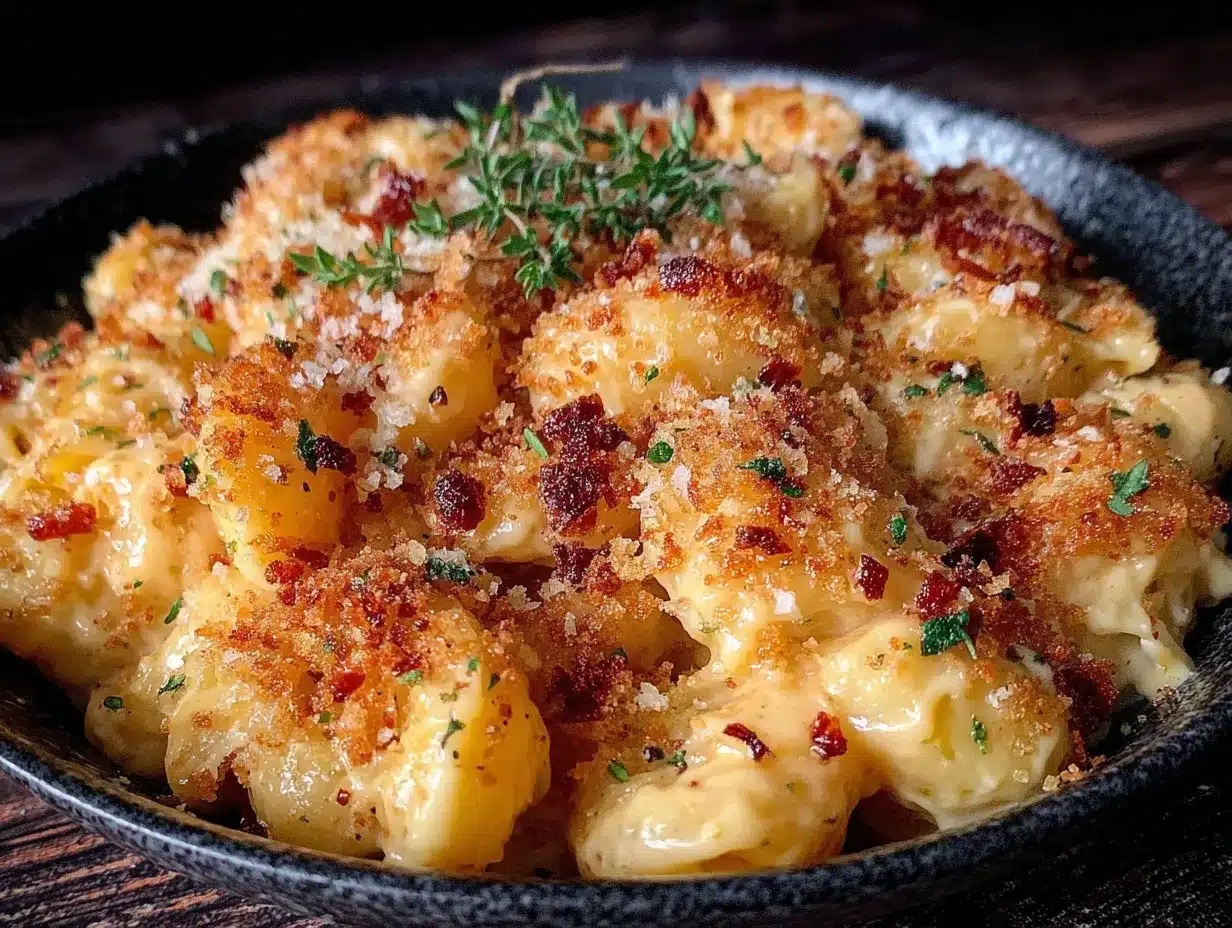
Alright, let’s get cooking. I promise this moves fast, so read through the steps once before you start. Set a timer if you need to—I always do.
- Cook the Squash: Place your cubed butternut squash in a microwave-safe bowl with 2 tablespoons of water. Cover with a microwave-safe plate or plastic wrap. Microwave on high for 5-7 minutes, until the squash is fork-tender. Drain any excess water. (If you’re using frozen squash, it may take 8-9 minutes.) Let it cool for a minute while you start the pasta.
- Boil the Pasta: Fill your large pot with water, add a generous pinch of salt, and bring it to a rolling boil. Add the elbow macaroni and cook according to package directions, usually 7-9 minutes, until al dente. You want it slightly firm because it will continue cooking in the sauce later. Reserve about ½ cup of pasta water before draining, then drain the pasta and set it aside.
- Blend the Squash: Transfer the cooked squash to your blender or use an immersion blender in the bowl. Add the ½ cup of broth and blend until completely smooth. It should look like a thick, silky puree. Set this aside for a moment.
- Make the Roux: In your medium saucepan, melt the butter over medium heat. Once it’s bubbling, whisk in the flour. Keep whisking for about 1 minute—you want to cook off the raw flour taste but not let it brown. It should smell toasty and look like a thick paste.
- Build the Sauce: Slowly pour in the milk while whisking constantly. Keep whisking until the mixture is smooth and starts to thicken, about 2-3 minutes. It should coat the back of a spoon. Now, pour in the squash puree and whisk until fully combined. The sauce will turn a beautiful golden-orange color.
- Add the Cheese: Reduce the heat to low. Add the shredded cheddar cheese a handful at a time, stirring gently until each addition is melted before adding the next. Don’t rush this—high heat can make the sauce grainy. Once all the cheese is in, stir in the garlic powder, onion powder, nutmeg (if using), salt, and pepper. Taste it. Adjust the seasoning if needed.
- Combine: Add the drained pasta to the sauce and stir until every piece is coated. If the sauce seems too thick, add a splash of the reserved pasta water to loosen it up. The starch in the water helps the sauce cling to the pasta.
- Optional Topping: If you want a crunchy top, transfer the mac and cheese to a baking dish. Mix the panko breadcrumbs with melted butter and sprinkle evenly over the top. Broil on high for 1-2 minutes, watching closely, until the crumbs are golden brown. This step is totally optional but adds a lovely texture.
- Rest and Serve: Let the mac and cheese sit for 2-3 minutes before serving. This allows it to set up slightly so it’s creamy but not runny. Serve hot and watch it disappear.
A note on timing: The entire process, including the optional broiling step, should take you about 30 minutes. I’ve timed it. If you’re feeling efficient, you can cook the squash and boil the pasta at the same time. Just keep an eye on both.
Cooking Tips & Techniques
I’ve made this recipe more times than I can count, and I’ve definitely made my share of mistakes. Here’s what I’ve learned so you don’t have to repeat my errors.
Don’t Overcook the Squash: If you microwave it too long, it gets waterlogged and your sauce will be thin. You want it just tender enough to pierce easily with a fork. Five minutes is usually my sweet spot, but microwaves vary. Start checking at 4 minutes.
Grate Your Own Cheese: I know I said this already, but it’s worth repeating. Pre-shredded cheese is coated in cellulose and starches to prevent clumping, which means it doesn’t melt smoothly. Your sauce will turn out grainy instead of velvety. Spend the two minutes grating a block of cheddar. Your taste buds will thank you.
Low Heat for the Sauce: When you add the cheese, keep the heat on low. High heat can cause the proteins in the cheese to seize up, leaving you with a clumpy, oily mess. Patience here is key. I once got distracted and cranked the heat—ended up with a sauce that looked like scrambled eggs. Not my finest moment.
Reserve That Pasta Water: It’s easy to forget, but that starchy water is liquid gold. If your sauce is too thick, a splash of pasta water will loosen it up without thinning out the flavor. It’s a trick I picked up from a chef friend and now I never skip it.
Season in Layers: Add a little salt to the pasta water, a little to the sauce, and taste before serving. You want the seasoning to build gradually. If you dump it all in at the end, you might overshoot or undershoot. Layering gives you more control.
Multitasking Strategy: Start the squash in the microwave first. While it’s cooking, get your pasta water boiling. While the pasta cooks, make your roux. By the time the pasta is done, your sauce base is ready. It’s like a well-choreographed dance, and it saves you about 10 minutes of total cooking time.
Variations & Adaptations
This recipe is a great base, but don’t be afraid to make it your own. Here are some ways I’ve adapted it depending on my mood or what’s in the fridge.
Add Some Protein: Stir in 1 cup of cooked, shredded rotisserie chicken or crispy bacon bits right before serving. It turns this side dish into a full meal. I did this on a particularly hungry Tuesday and it was a game-changer.
Go Green: Fold in a handful of fresh spinach or steamed broccoli florets when you add the pasta. The greens wilt into the warm sauce and add a pop of color. My kids actually eat broccoli this way—don’t ask me why.
Spice It Up: Add ¼ teaspoon of cayenne pepper or a pinch of red pepper flakes to the sauce for a little heat. The sweetness of the squash balances the spice beautifully. I like to do this when I’m cooking just for myself.
Make It Gluten-Free: Use gluten-free pasta and a 1:1 gluten-free flour blend for the roux. The sauce will be slightly less thick, but still creamy and delicious. I’ve tested this with a cup-for-cup blend and it worked perfectly.
Try a Different Cheese: Swap half the cheddar for Gruyère, smoked Gouda, or fontina. Each brings a different flavor profile. Smoked Gouda adds a lovely smoky note that pairs well with the squash. I did this for a dinner party once and got three recipe requests.
Roasted Squash Version: If you have an extra 15 minutes, roast the squash cubes at 400°F for 20-25 minutes instead of microwaving. Toss them with olive oil, salt, and pepper first. The caramelization adds a deeper, almost nutty sweetness. It’s worth it on a lazy Sunday.
Serving & Storage Suggestions
This mac and cheese is best served hot, straight from the pot or baking dish. The sauce is at its creamiest right after it’s made, so don’t let it sit too long.
Serving Temperature: Serve immediately while it’s still bubbling. If you’ve added the breadcrumb topping, the contrast between the crunchy top and the creamy pasta underneath is pure magic.
What to Serve With It: A simple green salad with a tangy vinaigrette cuts through the richness perfectly. I also love it alongside roasted vegetables like Brussels sprouts or green beans. For a heartier meal, pair it with grilled chicken or a simple pork chop. A glass of crisp white wine, like a Sauvignon Blanc, is a lovely adult accompaniment.
Storage Instructions: Store leftovers in an airtight container in the refrigerator for up to 4 days. The pasta will absorb some of the sauce overnight, so it won’t be quite as creamy the next day, but it’s still delicious.
Reheating Tips: The best way to reheat is on the stovetop over medium-low heat. Add a splash of milk or broth and stir gently until warmed through. The microwave works in a pinch, but it can make the pasta mushy. If using the microwave, cover the bowl and heat in 30-second bursts, stirring between each.
Freezer Instructions: This recipe freezes surprisingly well. Let it cool completely, then transfer to a freezer-safe container. Freeze for up to 3 months. Thaw overnight in the refrigerator before reheating. Note that the texture will be slightly softer after freezing, but the flavor remains excellent. I like to freeze individual portions for quick lunches.
Flavor Development: Honestly, some people argue that mac and cheese tastes even better the next day. The flavors have time to meld, and the sauce thickens up beautifully. I’m not sure I agree—I love it fresh—but leftovers are never a problem in my house.
Nutritional Information & Benefits
Here’s an approximate nutritional breakdown for one serving (about 1 cup, without breadcrumb topping):
- Calories: 420
- Protein: 18g
- Fat: 18g
- Carbohydrates: 48g
- Fiber: 4g
- Sugar: 6g
- Sodium: 520mg
This recipe packs a surprising nutritional punch. Butternut squash is loaded with vitamin A (great for eye health), vitamin C, and fiber. It’s also lower in calories than many other starchy vegetables, which means you get a creamy sauce with fewer calories than a traditional cheese sauce made with heavy cream.
The cheese provides calcium and protein, while the whole milk adds a dose of vitamin D. If you use whole wheat pasta, you’ll bump up the fiber content even more. It’s comfort food that actually does your body a favor.
Dietary Considerations: This recipe is vegetarian. For a gluten-free version, use gluten-free pasta and flour. For a lower-calorie option, use 2% milk and reduce the cheese to 1 cup. For a dairy-free version, use unsweetened oat milk and vegan cheddar.
Potential Allergens: Contains dairy and gluten. The optional breadcrumbs also contain gluten.
From my perspective, this recipe hits that sweet spot between indulgence and nourishment. It’s not a health food, but it’s a whole lot better for you than the boxed stuff, and it tastes infinitely better. That’s a win in my book.
Conclusion
Look, I know there are a million mac and cheese recipes out there. But this one is different. It’s the one you’ll actually make on a Tuesday night when you’re tired and hungry and the kids are asking what’s for dinner. It’s the one that comes together in half an hour with ingredients you probably already have. And it’s the one that somehow, magically, makes everyone happy.
I love this recipe because it reminds me that you don’t need to spend hours in the kitchen to make something truly special. Sometimes the best meals come from a little bit of panic and a whole lot of practicality. It’s comfort food that doesn’t demand a lot from you, and honestly, isn’t that what we all need sometimes?
I’d love to hear how it goes for you. Did you add your own twist? Did your kids eat it without complaint? Did you show up to a potluck and accidentally become the hero? Drop a comment below and let me know. And if you’re looking for another quick weeknight dinner, you might like this creamy tuscan chicken recipe—it’s just as fast and just as satisfying.
Happy cooking, friends. You’ve got this.
Frequently Asked Questions
Can I use frozen butternut squash instead of fresh?
Absolutely. Frozen cubed squash works great and saves you the prep time. Just microwave it according to the package directions, then drain any excess water before blending. It might be slightly more watery than fresh, so you may need to cook the sauce an extra minute to thicken it up.
Why did my cheese sauce turn out grainy?
This usually happens for one of two reasons: the heat was too high when you added the cheese, or you used pre-shredded cheese. Keep the heat on low and add the cheese gradually, stirring constantly. And please, grate your own cheese from a block. It makes all the difference.
Can I make this recipe ahead of time?
Yes! You can assemble the entire dish (without the breadcrumb topping) up to a day in advance. Cover and refrigerate. When you’re ready to serve, add the breadcrumbs and bake at 350°F for 15-20 minutes, until heated through. You may need to add a splash of milk if it seems dry.
What can I use instead of butternut squash?
You can substitute with roasted sweet potato, canned pumpkin puree (not pumpkin pie filling), or even frozen cauliflower that’s been cooked and blended. Each will give a slightly different flavor and color, but all work beautifully. Sweet potato is my personal favorite alternative.
How do I make this recipe vegan?
Use unsweetened oat milk or cashew milk for the sauce, a good-quality vegan butter, and a vegan cheddar shred that melts well. Follow the same method. The sauce will be slightly less creamy, but still delicious. I’ve tested it with Violife and Miyoko’s brands with good results.
Pin This Recipe!
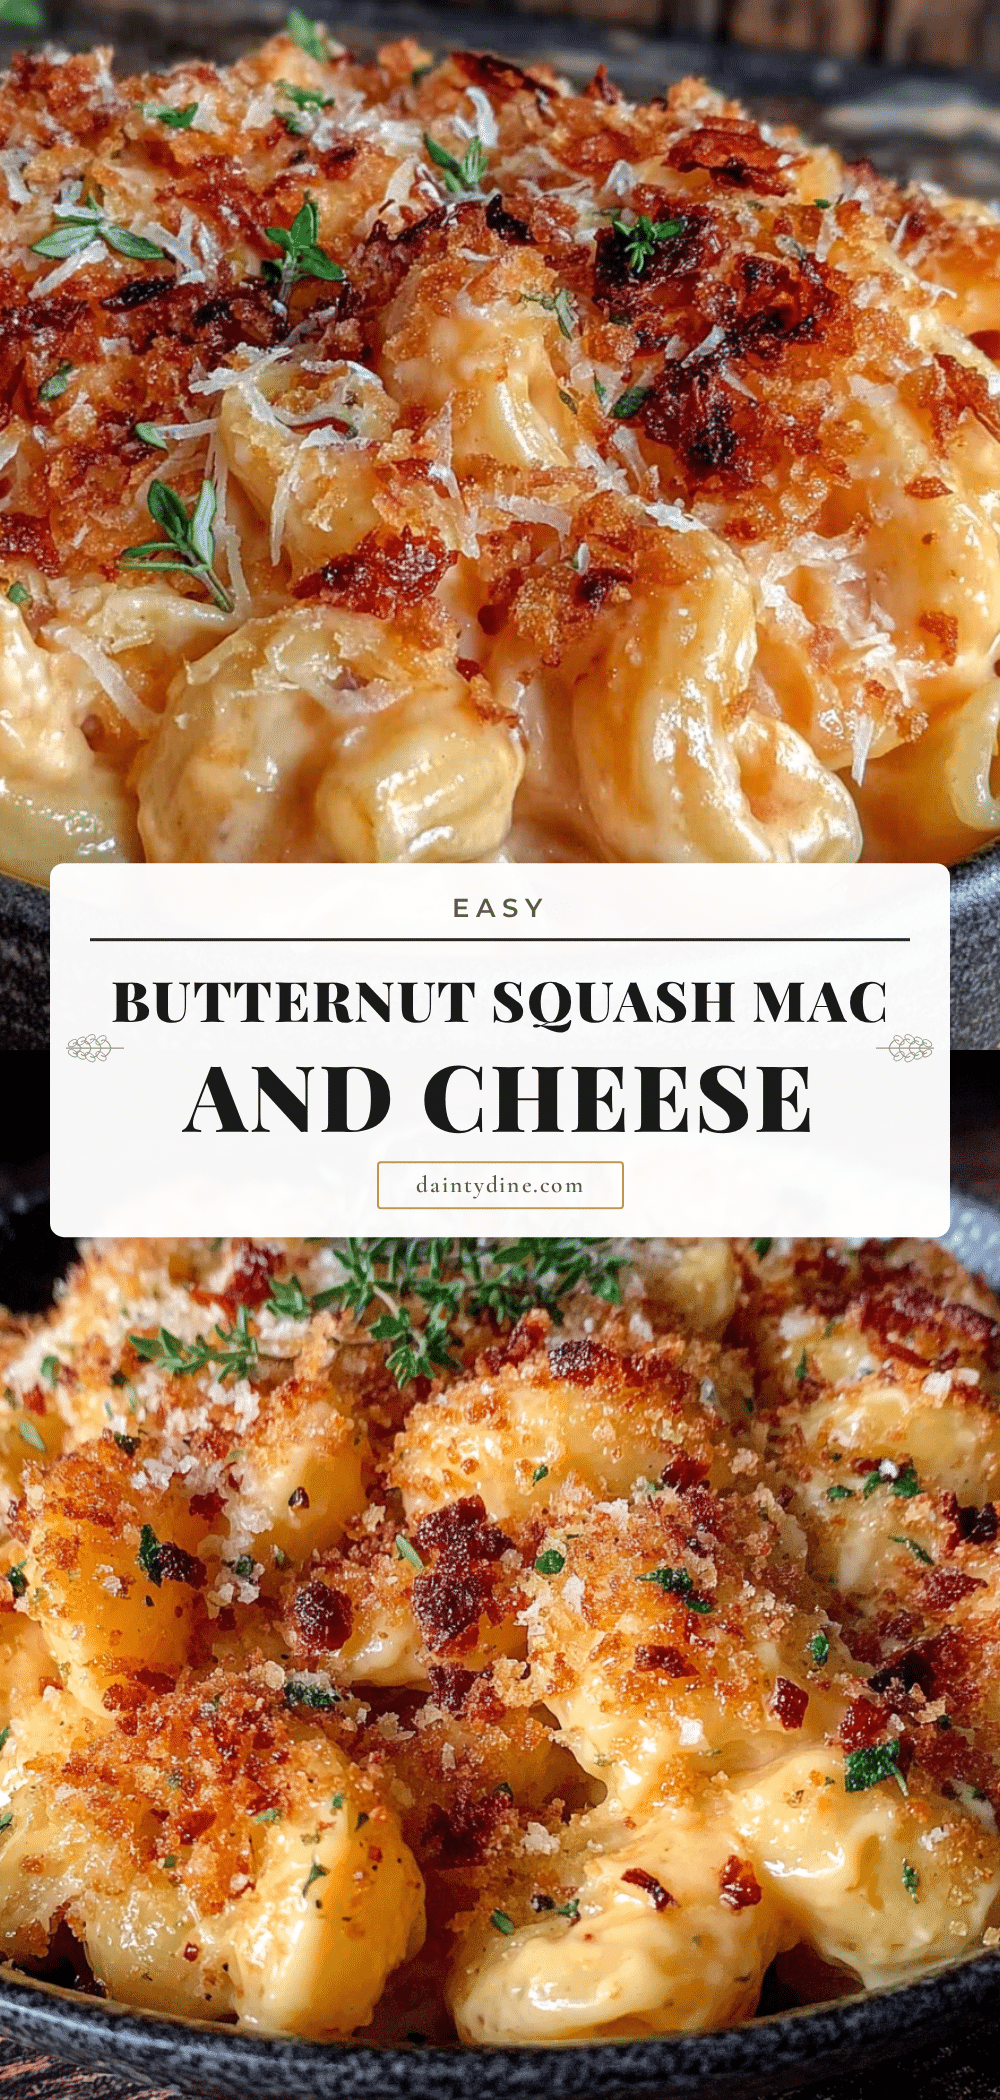
Easy 30-Minute Butternut Squash Mac and Cheese

A quick and creamy butternut squash mac and cheese that comes together in just 30 minutes. Perfect for busy weeknights or potlucks, this recipe uses a clever microwave shortcut to create a velvety, comforting dish that everyone will love.
- Prep Time: 10 minutes
- Cook Time: 20 minutes
- Total Time: 30 minutes
- Yield: 4 servings 1x
- Category: Main Course
- Cuisine: American
Ingredients
- 2 cups butternut squash, peeled and cubed (about 1 small squash or pre-cut)
- 8 ounces elbow macaroni (about 2 cups dry)
- 1 ½ cups sharp cheddar cheese, freshly shredded
- 1 cup whole milk
- 2 tablespoons unsalted butter
- 2 tablespoons all-purpose flour
- ½ cup low-sodium chicken or vegetable broth
- ½ teaspoon garlic powder
- ¼ teaspoon onion powder
- ½ teaspoon salt (or to taste)
- ¼ teaspoon black pepper (or to taste)
- ¼ cup panko breadcrumbs (optional, for topping)
- 1 tablespoon melted butter (optional, for topping)
- Pinch of nutmeg (optional)
Instructions
- Cook the Squash: Place cubed butternut squash in a microwave-safe bowl with 2 tablespoons of water. Cover and microwave on high for 5-7 minutes until fork-tender. Drain any excess water.
- Boil the Pasta: Bring a large pot of salted water to a boil. Cook elbow macaroni according to package directions until al dente (7-9 minutes). Reserve ½ cup of pasta water, then drain the pasta and set aside.
- Blend the Squash: Transfer cooked squash to a blender or use an immersion blender. Add ½ cup of broth and blend until completely smooth. Set aside.
- Make the Roux: In a medium saucepan, melt 2 tablespoons of butter over medium heat. Whisk in 2 tablespoons of flour and cook for 1 minute, whisking constantly, until the mixture is toasty and thick.
- Build the Sauce: Slowly pour in 1 cup of milk while whisking constantly. Continue whisking until the mixture thickens, about 2-3 minutes. Then whisk in the squash puree until fully combined.
- Add the Cheese: Reduce heat to low. Gradually add the shredded cheddar cheese, stirring until each addition is melted before adding the next. Stir in garlic powder, onion powder, nutmeg (if using), salt, and pepper. Taste and adjust seasoning.
- Combine: Add the drained pasta to the sauce and stir until well coated. If the sauce is too thick, add a splash of reserved pasta water to loosen it.
- Optional Topping: If desired, transfer mac and cheese to a baking dish. Mix panko breadcrumbs with melted butter and sprinkle on top. Broil on high for 1-2 minutes until golden brown.
- Rest and Serve: Let the mac and cheese sit for 2-3 minutes before serving. Serve hot.
Notes
For best results, grate your own cheese from a block to avoid graininess. Reserve pasta water to adjust sauce consistency. The optional breadcrumb topping adds a nice crunch. This recipe can be made gluten-free by using gluten-free pasta and flour.
Nutrition
- Serving Size: 1 cup
- Calories: 420
- Sugar: 6
- Sodium: 520
- Fat: 18
- Saturated Fat: 10
- Carbohydrates: 48
- Fiber: 4
- Protein: 18
Keywords: butternut squash mac and cheese, easy mac and cheese, 30-minute mac and cheese, weeknight dinner, comfort food, vegetarian mac and cheese


