Love this? Save it for later!
Share the inspiration with your friends
This was supposed to be apple pie filling. I had this whole plan—peel, slice, spice, simmer—the works. But somewhere between grabbing the cinnamon and realizing my baking dish was still dirty from last night’s dinner, I just… gave up. I tossed the sliced apples onto a parchment-lined sheet, dusted them with cinnamon, and shoved them in the oven out of pure frustration. Honestly, I was already planning to order takeout.
What came out of the oven forty minutes later was nothing like the plan—and better. These little crispy, caramelized disks were sweet, crunchy, and completely addictive. My kids thought I’d bought them from the store. My husband asked if I could make “that apple candy thing” again. And me? I just stood there, holding the baking sheet, feeling like I’d accidentally stumbled onto something brilliant. Maybe you’ve been there—when the universe basically forces you into a shortcut, and it turns out the shortcut was the whole point.
These Easy 3-Ingredient Baked Apple Chips are my favorite kind of recipe: the kind that practically makes itself. No peeling, no sugar, no complicated steps. Just apples, cinnamon, and a little patience. I keep coming back to them because they solve that eternal snack problem—something crunchy, sweet, and healthy that actually satisfies. Let me tell you, once you make these once, you’ll never look at a bag of store-bought chips the same way again.
Why You’ll Love This Recipe
I’ve tested this recipe more times than I care to admit. I’ve tried different apple varieties, different thicknesses, different oven temperatures. And this version? It’s the one I keep coming back to. Here’s why I think you’ll love it too:
- Only 3 Ingredients : Apples, cinnamon, and a pinch of salt. That’s it. No sugar, no oil, no weird additives.
- Naturally Sweet : The apples caramelize in the oven, concentrating their natural sugars. You honestly won’t miss the added sugar one bit.
- Super Easy : If you can slice an apple and turn on an oven, you can make these. The hardest part is waiting for them to cool.
- Perfect for Meal Prep : Make a big batch on Sunday and have healthy snacks all week. They store beautifully.
- Kid-Approved : My kids devour these. They think they’re getting a treat, and I know they’re eating fruit. Win-win.
- Diet-Friendly : Gluten-free, vegan, paleo, Whole30—these fit pretty much any eating style.
What makes these different from other apple chip recipes is the technique. I learned through trial and error that the thickness of the slice matters more than anything. Too thick, and they’re chewy. Too thin, and they burn. I’ve found the sweet spot, and I’ll walk you through it step by step. These chips are the kind of snack that makes you close your eyes after that first crunchy bite. They’re comfort food reimagined—healthier, simpler, but with the same soul-soothing satisfaction.
What Ingredients You Will Need
This recipe uses three simple, wholesome ingredients to deliver bold flavor and satisfying crunch without any fuss. You probably already have most of these in your kitchen right now.
- Apples (2-3 medium) : The star of the show. I recommend using firm, crisp apples like Honeycrisp, Fuji, or Granny Smith. Honeycrisp gives the sweetest result without any added sugar, while Granny Smith offers a nice tart contrast. Gala and Pink Lady also work well. Avoid soft or mealy apples like Red Delicious—they won’t crisp up properly. I prefer organic apples since you’re eating the skin, but conventional works fine too.
- Cinnamon (1-2 teaspoons) : This is where the magic happens. The cinnamon not only adds warmth and flavor but also makes your kitchen smell incredible. I use Ceylon cinnamon for a milder, sweeter flavor, but regular cassia cinnamon works perfectly too. Feel free to experiment with apple pie spice or pumpkin pie spice for a different twist.
- Salt (a pinch) : Just a tiny pinch per apple. It sounds weird, but salt enhances the natural sweetness of the apples and balances the cinnamon. I use fine sea salt, but any salt will do. Don’t skip this—it makes a surprising difference.
That’s literally it. No sugar, no oil, no lemon juice, nothing fancy. The apples do all the heavy lifting. When shopping, look for apples that feel heavy for their size and have no soft spots. If you’re using organic apples, just give them a good scrub. For conventional apples, I recommend a quick rinse in vinegar water to remove any wax coating—this helps the cinnamon stick better.
Equipment Needed
You don’t need much for this recipe, which is part of the beauty. Here’s what you’ll need:
- Sharp Knife or Mandoline Slicer : A sharp chef’s knife works fine, but a mandoline slicer makes the job so much easier and gives you consistent, even slices. I’ve used both, and honestly, the mandoline is worth the investment if you make these often. Just watch your fingers!
- Cutting Board : Any stable cutting board will do. I prefer a large wooden board because it doesn’t slide around.
- Baking Sheet (1-2) : Standard half-sheet pans work perfectly. You’ll need enough space to lay the slices in a single layer without overlapping.
- Parchment Paper or Silicone Baking Mat : This is non-negotiable. The apples will stick to the pan without it. I prefer parchment paper for easy cleanup, but silicone mats work great too.
- Small Bowl : For mixing the cinnamon and salt.
- Cooling Rack : Optional, but highly recommended. The chips need to cool completely to get crispy, and a cooling rack allows air to circulate around them.
If you don’t have a mandoline, don’t worry. A sharp knife and a steady hand will get the job done. Just try to slice as evenly as possible. And if you don’t have a cooling rack, you can lay the chips out on a clean kitchen towel or paper towels to cool.
Preparation Method

Making these apple chips is almost embarrassingly easy. But there are a few small tricks that make the difference between crispy chips and chewy disappointments. Follow these steps, and you’ll nail it every time.
- Preheat your oven to 225°F (110°C). Low and slow is the key here. High heat will burn the apples before they have a chance to dry out and become crispy. Give your oven a full 15 minutes to preheat.
- Wash and core your apples. Give them a good scrub under running water. You don’t need to peel them—the skin adds color, fiber, and nutrients. Use an apple corer or just cut around the core with a knife. If you don’t have a corer, slice the apple off the core in four pieces, then slice each piece into thin wedges.
- Slice the apples very thinly. Aim for about 1/8-inch (3mm) thickness. This is the most important step. Too thick, and they’ll be chewy. Too thin, and they’ll burn. If using a mandoline, set it to the thinnest setting. If using a knife, try to keep the slices as uniform as possible. I like to slice horizontally through the apple to get those nice round chips with the star pattern in the middle.
- Mix the cinnamon and salt. In a small bowl, combine 1 teaspoon cinnamon with a pinch of salt for every apple you’re using. Give it a quick stir.
- Arrange the slices on your baking sheets. Line your baking sheets with parchment paper. Lay the apple slices in a single layer—no overlapping! They shrink as they bake, so a little space between them is fine, but they shouldn’t be touching. If you have more slices than fit, use a second baking sheet or bake in batches.
- Sprinkle with the cinnamon mixture. Use a fine-mesh strainer or just your fingers to sprinkle the cinnamon-salt mixture evenly over the apple slices. Try to get some on both sides for maximum flavor. Don’t go overboard—you can always add more later.
- Bake for 40-50 minutes. Place the baking sheets in the preheated oven. Bake for 20 minutes, then rotate the pans and flip the slices. Continue baking for another 20-30 minutes. The chips are done when they’re dry to the touch and the edges are starting to curl up slightly. They should look golden brown around the edges but not dark.
- Let them cool completely. This is the hardest part! The chips will still be slightly soft when they come out of the oven. They crisp up as they cool. Transfer them to a cooling rack and let them sit for at least 15-20 minutes. Don’t rush this step—if you try to eat them warm, they’ll be chewy. Patience pays off here.
A few troubleshooting notes: If your chips are still chewy after cooling, they need more time in the oven. Pop them back in for 5-10 minute intervals until they crisp up. If they’re burning around the edges before the centers are dry, your oven might run hot—try lowering the temperature to 200°F (95°C). And if some chips are done before others, just remove the done ones and let the rest keep baking. Every slice is a little different, and that’s okay.
Cooking Tips & Techniques
After making these apple chips more times than I can count, I’ve picked up a few tricks that make the process smoother and the results more consistent. Let me share what I’ve learned the hard way.
Uniform thickness is everything. I cannot stress this enough. When slices are different thicknesses, they cook at different rates. The thin ones burn while the thick ones stay chewy. A mandoline is the easiest way to get consistent slices, but if you’re using a knife, take your time. I once tried to rush through slicing and ended up with a tray of half-burnt, half-raw chips. Not my finest moment.
Don’t overcrowd the pan. I know it’s tempting to cram as many slices as possible onto one sheet, but overlapping leads to steaming instead of baking. The slices need air circulation to dry out properly. Use two baking sheets if you need to, or bake in batches. Trust me, the extra few minutes are worth it.
Flip them halfway through. This ensures even drying on both sides. I use a thin spatula or just my fingers (carefully—the pan is hot). If you forget, it’s not the end of the world, but the chips will be slightly more crisp on one side.
Let them cool completely before storing. This was a lesson I learned the hard way. I was impatient once and put warm chips in a container. The next morning, they were all soft and sad. The chips need to cool fully to achieve that satisfying crunch. Give them at least 20 minutes on a cooling rack.
Watch your oven like a hawk. Every oven is different. My friend’s oven runs 25 degrees hot, and she burned her first batch badly. Check your chips at the 30-minute mark and adjust time accordingly. The difference between perfect and burnt can be just two or three minutes.
Variations & Adaptations
One of the best things about this recipe is how easy it is to customize. Here are some variations I’ve tried and loved:
- Spiced Apple Chips : Swap the cinnamon for apple pie spice, pumpkin pie spice, or chai spice blend. I made a batch with cardamom and ginger once, and it was divine.
- Savory Apple Chips : Skip the cinnamon and use a pinch of smoked paprika, garlic powder, or even a tiny bit of cayenne. Sounds weird, but the sweet-savory combo is addictive.
- Different Apple Varieties : Mix and match! I love doing a tray with half Granny Smith and half Honeycrisp. The tart and sweet contrast is beautiful and delicious.
- Dehydrator Method : If you have a dehydrator, you can use it instead of the oven. Set it to 135°F (57°C) and let it run for 6-8 hours. The texture is even crispier, and you can do larger batches.
- Air Fryer Version : Set your air fryer to 300°F (150°C) and cook for 10-12 minutes, shaking the basket halfway through. Keep a close eye on them—air fryers cook faster than ovens.
- Dipped in Chocolate : For a treat, dip half of each chip in melted dark chocolate and let it set. It’s like a healthier version of those chocolate-covered apple slices.
If you have dietary restrictions, these are naturally gluten-free, vegan, and paleo. For a low-FODMAP version, stick with apples that are low in sorbitol, like Granny Smith or Pink Lady. And if you’re watching your sugar intake, remember that even though there’s no added sugar, apples do contain natural sugars. But honestly, compared to a bag of potato chips or cookies, these are a much better choice.
Serving & Storage Suggestions
These apple chips are incredibly versatile. I serve them as a snack, but they work in so many other ways too.
Serving Ideas:
- As a crunchy topping for yogurt bowls or oatmeal
- Alongside a cheese board—they pair beautifully with sharp cheddar or brie
- Crumbled over salads for a sweet crunch
- As a healthier alternative to crackers with nut butter
- Packed in lunchboxes for a treat that won’t get mushy
- As a garnish for fall desserts like apple crisp or ice cream
Storage Instructions:
- Store completely cooled chips in an airtight container at room temperature.
- They’ll stay crispy for 3-5 days, sometimes up to a week if the humidity is low.
- Do not refrigerate—the moisture will make them soft.
- If they lose their crunch, you can re-crisp them in a 200°F (95°C) oven for 5-10 minutes.
- Freezing is not recommended; the texture changes when thawed.
One thing I love about these chips is that the flavor actually develops a bit over the first day. The cinnamon seems to meld with the apple, and the sweetness becomes more pronounced. So if you can resist eating them all immediately, they’re even better the next day.
Nutritional Information & Benefits
These apple chips are a snack you can feel good about. Here’s the approximate nutritional breakdown for one serving (about 1 cup of chips, made from one medium apple):
| Nutrient | Amount |
|---|---|
| Calories | 95 |
| Total Fat | 0g |
| Sodium | 30mg (from the salt) |
| Total Carbohydrates | 25g |
| Dietary Fiber | 4g |
| Sugars | 19g (all natural) |
| Protein | 1g |
Apples are packed with fiber, vitamin C, and antioxidants like quercetin. The fiber helps with digestion and keeps you feeling full longer. And since you’re eating the skin, you’re getting even more nutrients than you would from peeled apples. Cinnamon has anti-inflammatory properties and may help regulate blood sugar. So these little chips are not just delicious—they’re actually good for you.
One note: if you’re on a low-carb or keto diet, these might not fit your macros since apples are higher in natural carbs. But for most people, they’re a perfectly healthy snack option.
Conclusion
These Easy 3-Ingredient Baked Apple Chips have become a staple in my kitchen, and I have a feeling they’ll become one in yours too. They’re the kind of recipe that proves you don’t need complicated techniques or fancy ingredients to make something truly satisfying. Just apples, cinnamon, a little patience, and you’ve got a crunchy, sweet, healthy snack that everyone loves.
I love that this recipe is flexible enough to adapt to whatever apples you have on hand and whatever spices you’re in the mood for. It’s forgiving, it’s foolproof, and it makes your whole house smell like fall.
So grab some apples, preheat that oven, and give these a try. I’d love to hear how they turn out for you—what apple variety did you use? Did you try any fun spice combinations? Drop a comment below and let me know. And if you loved them, share this recipe with a friend who’s trying to eat a little healthier. Happy snacking!
Frequently Asked Questions
Can I use any type of apple?
Yes! Firm, crisp apples work best. Honeycrisp, Fuji, Granny Smith, Gala, and Pink Lady are all great choices. Avoid soft or mealy varieties like Red Delicious.
Why are my apple chips chewy instead of crispy?
They likely need more time in the oven, or your slices might be too thick. Try baking them longer at a low temperature, and aim for 1/8-inch thick slices next time.
Do I have to peel the apples?
Not at all! The skin adds color, fiber, and nutrients. Plus, it helps the chips hold their shape. Just wash them well before slicing.
How long do these apple chips last?
Stored in an airtight container at room temperature, they’ll stay crispy for 3-5 days. If they soften, just pop them back in a low oven for a few minutes.
Can I make these in an air fryer?
Absolutely! Set your air fryer to 300°F (150°C) and cook for 10-12 minutes, shaking the basket halfway through. Keep a close eye on them as they cook faster than in the oven.
Pin This Recipe!
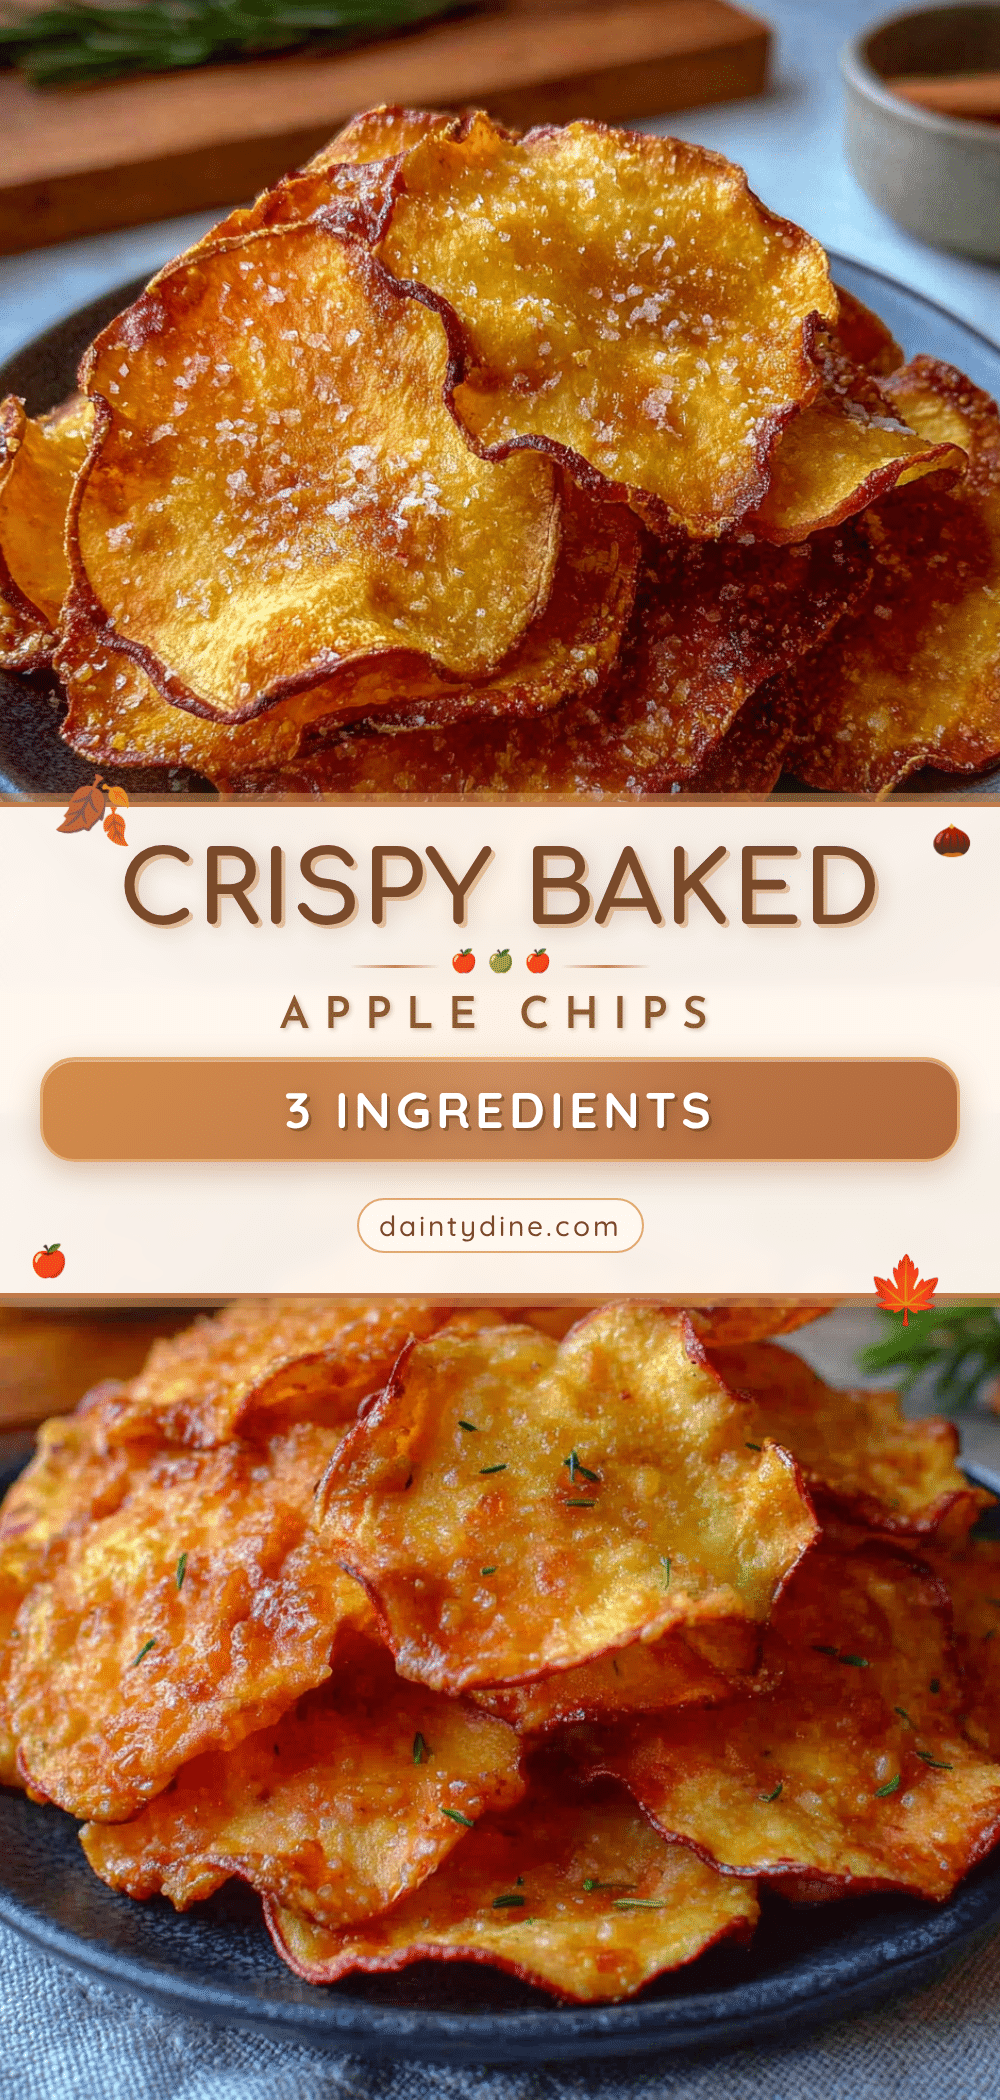
Easy 3-Ingredient Baked Apple Chips (No Sugar)

These Easy 3-Ingredient Baked Apple Chips are a healthy, crunchy snack made with just apples, cinnamon, and a pinch of salt. No sugar, no oil, and no complicated steps—just a naturally sweet treat that satisfies cravings.
- Prep Time: 10 minutes
- Cook Time: 45 minutes
- Total Time: 55 minutes
- Yield: 4 servings 1x
- Category: Snack
- Cuisine: American
Ingredients
- 2–3 medium apples (Honeycrisp, Fuji, or Granny Smith)
- 1–2 teaspoons cinnamon
- 1 pinch salt
Instructions
- Preheat your oven to 225°F (110°C).
- Wash and core your apples. Do not peel.
- Slice the apples very thinly, about 1/8-inch (3mm) thick.
- In a small bowl, mix the cinnamon and salt.
- Line baking sheets with parchment paper. Arrange apple slices in a single layer without overlapping.
- Sprinkle the cinnamon-salt mixture evenly over the apple slices, getting some on both sides.
- Bake for 40-50 minutes, flipping the slices halfway through. Chips are done when dry to the touch and edges curl slightly.
- Let chips cool completely on a cooling rack for at least 15-20 minutes before serving.
Notes
For best results, use firm apples like Honeycrisp or Granny Smith. Slice uniformly to ensure even cooking. Let chips cool completely to achieve crispiness. Store in an airtight container at room temperature for 3-5 days. If chips soften, re-crisp in a 200°F (95°C) oven for 5-10 minutes.
Nutrition
- Serving Size: 1 cup
- Calories: 95
- Sugar: 19
- Sodium: 30
- Carbohydrates: 25
- Fiber: 4
- Protein: 1
Keywords: apple chips, baked apple chips, healthy snack, no sugar, 3-ingredient, gluten-free, vegan, paleo, Whole30


