Love this? Save it for later!
Share the inspiration with your friends
I was standing in line at the hardware store—of all places—on a gray Tuesday afternoon, holding a new showerhead and feeling sorry for myself about the weather. The woman ahead of me had a cart full of mason jars, twine, and about twelve bags of marshmallows. I figured she was either planning an emergency s’mores situation or had joined some kind of jar-collecting club I didn’t know about. Turns out, she was just being smart about Christmas gifts. “Hand me that bag of chocolate chips, would you?” she said, and before I knew it, I was helping her load her car with cocoa powder and candy canes. Her name was Deb, and she explained she makes these hot cocoa bar mix gift jars every single year for her kids’ teachers, the mailman, and pretty much anyone who’s been nice to her. She laughed and said it saved her hundreds of dollars and nobody ever complained about getting hot chocolate. Honestly, I was a little embarrassed I hadn’t thought of it myself.
So I went home that afternoon and started testing. I figured how hard could it be to layer some ingredients in a jar? Well, let me tell you—there’s a right way and a wrong way to do this. My first attempt looked like a muddy science experiment. The layers blurred together, the marshmallows sank, and I ended up with a jar that looked more like a failed geology project than a thoughtful gift. But Deb’s method stuck with me, and after a few more tries (and one memorable incident where I forgot to seal a jar and found cocoa powder all over my kitchen counter), I cracked it. The trick is in the order, the texture, and honestly, the love you put into it.
Maybe you’ve been there—staring at a gift list that keeps growing while your wallet keeps shrinking. Or maybe you just want to give something that feels personal without spending three days in the kitchen. That’s where these DIY hot cocoa bar mix gift jars come in. They’re simple, they’re affordable, and they let people make their own cozy cup of happiness whenever they want. I’ve been making them every holiday season since that hardware store encounter, and I keep making them because they work. Every single time. And the look on someone’s face when they realize they get to customize their own hot chocolate? That’s the good stuff.
Why You’ll Love This Recipe
Let me be straight with you—I’ve tested a lot of hot cocoa mixes over the years, and most of them fall into two categories: too sweet or too thin. This one nails the balance. It’s rich without being cloying, creamy without needing heavy cream, and it comes together in about fifteen minutes of active work. For a busy parent trying to check off holiday gifts, that’s a win.
- Quick & Easy : The whole process—mixing, layering, and decorating—takes under thirty minutes. You can knock out a dozen jars while the kids are watching a movie.
- Simple Ingredients : You probably already have most of these in your pantry. No fancy extracts, no obscure powders, just good old-fashioned cocoa and sugar.
- Perfect for Holiday Gifting : These jars work for teachers, neighbors, coworkers, and that cousin who’s impossible to shop for. They’re thoughtful without being over-the-top.
- Crowd-Pleaser : Kids love the DIY element, adults appreciate the quality, and everyone enjoys a warm mug on a cold night. I’ve never seen a jar go to waste.
- Unbelievably Customizable : You can make them dairy-free, add spices, swap in dark chocolate—the base recipe is forgiving and flexible.
What makes this version different from all the other hot cocoa jar recipes out there? It’s the texture. Most mixes use powdered milk that leaves a weird chalky feel in your mouth. I tested a different approach—using a combo of high-quality cocoa powder and finely ground sugar that dissolves completely. The result is a cup of hot chocolate that tastes like you made it from scratch, not from a packet. Plus, the layering technique I developed keeps the ingredients separate and beautiful in the jar, so when someone opens it, they see distinct stripes of chocolate, white chocolate chips, and crushed candy canes. It’s a visual gift and a delicious one.
This recipe isn’t just good—it’s the kind that makes you feel like you’ve got your act together. It’s comfort in a jar, ready to be shared. Perfect for impressing the pickiest gift recipient without stressing yourself out.
What Ingredients You Will Need
This recipe uses simple, pantry-friendly ingredients that come together to create a rich, creamy hot chocolate with a professional feel. The key is using the right proportions so every cup is balanced and satisfying.
For the Hot Cocoa Mix Base
- 1 ½ cups granulated sugar – (use superfine if you can find it; it dissolves faster and gives a smoother texture)
- 1 cup unsweetened cocoa powder – I prefer Ghirardelli or Droste for their deep, rich flavor. Dutch-processed works best here.
- 1 teaspoon salt – sounds weird, but it balances the sweetness and brings out the chocolate flavor
- ½ cup powdered milk – optional, but adds creaminess. Use coconut milk powder for a dairy-free version.
For the Layered Jar Add-Ins
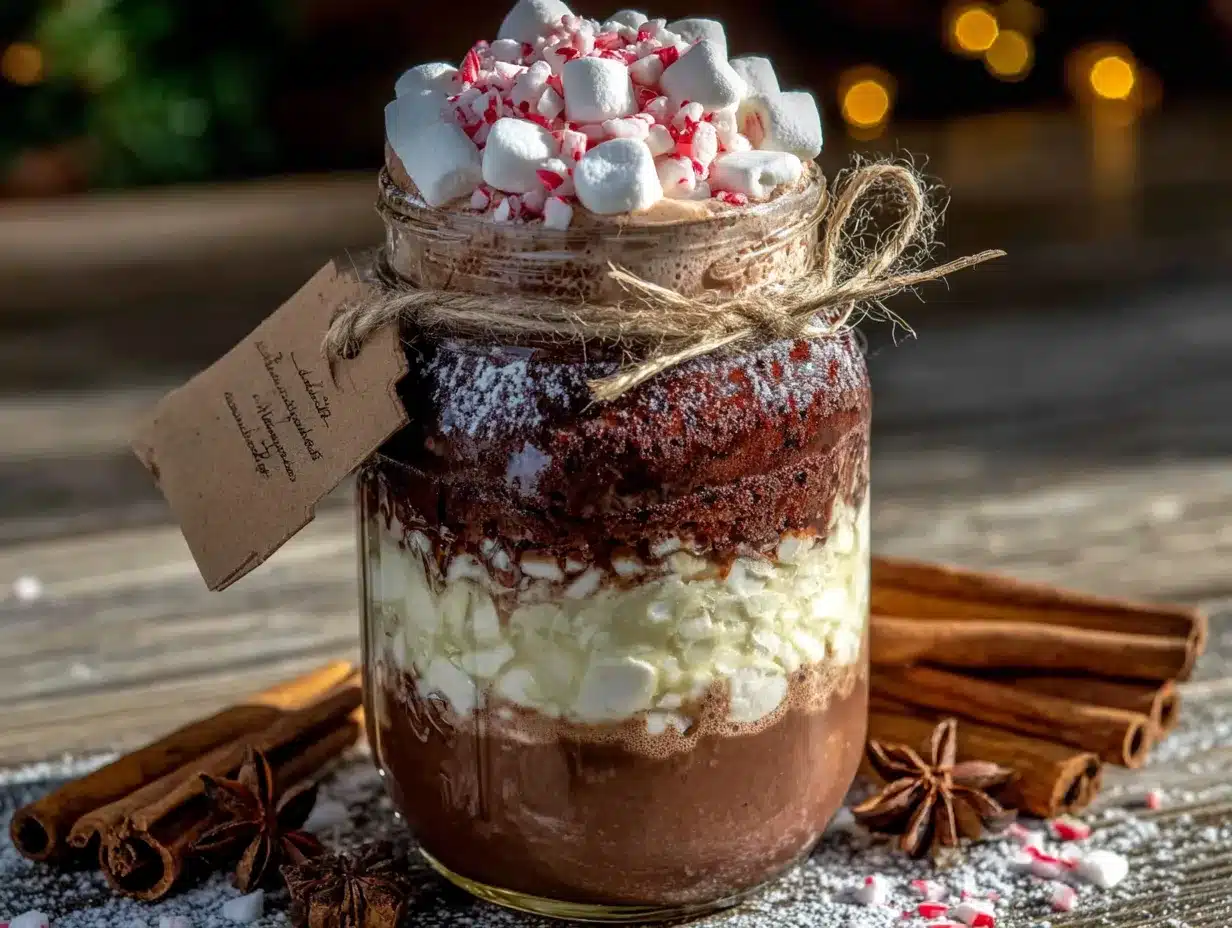
- ½ cup mini marshmallows – the mini ones layer better and don’t crowd the jar
- ¼ cup white chocolate chips – adds a sweet, creamy note when the hot water hits them
- ¼ cup crushed candy canes – about 4-5 candy canes, crushed in a bag with a rolling pin (pro tip: don’t crush them too fine or they’ll dissolve too fast)
- 2 tablespoons chocolate shavings – use a vegetable peeler on a chocolate bar for pretty curls
Optional Toppings for the Gift Tag
- Extra mini marshmallows in a separate bag
- A small bag of dark chocolate chunks
- Crushed toffee bits
- A cinnamon stick for stirring
I always recommend using a good-quality cocoa powder here. I’ve tried the cheap stuff, and honestly, it makes a watery, sad cup of hot chocolate. Spend the extra dollar or two—your gift recipients will notice the difference. If you’re making these for someone who’s lactose intolerant, swap the powdered milk for a dairy-free alternative and skip the white chocolate chips. The base itself is naturally dairy-free if you omit those two ingredients.
For the sugar, I’ve tested both regular granulated and superfine, and superfine really does dissolve better in hot water. If you can’t find it, just pulse regular sugar in a food processor for about 30 seconds. It works like a charm and saves you a trip to a specialty store.
Equipment Needed
You don’t need much for this project, which is part of its charm. Here’s what you’ll want to have on hand:
- Quart-sized mason jars – wide-mouth jars are easier to layer and fill. I use Ball or Kerr brand, but any similar jar works.
- A funnel – a wide-mouth funnel makes pouring ingredients into the jar infinitely less messy. Trust me, I learned this the hard way after cleaning cocoa powder off my counters for the third time.
- Measuring cups and spoons – you’ll need both dry and liquid measuring tools
- A mixing bowl – for combining the base ingredients before layering
- A whisk – to break up any clumps in the cocoa powder
- A rolling pin or meat mallet – for crushing candy canes (put them in a zip-top bag first to avoid a sticky mess)
- Twine, ribbon, or baker’s twine – for decorating the jars
- Gift tags – printable or handwritten, with instructions for making the hot cocoa
- A vegetable peeler – for making chocolate shavings (optional but pretty)
If you don’t have mason jars, any clean glass jar with a tight-fitting lid will work. I’ve used repurposed pasta sauce jars in a pinch, and they look charming with a bit of ribbon tied around the neck. The key is making sure the lid seals well so the ingredients stay fresh and don’t get clumpy.
Preparation Method
Making these hot cocoa bar mix gift jars is straightforward, but the order matters if you want those beautiful, Instagram-worthy layers. Here’s how I do it, step by step.
- Prepare your workspace. Clear off your counter and lay out all your ingredients and jars. Having everything within reach makes the process smooth and prevents you from accidentally double-adding something. I like to line my jars up in a row like little soldiers.
- Mix the dry base. In a medium mixing bowl, whisk together the granulated sugar, cocoa powder, salt, and powdered milk (if using). Whisk for about 30 seconds to break up any lumps and ensure everything is evenly distributed. This step is crucial—if you skip it, you’ll end up with pockets of pure cocoa in your jar that won’t dissolve properly. I learned this when my first jar produced a cup of hot chocolate with a weird bitter streak.
- Layer the jar. Using your funnel, start with about ¼ cup of the crushed candy canes at the very bottom of the jar. This creates a festive red-and-white base. Next, add about ½ cup of the cocoa mix, tapping the jar gently on the counter to level it. Follow with a layer of white chocolate chips (about 2 tablespoons), then another ½ cup of cocoa mix. Repeat until the jar is about three-quarters full, ending with a layer of cocoa mix on top.
- Add the top layer. Sprinkle the mini marshmallows on top of the final cocoa layer, followed by the chocolate shavings. Press down gently with the back of a spoon to compact everything slightly—this prevents the layers from shifting too much when the jar is moved.
- Seal and decorate. Screw the lid on tightly. Cut a square of fabric or a circle of parchment paper and place it over the lid before securing the ring, if you want a rustic look. Tie a piece of twine or ribbon around the neck of the jar, and attach a gift tag with the following instructions: “Add 3 tablespoons of mix to a mug, pour in 8 ounces of hot milk or water, stir well, and enjoy!”
- Let the jars rest. This is a tip I picked up from Deb herself—let the jars sit upright for about an hour before moving them. This allows the ingredients to settle and the layers to firm up, so they don’t get jumbled during transport. I once packed a jar too quickly and ended up with a uniform brown mess by the time I delivered it.
- Store or gift. If you’re making these ahead of time, store them in a cool, dry place away from direct sunlight. They’ll keep for up to three months. Just make sure the lids are sealed tight to keep out moisture.
One thing I want to emphasize: don’t overfill the jars. Leave about half an inch of headspace at the top so the ingredients have room to settle without spilling when you screw on the lid. And if you’re giving these as gifts, consider adding a small bag of extra marshmallows tied to the jar—everyone loves more marshmallows.
Cooking Tips & Techniques
After making about forty of these jars over the past few years, I’ve collected a few tricks that make the process smoother and the final product better.
Layer with intention. The order of ingredients matters for both looks and function. I always start with crushed candy canes at the bottom because they’re heavy and create a stable base. The white chocolate chips go in the middle layers because they’re lighter and tend to float if placed on top. And the marshmallows go on top because they’re fragile and would get crushed under the weight of other ingredients.
Tap, don’t shake. When you add each layer, tap the jar gently on the counter to level it out. Don’t shake it vigorously—that will mix the layers together and ruin the visual effect. A few gentle taps are all you need.
Crush candy canes carefully. Put the candy canes in a zip-top bag, seal it, and then wrap it in a kitchen towel before crushing. This prevents the bag from puncturing (which I’ve definitely done) and keeps the sticky candy dust contained. Aim for pieces about the size of a pea—not too fine, not too chunky.
Test your ratios. Before you make a whole batch, test one jar and actually make a cup of hot chocolate from it. This will tell you if the sweetness level is right and if the cocoa-to-sugar ratio works for your taste. I once made a batch that was way too sweet because I used a different brand of cocoa powder that was less bitter than usual. A quick test saved me from gifting twelve jars of sugar soup.
Use a funnel. I know I mentioned this earlier, but it bears repeating. A wide-mouth funnel is worth its weight in gold here. Without it, you’ll spend half your time wiping cocoa dust off your jars and counters. I bought a set of three different sizes at a kitchen supply store for about five dollars, and they’ve paid for themselves many times over.
Don’t skip the salt. I know it seems odd to put salt in a sweet hot cocoa mix, but it makes a huge difference. The salt enhances the chocolate flavor and balances the sweetness. Without it, the cocoa can taste flat and one-dimensional. Trust me on this one.
Variations & Adaptations
One of the best things about this recipe is how easy it is to customize. Here are some variations I’ve tried and loved.
Spiced Hot Cocoa: Add ½ teaspoon of cinnamon, ¼ teaspoon of nutmeg, and a pinch of cayenne pepper to the dry mix. This gives the hot chocolate a warm, chai-like kick that’s perfect for cold winter nights. I made these for a holiday party once, and they were the first jars to disappear.
Mint Chocolate Version: Swap the white chocolate chips for dark chocolate chips and use crushed peppermint candies instead of candy canes. Add a drop of peppermint extract to each jar (just a drop—it’s strong) for an extra minty punch. This is my husband’s favorite variation.
Dairy-Free Option: Omit the powdered milk and white chocolate chips entirely. Use dairy-free dark chocolate chips and a dairy-free milk powder like coconut or oat milk powder. The base mix will still be creamy and delicious, just without the dairy. I’ve tested this with oat milk powder, and honestly, it’s just as good.
Extra Rich Version: Add ¼ cup of instant espresso powder to the dry mix. The coffee flavor doesn’t make it taste like coffee—it just deepens the chocolate flavor and makes it taste more complex. This is the version I make for my coffee-loving friends, and they always rave about it.
Kid-Friendly Fun: Skip the candy canes and use colorful sprinkles or mini chocolate chips instead. Add a small toy or a candy cane stirrer tied to the jar. My kids love helping make these for their friends, and the sprinkles make them feel extra special.
I once tried a version with orange zest mixed into the sugar, and it was surprisingly good—like a chocolate orange in a cup. Just make sure the zest is very finely grated so it dissolves completely. That one didn’t make it to the gift pile; I kept it for myself.
Serving & Storage Suggestions
These jars are designed to be gifts, but they’re also wonderful to have on hand for yourself. Here’s how to serve and store them.
Serving: To make a cup of hot cocoa, scoop 3 tablespoons of the mix into a mug. Heat 8 ounces of milk (or water, if you’re out of milk) until steaming but not boiling—about 180°F if you’re using a thermometer. Pour the hot liquid over the mix and stir until everything is dissolved. Top with extra marshmallows, a drizzle of chocolate syrup, or a dollop of whipped cream if you’re feeling fancy. The mix also works beautifully with oat milk, almond milk, or any non-dairy alternative.
Storage: Keep the jars in a cool, dry place away from direct sunlight. A pantry or cupboard works perfectly. They’ll stay fresh for up to three months if the lids are sealed tight. I don’t recommend refrigerating them—the moisture can cause the sugar to clump and the marshmallows to get sticky.
Reheating: If your hot cocoa gets cold, just pop the mug in the microwave for 30 seconds and stir again. The mix doesn’t separate or get grainy when reheated, which is a nice bonus.
Flavor development: The flavors actually meld together after about a week in the jar. The cocoa powder absorbs a bit of the mint from the candy canes, and the white chocolate chips soften slightly, creating a more unified taste. So if you’re making these ahead of time, they’ll actually taste better after a few days. I always make my holiday batch about two weeks before gifting.
Gift presentation: I like to pair each jar with a festive mug from the thrift store (I find them for about a dollar each) and a handwritten tag. It makes the gift feel more complete and personal. One year, I tied a small bag of homemade marshmallows to each jar, and people still talk about it.
Nutritional Information & Benefits
Let’s be real—hot cocoa is a treat, not a health food. But this version is a bit better for you than the store-bought packets, which are often loaded with preservatives and artificial flavors.
Per serving (3 tablespoons of mix made with 8 ounces of whole milk):
- Calories: approximately 280
- Fat: 10g
- Carbohydrates: 42g
- Sugar: 34g
- Protein: 8g
- Calcium: 25% of daily value
- Iron: 15% of daily value
Cocoa powder is actually a good source of antioxidants, specifically flavonoids, which can help reduce inflammation and improve heart health. The milk provides calcium and vitamin D, and if you use dark chocolate chips, you’ll get a bit more of those beneficial compounds. Of course, the sugar content is significant, so this is definitely an “in moderation” kind of drink.
If you’re watching your sugar intake, you can reduce the sugar in the mix by about a quarter cup and add a pinch more salt to balance the flavor. It won’t be quite as sweet, but it will still be satisfying. I’ve also tested this with coconut sugar, and while it changes the color slightly (it comes out a bit darker), it works well and has a lower glycemic index.
This recipe is naturally vegetarian and can be made vegan with the substitutions I mentioned earlier. It contains dairy and possibly gluten depending on the add-ins you choose (check your candy canes—some brands use wheat starch).
Conclusion
So there you have it—a simple, thoughtful, and genuinely delicious gift idea that started with a chance encounter at a hardware store. These DIY hot cocoa bar mix gift jars have become a staple in my holiday routine, and I honestly look forward to making them every year. They’re the kind of gift that says “I care” without saying “I spent a lot of money,” and in a world where everything feels so commercial, that matters.
I hope you’ll give them a try. Customize them however you like—add your favorite spices, swap in different chocolates, or get creative with the layering. The beauty of this recipe is that it’s a starting point, not a rulebook. Make it your own, and don’t be afraid to experiment.
And if you do make them, I’d love to hear about it. Drop a comment below and tell me what variations you tried, or share a photo of your finished jars. There’s something special about knowing a recipe traveled from my kitchen to yours. Happy gifting, and here’s to a warm, cozy season ahead!
Frequently Asked Questions
Can I use hot water instead of milk with this mix?
Yes, absolutely. The mix works perfectly fine with hot water. It won’t be as creamy, but it will still taste rich and chocolatey. If you’re using water, I recommend adding a splash of vanilla extract to the mug for extra depth.
How long do these jars stay fresh?
Stored in a cool, dry place with the lid tightly sealed, they’ll stay fresh for up to three months. The marshmallows may get a bit stale after a month or so, but the cocoa mix itself will be fine. If you’re making them far in advance, consider putting the marshmallows in a separate bag tied to the jar.
Can I use a different type of sugar?
You can, but it will change the texture. Coconut sugar works well but makes the mix darker and slightly less sweet. Brown sugar adds a molasses flavor that’s actually quite nice with the chocolate. Just make sure whatever sugar you use is finely ground so it dissolves completely.
What if I don’t have mason jars?
Any clean glass jar with a tight-fitting lid will work. I’ve used repurposed pasta sauce jars, pickle jars, and even small canning jars. Just make sure they’re thoroughly cleaned and dried before you start layering. The size doesn’t matter as much—just adjust the ingredient quantities to fit.
Can I make a single serving instead of a whole jar?
Definitely. Mix 3 tablespoons of the dry base (sugar, cocoa, salt, and powdered milk) in a small bowl, then add your choice of add-ins. Pour it into a small bag or a tiny jar for a single-serve gift. This is a great option for party favors or stocking stuffers.
Pin This Recipe!
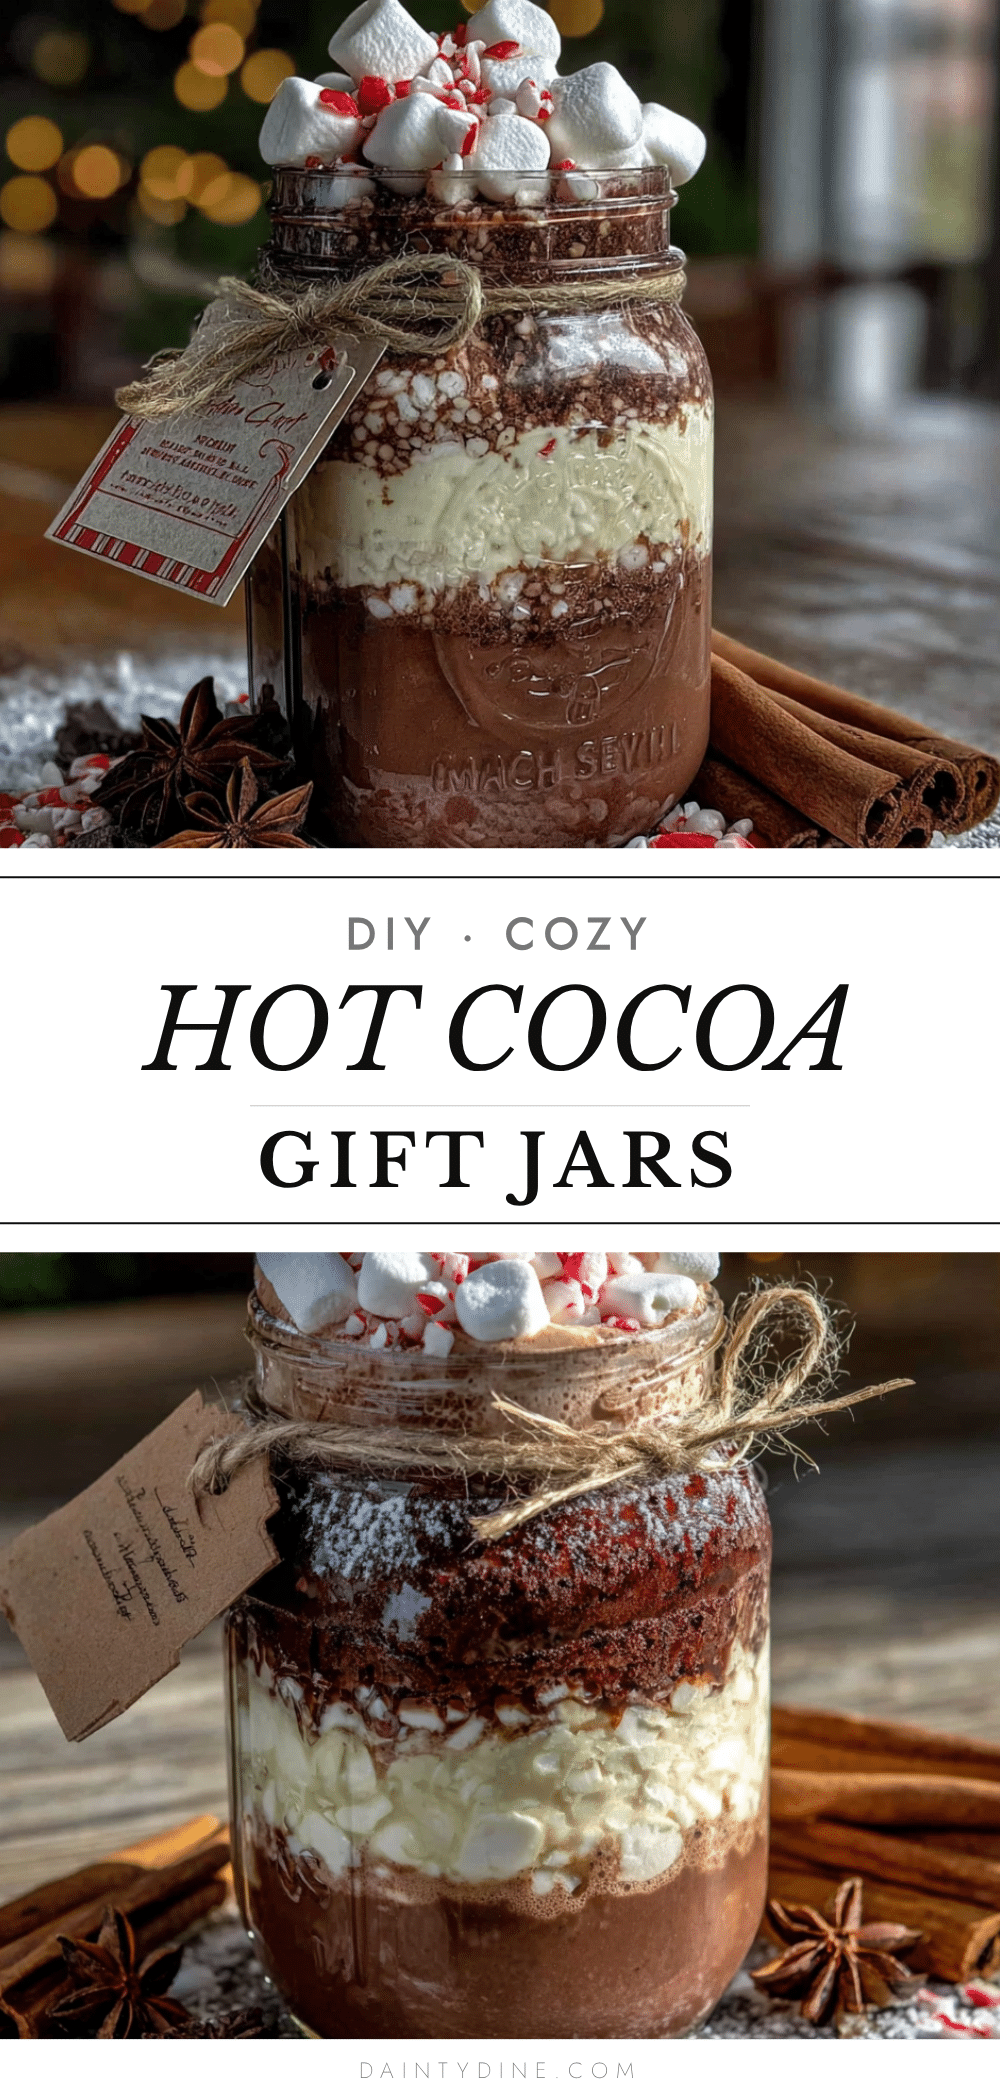
DIY Hot Cocoa Bar Mix Gift Jars – Easy Holiday Treat Idea

These DIY hot cocoa bar mix gift jars are a simple, affordable, and thoughtful holiday gift idea. Layer cocoa mix, white chocolate chips, crushed candy canes, and marshmallows in a jar for a beautiful and delicious present that anyone can customize.
- Prep Time: 15 minutes
- Cook Time: 0 minutes
- Total Time: 15 minutes
- Yield: 1 jar (makes about 8 servings) 1x
- Category: Dessert
- Cuisine: American
Ingredients
- 1 ½ cups granulated sugar (superfine preferred)
- 1 cup unsweetened cocoa powder (Dutch-processed recommended)
- 1 teaspoon salt
- ½ cup powdered milk (optional; use coconut milk powder for dairy-free)
- ½ cup mini marshmallows
- ¼ cup white chocolate chips
- ¼ cup crushed candy canes (about 4–5 candy canes)
- 2 tablespoons chocolate shavings
- Optional toppings: extra mini marshmallows, dark chocolate chunks, crushed toffee bits, cinnamon stick
Instructions
- Prepare your workspace: clear the counter and lay out all ingredients and jars.
- Mix the dry base: in a medium bowl, whisk together granulated sugar, cocoa powder, salt, and powdered milk (if using) for about 30 seconds until evenly combined.
- Layer the jar: using a funnel, start with ¼ cup crushed candy canes at the bottom. Add ½ cup cocoa mix, tap gently to level, then add 2 tablespoons white chocolate chips. Repeat with another ½ cup cocoa mix, then continue layering until the jar is about three-quarters full, ending with a cocoa mix layer.
- Add the top layer: sprinkle mini marshmallows on top, followed by chocolate shavings. Press down gently with the back of a spoon to compact slightly.
- Seal and decorate: screw the lid on tightly. Optionally, place a square of fabric or parchment paper over the lid before securing the ring. Tie twine or ribbon around the neck and attach a gift tag with instructions: ‘Add 3 tablespoons of mix to a mug, pour in 8 ounces of hot milk or water, stir well, and enjoy!’
- Let the jars rest upright for about an hour to allow layers to settle.
- Store or gift: keep in a cool, dry place away from sunlight for up to three months. Ensure lids are sealed tight.
Notes
The order of layers matters: start with crushed candy canes for a stable base, add white chocolate chips in the middle, and marshmallows on top. Tap the jar gently to level each layer without shaking. Crush candy canes in a zip-top bag wrapped in a kitchen towel to avoid punctures. Test one jar before making a batch to adjust sweetness. Do not overfill jars; leave about half an inch of headspace. The flavors meld after about a week, so making ahead is beneficial.
Nutrition
- Serving Size: 3 tablespoons of mix
- Calories: 280
- Sugar: 34
- Sodium: 250
- Fat: 10
- Saturated Fat: 6
- Carbohydrates: 42
- Fiber: 3
- Protein: 8
Keywords: hot cocoa mix, DIY gift, holiday gift, mason jar gift, hot chocolate mix, homemade hot cocoa, Christmas gift, edible gift


