Love this? Save it for later!
Share the inspiration with your friends
Tuesday night, 5:47 PM, and I was staring into the open fridge like it held the secrets to the universe. My in-laws were coming over in an hour—a last-minute dinner invite I’d impulsively blurted out that morning, forgetting, of course, that I had nothing planned. The chicken thighs were thawing on the counter, but my usual roasted chicken routine felt too boring for company. I needed something fast, something that would make the kitchen smell amazing, and something—let’s be honest—that wouldn’t make me look like I’d been scrambling. I grabbed the air fryer, a bottle of paprika, and just started mixing. No recipe. No plan. Just hope.
An hour later, my mother-in-law took one bite of those golden, impossibly crispy chicken thighs and actually paused mid-chew. “What did you do to these?” she asked. I shrugged, trying to play it cool, but inside I was doing a victory dance. The skin was shatter-crisp, the meat was so juicy it practically begged for a napkin, and the whole thing came together with zero fuss. I mean, honestly, I’d spent more time chopping vegetables for the side salad than I did on the main event.
That night became a running joke in our house. Every time I need a dinner that looks like I tried way harder than I actually did, I make these crispy air fryer chicken thighs. Maybe you’ve been there too—staring down a clock that’s moving way too fast, wishing you had a reliable, no-fail trick up your sleeve. Well, this is it. This recipe is the reason my air fryer has a permanent spot on my counter. And honestly? It’s the reason I stopped being afraid of cooking chicken with skin on.
Why You’ll Love This Recipe
I’ve tested this recipe about a dozen times—adjusting temperatures, flipping the chicken at different intervals, trying different seasoning blends—and I can tell you with total confidence: this is the version that works every single time. Here’s why you’ll fall for it too:
- Quick & Easy: From fridge to plate in under 30 minutes. No marinating, no brining, no complicated steps. Just season, air fry, and eat.
- Simple Ingredients: You probably have everything in your pantry right now. No fancy spice blends or hard-to-find items. Just salt, pepper, garlic powder, paprika, and a little oil.
- Perfect for Busy Weeknights: This is the dinner you make when you forgot to plan dinner. It’s fast enough for a Tuesday and impressive enough for company.
- Crowd-Pleaser: I’ve served these to picky kids, health-conscious friends, and serious foodies. Every single person has asked for the recipe.
- Unbelievably Delicious: The secret is in the technique—a light coating of baking powder helps the skin crisp up like it’s been deep-fried, but without all the oil. The result is golden, crunchy skin with tender, juicy meat underneath.
What makes this recipe different from every other air fryer chicken recipe out there? It’s the balance. So many recipes either dry out the meat or leave the skin chewy and sad. This one nails both texture and flavor. The seasoning is simple but perfectly proportioned—enough to taste, never enough to overwhelm. And the method? I’ve optimized the air fryer temperature and timing so you get that deep golden color without burning the spices. It’s not just another version of air fryer chicken. It’s the one I make for my own family, week after week.
This is the kind of recipe that makes you close your eyes after the first bite. It’s comfort food that feels indulgent but comes together with almost no effort. Perfect for impressing guests without the stress, or turning a plain Tuesday night into something you actually look forward to.
What Ingredients You Will Need
This recipe relies on simple, pantry-friendly ingredients to deliver big flavor. You don’t need a specialty grocery store run—just a few basics that work together beautifully. Here’s what you’ll need:
For the Chicken
- 4 bone-in, skin-on chicken thighs (about 1.5 to 2 pounds total) — Bone-in thighs stay juicier during cooking, and the skin is essential for that crispy texture. Look for thighs with the skin still attached and intact.
- 1 tablespoon olive oil — Helps the seasoning stick and encourages browning. Avocado oil works great too if you prefer a higher smoke point.
- 1 teaspoon salt — I use fine sea salt. If you’re using kosher salt, you’ll want to increase this to about 1.5 teaspoons.
- 1/2 teaspoon black pepper — Freshly ground is always better, but pre-ground works in a pinch.
- 1 teaspoon garlic powder — Not garlic salt! Garlic powder adds savory depth without extra sodium.
- 1 teaspoon onion powder — Adds a subtle sweetness that balances the savory notes.
- 1 teaspoon smoked paprika — This is my secret weapon. Smoked paprika gives the chicken a deep, almost bacon-like flavor and a gorgeous reddish-golden color. Regular paprika works too, but the smoky version is worth seeking out.
- 1/2 teaspoon baking powder — This is the key to extra-crispy skin. It helps dry out the surface of the skin, allowing it to crisp up beautifully. Make sure it’s baking powder, not baking soda—they’re not the same thing!
Optional Additions
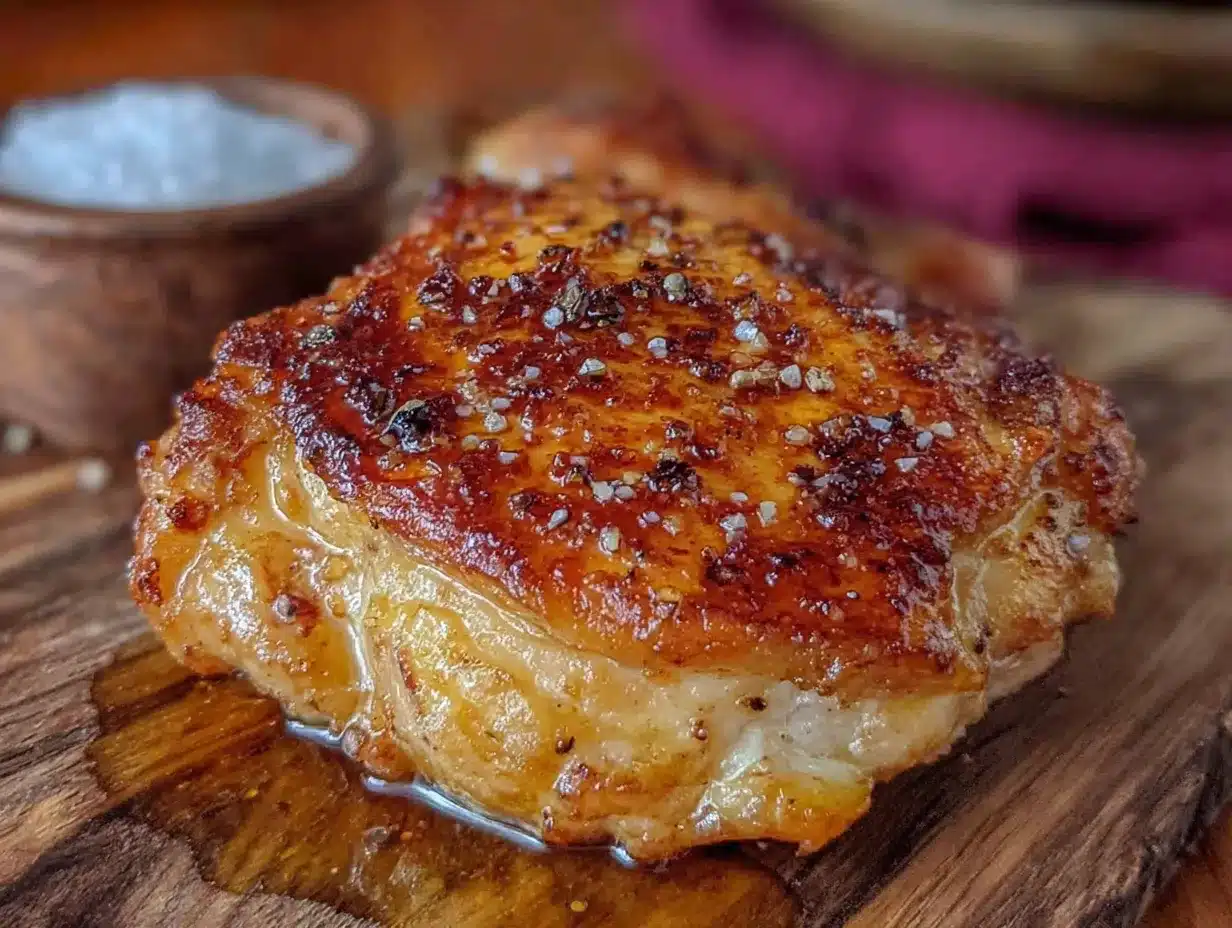
- 1/2 teaspoon cayenne pepper — If you like a little heat, add this to the seasoning mix.
- 1 teaspoon dried thyme or oregano — For an herby twist that pairs beautifully with the smoked paprika.
- Fresh parsley or chives — For garnish, if you’re feeling fancy.
A quick note on ingredient selection: I personally prefer bone-in, skin-on chicken thighs from a brand like Bell & Evans or Springer Mountain Farms. The quality of the chicken really does matter here—better-raised chickens have more flavorful fat and more tender meat. If you can only find skinless thighs, this recipe won’t work the same way. The skin is what gets crispy, and without it, you’ll end up with tender but not-crispy chicken. Save skinless thighs for a braise or a stir-fry instead.
For the smoked paprika, I’m partial to the brand Spicewalla or The Spice House. Their smoked paprika has a deep, woodsy aroma that makes a real difference. But honestly, whatever you find at the grocery store will work just fine.
Equipment Needed
One of the best things about this recipe is how little equipment it requires. Here’s what you’ll need:
- Air fryer — Any brand works! I use a 5.8-quart Cosori, but I’ve also tested this recipe in a Ninja Foodi and a Philips model. The key is not overcrowding the basket, so if yours is smaller, cook the chicken in batches.
- Paper towels — Essential for patting the chicken dry. This step is non-negotiable for crispy skin.
- Mixing bowl — For tossing the chicken with the seasoning. A medium-sized bowl works perfectly.
- Tongs — For flipping the chicken halfway through cooking. Silicone-tipped tongs are gentle on the air fryer basket’s non-stick coating.
- Instant-read thermometer — This is my most-recommended kitchen tool. It takes the guesswork out of cooking chicken and ensures you never serve undercooked (or overcooked) meat. A ThermoPro or Thermoworks Dot is affordable and reliable.
- Cutting board and knife — For any garnishes you want to add before serving.
If you don’t have an air fryer yet, I get it—it feels like one more appliance taking up counter space. But honestly? It’s earned its spot in my kitchen. It preheats faster than an oven, uses less energy, and creates that crispy texture without deep frying. If you’re on a budget, the Gourmia brand at Costco is surprisingly good for the price. And if you really don’t want to buy one, you can make this recipe in a convection oven at 400°F—just spread the chicken on a wire rack set inside a baking sheet and bake for 35-40 minutes, flipping halfway.
Preparation Method
Alright, let’s get cooking. This method is straightforward, but each step matters. Follow along and you’ll have the crispiest, juiciest chicken thighs of your life.
-
Pat the chicken dry. This is the most important step, and I cannot stress it enough. Take those chicken thighs out of the package and lay them on a plate lined with paper towels. Use more paper towels to press firmly on the tops, absorbing as much moisture as you can. Flip them and repeat on the other side. You want the skin to feel tacky, not wet. This takes about 30 seconds per thigh, and it’s the difference between crispy skin and soggy skin. Trust me on this—I learned the hard way after a few batches of disappointing, rubbery chicken.
-
Season the chicken. In a small bowl, combine the salt, black pepper, garlic powder, onion powder, smoked paprika, and baking powder. Mix them together with your fingers or a small whisk. Place the dried chicken thighs in a mixing bowl, drizzle with the olive oil, and toss to coat evenly. Then sprinkle the seasoning mixture over the chicken and toss again, making sure every surface is covered. Don’t forget the underside! Use your hands to rub the seasoning in—it’s the most effective way to get even coverage.
-
Preheat the air fryer. Set your air fryer to 380°F (193°C) and let it preheat for 3-5 minutes. Preheating ensures the chicken starts cooking immediately, which helps the skin crisp up from the very beginning. If your air fryer doesn’t have a preheat function, just run it empty at 380°F for 3 minutes.
-
Arrange the chicken in the basket. Place the seasoned chicken thighs in the air fryer basket, skin-side down. This is important! Starting skin-side down allows the fat to render out and the skin to begin crisping before you flip it. Make sure the thighs aren’t touching each other—leave a little space between them so the hot air can circulate. If your air fryer is small, cook in batches. Overcrowding will steam the chicken instead of crisping it.
-
Cook for 12 minutes. Set the timer for 12 minutes and let the air fryer work its magic. At this point, the skin should be starting to turn golden brown and the fat should be rendering out. You might hear some sizzling and popping—that’s a good sign!
-
Flip and cook for another 8-10 minutes. Using your tongs, carefully flip each chicken thigh so the skin side is now facing up. Cook for another 8-10 minutes, or until the internal temperature reaches 175-185°F (80-85°C) when measured with an instant-read thermometer inserted into the thickest part of the thigh, avoiding the bone. I aim for 180°F because chicken thighs are dark meat and actually benefit from being cooked a little higher—the connective tissue breaks down and the meat becomes more tender. At this point, the skin should be deep golden brown and incredibly crispy.
-
Rest before serving. Remove the chicken thighs from the air fryer and let them rest on a plate or cutting board for 5 minutes. This allows the juices to redistribute throughout the meat. If you cut into them right away, all those delicious juices will run out onto the plate instead of staying in the chicken. I know it’s hard to wait, but it’s worth it.
-
Garnish and serve. If you’re using fresh herbs, sprinkle some chopped parsley or chives over the top. Serve the chicken thighs hot, with your favorite sides.
A few sensory cues to watch for: At the 12-minute mark, the skin should look golden around the edges but might still be pale in the center. That’s fine—it will finish crisping on the second side. The kitchen should smell smoky and savory, with that unmistakable aroma of paprika and garlic. When you flip the chicken, you should see rendered fat in the bottom of the air fryer basket. That’s exactly what you want.
Cooking Tips & Techniques
Over the course of testing this recipe, I’ve made every mistake in the book. Here’s what I learned so you don’t have to repeat my failures.
Don’t skip drying the chicken. I know I already said this, but it bears repeating. The single biggest mistake people make with air fryer chicken is not drying the skin thoroughly enough. Moisture is the enemy of crispiness. If you’re in a hurry, you can let the chicken sit uncovered in the fridge for an hour—that dries out the skin even more. But honestly, a few good pats with paper towels works fine.
Watch the temperature. I’ve tried cooking these at 400°F, thinking higher heat would mean crispier skin. Instead, I ended up with burnt spices and raw meat near the bone. 380°F is the sweet spot—hot enough to crisp the skin and render the fat, but not so hot that the outside burns before the inside cooks through. If your air fryer runs hot (some do), you might want to drop it to 370°F and add a couple of minutes to the cooking time.
Don’t crowd the basket. I made this mistake when I was cooking for a crowd and tried to fit six thighs in my air fryer at once. The skin came out patchy—crispy in some spots, soft in others. The hot air needs room to circulate. If you need to cook more than 4 thighs, do it in batches. You can keep the first batch warm in a 200°F oven while the second batch cooks.
Use a thermometer, not a timer. Chicken thighs are forgiving, but they’re not invincible. The only way to know for sure that they’re done is to check the internal temperature. I’ve had thighs that took 18 minutes and others that took 22, depending on their size. Don’t rely on the timer alone—trust the thermometer.
Let the chicken rest. I know you’re hungry. I know the kitchen smells incredible. But cutting into that chicken immediately will release all the juices and leave you with dry meat. Five minutes. Set a timer if you have to. Your patience will be rewarded.
Multitasking tip: While the chicken is cooking, you can prep your side dishes. Roasted vegetables, a simple salad, or even some quick-cooking rice all come together in the time it takes the chicken to cook. That way, everything is ready at the same time.
Variations & Adaptations
One of the reasons I love this recipe is how adaptable it is. Here are some of my favorite variations:
Spicy Buffalo Version
Skip the smoked paprika and instead season the chicken with salt, pepper, garlic powder, and a teaspoon of cayenne. After cooking, toss the hot chicken thighs in a mixture of 2 tablespoons melted butter and 3 tablespoons buffalo sauce. Serve with ranch or blue cheese dressing and celery sticks. This version is dangerously addictive—I made it for a game day party and the plate was empty in ten minutes.
Herb & Lemon Version
Add 1 teaspoon dried thyme, 1 teaspoon dried rosemary, and the zest of one lemon to the seasoning mix. Squeeze a little fresh lemon juice over the finished chicken for brightness. This version pairs beautifully with roasted potatoes and a Greek salad. It’s my go-to when I want something that feels a little more elegant.
Honey Garlic Version
After cooking, brush the chicken thighs with a mixture of 2 tablespoons honey, 1 tablespoon soy sauce, and 2 cloves of minced garlic. Return to the air fryer for 2 more minutes to let the glaze caramelize. The sweet-savory combination is absolutely killer. Just watch it closely—honey can burn quickly in the air fryer.
Dietary Adaptations
This recipe is naturally gluten-free and low-carb. If you’re following a keto diet, these chicken thighs are perfect—they’re high in protein and healthy fats with zero carbs. For a dairy-free version, just make sure your baking powder is dairy-free (most brands are, but check the label). If you need to reduce sodium, cut the salt in half and add extra herbs and spices for flavor.
Different Cuts
You can use this same seasoning and method for chicken drumsticks (cook for 20-25 minutes, flipping halfway) or chicken wings (cook for 20-22 minutes, shaking the basket halfway). For boneless, skinless thighs, reduce the cooking time to 12-15 minutes total, but know that you won’t get the same crispy skin texture.
Serving & Storage Suggestions
These crispy air fryer chicken thighs are incredibly versatile when it comes to serving. Here’s how I like to enjoy them:
Serving Temperature: Serve the chicken hot, straight from the air fryer. The skin is at its crispiest within the first 15 minutes of cooking. If you need to hold them for a bit, keep them in a warm oven (200°F) on a wire rack—not on a plate, where the bottom will steam and get soggy.
What to Serve With Them: These chicken thighs pair beautifully with so many sides. My personal favorites are:
- Roasted broccoli or asparagus (toss with olive oil, salt, and pepper, and roast at 400°F for 15-20 minutes)
- A simple green salad with a tangy vinaigrette (the acidity cuts through the richness of the chicken)
- Mashed potatoes or roasted sweet potatoes
- Rice pilaf or quinoa
- Coleslaw for a crunchy, refreshing contrast
For drinks, a crisp white wine like Sauvignon Blanc or an ice-cold lager works perfectly.
Storage: Leftover chicken thighs will keep in an airtight container in the refrigerator for up to 4 days. The skin will lose its crispiness as it sits, but the meat will stay tender and flavorful.
Reheating: The air fryer is your best friend for reheating. Pop the chicken back in at 350°F for 4-5 minutes, and the skin will crisp right back up. You can also reheat in a 375°F oven for 10 minutes. Avoid the microwave—it will make the skin rubbery and the meat tough.
Freezing: You can freeze cooked chicken thighs for up to 3 months. Let them cool completely, then wrap each thigh individually in plastic wrap and place them in a freezer bag. To reheat, thaw in the refrigerator overnight and then reheat in the air fryer as directed above.
One thing I love about this recipe is that the flavors actually deepen after a day in the fridge. The garlic and paprika meld together even more, making the leftovers almost better than the original. If you’re meal-prepping, make a double batch—you’ll thank yourself later.
Nutritional Information & Benefits
Here’s the approximate nutritional breakdown for one chicken thigh (based on a 5-ounce thigh with skin):
- Calories: 285
- Protein: 24g
- Fat: 20g
- Saturated Fat: 5g
- Carbohydrates: 1g
- Fiber: 0g
- Sugar: 0g
- Sodium: 580mg
Chicken thighs are an excellent source of high-quality protein, which supports muscle growth and repair. They’re also rich in B vitamins, particularly niacin and vitamin B6, which help convert food into energy and support brain function. Dark meat chicken contains more iron and zinc than white meat, making it a great choice for anyone looking to boost their mineral intake.
The skin, while higher in fat, provides a satisfying texture that helps you feel full and satisfied. Using an air fryer instead of deep frying significantly reduces the amount of oil absorbed, making this a healthier way to enjoy crispy chicken. Plus, the simple seasoning means you’re controlling exactly what goes into your food—no hidden preservatives, excess sugar, or artificial flavors.
This recipe is naturally low-carb, gluten-free, and keto-friendly. If you’re watching your sodium intake, you can reduce the salt to 1/2 teaspoon without sacrificing too much flavor.
Conclusion
I’ve made a lot of chicken dinners in my life. Some were forgettable. Some were disasters. But this recipe? It’s the one I keep coming back to, week after week. It’s the one I make when I’m tired, when I’m busy, when I need a guaranteed win. The crispy skin, the juicy meat, the way the paprika turns everything a gorgeous golden brown—it never gets old.
What I love most about this recipe is that it proves you don’t need complicated techniques or fancy ingredients to make something truly delicious. You just need good chicken, a few pantry staples, and an air fryer that’s ready to work. It’s the kind of recipe that makes you feel like a rockstar in the kitchen, even on a random Tuesday night.
Now I want to hear from you! Have you tried making chicken thighs in your air fryer? What’s your favorite seasoning combination? Drop a comment below and let me know—I’m always looking for new ideas to try. And if you make this recipe, tag me in your photos. Nothing makes my day like seeing your crispy, golden chicken thighs!
Go ahead, give it a try. Your weeknight dinners are about to get a whole lot more exciting.
Frequently Asked Questions
Can I use boneless, skinless chicken thighs for this recipe?
You can, but the results will be different. Without the skin, you won’t get that crispy exterior. The cooking time will also be shorter—about 12-15 minutes total at 380°F. The chicken will still be juicy and flavorful, but it won’t have the same texture as the skin-on version.
Why is my chicken skin not getting crispy?
There are a few common culprits. Most likely, you didn’t dry the chicken thoroughly enough before seasoning. Moisture is the enemy of crispiness. Another possibility is that you overcrowded the air fryer basket, which traps steam and prevents crisping. Make sure the thighs have space between them. Finally, check that your air fryer is actually reaching the right temperature—some models run cooler than they claim.
Can I make this recipe without an air fryer?
Absolutely! You can achieve similar results in a convection oven. Preheat your oven to 400°F, place the seasoned chicken thighs on a wire rack set inside a baking sheet (this allows air to circulate underneath), and bake for 35-40 minutes, flipping halfway through. The skin won’t be quite as crispy as the air fryer version, but it will still be delicious.
How do I know when the chicken is fully cooked?
The most reliable method is to use an instant-read thermometer. Insert it into the thickest part of the thigh, avoiding the bone. Chicken thighs are safe to eat at 165°F, but for the best texture, I recommend cooking them to 175-185°F. At this higher temperature, the connective tissue breaks down and the meat becomes more tender and juicy.
Can I marinate the chicken beforehand?
You can, but be careful. Wet marinades can make it harder to achieve crispy skin. If you want to marinate, do it for no more than 2 hours, and make sure to pat the chicken very dry before seasoning and cooking. A dry rub (like the one in this recipe) actually works better for crispy results because it doesn’t add moisture to the skin.
Pin This Recipe!
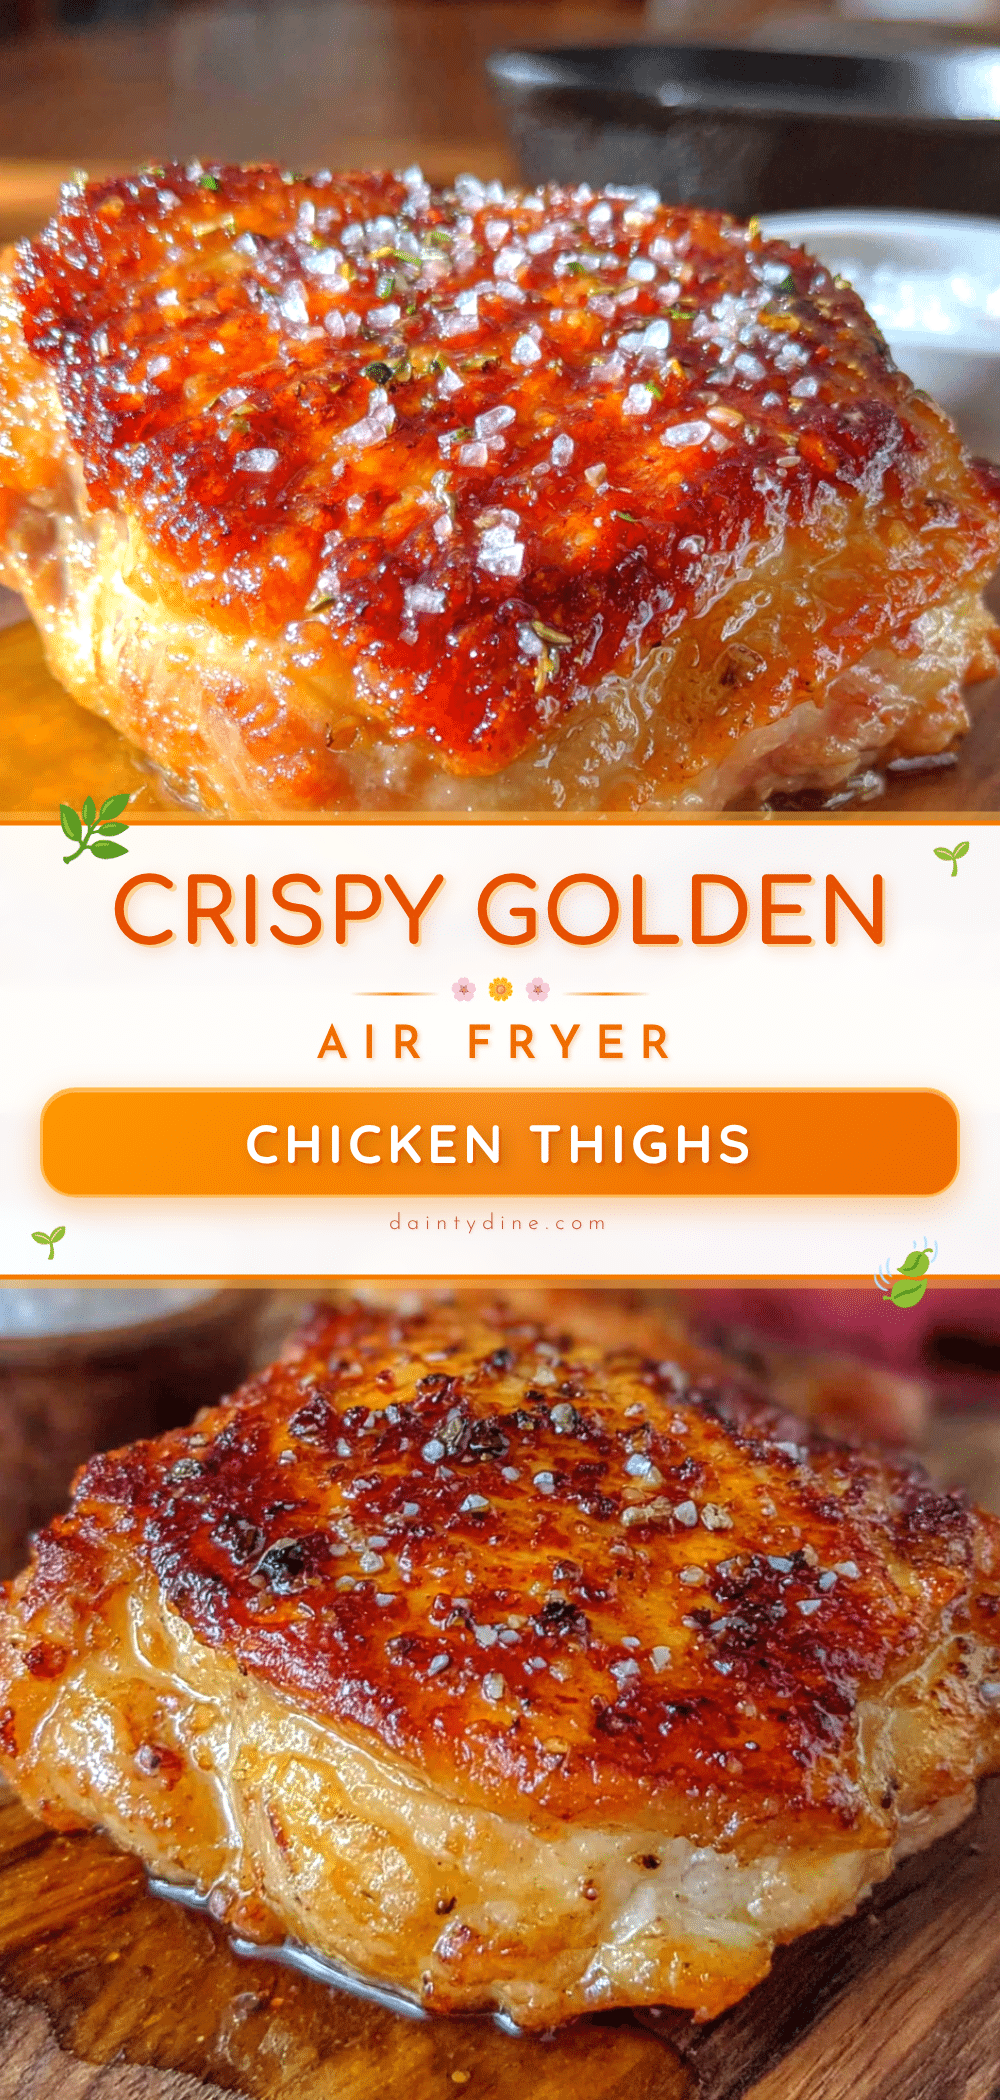
Crispy Air Fryer Chicken Thighs Recipe – Best Easy Dinner

Golden, impossibly crispy chicken thighs with juicy meat, made in under 30 minutes with simple pantry ingredients. Perfect for busy weeknights or impressing guests with minimal effort.
- Prep Time: 10 minutes
- Cook Time: 20 minutes
- Total Time: 30 minutes
- Yield: 4 servings 1x
- Category: Main Course
- Cuisine: American
Ingredients
- 4 bone-in, skin-on chicken thighs (about 1.5 to 2 pounds total)
- 1 tablespoon olive oil
- 1 teaspoon fine sea salt (or 1.5 teaspoons kosher salt)
- 1/2 teaspoon black pepper, freshly ground
- 1 teaspoon garlic powder
- 1 teaspoon onion powder
- 1 teaspoon smoked paprika
- 1/2 teaspoon baking powder
- 1/2 teaspoon cayenne pepper (optional, for heat)
- 1 teaspoon dried thyme or oregano (optional, for herby twist)
- Fresh parsley or chives for garnish (optional)
Instructions
- Pat the chicken dry thoroughly with paper towels until the skin feels tacky, not wet.
- In a small bowl, combine salt, black pepper, garlic powder, onion powder, smoked paprika, and baking powder. Mix well.
- Place dried chicken thighs in a mixing bowl, drizzle with olive oil, and toss to coat evenly. Sprinkle seasoning mixture over chicken and toss again, rubbing with hands to ensure even coverage.
- Preheat air fryer to 380°F (193°C) for 3-5 minutes.
- Arrange seasoned chicken thighs in the air fryer basket, skin-side down, ensuring they are not touching. Cook in batches if necessary.
- Cook for 12 minutes. The skin should start turning golden brown and fat should render.
- Flip chicken thighs using tongs so skin side is facing up. Cook for another 8-10 minutes, or until internal temperature reaches 175-185°F (80-85°C) when measured with an instant-read thermometer inserted into the thickest part, avoiding the bone.
- Remove chicken from air fryer and let rest for 5 minutes to allow juices to redistribute.
- Garnish with fresh herbs if desired and serve hot.
Notes
Patting the chicken dry is the most important step for crispy skin. Do not overcrowd the air fryer basket. For best results, cook to 175-185°F internal temperature. Leftovers can be reheated in the air fryer at 350°F for 4-5 minutes to restore crispiness. For a convection oven alternative, bake at 400°F on a wire rack for 35-40 minutes, flipping halfway.
Nutrition
- Serving Size: 1 chicken thigh
- Calories: 285
- Sodium: 580
- Fat: 20
- Saturated Fat: 5
- Carbohydrates: 1
- Protein: 24
Keywords: air fryer chicken thighs, crispy chicken thighs, easy chicken dinner, weeknight dinner, gluten-free chicken, keto chicken, air fryer recipe


