Love this? Save it for later!
Share the inspiration with your friends
There used to be a little diner tucked away on a sleepy street in Charleston, South Carolina, known simply as Mabel’s Cafe. Their creamy Southern-style banana pudding with vanilla wafers was legendary—honestly, it felt like a hug in a bowl. When they shut down unexpectedly one chilly fall evening, I was crushed. I mean, who closes a place that makes banana pudding that good? I couldn’t just accept it. After nearly a dozen tries—some closer than others, some downright disasters involving curdled custards and soggy wafers—I finally got it.
One evening, I was whisking the pudding while my cat decided the mixing bowl was a new toy, sending a mini avalanche of flour across the counter. It was chaotic, but that moment of imperfection somehow made the recipe feel even more real. Maybe you’ve been there, chasing a taste memory that refuses to fade. This recipe stayed with me because it wasn’t just about banana pudding; it was about capturing that exact creamy texture and that perfect balance of sweetness and vanilla that Mabel’s nailed so effortlessly.
Let me tell you, recreating this Southern classic was a labor of love, but every bite now takes me back to that cozy cafe, to the clink of spoons against glass bowls, and the warm smiles of strangers who shared the same craving. If you’ve ever wished for a banana pudding that’s both rich and light, silky but with a little crunch from vanilla wafers, you’re in the right place. This recipe is my successful homage to Mabel’s—and it just might become your new favorite dessert, too.
Why You’ll Love This Creamy Southern-Style Banana Pudding with Vanilla Wafers
This recipe isn’t just any banana pudding; it’s the result of countless kitchen experiments and a stubborn refusal to settle for less than perfect. Here’s why it’s worth making:
- Quick & Easy: Ready in under an hour, including chilling time—ideal for busy weeknights or last-minute dessert cravings.
- Simple Ingredients: Uses basic pantry staples and fresh bananas—no fancy or hard-to-find items needed.
- Perfect for Gatherings: Whether it’s a family dinner, potluck, or holiday spread, this pudding always earns rave reviews.
- Crowd-Pleaser: Kids adore the creamy texture and sweet vanilla flavor, while adults appreciate the nostalgic comfort.
- Unbelievably Delicious: The silky custard layered with ripe bananas and the subtle crunch of homemade or store-bought vanilla wafers is pure magic.
What makes this recipe stand out is the custard’s texture—thanks to a gentle whisking technique and a splash of real vanilla extract, it’s smoother than most store-bought versions. Plus, layering the pudding with the vanilla wafers instead of just mixing them in keeps that satisfying crunch without any sogginess. Honestly, it’s the kind of dessert that makes you close your eyes after the first bite and savor every spoonful, just like that unforgettable bowl from Mabel’s.
What Ingredients You Will Need
This recipe uses simple, wholesome ingredients to deliver bold flavor and that classic Southern comfort texture without any fuss. Most of what you need are pantry staples, with fresh bananas as the shining star.
- For the Custard:
- 2 cups whole milk (for creaminess; you can use 2% but whole milk makes it richer)
- 3/4 cup granulated sugar (balances the sweetness)
- 1/3 cup all-purpose flour (helps thicken the custard without lumps)
- 1/4 teaspoon salt (enhances flavors)
- 4 large egg yolks, room temperature (adds silkiness and richness)
- 2 teaspoons pure vanilla extract (look for Nielsen-Massey or McCormick for best flavor)
- 2 tablespoons unsalted butter (softened; adds richness and smooth texture)
- For the Layers:
- 4–5 ripe bananas, sliced (not overripe—firm but sweet is perfect)
- 1 (12 oz) box vanilla wafers (homemade or store-bought; Nilla Wafers are classic and reliable)
- For the Topping (Optional):
- 1 cup heavy cream (cold, for whipping)
- 2 tablespoons powdered sugar (adjust to taste)
- 1/2 teaspoon vanilla extract (matches custard flavor)
If you want to make this recipe gluten-free, almond flour or a gluten-free all-purpose blend can replace the regular flour in the custard. For a dairy-free twist, swap milk and butter with coconut milk and coconut oil, though this will change the flavor slightly. I’ve tried both with good results, but the classic version is still my go-to.
Equipment Needed
- Medium saucepan – for gently cooking the custard without scorching
- Whisk – a sturdy whisk works best to keep the custard smooth and lump-free
- Mixing bowls – at least two; one for the custard and one for assembling the pudding
- Measuring cups and spoons – accuracy matters for custard thickness
- Spatula – silicone ones are great for scraping every bit of custard from the pan
- 9×13-inch baking dish or similar glass serving dish – perfect size for layering
- Electric mixer (optional) – if you decide to whip the cream topping, though a hand whisk works too
For budget-friendly options, a basic stainless steel saucepan and a silicone spatula do the job just fine. I personally prefer my heavy-bottomed saucepan because it prevents hot spots, which can cause the custard to curdle. If you don’t have an electric mixer for the whipped topping, a vigorous hand whisking session (about 5-7 minutes) will get you there, just be ready for a little arm workout!
Preparation Method
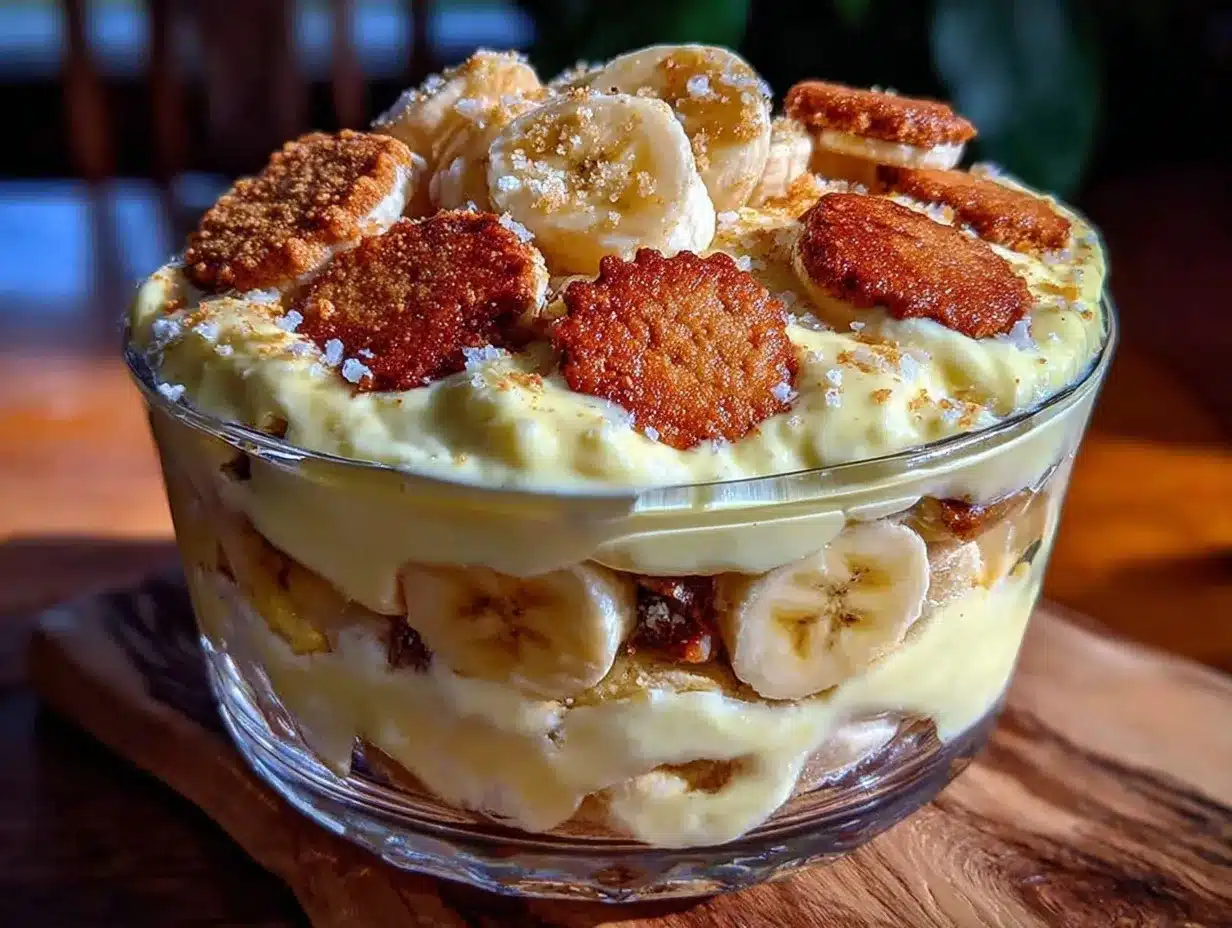
- Combine Dry Ingredients: In a medium saucepan, whisk together 3/4 cup sugar, 1/3 cup flour, and 1/4 teaspoon salt until well blended. This step helps avoid lumps when adding liquids. (Approx. 2 minutes)
- Add Milk: Slowly pour in 2 cups whole milk while whisking constantly to keep the mixture smooth. (Approx. 2 minutes)
- Cook the Custard: Place the saucepan over medium heat. Keep whisking often as the mixture thickens—this usually takes 8 to 10 minutes. You’ll notice it start to bubble gently and coat the back of a spoon. (Watch closely here to prevent burning!)
- Temper the Eggs: In a separate bowl, beat 4 large egg yolks. Slowly ladle about 1 cup of the hot milk mixture into the yolks while whisking vigorously to avoid scrambling. (Approx. 3 minutes)
- Combine Eggs and Custard: Pour the egg mixture back into the saucepan and cook for another 2-3 minutes, whisking constantly until the custard thickens further and becomes creamy. Remove from heat immediately.
- Add Flavor and Fat: Stir in 2 teaspoons vanilla extract and 2 tablespoons softened butter until fully incorporated and glossy. This step seals in that silky texture and aroma. (Approx. 1 minute)
- Cool the Custard: Transfer to a clean bowl, cover with plastic wrap pressed directly on the surface to prevent a skin from forming, and chill for at least 1 hour or until cold.
- Assemble the Pudding: In your 9×13-inch dish, spread a thin layer of custard on the bottom. Add a single layer of vanilla wafers, then a layer of sliced bananas (about half the bananas). Repeat the layers—custard, wafers, bananas—and finish with a top layer of custard. (Approx. 10 minutes)
- Optional Whipped Topping: Whip 1 cup cold heavy cream with 2 tablespoons powdered sugar and 1/2 teaspoon vanilla extract until soft peaks form. Spread or pipe over the pudding for a fluffy finish.
- Chill Before Serving: Refrigerate for at least 4 hours, ideally overnight, to let flavors meld and wafers soften just right without turning mushy.
If your custard looks a bit lumpy at any point, keep whisking over low heat—you can fix it! Also, don’t rush cooling the custard; it’s tempting to layer immediately, but warm custard will melt your wafers too fast. Trust me, patience pays off here.
Cooking Tips & Techniques
Making banana pudding that’s creamy and perfectly layered takes some finesse, but here are the pro tips I’ve picked up:
- Whisk Constantly: When cooking custard, keep the whisk moving to avoid lumps and scorching. A silicone spatula is great for scraping the sides.
- Use Room Temperature Eggs: Cold eggs can seize when tempered; letting them come to room temp smooths this process.
- Press Plastic Wrap on Custard: This prevents a skin from forming, which can ruin the pudding’s silky texture.
- Layer Strategically: Don’t overdo the wafers or bananas in one layer—thin, even layers spread flavor and texture best.
- Chill Thoroughly: This recipe benefits from resting time. If you’re impatient (I get it), at least 4 hours, but overnight is best.
- Banana Choice Matters: Firm but ripe bananas hold their shape better and don’t turn mushy as quickly.
One time I skipped tempering the eggs properly, and the custard scrambled—lesson learned the hard way! Also, multitask by prepping your bananas and wafers while the custard cools to save time. Little things like these keep the kitchen less chaotic.
Variations & Adaptations
One of the joys of Southern-style banana pudding is its adaptability. Here are some variations I’ve enjoyed making:
- Chocolate Banana Pudding: Add a layer of chocolate pudding or sprinkle cocoa powder between the layers for a chocolate twist.
- Vegan-Friendly: Use coconut milk, a cornstarch-thickened custard, and vegan vanilla wafers. I tried this once with coconut cream whipped topping, and it was surprisingly indulgent.
- Berry Banana Pudding: Swap half the bananas for fresh strawberries or blueberries in summer for a fruity surprise.
- Low-Sugar Version: Use a sugar substitute like erythritol and reduce overall sugar; just keep an eye on custard thickness as sugar affects texture.
- Individual Servings: Layer the pudding in mason jars or small glasses for a charming presentation, great for parties.
For a quicker method, use instant vanilla pudding mix mixed with whipped cream, but honestly, the homemade custard wins every time for taste and texture. I also sometimes add a dash of bourbon or rum to the custard for a grown-up kick—just a teaspoon, nothing overpowering.
Serving & Storage Suggestions
Serve this creamy Southern-style banana pudding chilled, straight from the fridge. The layers should be distinct but soft enough to spoon through easily. Garnish with a few extra vanilla wafers or a sprinkle of cinnamon for a pretty touch.
This dessert pairs wonderfully with strong coffee or a light, fruity white wine like a Riesling. For a Southern-inspired meal, it complements dishes like crispy garlic chicken perfectly.
Store any leftovers covered tightly with plastic wrap or in an airtight container in the refrigerator for up to 3 days. The flavors actually deepen overnight, but the wafers will soften more over time, so if you like crunch, best to eat within a day. You can freeze banana pudding, but the texture changes and bananas get mushy, so I don’t recommend it.
To reheat, if you prefer it warm, gently microwave single portions for 20-30 seconds, but honestly, this pudding shines cold.
Nutritional Information & Benefits
This creamy Southern-style banana pudding with vanilla wafers is a moderate treat—here’s a rough estimate per serving (about 1 cup):
| Calories | 280-320 kcal |
|---|---|
| Fat | 10-12g (mostly from butter and milk) |
| Carbohydrates | 40-45g (includes natural sugar from bananas) |
| Protein | 5-6g (mainly from milk and eggs) |
Bananas provide potassium and dietary fiber, while eggs contribute protein and essential vitamins. Using whole milk and butter adds richness but can be swapped for lighter options if desired. Just be mindful that substitutions can affect texture.
For those with gluten intolerance, using gluten-free vanilla wafers and a flour substitute keeps this dessert accessible. It’s not low-carb, but if you’re looking for a wholesome, nostalgic treat, it’s a comforting choice made with simple, natural ingredients.
Conclusion
This creamy Southern-style banana pudding with vanilla wafers is more than a dessert—it’s a little piece of nostalgia you can make in your own kitchen. It’s approachable, satisfying, and honestly, a crowd favorite wherever I bring it. Feel free to tweak the layers or try my variations to suit your taste. I love this recipe because it reminds me that sometimes, the simplest things—like a scoop of pudding and a crunchy wafer—can hold the sweetest memories.
Give it a go, and let me know how your pudding journey turns out! Share your twists or questions in the comments below—I’m always curious how this recipe fits into your kitchen stories. Here’s to many creamy spoonfuls ahead!
Frequently Asked Questions About Creamy Southern-Style Banana Pudding with Vanilla Wafers
Can I make this banana pudding ahead of time?
Absolutely! It actually tastes better after chilling for at least 4 hours or overnight as the flavors meld and wafers soften just right.
What can I use if I don’t have vanilla wafers?
Graham crackers or ladyfingers work well as substitutes, though the texture and flavor will be slightly different.
How do I prevent the bananas from browning?
Use ripe but firm bananas and slice them just before assembling. You can also lightly brush with lemon juice to slow browning.
Is it possible to make this recipe dairy-free?
Yes, swap milk for coconut or almond milk, use vegan butter or coconut oil, and choose dairy-free vanilla wafers. The texture will be a bit different but still delicious.
Can I add other fruits to this banana pudding?
Definitely! Fresh strawberries, blueberries, or even peaches can add a nice twist. Just layer them with the bananas for best results.
Pin This Recipe!
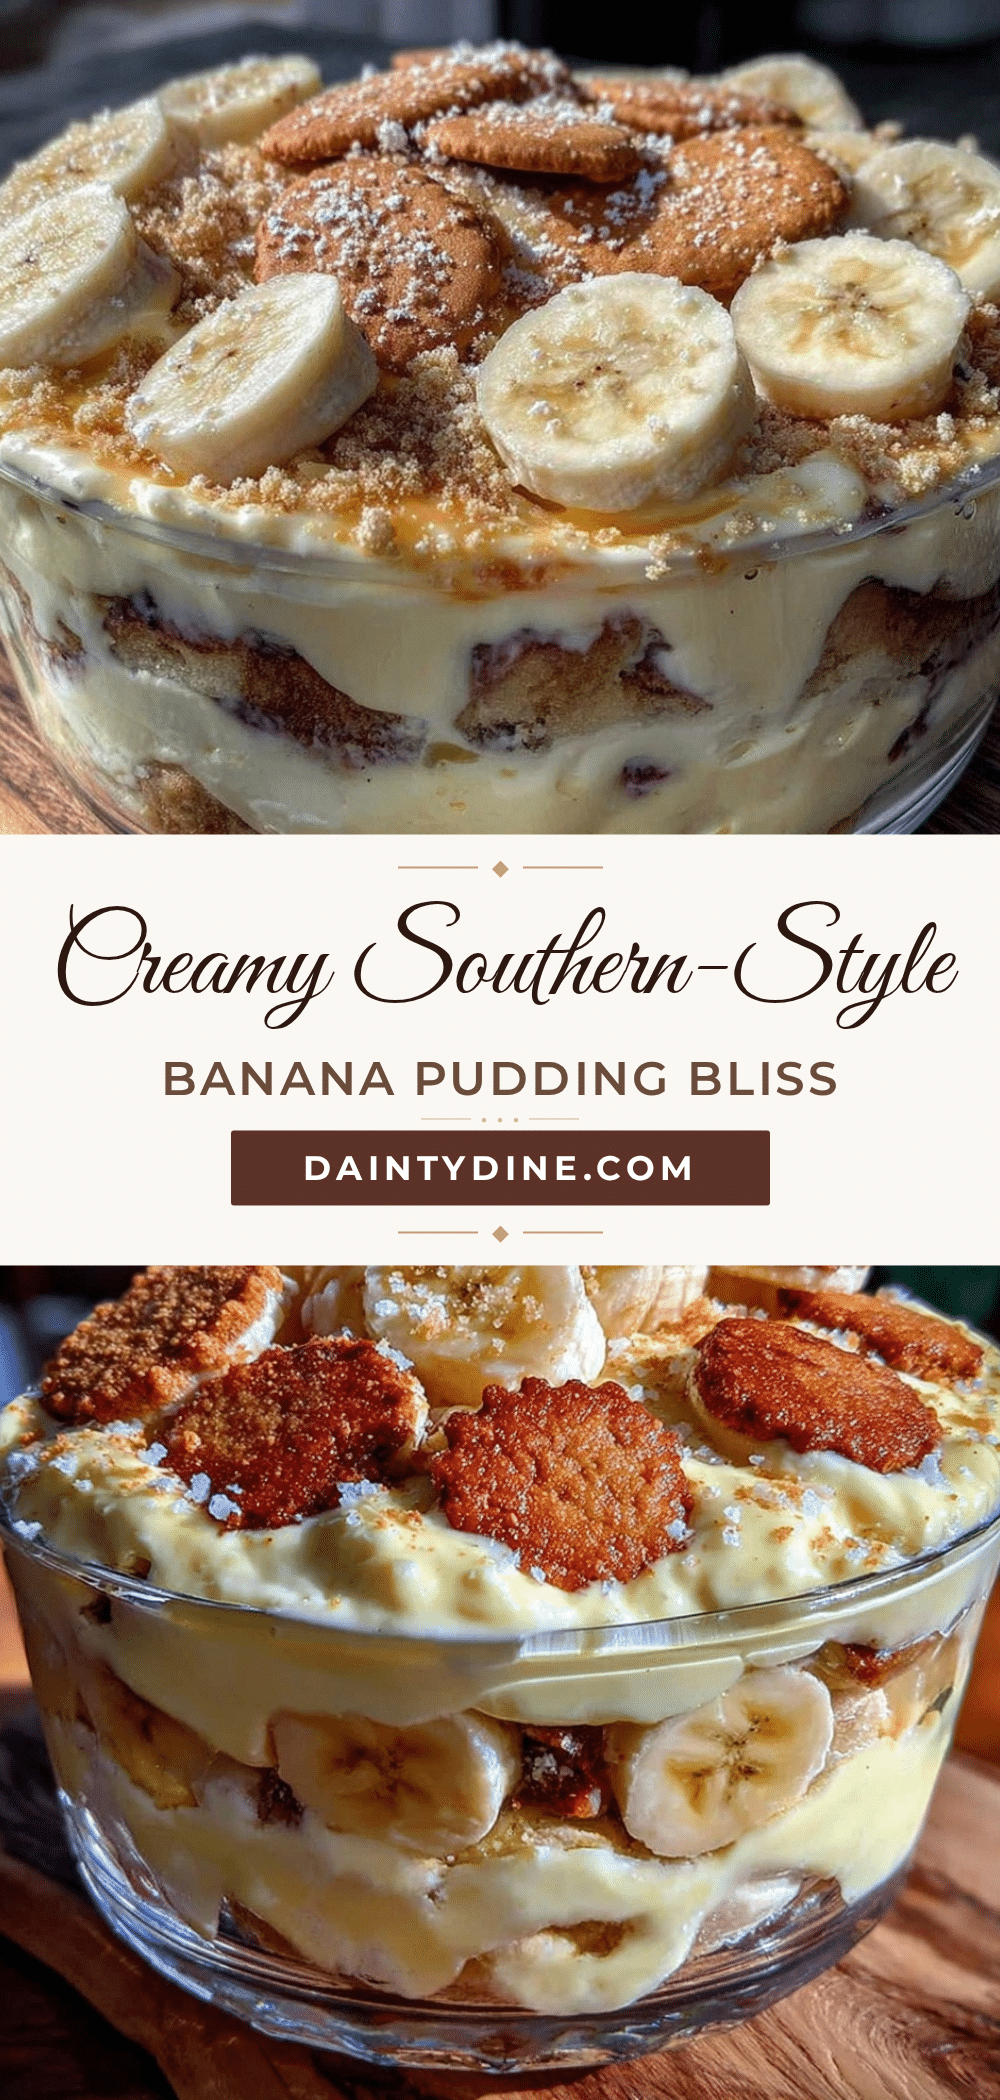
Creamy Southern-Style Banana Pudding Recipe Easy Homemade Vanilla Wafers Dessert
A rich and creamy Southern-style banana pudding layered with vanilla wafers and ripe bananas, capturing the perfect balance of sweetness and texture reminiscent of a classic Charleston diner.
- Prep Time: 20 minutes
- Cook Time: 15 minutes
- Total Time: 5 hours 35 minutes
- Yield: 8 servings 1x
- Category: Dessert
- Cuisine: Southern American
Ingredients
- 2 cups whole milk
- 3/4 cup granulated sugar
- 1/3 cup all-purpose flour
- 1/4 teaspoon salt
- 4 large egg yolks, room temperature
- 2 teaspoons pure vanilla extract
- 2 tablespoons unsalted butter, softened
- 4–5 ripe bananas, sliced
- 1 (12 oz) box vanilla wafers
- Optional Topping:
- 1 cup heavy cream, cold
- 2 tablespoons powdered sugar
- 1/2 teaspoon vanilla extract
Instructions
- In a medium saucepan, whisk together sugar, flour, and salt until well blended.
- Slowly pour in whole milk while whisking constantly to keep mixture smooth.
- Place saucepan over medium heat and whisk often as mixture thickens, about 8 to 10 minutes, until it bubbles gently and coats the back of a spoon.
- In a separate bowl, beat egg yolks. Slowly ladle about 1 cup of hot milk mixture into yolks while whisking vigorously to temper eggs.
- Pour egg mixture back into saucepan and cook for another 2-3 minutes, whisking constantly until custard thickens and becomes creamy. Remove from heat.
- Stir in vanilla extract and softened butter until fully incorporated and glossy.
- Transfer custard to a clean bowl, cover with plastic wrap pressed directly on surface, and chill for at least 1 hour.
- In a 9×13-inch dish, spread a thin layer of custard on the bottom. Add a layer of vanilla wafers, then half the sliced bananas. Repeat layers and finish with a top layer of custard.
- Optional: Whip heavy cream with powdered sugar and vanilla extract until soft peaks form. Spread or pipe over pudding.
- Refrigerate pudding for at least 4 hours or overnight before serving.
Notes
Whisk constantly to avoid lumps and scorching. Use room temperature eggs to prevent curdling. Press plastic wrap on custard to prevent skin formation. Chill pudding for at least 4 hours or overnight for best texture. Use firm ripe bananas and slice just before assembling to prevent browning. For gluten-free, substitute flour and wafers accordingly. For dairy-free, use coconut milk and vegan butter.
Nutrition
- Serving Size: About 1 cup per serv
- Calories: 300
- Sugar: 30
- Sodium: 150
- Fat: 11
- Saturated Fat: 6
- Carbohydrates: 43
- Fiber: 2
- Protein: 6
Keywords: banana pudding, southern dessert, vanilla wafers, creamy pudding, homemade dessert, classic banana pudding


