Love this? Save it for later!
Share the inspiration with your friends
I’m not supposed to play favorites with recipes, but honestly, this creamy no-churn salted caramel ice cream holds a special place in my heart. It wasn’t born in a professional kitchen or during a fancy dessert competition. It came from a Tuesday afternoon in July, when my neighbor, Sarah, wasn’t trying to impress anyone. I’d stopped by to return a borrowed ladder and the smell of toasting butter hit me before I even got inside.
Sarah was just standing at her counter, stirring a pot on low heat, looking completely unbothered by the sticky, sweet aroma filling her small apartment. She wasn’t making a big deal of it. She was just making something that tasted like summer. I remember leaning against the doorframe, watching her drizzle that golden, salty-sweet ribbon over a bowl of vanilla ice cream she’d already scooped out.
It was the casualness that got me. You know that feeling when someone cooks with such ease that it makes you feel inadequate? That was me. She handed me a spoonful without saying a word, just a little nod that said, “Try this.” The first bite stopped me cold. It was creamy, rich, and had that perfect snap of salt against the sugar. It wasn’t complicated, but it was extraordinary.
That’s the thing about this recipe. It feels like magic, but it’s just patience and a few simple ingredients. I’ve made it a dozen times since then, trying to recreate that moment. Some days I mess up the caramel, or the ice cream gets icy. But most days, it comes out just like Sarah’s. It’s become my go-to when I need to comfort myself or impress a friend who doesn’t know I can’t actually bake.
Maybe you’ve been there, standing in your kitchen, wishing for something simple that tastes like a treat. This recipe is exactly that. It’s not about being a chef. It’s about enjoying the process and the result. Once you make this creamy no-churn salted caramel ice cream, you’ll understand why I keep coming back to it. It’s the kind of dessert that feels earned, even if it took ten minutes to prep.
Why You’ll Love This Recipe
Let’s face it, making ice cream at home usually involves a churning machine, a lot of eggs, and a whole lot of waiting. This creamy no-churn salted caramel ice cream changes the game entirely. I’ve tested dozens of no-churn methods over the years, from the classic condensed milk base to more modern avocado-based versions, and this one stands out for its texture and flavor balance.
- Quick & Easy: Comes together in under 20 minutes of active time, perfect for busy weeknights or last-minute cravings when you want something sweet but don’t have hours to spare.
- Simple Ingredients: No fancy grocery trips needed; you likely already have heavy cream, sweetened condensed milk, and a few pantry staples for the caramel in your kitchen.
- Perfect for Summer Gatherings: Great for potlucks, backyard BBQs, or cozy dinners where you want to offer something special without the stress of managing a churning machine.
- Crowd-Pleaser: Always gets rave reviews from kids and adults alike. The salted caramel flavor is universally loved, and the creamy texture makes it irresistible.
- Unbelievably Delicious: The texture and flavor combo is next-level comfort food. It’s rich without being heavy, and sweet without being cloying.
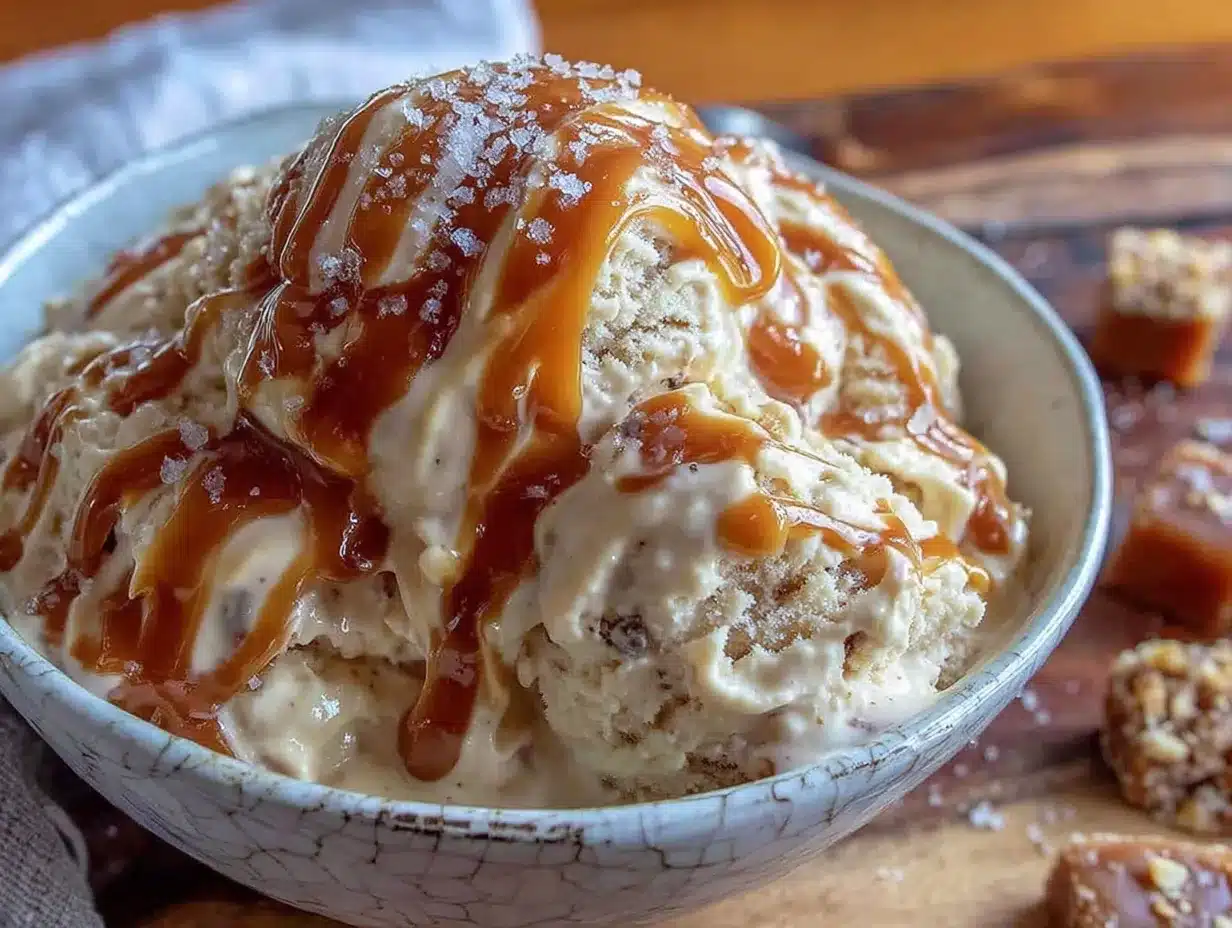
What makes this recipe different from the rest is the technique used to create the caramel swirl. Many recipes just mix in store-bought caramel, which can be too runny or overly sweet. Here, we make a quick, small-batch caramel that is cooled slightly before being swirled in. This creates distinct ribbons of flavor rather than a uniform, mushy mess. I’ve learned through trial and error that letting the caramel cool just enough so it’s thick but still pourable is the key to those beautiful swirls.
Connect emotionally by tapping into the why: This recipe isn’t just good—it is the kind that makes you close your eyes after the first bite. It’s comfort food reimagined—healthier in the sense that it’s made with real ingredients, faster, but with the same soul-soothing satisfaction. Perfect for impressing guests without stress, or turning a simple meal into something memorable.
What Ingredients You Will Need
This recipe uses simple, wholesome ingredients to deliver bold flavor and satisfying texture without the fuss. The beauty of a no-churn ice cream is that it relies on the fat content of the cream and the sugar content of the condensed milk to create a smooth, scoopable texture without the need for an ice cream maker. You don’t need any special or hard-to-find items, which makes this accessible for everyone.
For the Ice Cream Base
- Heavy whipping cream: 2 cups (480 ml), cold. This is the foundation of the creaminess. I recommend using a brand with a high fat content, like Land O’Lakes or Organic Valley, for the best whipping stability. Low-fat cream will result in icy, hard ice cream.
- Sweetened condensed milk: 1 can (14 oz / 397g), room temperature. This provides sweetness and structure. Don’t confuse this with evaporated milk; they are very different. Nestlé is a reliable choice, but any good quality brand works.
- Vanilla extract: 1 teaspoon (5 ml). Use pure vanilla extract, not imitation. It adds a depth of flavor that complements the caramel beautifully. Nielsen-Massey is my personal favorite for its rich, aromatic profile.
- Salt: 1/4 teaspoon. A pinch of salt enhances the sweetness and balances the flavor profile.
For the Salted Caramel Swirl
- Granulated sugar: 1 cup (200g). This is caramelized to create the base flavor. White sugar is preferred for a clean, classic caramel taste.
- Unsalted butter: 1/2 cup (113g), cubed and at room temperature. The butter adds richness and stops the cooking process once added. Use high-quality butter for the best flavor.
- Heavy cream: 1/2 cup (120 ml), warm. Adding warm cream to the hot caramel prevents it from seizing up. Be careful, as it will bubble vigorously.
- Fleur de sel or sea salt: 1 teaspoon. This provides the “salted” element. Fleur de sel has a delicate crunch and flavor that elevates the caramel.
Substitution guidance is easy here. If you need a dairy-free option, you can use coconut cream (the solid part from a can of full-fat coconut milk) instead of heavy cream, and a dairy-free sweetened condensed milk alternative. However, the texture will be slightly different, more like a frozen mousse. For a gluten-free version, ensure your vanilla extract and salt are certified gluten-free, though they typically are naturally free of gluten.
Equipment Needed
You don’t need a lot of fancy gear to make this creamy no-churn salted caramel ice cream. A few basic tools will get you through the process with ease. Having the right equipment makes a big difference in the final texture and consistency.
- Large mixing bowl: A stainless steel or glass bowl is best. If possible, chill it in the freezer for 15 minutes before starting. This helps the cream whip up faster and hold its peaks.
- Electric hand mixer or stand mixer: While you can whip cream by hand, it takes effort and time. An electric mixer ensures the cream reaches stiff peaks quickly, which is crucial for a light, airy ice cream.
- Silicone spatula: Essential for folding the whipped cream into the condensed milk without deflating it. A flexible spatula works best to scrape the sides of the bowl.
- Medium saucepan: For making the caramel. A heavy-bottomed pan ensures even heating and prevents burning. Non-stick is helpful for beginners.
- 9×5 inch loaf pan: This is the standard size for no-churn ice cream. Line it with parchment paper for easy removal later. If you don’t have one, an 8×8 square pan or a large freezer-safe container works too.
Budget-friendly options include using a whisk instead of a mixer if you’re willing to put in some arm work, though it’s not recommended for stiff peaks. A simple loaf pan from a thrift store is perfect, just ensure it’s clean and dry. Avoid using glass loaf pans if you’re concerned about thermal shock, but for freezing, they are generally safe.
Preparation Method
Making this creamy no-churn salted caramel ice cream is straightforward, but it requires attention to detail, especially when making the caramel. Follow these steps carefully for the best results. The process is broken down into three main phases: making the caramel, whipping the base, and assembling the ice cream.
- Make the Salted Caramel: In a medium saucepan, heat the granulated sugar over medium heat. Do not stir. Instead, gently swirl the pan occasionally to ensure even melting. This takes about 5-7 minutes. The sugar will melt and turn a deep amber color. Warning: Do not walk away. Sugar burns quickly.
- Add Butter: Once the sugar is melted and amber-colored, remove the pan from the heat. Carefully add the cubed butter. It will bubble up violently. Stir constantly until the butter is fully melted and incorporated. This takes about 1-2 minutes.
- Add Cream and Salt: Slowly pour in the warm heavy cream while stirring. The mixture will bubble up again. Stir continuously until the sauce is smooth and glossy. Stir in the fleur de sel. Transfer the caramel to a heatproof bowl and let it cool to room temperature, then refrigerate for 30 minutes until it thickens but is still pourable. Time estimate: 45 minutes total including cooling.
- Whip the Cream: In a chilled large mixing bowl, pour the cold heavy whipping cream. Using an electric mixer on medium-high speed, whip the cream until stiff peaks form. This means when you lift the beaters, the cream stands up straight. Do not over-whip, or it will become grainy. Time estimate: 3-5 minutes.
- Prepare the Base: In a separate bowl, combine the sweetened condensed milk and vanilla extract. Whisk briefly to combine. Time estimate: 1 minute.
- Fold the Ingredients: Add one-third of the whipped cream to the condensed milk mixture and gently fold to lighten it. Then, add the remaining whipped cream. Using a silicone spatula, gently fold the mixture until no white streaks remain. Be gentle to keep the air in the cream. Time estimate: 2-3 minutes.
- Layer and Swirl: Pour half of the ice cream mixture into the lined loaf pan. Drizzle half of the cooled caramel over the top. Add the remaining ice cream mixture. Drizzle the rest of the caramel on top. Use a knife or skewer to gently swirl the caramel into the ice cream. Don’t over-mix; you want visible ribbons. Time estimate: 3 minutes.
- Freeze: Cover the loaf pan tightly with plastic wrap or a lid. Freeze for at least 6 hours, or preferably overnight, until solid. Time estimate: 6+ hours.
Personal tip: If your caramel is too thick to swirl easily, microwave it for 10-15 seconds to loosen it up. If it’s too thin, it will mix into the ice cream rather than creating swirls. Aim for a consistency similar to honey.
Cooking Tips & Techniques
There are a few common pitfalls when making no-churn ice cream, and knowing how to avoid them can save your dessert. I’ve made my fair share of icy or grainy batches, so you don’t have to.
- Keep Everything Cold: The temperature of your cream is critical. If the cream is warm, it won’t whip properly. Chill your bowl and beaters in the freezer for 15 minutes before starting. This is a non-negotiable step for fluffy ice cream.
- Don’t Over-Whip: Once the cream reaches stiff peaks, stop immediately. Over-whipping turns the cream into butter, which will make your ice cream dense and buttery instead of light and creamy.
- Fold Gently: When combining the whipped cream and condensed milk, use a folding motion. Scoop from the bottom and turn over. This preserves the air bubbles that give the ice cream its texture. Deflating the cream leads to hard, icy ice cream.
- Caramel Consistency: The caramel needs to be cool enough not to melt the ice cream base when swirled, but warm enough to be pourable. If it’s too hot, it will create liquid pockets that freeze into hard ice shards. If it’s too cold, it won’t swirl. Test it on a spoon; it should coat the back of the spoon but still drip slowly.
- Timing is Key: Make the caramel ahead of time. It needs to cool completely. If you try to make the caramel and the ice cream base at the same time, you’ll be rushing, which leads to mistakes. Plan your time wisely.
Personal failure lesson: I once tried to speed up the cooling process by putting the caramel in the freezer for 10 minutes. It seized up and became a hard lump. I had to warm it up again, which altered the flavor. Patience is the most important ingredient here.
Variations & Adaptations
While the classic salted caramel is delicious, this base recipe is versatile. You can adapt it to suit different tastes or dietary needs. Here are a few variations I’ve tried with success.
- Chocolate Swirl: Replace the caramel with a chocolate ganache swirl. Melt 1/2 cup of dark chocolate with 1/4 cup of heavy cream and swirl it into the base. This creates a cookie dough-style effect.
- Peanut Butter Cup: Add 1/2 cup of peanut butter to the condensed milk mixture. Drizzle with melted chocolate and chopped peanuts for a Reese’s-inspired treat.
- Seasonal Berry: Fold in 1 cup of fresh or frozen berries (macerate them first to remove excess moisture) into the base before freezing. The acidity of the berries cuts through the richness of the cream.
- Dairy-Free Option: Use full-fat coconut cream instead of heavy cream and a dairy-free sweetened condensed milk. The flavor will be coconutty, which pairs well with the salted caramel. Ensure your caramel is made with coconut oil instead of butter if you want it fully vegan.
- Lower Sugar: Use a sugar-free sweetened condensed milk alternative and reduce the sugar in the caramel by half. Note that the texture may be slightly different, but it’s a viable option for those watching their sugar intake.
Personal variation: I sometimes add a tablespoon of bourbon to the caramel for a deeper, more complex flavor. It pairs beautifully with the salt and caramel. Just be aware that the alcohol content will slightly lower the freezing point, so it may take a little longer to freeze solid.
Serving & Storage Suggestions
Serving this creamy no-churn salted caramel ice cream is all about presentation and temperature. Let it sit at room temperature for 5-10 minutes before scooping. This makes it easier to scoop and enhances the flavor, as cold temperatures mute taste buds.
For presentation, serve it in chilled bowls or glasses. Garnish with a drizzle of extra caramel, a sprinkle of fleur de sel, or a few chocolate chips. It pairs beautifully with warm pie crusts, like apple or pecan, creating a temperature contrast that is delightful.
Storage: Store the ice cream in an airtight container or tightly wrapped loaf pan in the freezer for up to 2 weeks. To prevent freezer burn, press plastic wrap directly onto the surface of the ice cream before sealing the lid.
Reheating: If the ice cream gets too hard, let it sit out for 5-10 minutes before serving. You can also microwave individual scoops for 10-15 seconds to soften them slightly.
Flavor Development: The flavors of salted caramel continue to meld and deepen over the first 24 hours. For the best taste, wait a full day before scooping the first batch. The salt and sweetness will balance out perfectly, creating a more harmonious flavor profile.
Nutritional Information & Benefits
While this is a treat, it’s made with real ingredients, which is better than many store-bought alternatives. Here is an estimated nutritional breakdown per serving (1/8 of the loaf pan):
- Calories: ~350 kcal
- Fat: 22g
- Carbohydrates: 35g
- Sugar: 32g
- Protein: 4g
Key ingredients like heavy cream provide fat-soluble vitamins A, D, E, and K. Sweetened condensed milk offers calcium and protein. The salted caramel adds flavor but also sodium, so balance it with other low-sodium foods in your meal.
Dietary considerations: This recipe is not gluten-free by default if you use additives in your caramel ingredients, but the base ingredients are naturally gluten-free. It is high in dairy and sugar, so it’s not suitable for those with lactose intolerance or diabetes without modifications. For a lower calorie option, consider reducing the portion size and pairing it with fresh fruit.
Personal wellness perspective: I view this as a occasional indulgence rather than a daily staple. The joy it brings is worth the calories, especially when shared with loved ones. Balance is key, and this recipe fits well into a balanced lifestyle when enjoyed in moderation.
Conclusion
This creamy no-churn salted caramel ice cream is more than just a dessert; it’s a testament to the power of simple ingredients and patience. It’s the kind of recipe that turns a ordinary afternoon into a memorable one. Whether you’re making it for a summer party or a quiet night in, it’s sure to delight.
I encourage you to try it and customize it to your liking. Add your favorite mix-ins, adjust the sweetness, or experiment with different salts. The beauty of no-churn ice cream is its flexibility. Share your creations with friends and family, and let them enjoy the creamy, salty-sweet goodness.
Don’t forget to leave a comment below and let me know how your creamy no-churn salted caramel ice cream turned out. Did you add any unique twists? I’d love to hear about your experiences. Happy scooping!
Frequently Asked Questions
Can I use light cream instead of heavy cream?
No, light cream does not have enough fat to whip into stiff peaks. This will result in a dense, icy ice cream. You must use heavy whipping cream with at least 30% fat content for the best texture.
How long does the caramel need to cool?
The caramel needs to cool to room temperature and then be refrigerated for about 30 minutes. It should be thick enough to hold its shape when drizzled but still fluid enough to swirl. If it’s too hot, it will melt the ice cream base.
Can I freeze this ice cream in a different container?
Yes, any freezer-safe container will work. A 9×5 inch loaf pan is standard, but an 8×8 square pan or a large airtight container is fine. Just adjust the freezing time if the layer is thicker or thinner.
Why is my ice cream icy?
Icy texture usually means the cream was not whipped to stiff peaks, or the mixture was over-stirred, deflating the air. Also, ensure your cream was very cold when you started. Air is what makes no-churn ice cream creamy.
Can I make this recipe ahead of time?
Yes, you can make the caramel and the ice cream base a day in advance. Store the caramel in the fridge and the ice cream base in the fridge until ready to assemble. This can actually help the flavors meld better.
Pin This Recipe!
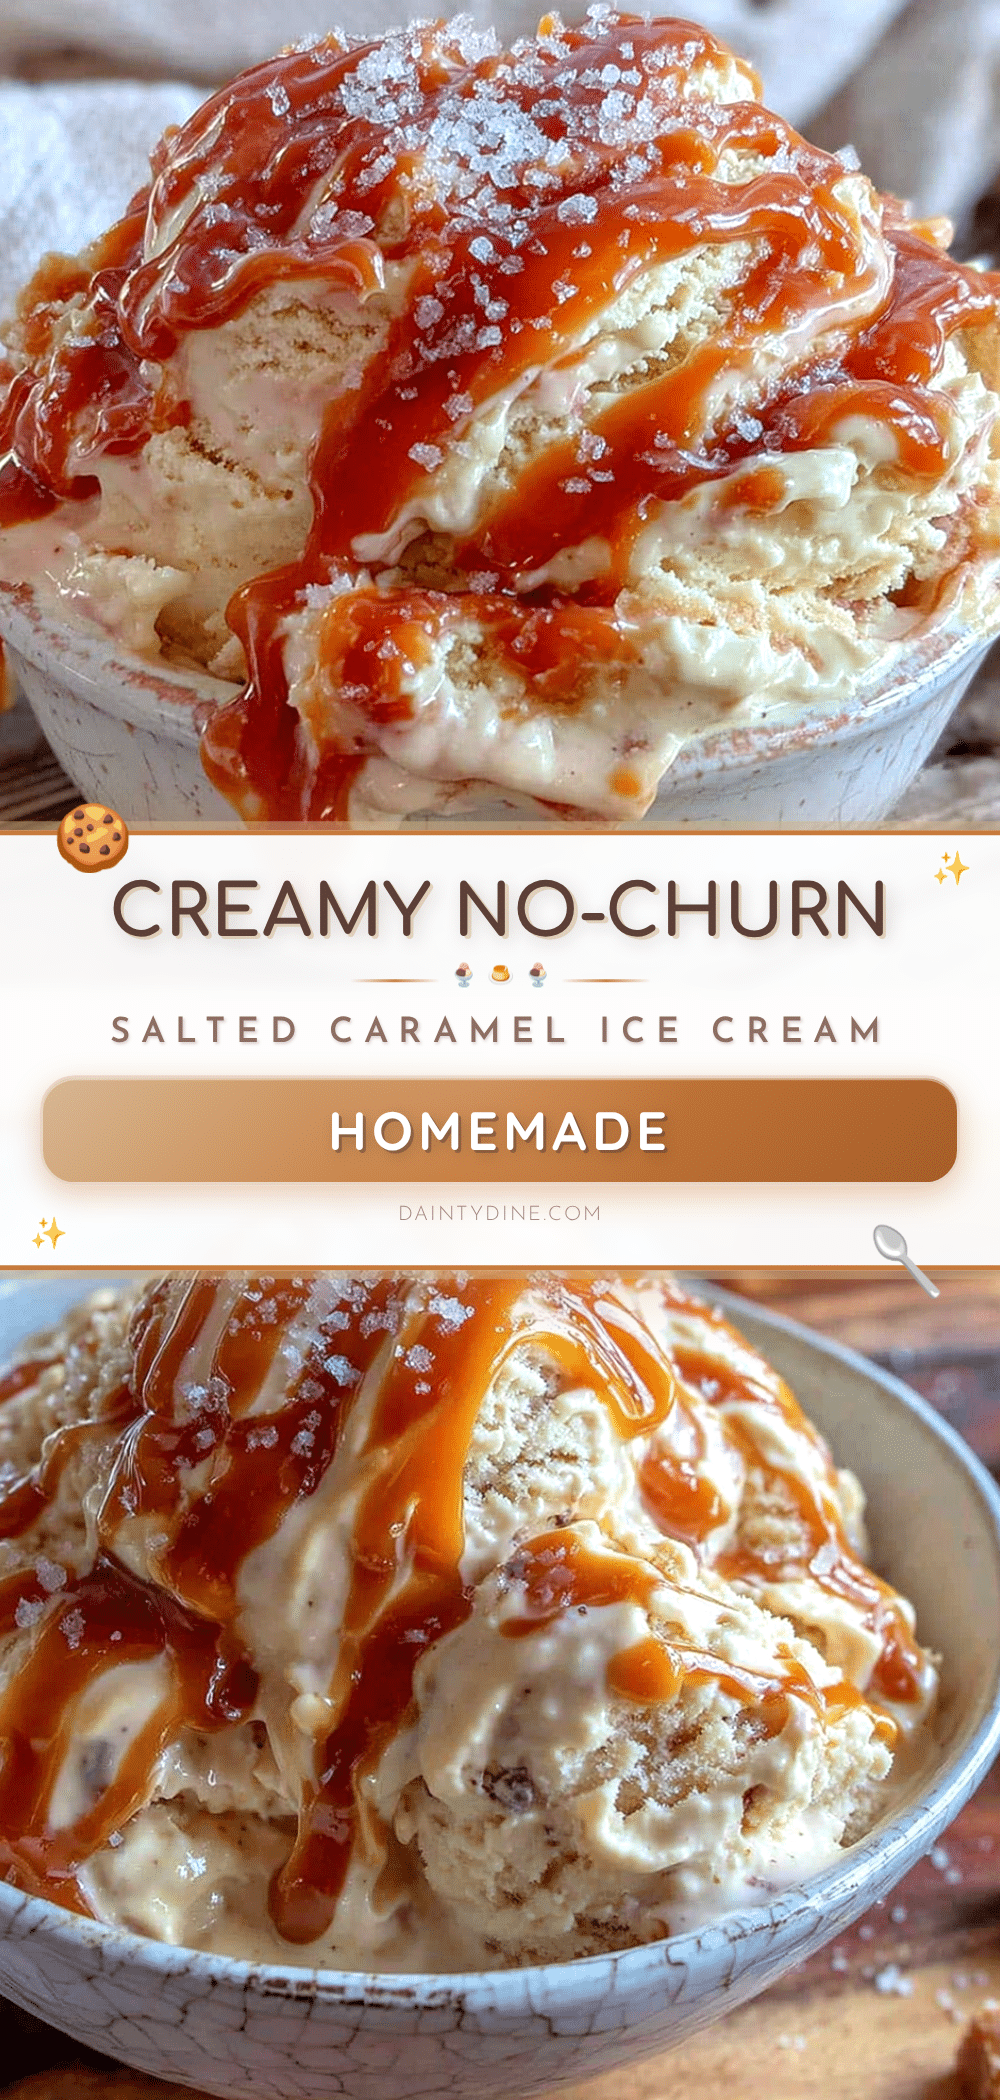
Creamy No-Churn Salted Caramel Ice Cream: Best 3-Ingredient Recipe
A rich, creamy no-churn salted caramel ice cream made with simple pantry staples. This recipe requires no ice cream machine and features a homemade caramel swirl for a perfect balance of sweet and salty flavors.
- Prep Time: 20 minutes
- Cook Time: 10 minutes
- Total Time: 6 hours 30 minutes
- Yield: 8 servings 1x
- Category: Dessert
- Cuisine: American
Ingredients
- 2 cups (480 ml) heavy whipping cream, cold
- 1 can (14 oz / 397g) sweetened condensed milk, room temperature
- 1 teaspoon vanilla extract
- 1/4 teaspoon salt
- 1 cup (200g) granulated sugar
- 1/2 cup (113g) unsalted butter, cubed and at room temperature
- 1/2 cup (120 ml) heavy cream, warm
- 1 teaspoon fleur de sel or sea salt
Instructions
- In a medium saucepan, heat granulated sugar over medium heat without stirring, swirling occasionally until melted and deep amber (5-7 minutes).
- Remove from heat and carefully add cubed butter, stirring until melted and incorporated (1-2 minutes).
- Slowly pour in warm heavy cream while stirring to prevent seizing, then stir in fleur de sel. Transfer to a heatproof bowl and cool to room temperature, then refrigerate for 30 minutes until thick but pourable.
- In a chilled large mixing bowl, whip cold heavy whipping cream with an electric mixer on medium-high speed until stiff peaks form (3-5 minutes).
- In a separate bowl, whisk sweetened condensed milk and vanilla extract briefly.
- Fold one-third of the whipped cream into the condensed milk mixture to lighten it, then gently fold in the remaining whipped cream until no white streaks remain.
- Pour half of the ice cream mixture into a lined 9×5 inch loaf pan. Drizzle half of the cooled caramel over the top. Add remaining ice cream mixture and drizzle with remaining caramel.
- Gently swirl the caramel into the ice cream with a knife or skewer to create ribbons.
- Cover tightly with plastic wrap or a lid and freeze for at least 6 hours, or preferably overnight, until solid.
Notes
Ensure all equipment, especially the mixing bowl and beaters, is chilled before whipping the cream to ensure stiff peaks. The caramel must be cooled to room temperature and refrigerated for 30 minutes before swirling to prevent melting the ice cream base. If the caramel is too thick to swirl, microwave for 10-15 seconds. For best flavor, let the ice cream sit at room temperature for 5-10 minutes before serving.
Nutrition
- Serving Size: 1/8 of the loaf pan
- Calories: 350
- Sugar: 32
- Sodium: 150
- Fat: 22
- Saturated Fat: 14
- Carbohydrates: 35
- Protein: 4
Keywords: no-churn ice cream, salted caramel, homemade ice cream, easy dessert, summer dessert, caramel swirl, dairy dessert


