Love this? Save it for later!
Share the inspiration with your friends
Introduction
“You know that feeling when you’re craving ice cream at midnight but also want to keep it healthy? Well, last Thursday night, I found myself exactly there—standing in front of my freezer with nothing but a couple of overripe bananas and a jar of peanut butter. Honestly, I wasn’t expecting much, but I decided to blend these simple ingredients anyway, just to quiet the craving. What came out was surprisingly creamy, satisfyingly sweet, and shockingly healthy. It was one of those “happy accidents” in the kitchen that stuck with me.
That night, as I scooped the smooth, peanut-buttery goodness into a bowl, I realized this could be the snack everyone needed—quick, guilt-free, and downright delicious. Maybe you’ve been there too: digging through the pantry for something sweet but not loaded with sugar or additives. This creamy 3-ingredient peanut butter banana nice cream is exactly that kind of recipe.
It’s simple, it’s natural, and it’s the kind of treat that makes you close your eyes after the first bite and feel like you’re cheating on dessert, even though you’re not. Let me tell you, this isn’t just banana and peanut butter smashed together—it’s a smooth, dreamy dessert that has become my go-to for those late-night cravings and even afternoon pick-me-ups. And the best part? It’s easy enough for anyone to whip up, no fancy gadgets needed, just a blender and some ripe bananas.
Why You’ll Love This Recipe
This creamy 3-ingredient peanut butter banana nice cream isn’t your average frozen treat. After testing it multiple times (and yes, sneaking a few scoops along the way), I can confidently say it’s a crowd-pleaser that ticks all the boxes for a healthy dessert.
- Quick & Easy: Ready in under 10 minutes, perfect for busy weeknights or those sudden sweet tooth moments.
- Simple Ingredients: No need for a special trip to the store—you likely have ripe bananas, peanut butter, and a splash of milk already.
- Perfect for Any Occasion: Whether it’s a casual snack, a post-workout treat, or a guilt-free dessert, it fits right in.
- Crowd-Pleaser: Kids and adults alike love the creamy texture and peanut butter flavor punch.
- Unbelievably Delicious: The natural sweetness of bananas combined with peanut butter creates a comforting, rich flavor without added sugar.
What makes this recipe stand out is the balance—no need for heavy cream or processed sugars. The trick? Freezing the bananas just right and blending them low and slow to get that ultra-smooth texture. I also like to use a natural peanut butter (like Smucker’s Natural) for that pure, creamy richness. Honestly, it’s the kind of dessert I crave even when I’m not hungry, just because it tastes that good and feels that satisfying.
What Ingredients You Will Need
This recipe keeps things simple but powerful. Each ingredient plays a vital role in making your nice cream creamy, flavorful, and healthy.
- Ripe Bananas (3 medium): Peeled, sliced, and frozen. These are the base, providing natural sweetness and a creamy texture when blended. For best results, use bananas with brown spots—they’re sweeter and softer.
- Peanut Butter (1/3 cup): Creamy natural peanut butter works best to blend smoothly and add that rich, nutty flavor. I prefer Justin’s Classic Peanut Butter for its smooth texture and no added sugar.
- Milk of Choice (1/4 cup): Helps achieve the right blending consistency. You can use dairy, almond, oat, or any milk you like. For a richer taste, whole milk or coconut milk works beautifully.
Optional additions: A pinch of cinnamon for warmth or a teaspoon of honey if you want a touch more sweetness (though ripe bananas usually do the job). In summer, swapping peanut butter for almond butter or adding frozen berries can bring a new twist.
Equipment Needed

- Blender or Food Processor: A high-speed blender works best to get that ultra-smooth texture. I’ve used both a Vitamix and a Ninja with great success, but even a basic food processor will do.
- Freezer-Safe Container: For storing the nice cream if you’re not eating it right away. A shallow glass or metal container freezes the dessert evenly.
- Spatula: Helpful to scrape down the sides of the blender for even mixing.
- Measuring Cups: To get the right proportions (1/3 cup peanut butter, 1/4 cup milk).
If you don’t have a blender, a sturdy food processor or even a hand mixer with a bowl can work, though the texture might be slightly chunkier. I also recommend cleaning your blender right after use—it’s easier before the peanut butter thickens!
Preparation Method
- Freeze the Bananas: Peel and slice 3 medium ripe bananas into 1/2-inch pieces. Spread them out on a parchment-lined baking sheet and freeze for at least 2 hours or overnight. This step is key for creamy texture.
- Gather Ingredients: Measure 1/3 cup creamy peanut butter and 1/4 cup milk of choice. Have these ready to go.
- Blend the Bananas: Place frozen banana slices in your blender or food processor. Pulse a few times to break them down initially (about 20 seconds).
- Add Peanut Butter and Milk: Pour in the peanut butter and milk. Blend on medium speed, stopping occasionally to scrape down the sides with a spatula. This should take about 1-2 minutes. You want a smooth, creamy consistency similar to soft-serve ice cream.
- Adjust Consistency: If the mixture is too thick, add a splash more milk (1 tablespoon at a time). If too thin, add a few more frozen banana pieces and blend again.
- Serve Immediately or Freeze: You can enjoy the nice cream right away for a soft-serve style or transfer it to a freezer-safe container and freeze for 1-2 hours for a firmer scoopable texture.
- Optional Toppings: Add chopped nuts, dark chocolate chips, or a drizzle of peanut butter before serving for extra fun.
Tip: Don’t overblend or the nice cream may become too liquidy. Pulse and check often. Also, if your bananas weren’t super ripe, you might want a pinch of sweetener to balance the flavors.
Cooking Tips & Techniques
Getting that perfect creamy texture can be tricky, so here are some tips I’ve learned the hard way:
- Freeze Bananas Properly: Slicing the bananas before freezing helps them blend easier. Whole frozen bananas can make your blender struggle or heat up.
- Use Natural Peanut Butter: Avoid peanut butter with added sugar or oils for a cleaner flavor and better health profile.
- Blender Power Matters: A strong motor blends frozen fruit better, preventing chunks. If your blender isn’t powerful, give it breaks to avoid overheating.
- Don’t Skip Scraping: Stopping to scrape down the sides ensures all ingredients blend evenly, making the nice cream smoother.
- Adjust Milk Slowly: Adding liquid little by little helps control the texture so you don’t end up with soup.
- Serving Tip: Let the nice cream sit at room temperature for 5 minutes if frozen solid before scooping—it softens perfectly.
From my experience, rushing the freezing or blending steps leads to icy or grainy results. Patience is key!
Variations & Adaptations
You can easily switch up this creamy 3-ingredient peanut butter banana nice cream to suit your tastes or dietary needs:
- Nut-Free Version: Swap peanut butter for sunflower seed butter or tahini for a similar creamy texture without nuts.
- Chocolate Twist: Add 2 tablespoons of cocoa powder during blending for a rich chocolate peanut butter flavor.
- Berry Boost: Toss in 1/2 cup frozen berries with the bananas for a fruity twist and a splash of color.
- Vegan/Dairy-Free: Use almond, oat, or coconut milk to keep it plant-based and creamy.
- Protein Punch: Blend in a scoop of your favorite protein powder for a post-workout treat.
Personally, I once added a handful of rolled oats before blending and it gave the nice cream a bit of chewiness and extra fiber—totally worth trying if you want to experiment with texture.
Serving & Storage Suggestions
This peanut butter banana nice cream is best enjoyed fresh for that soft-serve feel, but you can store leftovers in an airtight container in the freezer for up to a week.
- Serving Temperature: Serve immediately for soft texture or let it freeze for 1-2 hours if you prefer firm scoops.
- Presentation Ideas: Garnish with chopped peanuts, a drizzle of honey, or dark chocolate shavings for an inviting look.
- Storage: Keep in a sealed container in the freezer. When ready to eat, leave it out for 5-10 minutes to soften.
- Reheating: No reheating needed, just thaw to scoopable consistency. Avoid microwaving—it can get runny.
- Flavor Development: Flavors stay fresh, but the texture might harden over time. Stir gently after thawing to bring back creaminess.
This treat pairs wonderfully with a hot cup of coffee or a fresh fruit salad for a balanced dessert or snack.
Nutritional Information & Benefits
This tasty nice cream is low in added sugars and packed with nutrients thanks to its simple ingredients. Here’s an approximate breakdown per serving (makes 3 servings):
| Calories | 180 |
|---|---|
| Protein | 5g |
| Fat | 9g |
| Carbohydrates | 22g |
| Fiber | 3g |
Bananas provide potassium and natural sweetness, while peanut butter adds healthy fats and protein. This dessert fits well into gluten-free, vegetarian, and low-sodium diets. Just watch the peanut butter if you have nut allergies.
Personally, I love that it satisfies my sweet cravings without the sugar crash or guilt. It’s a wholesome way to enjoy a frozen treat any day of the week.
Conclusion
If you’re looking for an easy, healthy, and absolutely delicious dessert, this creamy 3-ingredient peanut butter banana nice cream is a must-try. It’s quick to make, uses ingredients you probably already have, and delivers that comforting, rich flavor that feels like a real treat. I keep coming back to this recipe not just because it’s tasty, but because it reminds me that simple food can be so satisfying.
Feel free to customize it with your favorite nut butters or mix-ins—you might discover a new favorite too. And hey, if you give it a shot, I’d love to hear how it turned out for you or what creative twists you added! Share your thoughts or favorite variations in the comments below.
Remember, good food doesn’t have to be complicated—sometimes all it takes is three ingredients and a bit of love.
FAQs About Creamy 3-Ingredient Peanut Butter Banana Nice Cream
Can I use frozen banana chunks straight from the freezer?
Absolutely! Just make sure they’re peeled and sliced before freezing so they blend smoothly.
What if I don’t have peanut butter—can I use another nut butter?
Yes, almond butter, cashew butter, or even sunflower seed butter work great as alternatives.
Is this recipe suitable for kids?
Definitely! It’s naturally sweet and creamy without any added sugars, making it a kid-friendly dessert.
How long can I store the nice cream in the freezer?
Store it in an airtight container for up to one week. After thawing a bit, stir gently before serving.
Can I add sweeteners like honey or maple syrup?
You can, but often the ripe bananas provide enough sweetness. Add a small amount if you prefer it sweeter.
For a fun twist, you might also enjoy recipes like creamy avocado chocolate mousse or the classic banana oat pancakes that share the same wholesome, simple-ingredient philosophy.
Pin This Recipe!
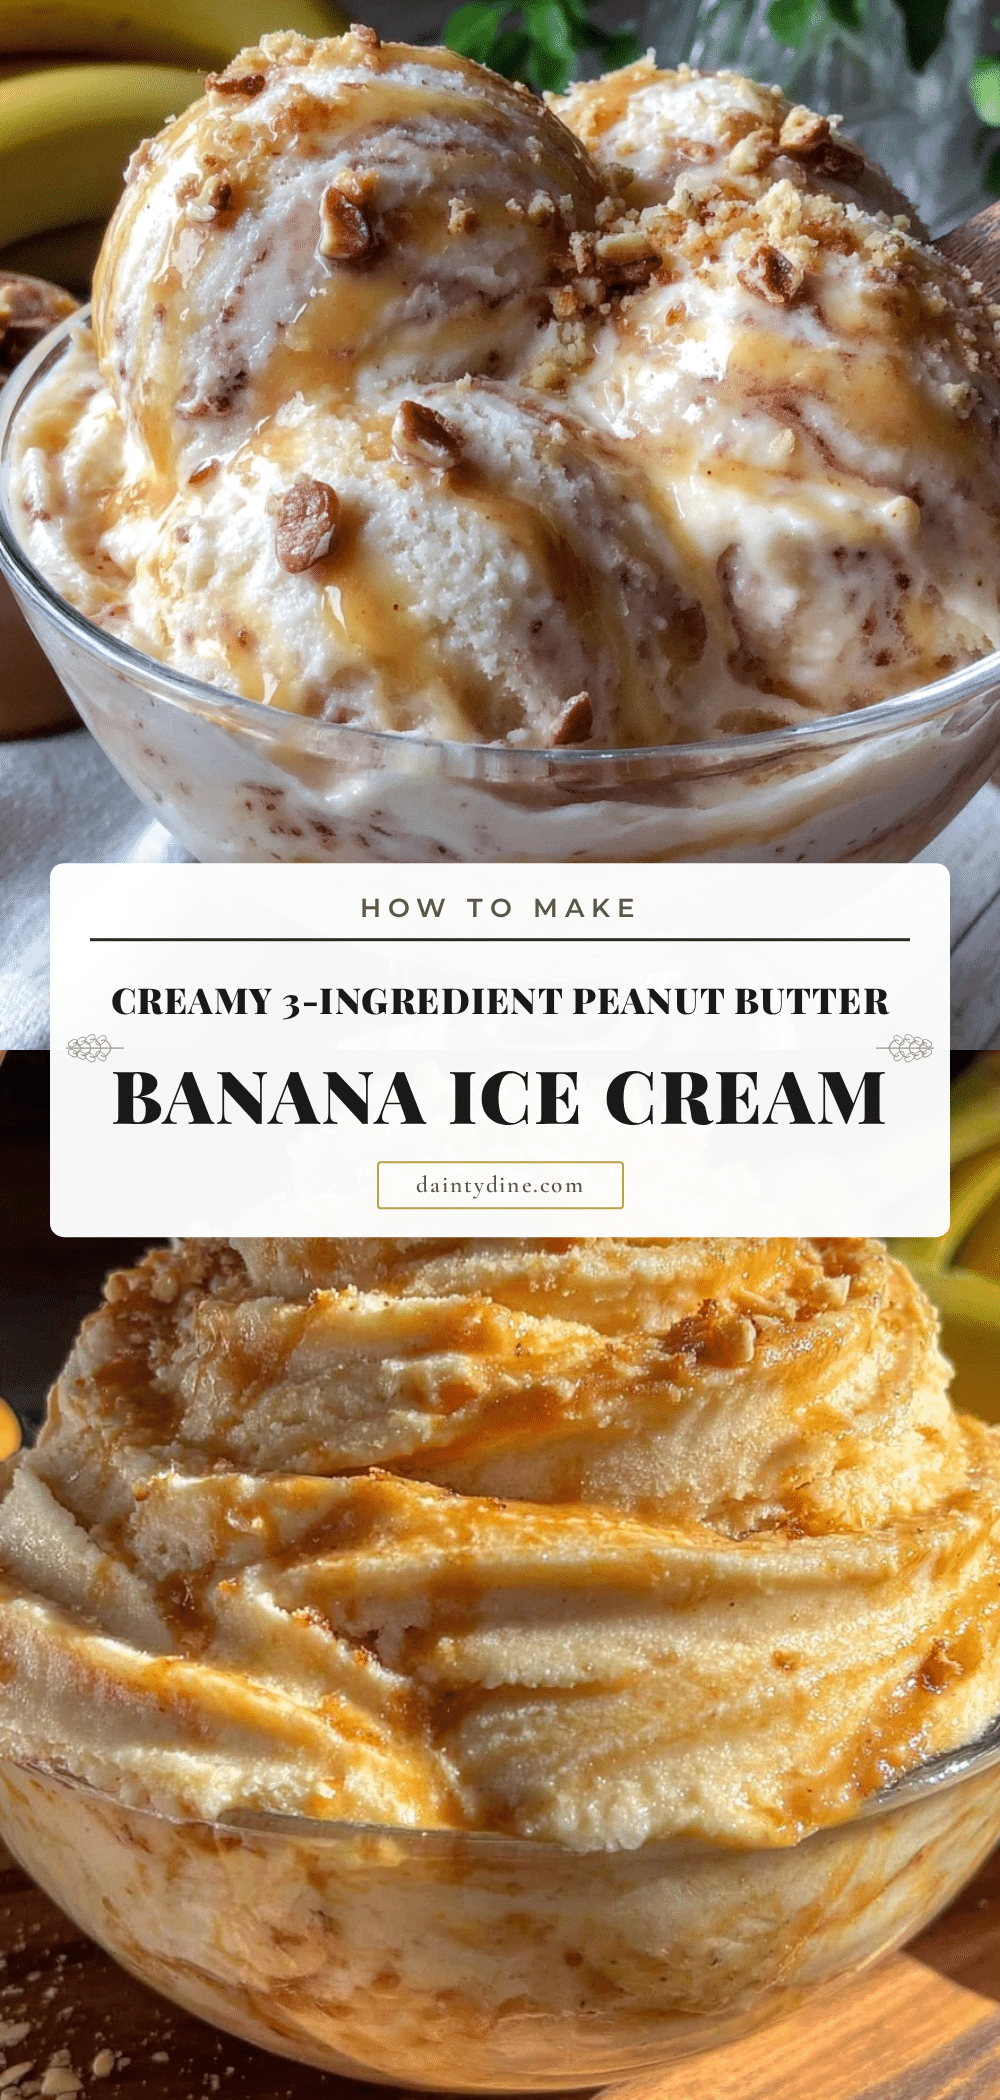
Creamy 3-Ingredient Peanut Butter Banana Nice Cream
A quick, easy, and healthy dessert made with just ripe bananas, peanut butter, and milk. This creamy nice cream is perfect for satisfying sweet cravings guilt-free.
- Prep Time: 10 minutes
- Cook Time: 0 minutes
- Total Time: 2 hours 10 minutes
- Yield: 3 servings 1x
- Category: Dessert
- Cuisine: American
Ingredients
- 3 medium ripe bananas, peeled, sliced, and frozen
- 1/3 cup creamy natural peanut butter
- 1/4 cup milk of choice (dairy, almond, oat, or coconut milk)
Instructions
- Peel and slice 3 medium ripe bananas into 1/2-inch pieces. Spread them out on a parchment-lined baking sheet and freeze for at least 2 hours or overnight.
- Measure 1/3 cup creamy peanut butter and 1/4 cup milk of choice.
- Place frozen banana slices in your blender or food processor. Pulse a few times to break them down initially (about 20 seconds).
- Pour in the peanut butter and milk. Blend on medium speed, stopping occasionally to scrape down the sides with a spatula. Blend for about 1-2 minutes until smooth and creamy.
- If the mixture is too thick, add a splash more milk (1 tablespoon at a time). If too thin, add a few more frozen banana pieces and blend again.
- Serve immediately for a soft-serve style or transfer to a freezer-safe container and freeze for 1-2 hours for a firmer texture.
- Optional: Add chopped nuts, dark chocolate chips, or a drizzle of peanut butter before serving.
Notes
Freeze bananas sliced for easier blending. Use natural peanut butter without added sugar or oils. Avoid overblending to prevent liquidy texture. Let frozen nice cream sit at room temperature for 5 minutes before scooping if frozen solid.
Nutrition
- Serving Size: 1 serving (approxima
- Calories: 180
- Fat: 9
- Carbohydrates: 22
- Fiber: 3
- Protein: 5
Keywords: peanut butter banana nice cream, healthy dessert, 3-ingredient dessert, vegan ice cream, dairy-free dessert, quick dessert, healthy snack