Love this? Save it for later!
Share the inspiration with your friends
There used to be a tiny, drafty bakery called The Gilded Leaf on a quiet corner of Elm Street that made the best pumpkin scones in the city. When they closed their doors for good last autumn, I felt like I had lost a close friend. It wasn’t just about the food, though that was the main part. It was the ritual of walking in, the smell of cinnamon and roasted squash, and the way the barista would slide a warm plate across the counter with a smile. I spent months trying to replicate that exact flavor profile, and honestly, I failed more times than I care to admit.
After seven tries — including one disaster where I used butter straight from the freezer and ended up with rock-hard discs — I finally got it. The key wasn’t in the pumpkin, but in the handling. You know that feeling when you’re chasing a memory through your own kitchen, hoping it tastes just like the real thing? That was me. I was determined to bring that cozy, rainy-day vibe back into my home. I mean, let’s face it, you can’t buy that specific comfort. You have to make it yourself, even if it means cleaning flour off every surface.
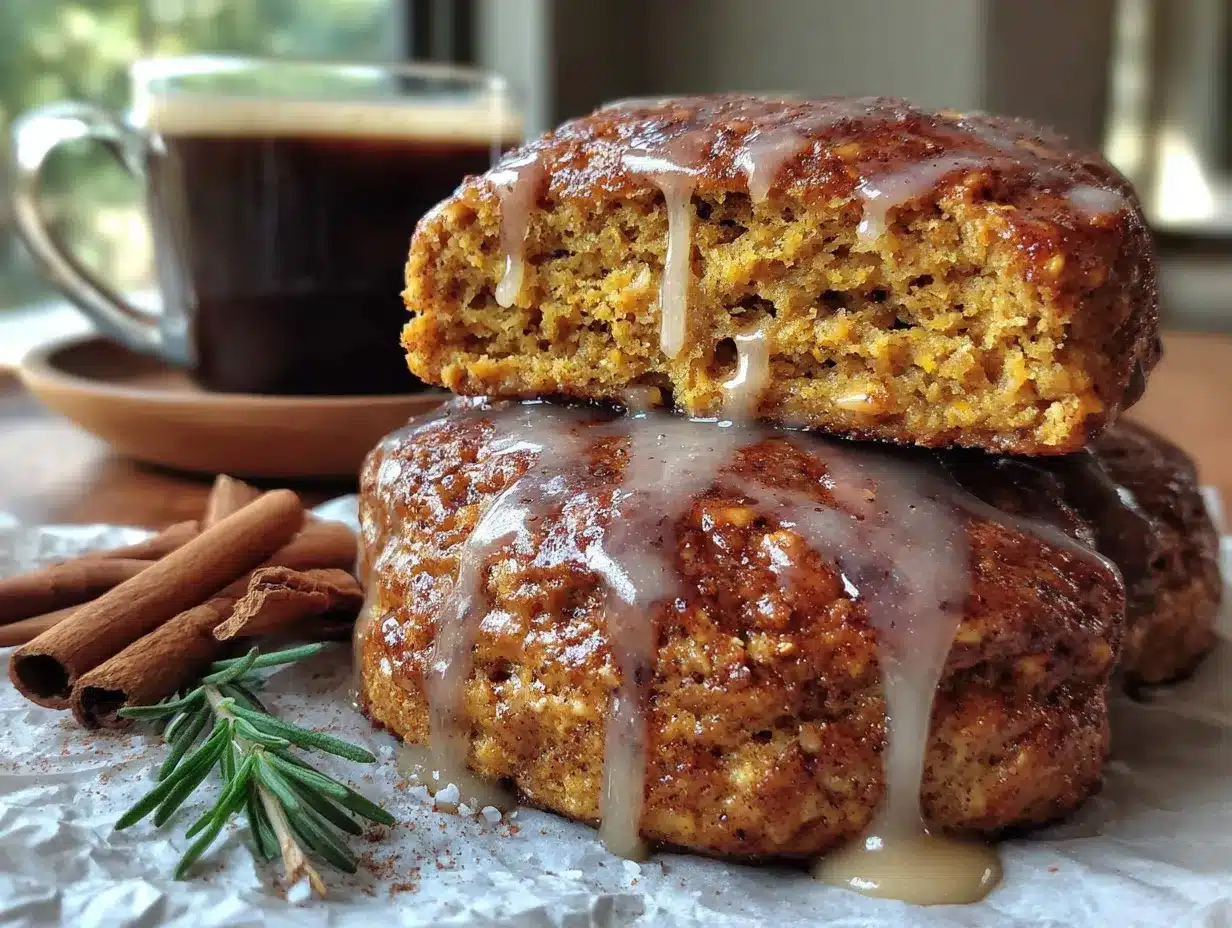
These cozy pumpkin scones with maple glaze are the result of that obsession. They are tender, slightly crumbly, and taste like autumn wrapped in a blanket. I remember sitting in The Gilded Leaf, watching the rain hit the window, eating one of theirs while my hands were warm from the mug. Now, I get to recreate that moment every time I bake these. It’s not just a recipe; it’s a time machine for your taste buds. And if you’ve ever lost your favorite spot, you know how much it helps to have a way to hold onto that feeling.
Why You’ll Love This Recipe
I’ve tested this pumpkin scone recipe so many times that I’ve probably baked them for every neighbor within a five-mile radius. But it’s not just about repetition; it’s about getting the science right while keeping the soul intact. These scones are different because they don’t rely on excessive sugar to mask the pumpkin flavor. Instead, they let the natural sweetness of the pumpkin and the depth of the maple glaze shine through. I use a blend of all-purpose flour and a touch of whole wheat for structure, which keeps them from being too dense. It’s a technique I learned from a pastry chef friend who insists that whole grains add a nutty undertone that pairs perfectly with spices.
Here is why these are going to become your new fall favorite:
- Quick & Easy: You can have these from bowl to oven in under 30 minutes. This is perfect for those busy weeknights when you need a treat but don’t want to spend hours in the kitchen.
- Simple Ingredients: You likely already have most of these in your pantry. Pumpkin puree, maple syrup, flour, and spices. No fancy grocery trips needed.
- Perfect for Brunch: These are great for hosting a casual morning gathering or enjoying with your coffee on a slow weekend.
- Crowd-Pleaser: Kids usually love them because they taste like dessert, and adults appreciate the balanced spice profile. It always gets rave reviews.
- Unbelievably Delicious: The texture is what gets people. Crisp edges, soft centers, and a glaze that doesn’t soak in too much but stays sticky and sweet.
This recipe isn’t just good; it’s the kind that makes you close your eyes after the first bite. It’s comfort food reimagined—healthier than a donut, faster than a cake, but with the same soul-soothing satisfaction. Whether you are impressing guests or just treating yourself, these scones turn a simple meal into something memorable. I’ve found that using a high-quality maple syrup makes a huge difference, so I recommend sticking to Grade B if you can find it for that deeper, caramel-like flavor.
What Ingredients You Will Need
This recipe uses simple, wholesome ingredients to deliver bold flavor and satisfying texture without the fuss. The beauty of baking with pumpkin is that it adds moisture and natural sweetness, reducing the need for refined sugar. I like to keep the ingredient list short because sometimes, less really is more. Here is what you need to get started.
For the Scone Dough
- All-Purpose Flour: 2 cups (250g). I recommend King Arthur Flour for its consistent protein content, which helps the scones rise properly without being tough.
- Whole Wheat Flour: 1/2 cup (60g). This adds a subtle nuttiness and structure. If you need gluten-free, use a 1:1 gluten-free blend.
- Baking Powder: 2 teaspoons. Make sure this is fresh! Old baking powder is the #1 reason for dense scones.
- Baking Soda: 1/2 teaspoon. This reacts with the acidity in the pumpkin puree to help the scones lift.
- Salt: 1/2 teaspoon. Essential for balancing the sweetness.
- Pumpkin Puree: 1 cup (240g). Do not use pumpkin pie filling. Look for 100% pure pumpkin in a can or make your own roasted pumpkin puree.
- Maple Syrup: 1/4 cup (60ml). Use real maple syrup for the best flavor. Avoid pancake syrup, which is just corn syrup.
- Unsalted Butter: 1/2 cup (115g), very cold and cubed. Cold butter is non-negotiable for flaky layers.
- Egg: 1 large egg, room temperature. Helps bind the dough.
- Vanilla Extract: 1 teaspoon. Pure vanilla adds depth.
- Pumpkin Pie Spice: 2 teaspoons. You can make your own mix or use a store-bought brand like McCormick.
For the Maple Glaze
- Confectioners’ Sugar: 1 cup (120g). Sifted to avoid lumps.
- Maple Syrup: 2-3 tablespoons. Adjust for desired consistency.
- Milk: 1-2 teaspoons. Dairy or non-dairy works fine.
If you want to get creative, you can swap the pumpkin spice for a mix of cinnamon, nutmeg, and ginger. Also, if you are watching your sugar intake, you can reduce the maple syrup in the glaze by half, though it will be less sticky. For a dairy-free option, use coconut oil instead of butter and almond milk in the glaze.
Equipment Needed
You don’t need a fancy kitchen to make these scones. A large mixing bowl is all you really need for combining the dry ingredients. I prefer using a pastry cutter or two forks to cut in the butter because it gives you better control over the butter pieces. If you don’t have one, a clean pair of scissors works surprisingly well. A baking sheet lined with parchment paper is essential to prevent sticking and ensure even baking. I also recommend a cooling rack so the scones don’t get soggy on the bottom. For the glaze, a small whisk and a shallow bowl are perfect. Keep it simple and budget-friendly; you don’t need expensive gadgets for great baking.
Preparation Method
- Prep the Oven and Pan: Preheat your oven to 400°F (200°C). Line a large baking sheet with parchment paper. This step takes about 2 minutes.
- Mix Dry Ingredients: In a large bowl, whisk together the all-purpose flour, whole wheat flour, baking powder, baking soda, salt, and pumpkin pie spice. Ensure there are no clumps. This should take about 1 minute.
- Cut in the Butter: Add the cold, cubed butter to the dry mixture. Use a pastry cutter, two forks, or your fingers to work the butter into the flour until the mixture resembles coarse crumbs with some pea-sized pieces of butter remaining. Do not overmix. This takes about 2-3 minutes.
- Add Wet Ingredients: In a separate small bowl, whisk together the pumpkin puree, maple syrup, egg, and vanilla extract. Pour this mixture into the flour-butter mixture. Stir gently with a spatula until the dough just comes together. It will look shaggy and dry. This takes about 2 minutes.
- Form the Dough: Turn the dough out onto a lightly floured surface. Gently press it into a disc about 1 inch thick. Do not knead it like bread! Overworking the dough will make the scones tough. This takes about 1 minute.
- Cut the Scones: Cut the disc into 8 equal wedges using a sharp knife or pizza cutter. Place them on the prepared baking sheet, spaced 2 inches apart. This takes about 2 minutes.
- Bake: Bake for 15-18 minutes, or until the edges are golden brown and a toothpick inserted into the center comes out clean. This takes about 15-18 minutes.
- Cool: Let the scones cool on the baking sheet for 5 minutes before moving them to a wire rack. This takes about 5 minutes.
- Make the Glaze: While the scones cool, whisk together the confectioners’ sugar, maple syrup, and milk until smooth. Adjust thickness by adding more milk or sugar. This takes about 2 minutes.
- Glaze: Drizzle the glaze over the cooled scones. Enjoy immediately or store in an airtight container. This takes about 2 minutes.
Cooking Tips & Techniques
The biggest mistake people make with scones is overmixing the dough. I learned this the hard way during my third attempt. The dough should look messy and shaggy. If it looks smooth, you’ve worked it too much. Another tip is to keep everything cold. If your butter starts to melt before it hits the oven, your scones won’t be flaky. I sometimes freeze my butter cubes for 10 minutes before cutting them in. Also, don’t skip the parchment paper. It makes cleanup so much easier and prevents the bottoms from burning. If your oven runs hot, check the scones at 12 minutes. Every oven is different, so keep an eye on them.
Variations & Adaptations
While the classic pumpkin spice is my favorite, there are plenty of ways to tweak this recipe. You can add 1/2 cup of chopped pecans or walnuts for extra crunch. If you like chocolate, stir in 1/2 cup of dark chocolate chips. For a spicier kick, add a pinch of cayenne pepper to the dough. If you are gluten-free, use a high-quality 1:1 gluten-free flour blend, but note that the texture might be slightly denser. For a vegan version, use coconut oil instead of butter and a flax egg (1 tablespoon ground flaxseed mixed with 3 tablespoons water) instead of the regular egg. I tried the walnut version once and it became a instant hit at my family’s Thanksgiving dinner.
Serving & Storage Suggestions
These scones are best served warm, fresh from the oven. They pair wonderfully with a cup of black coffee or a spiced chai latte. For storage, keep them in an airtight container at room temperature for up to 2 days. If you need to freeze them, bake them without the glaze, wrap them tightly in plastic wrap, and freeze for up to 3 months. To reheat, simply warm them in the microwave for 20 seconds or in the oven at 350°F for 5 minutes. Add the glaze after reheating. The flavors actually deepen after a day, making them great for meal prep.
Nutritional Information & Benefits
Each scone contains approximately 250 calories, with 8g of protein and 12g of fat. Pumpkin is rich in vitamin A and fiber, making these scones a slightly healthier treat than traditional pastries. They are naturally dairy-free if you swap the butter for oil, and gluten-free with the right flour blend. However, they do contain sugar and carbs, so enjoy in moderation. I love making these because they feel indulgent but use real, whole-food ingredients. It’s a balance I strive for in my baking.
Conclusion
These cozy pumpkin scones with maple glaze are more than just a recipe; they are a celebration of fall. I hope they bring you as much joy as they have brought me. I encourage you to try them and maybe add your own twist, like adding orange zest or white chocolate chips. Let me know how they turn out! I love hearing from you in the comments. Happy baking, and may your kitchen always smell like autumn.
Frequently Asked Questions
Can I use fresh pumpkin instead of canned?
Yes, you can! Roast a sugar pumpkin, scoop out the flesh, and puree it. Just make sure to strain the excess moisture, as fresh pumpkin can be wetter than canned.
Why are my scones dense?
This usually happens if the dough is overmixed or the baking powder is old. Handle the dough gently and check your leavening agents.
Can I make the dough ahead of time?
You can mix the dough, cut the scones, and freeze them on the baking sheet. Then bake them directly from frozen, adding 2-3 minutes to the bake time.
What if I don’t have pumpkin pie spice?
Make your own mix using 1/2 tsp cinnamon, 1/4 tsp nutmeg, 1/8 tsp ginger, and 1/8 tsp cloves for every teaspoon of pumpkin pie spice.
How do I store the glaze?
The glaze is best used fresh. If you must store it, keep it in the fridge for up to 2 days and re-whisk before using. It may separate, so just stir it back together.
Pin This Recipe!
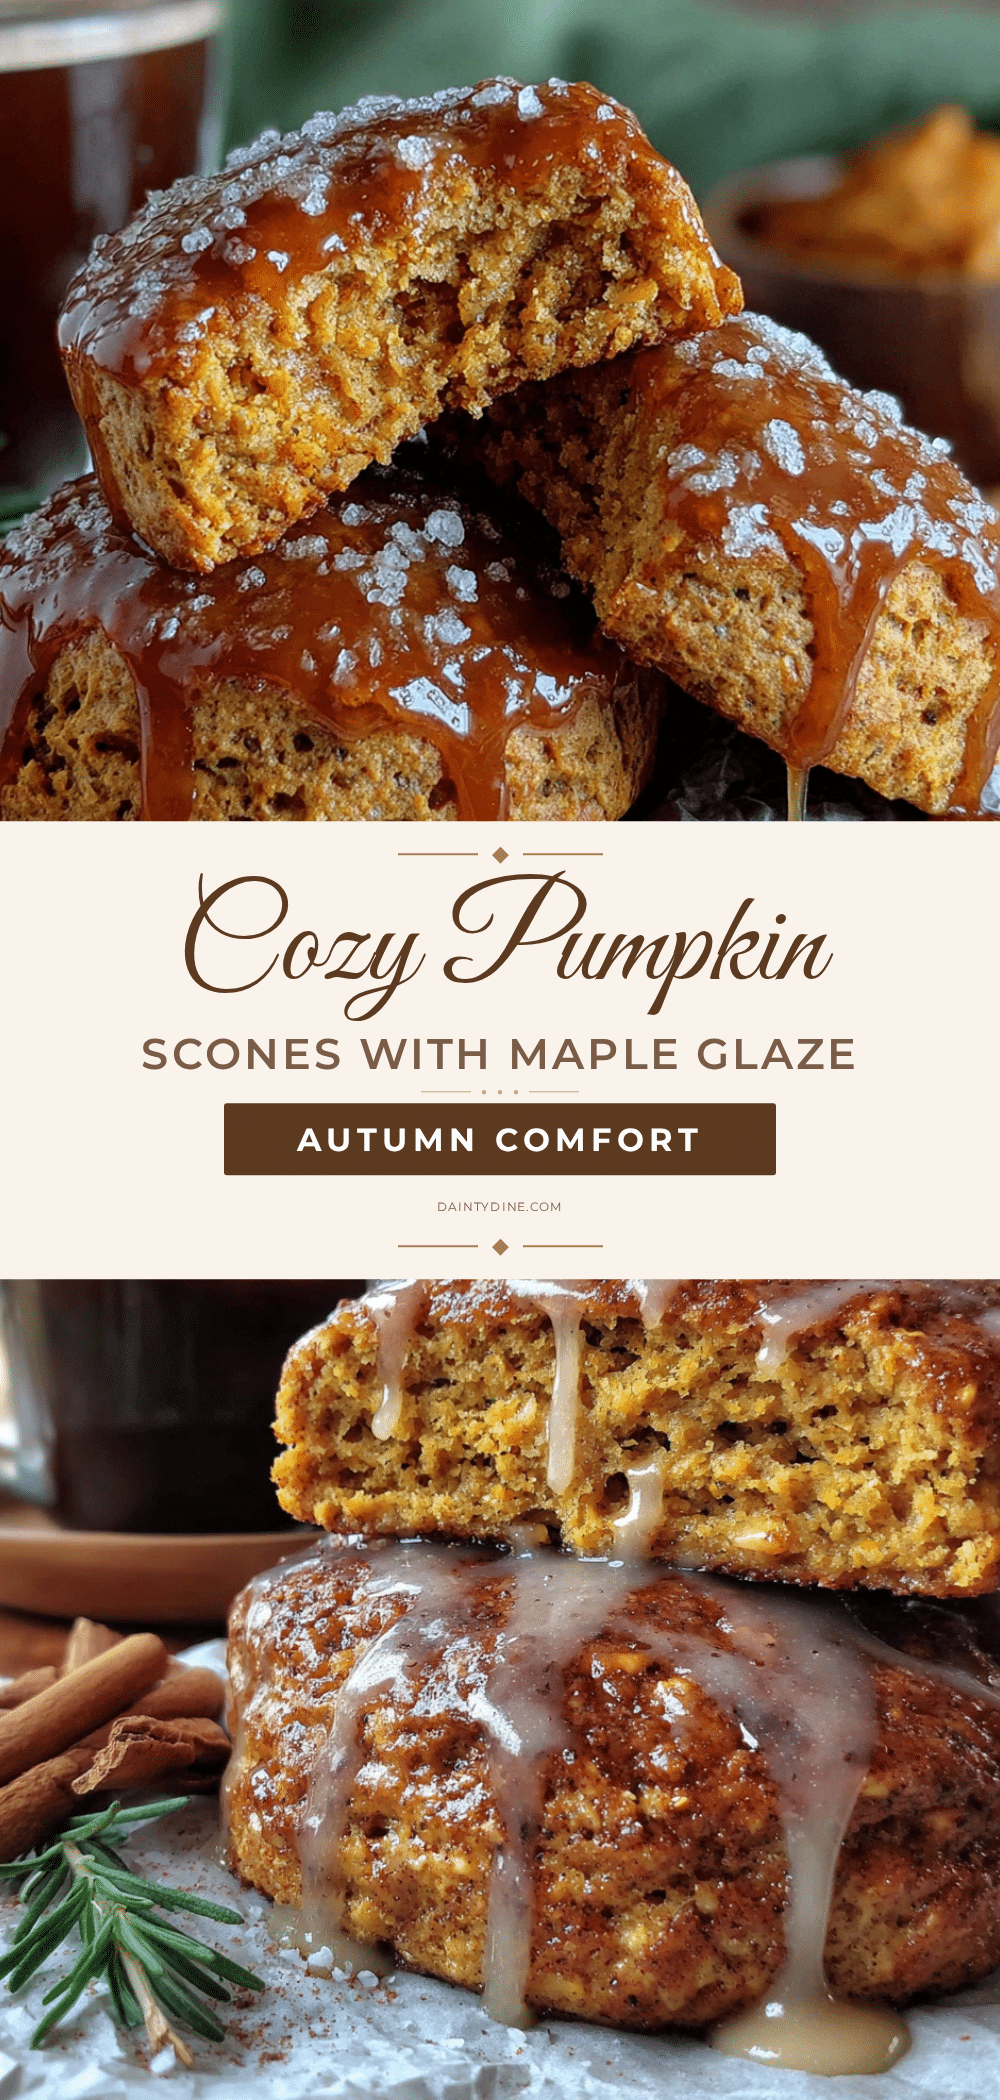
Cozy Pumpkin Scones with Maple Glaze
Tender, slightly crumbly pumpkin scones with a sweet maple glaze, designed to capture the cozy essence of autumn. These easy-to-make treats are perfect for brunch or a quiet weekend morning.
- Prep Time: 15 minutes
- Cook Time: 18 minutes
- Total Time: 33 minutes
- Yield: 8 servings 1x
- Category: Breakfast
- Cuisine: American
Ingredients
- 2 cups (250g) All-Purpose Flour
- 1/2 cup (60g) Whole Wheat Flour
- 2 teaspoons Baking Powder
- 1/2 teaspoon Baking Soda
- 1/2 teaspoon Salt
- 1 cup (240g) Pumpkin Puree
- 1/4 cup (60ml) Maple Syrup
- 1/2 cup (115g) Unsalted Butter, very cold and cubed
- 1 large Egg, room temperature
- 1 teaspoon Vanilla Extract
- 2 teaspoons Pumpkin Pie Spice
- 1 cup (120g) Confectioners’ Sugar, sifted
- 2–3 tablespoons Maple Syrup (for glaze)
- 1–2 teaspoons Milk
Instructions
- Preheat oven to 400°F (200°C) and line a large baking sheet with parchment paper.
- In a large bowl, whisk together the all-purpose flour, whole wheat flour, baking powder, baking soda, salt, and pumpkin pie spice.
- Add the cold, cubed butter to the dry mixture. Use a pastry cutter, two forks, or your fingers to work the butter into the flour until it resembles coarse crumbs with pea-sized pieces of butter remaining.
- In a separate small bowl, whisk together the pumpkin puree, maple syrup, egg, and vanilla extract.
- Pour the wet mixture into the flour-butter mixture and stir gently with a spatula until the dough just comes together; it should look shaggy and dry.
- Turn the dough out onto a lightly floured surface and gently press it into a disc about 1 inch thick. Do not knead.
- Cut the disc into 8 equal wedges and place them on the prepared baking sheet, spaced 2 inches apart.
- Bake for 15-18 minutes, or until the edges are golden brown and a toothpick inserted into the center comes out clean.
- Let the scones cool on the baking sheet for 5 minutes before moving them to a wire rack.
- While the scones cool, whisk together the confectioners’ sugar, maple syrup, and milk until smooth.
- Drizzle the glaze over the cooled scones and enjoy immediately.
Notes
Ensure butter is very cold for flaky layers. Do not overmix the dough to avoid tough scones. For gluten-free, use a 1:1 gluten-free flour blend. For dairy-free, use coconut oil and almond milk. For vegan, use coconut oil and a flax egg. Fresh pumpkin can be used if excess moisture is strained.
Nutrition
- Serving Size: 1 scone
- Calories: 250
- Sugar: 18
- Sodium: 250
- Fat: 12
- Saturated Fat: 7
- Carbohydrates: 32
- Fiber: 2
- Protein: 8
Keywords: pumpkin scones, maple glaze, fall recipe, autumn baking, easy brunch, pumpkin spice, cozy baking


