Love this? Save it for later!
Share the inspiration with your friends
My neighbor, an older woman named Clara, watched me from her porch as I struggled to pry the seeds out of a particularly stubborn pumpkin. I was covered in stringy orange pulp, muttering under my breath, and honestly questioning why anyone thought carving pumpkins was fun. She didn’t say anything at first. Then she slowly walked over, handed me a colander, and said, “You’re working too hard. Rinse them in the colander first—the pulp lets go easier. And don’t throw those seeds away. That’s the real treasure.”
I had never really thought about pumpkin seeds as anything more than a byproduct of Halloween decor. But Clara’s quiet wisdom stuck with me. That afternoon, she showed me her simple method for making cozy oven-roasted sea salt pumpkin seeds, and I have been making them every single fall since. There was no formal recipe written down—just her hands showing me the way, and me trying to keep up. I have tweaked it over the years, adding a little more salt here, a slightly lower temperature there, but the heart of it is still hers.
Let me tell you, the first batch I made on my own was a disaster. I burned them. Badly. The kitchen smelled like a campfire, and I was so frustrated I almost gave up. But Clara just laughed and said, “You have to listen to them. They tell you when they are done.” That is the kind of cooking wisdom you cannot get from a recipe card. Now, these seeds are my cozy fall ritual. Maybe you have been there—standing over a baking sheet, wondering if you are doing it right. I promise, this recipe makes it foolproof.
Why You’ll Love This Recipe
These cozy oven-roasted sea salt pumpkin seeds are not just a snack—they are a comforting, crunchy little moment of peace. I have tested this method more times than I can count, and it never fails to deliver that perfect, salty, toasty bite. Here is why this version stands out from the rest:
- Simple Ingredients: You only need pumpkin seeds, oil, and sea salt. That is it. No fancy spices or hard-to-find items.
- Quick & Easy: From pumpkin to snack in under 30 minutes. Perfect for when you need something satisfying fast.
- Perfect for Fall: Whether you are carving pumpkins or just craving a seasonal treat, these seeds hit the spot.
- Crowd-Pleaser: I have brought these to gatherings and watched them disappear in minutes. Kids and adults both love them.
- Unbelievably Delicious: The texture is what gets me every time—crispy on the outside, with a little chewiness inside. The sea salt brings out the nutty flavor of the seeds beautifully.
What makes this recipe different is the technique. Most recipes tell you to boil the seeds first or roast them at high heat. I have tried both, and honestly, they either turn out soggy or burned. My method uses a lower oven temperature and a simple toss halfway through. It gives you that golden-brown crunch without the risk of scorching. This recipe is comfort food in its purest form—simple, warm, and deeply satisfying.
What Ingredients You Will Need
This recipe uses the most basic, wholesome ingredients to create something truly special. You probably have everything you need already, which makes it even better. Here is what you will need:
- Fresh pumpkin seeds: About 1 ½ cups, scooped straight from a medium-sized pumpkin. You can use seeds from sugar pumpkins or carving pumpkins—both work great. I find that sugar pumpkin seeds are a little smaller and more tender, but carving pumpkin seeds have a satisfying crunch.
- Olive oil or melted butter: 1 tablespoon. I prefer olive oil for its light flavor, but melted butter adds a lovely richness. Use what you have on hand.
- Sea salt: 1 teaspoon, plus more for sprinkling. I recommend a flaky sea salt like Maldon for the best texture, but any fine sea salt works. Avoid table salt—it is too harsh and can make the seeds taste metallic.
That is the entire list. Three ingredients. I love recipes like this because they remind you that you do not need a pantry full of exotic spices to make something delicious. The quality of your ingredients matters here, though. Fresh pumpkin seeds are key—they should feel moist but not slimy. If you are using seeds from a pumpkin that has been sitting out for a week, they might be a little dry. That is okay—just soak them in water for 10 minutes before roasting to rehydrate them slightly.
For the oil, I have tested this with avocado oil and coconut oil too. Avocado oil works well because it has a neutral flavor, but coconut oil can give the seeds a subtle sweetness that is actually quite nice. Just make sure whatever oil you use can handle a 325°F oven without smoking. Olive oil is my go-to because it is what I always have in my kitchen, and it adds a gentle fruity note that pairs perfectly with the earthy pumpkin seeds.
Equipment Needed
You do not need much to make these seeds, which is part of the appeal. Here is what I use:
- Baking sheet: A standard half-sheet pan works perfectly. I prefer a light-colored metal pan because dark pans can cause the seeds to brown too quickly.
- Parchment paper or silicone baking mat: This makes cleanup so much easier. The seeds can stick to the pan if you do not use anything, and nobody wants to scrub burnt-on bits.
- Colander: For rinsing the seeds. A fine-mesh colander is ideal so the small seeds do not fall through.
- Kitchen towel or paper towels: For drying the seeds thoroughly. This step is more important than you think.
- Mixing bowl: Any medium-sized bowl works for tossing the seeds with oil and salt.
- Spatula: For stirring the seeds halfway through roasting.
If you do not have parchment paper, you can grease the baking sheet lightly with oil. I have done that before, and it works fine, but the cleanup is a little more annoying. As for the colander, a regular colander with larger holes might let some seeds escape, so keep an eye out. I learned that the hard way when I lost half my seeds down the drain. A fine-mesh strainer is worth the investment if you make these often.
Preparation Method
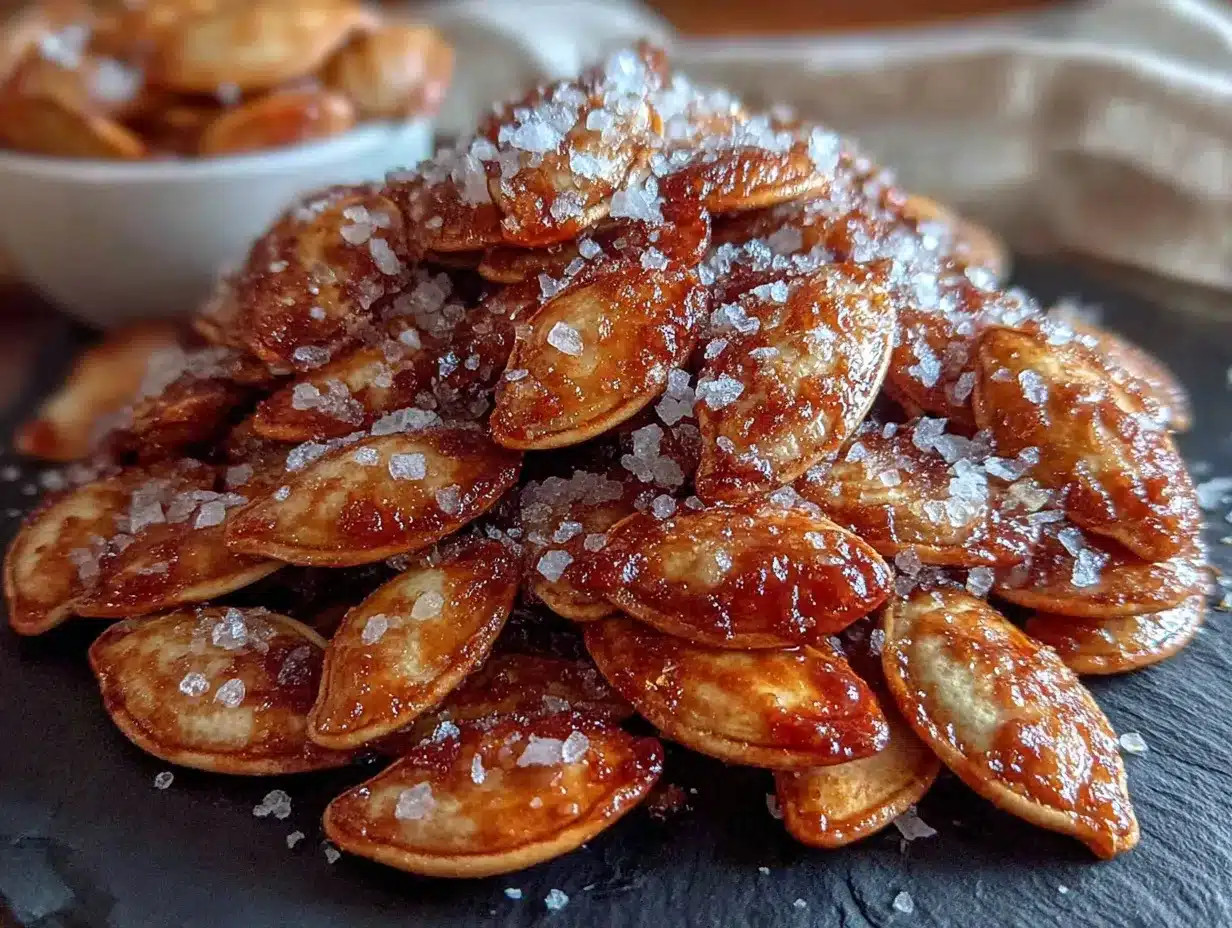
Making these cozy oven-roasted sea salt pumpkin seeds is straightforward, but the details matter. Follow these steps, and you will get perfect seeds every time.
- Preheat your oven to 325°F (163°C). This lower temperature is the secret to even roasting without burning. While the oven heats up, line your baking sheet with parchment paper.
- Clean the seeds. Place the pumpkin seeds in a colander and rinse them under cool running water. Use your fingers to gently rub the seeds together, loosening any remaining pumpkin pulp. You do not need to get every last bit of string off—a little pulp adds flavor. Just remove the big chunks.
- Dry the seeds thoroughly. This is the most important step. Spread the rinsed seeds on a clean kitchen towel or paper towels and pat them dry. Let them sit for 5-10 minutes to air-dry a bit more. If the seeds are wet, they will steam instead of roast, and you will end up with chewy, sad seeds. I have made this mistake before, and trust me, it is worth the extra few minutes.
- Toss with oil and salt. In a mixing bowl, combine the dried seeds, 1 tablespoon of olive oil, and 1 teaspoon of sea salt. Stir until every seed is coated. The oil helps the salt stick and promotes even browning.
- Spread on the baking sheet. Pour the seasoned seeds onto the prepared baking sheet and spread them into a single layer. Do not overcrowd them—if the seeds are piled on top of each other, they will not crisp up evenly. If you have a lot of seeds, use two baking sheets.
- Roast for 10 minutes. Place the baking sheet on the middle rack of the oven. Set a timer for 10 minutes.
- Stir and rotate. After 10 minutes, remove the baking sheet from the oven. Use a spatula to stir the seeds, flipping them over so they brown on all sides. Rotate the pan front to back to ensure even roasting.
- Roast for another 5-10 minutes. Return the pan to the oven and roast for another 5-10 minutes. Start checking at the 5-minute mark. The seeds are done when they are golden brown and fragrant. You will hear them start to pop slightly—that is the sound Clara was talking about. They should feel dry and crisp to the touch.
- Cool completely. Remove the baking sheet from the oven and let the seeds cool on the pan for at least 10 minutes. They will continue to crisp up as they cool. Do not skip this step—warm seeds can seem soft, but they firm up beautifully once cooled.
- Season with extra salt (optional). Once cooled, taste a seed. If you want more salt, sprinkle a little flaky sea salt on top and toss gently. I usually add a pinch more because I love that salty crunch.
Cooking Tips & Techniques
Over the years, I have learned a few tricks that make these seeds consistently perfect. Here are my best tips:
- Dry the seeds like your life depends on it. I cannot stress this enough. Wet seeds steam instead of roast. Pat them dry with a towel, then let them air-dry for a few minutes. If you are in a hurry, you can spread them on a towel and blot them with another towel on top.
- Use a lower oven temperature. Most recipes call for 350°F or even 400°F, but I have found that 325°F gives you more control. The seeds roast evenly without burning on the edges. It takes a few extra minutes, but the results are worth it.
- Listen for the pop. As the seeds roast, they will start to make a faint popping sound. That is the moisture escaping and the seeds crisping up. When the popping slows down, they are close to done.
- Do not walk away. The line between perfectly roasted and burnt is thin. I learned this the hard way when I got distracted by a phone call and came back to a smoking kitchen. Set a timer, and check the seeds frequently in the last few minutes.
- Let them cool completely before storing. If you put warm seeds in a container, the trapped steam will make them soggy. Spread them out on the baking sheet and let them sit until they are completely cool to the touch.
Variations & Adaptations
Once you master the basic recipe, you can have fun with variations. Here are a few of my favorites:
- Spicy Chili Lime: Add ½ teaspoon of chili powder and the zest of one lime to the oil and salt mixture. The lime adds a bright, citrusy kick that balances the heat. I made this version for a football party, and it was gone before the first quarter ended.
- Sweet Cinnamon: Swap the sea salt for 1 tablespoon of brown sugar and ½ teaspoon of cinnamon. Toss the seeds with the oil first, then coat them in the sugar mixture. Roast as directed. These taste like a warm fall dessert.
- Garlic & Herb: Add ½ teaspoon of garlic powder and 1 teaspoon of dried rosemary or thyme to the oil and salt. This savory version is amazing on salads or soups.
- Maple Rosemary: Replace the oil with melted butter and add 1 tablespoon of maple syrup and ½ teaspoon of chopped fresh rosemary. The sweetness of the maple pairs beautifully with the earthy rosemary. Just watch them closely—the sugar can burn faster than plain seeds.
- Everything Bagel: After tossing the seeds with oil and salt, sprinkle them with 1 tablespoon of everything bagel seasoning (sesame seeds, poppy seeds, garlic flakes, onion flakes). This is my current obsession—it is salty, savory, and incredibly addictive.
Serving & Storage Suggestions
These cozy oven-roasted sea salt pumpkin seeds are incredibly versatile. Here is how I like to serve and store them:
- Serving temperature: They are best at room temperature. The texture is perfectly crunchy, and the saltiness shines through.
- Presentation: I serve them in a simple wooden bowl or a small ceramic dish. They look beautiful on a charcuterie board alongside cheese, dried fruit, and nuts.
- Pairings: These seeds are amazing on their own, but they also pair wonderfully with a warm bowl of butternut squash soup or a simple green salad. I have even sprinkled them over roasted vegetables for extra crunch.
- Storage: Store the cooled seeds in an airtight container at room temperature. They will stay fresh for up to two weeks. Do not refrigerate them—the moisture in the fridge can make them soft.
- Re-crisping: If the seeds lose their crunch after a few days, spread them on a baking sheet and roast them at 300°F for 3-4 minutes. Let them cool completely before storing again.
- Flavor development: Honestly, these seeds are best the day they are made. The texture is at its peak, and the salt is perfectly distributed. That said, they are still delicious for days afterward—just not quite as crispy.
Nutritional Information & Benefits
Pumpkin seeds are a nutritional powerhouse, and these roasted seeds make it easy to enjoy them as a snack. Here is a rough estimate for a ¼-cup serving (about 30 grams):
- Calories: Approximately 150
- Protein: 7 grams
- Fat: 13 grams (mostly healthy unsaturated fats)
- Carbohydrates: 4 grams
- Fiber: 2 grams
- Magnesium: 37% of the Daily Value
- Zinc: 20% of the Daily Value
Pumpkin seeds are rich in magnesium, which supports muscle function and sleep quality. The zinc content is great for immune health, especially during cold and flu season. They are naturally gluten-free and low in carbs, making them a good option for various dietary needs. Just keep in mind that the sodium content will vary depending on how much salt you add. If you are watching your salt intake, you can reduce the salt or use a salt-free seasoning blend.
Conclusion
These cozy oven-roasted sea salt pumpkin seeds are more than just a snack—they are a little ritual that connects me to that afternoon with Clara every single time. The simple act of cleaning, seasoning, and roasting seeds from a pumpkin feels grounding. It is a reminder that the best things in life are often the simplest.
I hope you give this recipe a try the next time you carve a pumpkin or just crave something warm and salty. Feel free to make it your own—add your favorite spices, experiment with different salts, and find the version that makes you smile. That is the beauty of a recipe like this. It is a starting point, not a rulebook.
I would love to hear how your seeds turn out! Drop a comment below and let me know what variations you tried. Did you go spicy, sweet, or savory? Share your creation on Pinterest and tag me so I can see your cozy fall snack. Happy roasting, friend!
Frequently Asked Questions
Can I use store-bought pumpkin seeds instead of fresh ones?
Yes, you absolutely can. Store-bought raw pumpkin seeds (sometimes called pepitas) work perfectly. Just skip the cleaning and drying steps, and toss them directly with oil and salt. Roast them for a slightly shorter time—start checking at 8 minutes—because they are usually drier than fresh seeds.
Why are my roasted pumpkin seeds chewy instead of crunchy?
Chewy seeds usually mean they were not dried thoroughly before roasting, or they were not roasted long enough. Make sure you pat the seeds completely dry after rinsing. If they are still chewy after roasting, pop them back in the oven for another 3-5 minutes at 325°F.
Do I need to boil the seeds before roasting?
No, you do not need to boil them. Some recipes recommend boiling to remove the pulp more easily, but I find that rinsing and rubbing them in a colander works just fine. Boiling can actually make the seeds absorb water, which makes them take longer to crisp up.
How long do roasted pumpkin seeds last?
Stored in an airtight container at room temperature, they will stay fresh for up to two weeks. If they start to lose their crunch, you can re-crisp them in a 300°F oven for 3-4 minutes. Just let them cool completely before storing again.
Can I roast pumpkin seeds without oil?
You can, but they will not brown as evenly and may be drier. The oil helps the salt stick and promotes even browning. If you want to skip the oil, try tossing the seeds with a little water and salt, then roast them at a slightly lower temperature (300°F) and check them frequently.
Pin This Recipe!
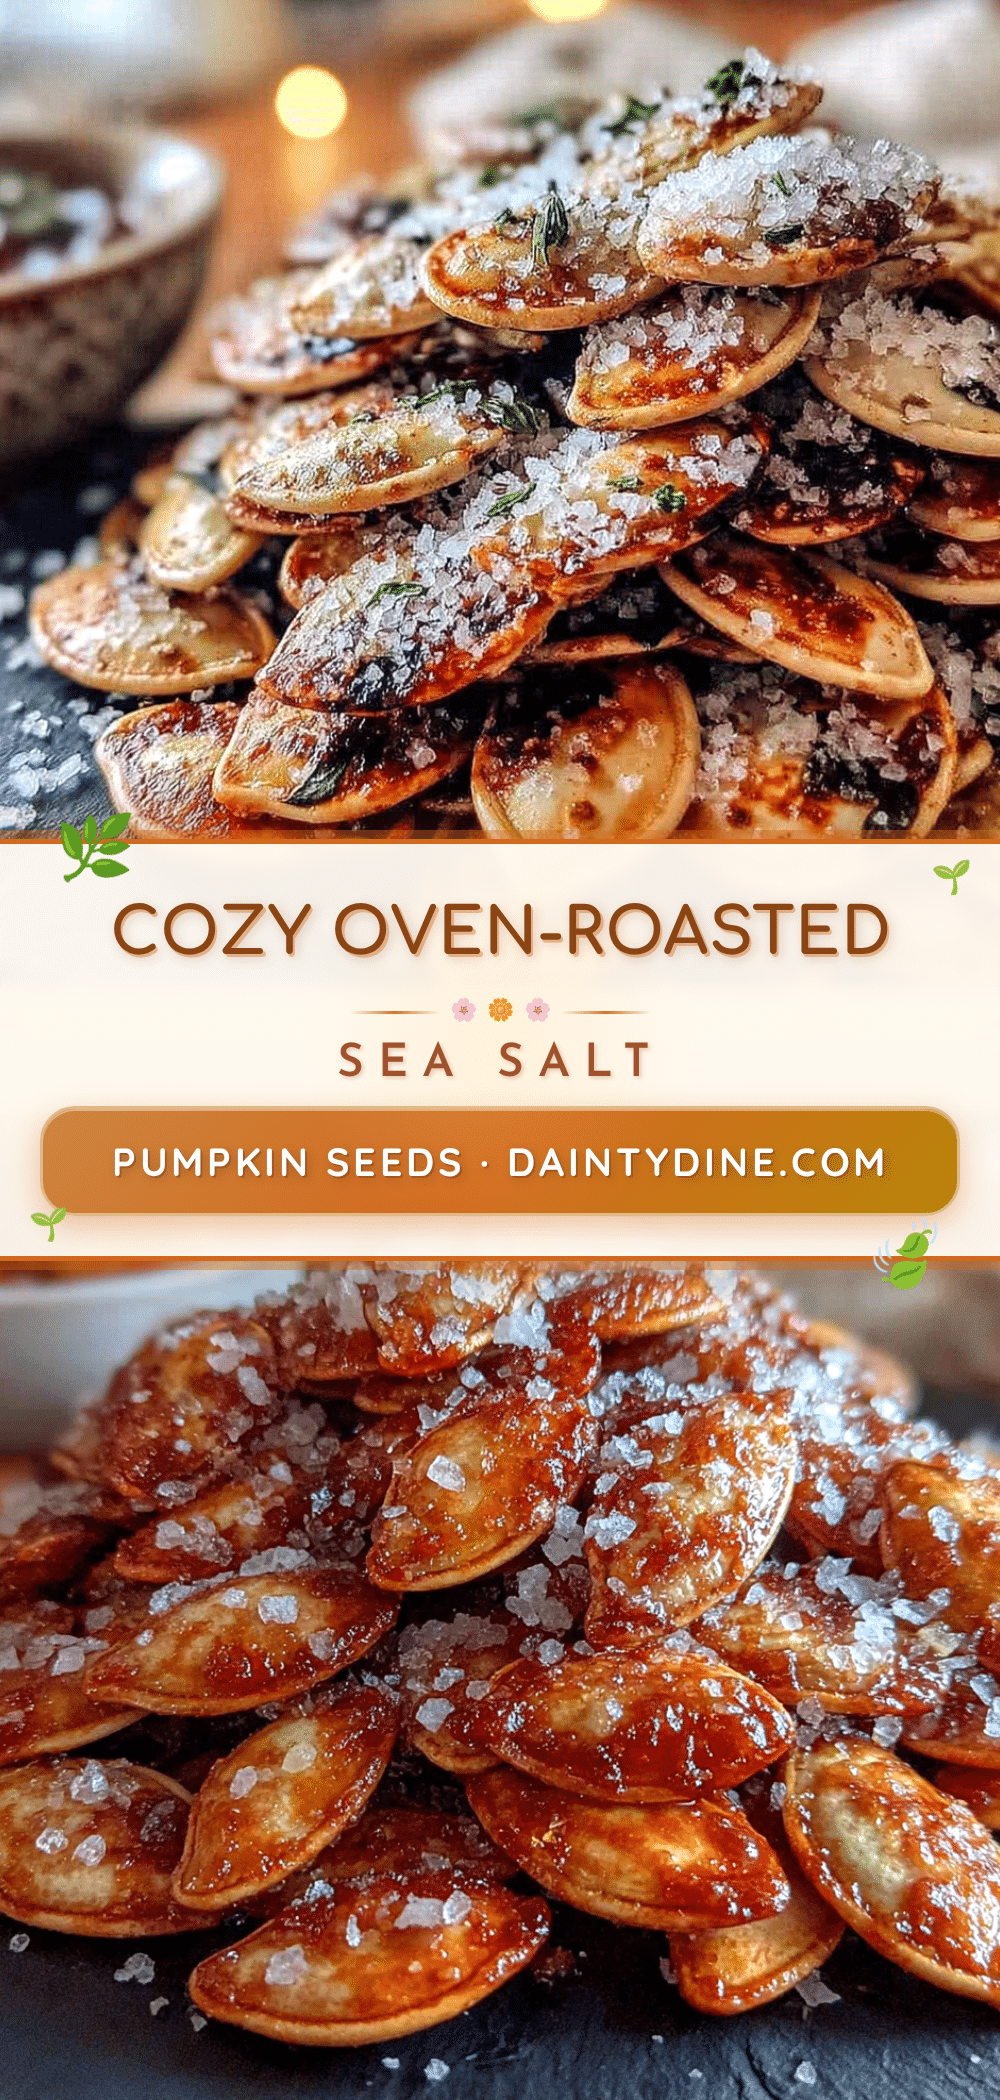
Cozy Oven-Roasted Sea Salt Pumpkin Seeds

A simple, foolproof method for making perfectly crunchy, salty pumpkin seeds. This recipe uses just three ingredients and a lower oven temperature for even roasting without burning.
- Prep Time: 15 minutes
- Cook Time: 15-20 minutes
- Total Time: 30-35 minutes
- Yield: 4 servings 1x
- Category: Snack
- Cuisine: American
Ingredients
- 1 ½ cups fresh pumpkin seeds (from a medium pumpkin)
- 1 tablespoon olive oil or melted butter
- 1 teaspoon sea salt (plus more for sprinkling)
Instructions
- Preheat your oven to 325°F (163°C). Line a baking sheet with parchment paper.
- Place the pumpkin seeds in a colander and rinse under cool water, rubbing gently to remove pulp. Remove large chunks but a little pulp is fine.
- Spread the rinsed seeds on a clean kitchen towel or paper towels and pat dry. Let them air-dry for 5-10 minutes.
- In a mixing bowl, combine the dried seeds, 1 tablespoon of olive oil, and 1 teaspoon of sea salt. Stir until every seed is coated.
- Spread the seasoned seeds in a single layer on the prepared baking sheet. Do not overcrowd.
- Roast for 10 minutes on the middle rack.
- Remove the baking sheet, stir the seeds with a spatula, and rotate the pan front to back.
- Return to the oven and roast for another 5-10 minutes, until golden brown and fragrant. Seeds may start to pop slightly.
- Remove from the oven and let the seeds cool completely on the pan for at least 10 minutes.
- Taste and sprinkle with extra flaky sea salt if desired.
Notes
Dry the seeds thoroughly to avoid steaming. Use a lower oven temperature (325°F) for even roasting. Listen for the popping sound to know when they are done. Let cool completely before storing to maintain crunch.
Nutrition
- Serving Size: ¼ cup (about 30 gram
- Calories: 150
- Fat: 13
- Saturated Fat: 2
- Carbohydrates: 4
- Fiber: 2
- Protein: 7
Keywords: pumpkin seeds, roasted pumpkin seeds, sea salt pumpkin seeds, fall snack, easy snack, healthy snack


