Love this? Save it for later!
Share the inspiration with your friends
There used to be a tiny bakery in a converted garage on a side street in Portland, Oregon—the kind of place with no sign and a handwritten menu on a chalkboard. They made a pumpkin pie that I still think about, four years later. When they closed suddenly during that weird February ice storm, I actually stood outside the locked door for a minute, feeling genuinely lost. I mean, I’d bought that pie for every Thanksgiving, every Friendsgiving, and at least three random Tuesdays just because. After twelve tries—twelve, let me tell you—I finally got it. This cozy homemade pumpkin pie with flaky all-butter crust is exactly that pie. The one with the filling so silky it almost wobbles, and a crust so tender it shatters when you press into it with a fork. Honestly, the first time I nailed it, I sat down and ate a slice at 10 AM. No regrets.
The secret, I learned, wasn’t just in the recipe. It was in the patience. The first five attempts were too dense, the next three had a soggy bottom crust (a tragedy), and the two after that were just… fine. But that eleventh pie? Something clicked. I’d been rushing the blind baking, skipping the chill time, and overworking the dough like I was mad at it. The twelfth pie was the one where I finally let the butter stay cold, let the filling rest, and let the oven do its slow, steady work. Maybe you’ve been there—chasing a flavor memory that feels just out of reach. This is the one that finally brought it home.
This cozy homemade pumpkin pie with flaky all-butter crust isn’t just a dessert. It’s the smell of November. It’s the reason you save room after dinner. It’s the slice you sneak at midnight with a dollop of whipped cream and a quiet sigh. This recipe stayed with me because it taught me that some things are worth the repeated failures. And honestly? That first perfect bite made every single one of those twelve tries worth it.
Why You’ll Love This Recipe
This isn’t just another pumpkin pie recipe floating around the internet. This is the one I tested, tweaked, and tested again until it felt like a hug in a pie plate. Here’s why it’s going to become your new favorite:
- Quick & Easy: While the crust needs some chill time (don’t skip it!), the actual hands-on work is about 20 minutes for the filling and another 15 for the crust. Perfect for a cozy baking afternoon.
- Simple Ingredients: You probably already have the pumpkin, spices, and eggs in your pantry. No weird extracts or specialty flours here.
- Perfect for Cozy Evenings: Whether it’s a chilly Tuesday or the main event at Thanksgiving dinner, this pie fits right in. It’s the definition of comfort food.
- Crowd-Pleaser: I’ve served this to picky kids, pie snobs, and my aunt who “doesn’t really like pumpkin.” Every single one of them asked for seconds. It’s that good.
- Unbelievably Delicious: The filling is velvety smooth with just the right amount of spice. The crust is flaky, buttery, and sturdy enough to hold that luscious filling without getting soggy. It’s next-level comfort food.
What makes this recipe different? It’s the technique. I use a combination of heavy cream and whole milk for the richest texture, and I pre-cook the filling ingredients just slightly to deepen the flavor. No shortcuts, no compromises. This is the version that makes you close your eyes after the first bite. It’s comfort food perfected—richer, flakier, and with the same soul-soothing satisfaction you remember from the best slice you’ve ever had.
What Ingredients You Will Need
This cozy homemade pumpkin pie with flaky all-butter crust uses simple, honest ingredients to create something truly special. Most of these are pantry staples, which makes it even better for those spontaneous baking cravings.
For the Flaky All-Butter Crust:
- 1 ¼ cups (150g) all-purpose flour – I prefer unbleached for a slightly nuttier flavor.
- ½ teaspoon salt – Fine sea salt works best here.
- ½ tablespoon granulated sugar – Just a touch for a hint of sweetness.
- ½ cup (113g) unsalted butter, very cold and cut into small cubes – This is non-negotiable. The cold butter creates steam in the oven, which makes those beautiful, flaky layers. I like Kerrygold for its high butterfat content.
- 3-4 tablespoons ice water – You might need a little more or less, depending on your flour and humidity.
For the Silky Pumpkin Filling:
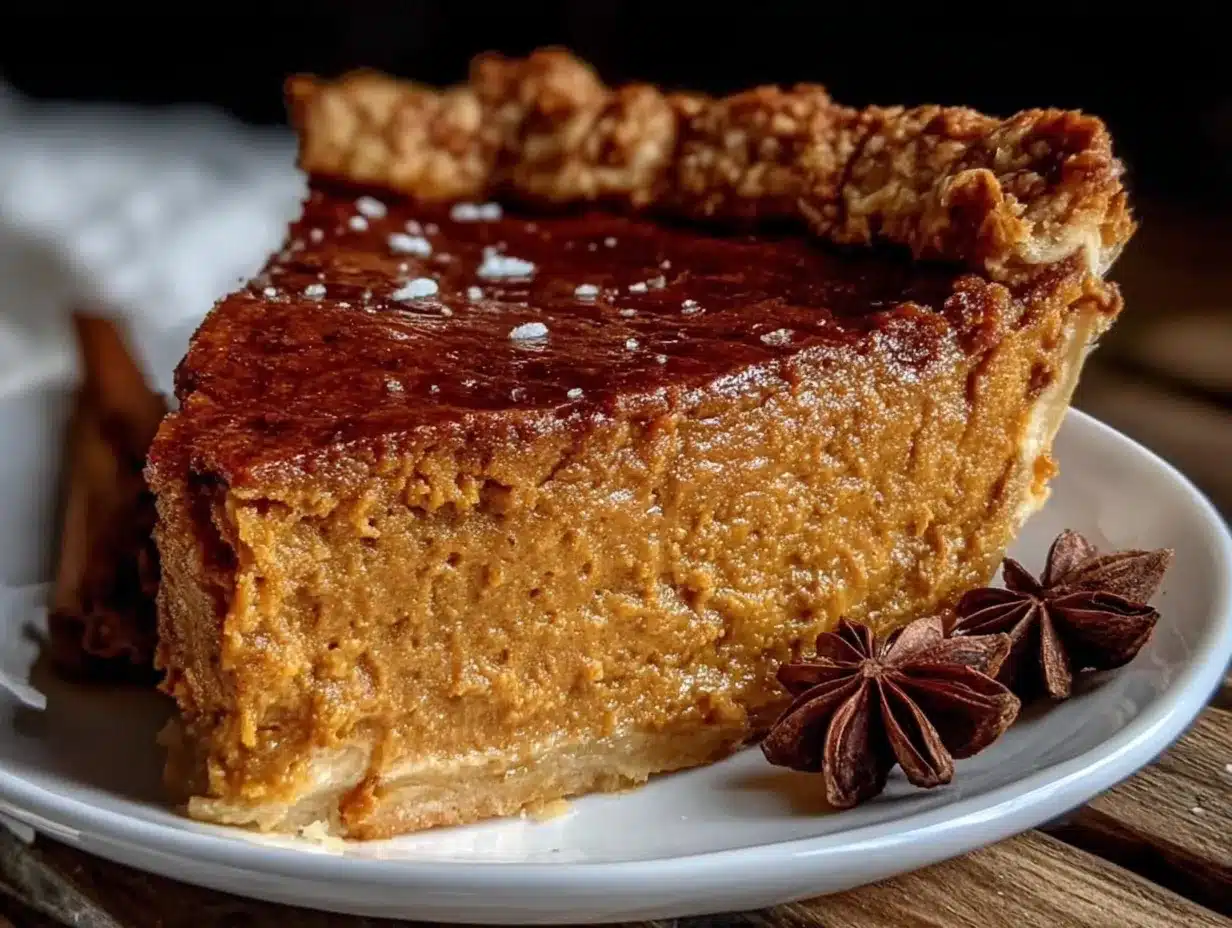
- 1 can (15 oz) pure pumpkin purée – Not pumpkin pie filling! Make sure it’s 100% pumpkin. I trust Libby’s for consistent results.
- ¾ cup (150g) packed dark brown sugar – Dark brown sugar adds a deeper molasses note than light brown. (Use light brown if that’s what you have.)
- 2 large eggs, room temperature – Room temperature eggs blend into the filling more smoothly, preventing lumps.
- 1 teaspoon vanilla extract – Pure vanilla, not imitation, if you can swing it.
- 1 ½ teaspoons ground cinnamon – The backbone of pumpkin pie spice.
- ½ teaspoon ground ginger – Adds a little warmth and zing.
- ¼ teaspoon ground nutmeg – Freshly grated is incredible here, but pre-ground works fine.
- ¼ teaspoon ground cloves – Use a light hand; cloves are potent.
- ¼ teaspoon salt – Balances the sweetness.
- 1 cup (240ml) heavy cream – This is what makes the filling extra rich and velvety. (For a lighter version, you can substitute half-and-half, but the texture won’t be as luxurious.)
- ¼ cup (60ml) whole milk – Adds just enough liquid without thinning the filling too much.
Equipment Needed
- 9-inch pie dish – A glass or ceramic dish works great for even browning. I use a standard deep-dish Pyrex.
- Rolling pin – A heavy, straight rolling pin is my favorite for even dough thickness.
- Large mixing bowls – One for the crust, one for the filling.
- Pastry blender or two forks – For cutting the butter into the flour for the crust. A food processor also works, but be careful not to over-process.
- Plastic wrap – For chilling the dough.
- Pie weights or dried beans – For blind baking the crust. I’ve used a bag of dried black beans for years—they work perfectly.
- Parchment paper or aluminum foil – To line the crust before adding weights.
- Whisk – For a smooth, lump-free filling.
- Measuring cups and spoons – Accuracy matters in baking.
- Cooling rack – Essential for letting the pie cool properly before slicing.
Preparation Method
Step 1: Make the All-Butter Crust
In a large bowl, whisk together the flour, salt, and sugar. Add the cold, cubed butter. Using a pastry blender or your fingertips (work quickly so the butter stays cold), cut the butter into the flour until you have pea-sized crumbs with some larger butter pieces remaining. This is what creates flakiness. Drizzle 3 tablespoons of ice water over the mixture and stir with a fork until the dough just comes together. If it seems dry, add the remaining tablespoon of water. The dough should hold together when squeezed, but not be sticky. Form it into a disc, wrap tightly in plastic wrap, and refrigerate for at least 1 hour. (I usually do 2 hours. Patience, my friend.)
Step 2: Roll Out the Dough
On a lightly floured surface, roll the chilled dough into a 12-inch circle, about ⅛-inch thick. Don’t worry if the edges crack a little—just pinch them back together. Carefully transfer the dough to your 9-inch pie dish. Gently press it into the bottom and up the sides. Trim the overhang to about ½ inch, then fold the edges under and crimp as desired. Place the crust in the freezer for 15 minutes while you preheat the oven. This is a crucial step—it prevents shrinking.
Step 3: Blind Bake the Crust
Preheat your oven to 425°F (220°C). Line the frozen crust with parchment paper or foil, leaving some overhang. Fill with pie weights or dried beans, making sure they reach all the way to the edges. Bake for 15 minutes. Carefully remove the parchment and weights. Prick the bottom of the crust all over with a fork (this is called docking). Return the crust to the oven and bake for another 5-7 minutes, until the bottom looks dry and lightly golden. Set aside to cool slightly. Reduce the oven temperature to 375°F (190°C).
Step 4: Prepare the Filling
In a large bowl, whisk together the pumpkin purée and dark brown sugar until smooth. Add the eggs one at a time, whisking well after each addition. Stir in the vanilla extract. In a small bowl, combine the cinnamon, ginger, nutmeg, cloves, and salt. Whisk these spices into the pumpkin mixture. Finally, slowly pour in the heavy cream and whole milk, whisking constantly until the filling is completely smooth and uniform. The mixture should be a deep, rich orange and smell like autumn.
Step 5: Bake the Pie
Place the blind-baked crust on a baking sheet (this catches any drips). Carefully pour the filling into the crust. Bake at 375°F (190°C) for 45-55 minutes. The edges of the filling should be set, but the center will still jiggle slightly when you gently shake the pie. This is the sweet spot—overbaking leads to cracks. If the crust edges are browning too quickly, loosely cover them with a strip of foil or a pie shield after about 25 minutes.
Step 6: Cool Completely
Transfer the pie to a cooling rack and let it cool completely at room temperature. This takes at least 2-3 hours. The filling will continue to set as it cools. Do not refrigerate it while it’s still warm, or condensation will make the crust soggy. Once completely cool, you can serve it immediately or refrigerate it for later.
Cooking Tips & Techniques
- Keep everything cold for the crust. If your butter starts to soften or your dough feels warm, pop it back in the fridge for 15 minutes. Warm butter melts into the flour instead of creating steam pockets, which means a tough, not-flaky crust. I learned this the hard way after attempt number three.
- Don’t overwork the dough. Mix just until it comes together. Over-kneading develops gluten, which makes the crust tough. A little bit of cracking around the edges is totally fine—just patch it up with your fingers.
- The jiggle test is your friend. For the filling, the center should wobble like Jell-O, not slosh like soup. A knife inserted near the center should come out clean or with just a little bit of custard clinging to it. Trust the jiggle.
- Let the pie rest. I know it’s tempting to slice into it while it’s still warm, but letting it cool completely is the difference between a clean slice and a messy puddle. The filling needs time to set up properly.
- Use a baking sheet. Place your pie on a rimmed baking sheet before it goes in the oven. It makes it easier to handle and catches any potential spills. Plus, it helps the bottom crust brown more evenly.
Variations & Adaptations
- Gluten-Free Option: Substitute the all-purpose flour in the crust with a 1:1 gluten-free baking flour blend that contains xanthan gum. The texture will be slightly more crumbly, but still delicious. The filling is naturally gluten-free.
- Dairy-Free Adaptation: Use a high-quality vegan butter stick (like Miyoko’s) in the crust, and replace the heavy cream and milk with full-fat canned coconut milk. The coconut flavor is subtle and actually complements the pumpkin nicely.
- Spice It Up: Add a pinch of black pepper or a tiny pinch of cayenne pepper to the filling. It sounds weird, but it actually enhances the warm spices and adds a little depth. I tried this on a whim last year and now I can’t go back.
- Maple Twist: Replace ¼ cup of the dark brown sugar with ¼ cup of pure maple syrup. Reduce the milk by 2 tablespoons to account for the extra liquid. The maple flavor pairs beautifully with the pumpkin.
- Gingerbread Crust: Add 1 teaspoon of ground ginger and ½ teaspoon of molasses to the crust dough. It gives the crust a subtle gingerbread flavor that’s amazing with the pumpkin filling. I made this for a Christmas party and it disappeared in minutes.
Serving & Storage Suggestions
This cozy homemade pumpkin pie with flaky all-butter crust is best served at room temperature or slightly warm. A generous dollop of lightly sweetened whipped cream is the classic move, and for good reason—the cool, airy cream balances the rich, spiced filling perfectly. For an extra touch, sprinkle a little cinnamon or nutmeg over the top.
This pie pairs beautifully with a hot cup of coffee, a spiced chai latte, or even a glass of cold milk. It’s the perfect ending to a hearty fall meal like roasted chicken or a big bowl of chili.
Storage: Cover the cooled pie loosely with plastic wrap or foil and store it in the refrigerator for up to 4 days. The flavors actually meld and deepen overnight, so day-old pie is often even better. Let slices sit at room temperature for about 15 minutes before serving to take the chill off.
Freezing: You can freeze the fully baked and cooled pie for up to 1 month. Wrap it tightly in a layer of plastic wrap, then a layer of foil. Thaw overnight in the refrigerator before serving. The crust might lose a tiny bit of its initial shatter, but it will still be delicious.
Reheating: For a warm slice, pop it in a 300°F (150°C) oven for 10-15 minutes. Avoid the microwave—it will make the crust sad and soggy.
Nutritional Information & Benefits
While this is a treat, not a health food, it does have some redeeming qualities. A single slice (based on 8 servings) contains approximately 380 calories, 22g of fat, 42g of carbohydrates, and 6g of protein. Pumpkin purée is a fantastic source of Vitamin A (great for eye health) and fiber. The cinnamon and ginger also have anti-inflammatory properties. So, you know, it’s practically a salad. (Just kidding. Eat the pie.)
Dietary Considerations: This recipe contains gluten, dairy, and eggs. See the variations section for gluten-free and dairy-free adaptations. It is nut-free as written.
Conclusion
This cozy homemade pumpkin pie with flaky all-butter crust is more than just a recipe—it’s a little piece of comfort you can make with your own two hands. It’s the pie that made me stop chasing a memory and start creating my own. Whether you’re making it for a holiday table, a cozy weekend, or just because you need a reminder that simple things can be extraordinary, I hope it brings you the same quiet joy it brings me.
I’d love to hear how yours turns out! Did you try a fun variation? Did you eat a slice for breakfast? (No judgment here.) Drop a comment below and let me know. And if you’re looking for another cozy dessert to try, my cinnamon rolls with cream cheese frosting are a perfect companion for a lazy Sunday morning. Happy baking, friends!
Frequently Asked Questions
Can I use a store-bought crust instead of making my own?
Absolutely! If you’re short on time, a good-quality refrigerated pie crust will work just fine. The filling is the star here, and it’s delicious no matter what. But if you have the time, I really encourage you to try the all-butter crust—it’s a game-changer.
Why is my pumpkin pie filling cracking on top?
Cracks usually happen when the pie is overbaked or when the oven temperature is too high. The center should still have a slight jiggle when you take it out of the oven—it will continue to set as it cools. Also, cooling the pie slowly at room temperature helps prevent cracks.
Can I make this pie ahead of time?
Yes! This pie is actually a great make-ahead dessert. You can bake it a day in advance, let it cool completely, and then store it covered in the refrigerator. The flavors meld beautifully overnight. Just let it sit at room temperature for a bit before serving.
How do I prevent a soggy bottom crust?
Blind baking the crust is the key! By pre-baking the crust (with pie weights) before adding the filling, you ensure that the bottom is fully cooked and crisp. Also, make sure your filling isn’t too cold when you pour it into the hot crust—a warm filling helps the crust stay crisp.
Can I freeze leftover pumpkin pie?
You can! Wrap the completely cooled pie tightly in plastic wrap, then a layer of foil, and freeze for up to a month. Thaw it overnight in the refrigerator. The texture of the filling will be perfect, though the crust might be slightly less flaky. It’s still a wonderful treat to have on hand.
Pin This Recipe!
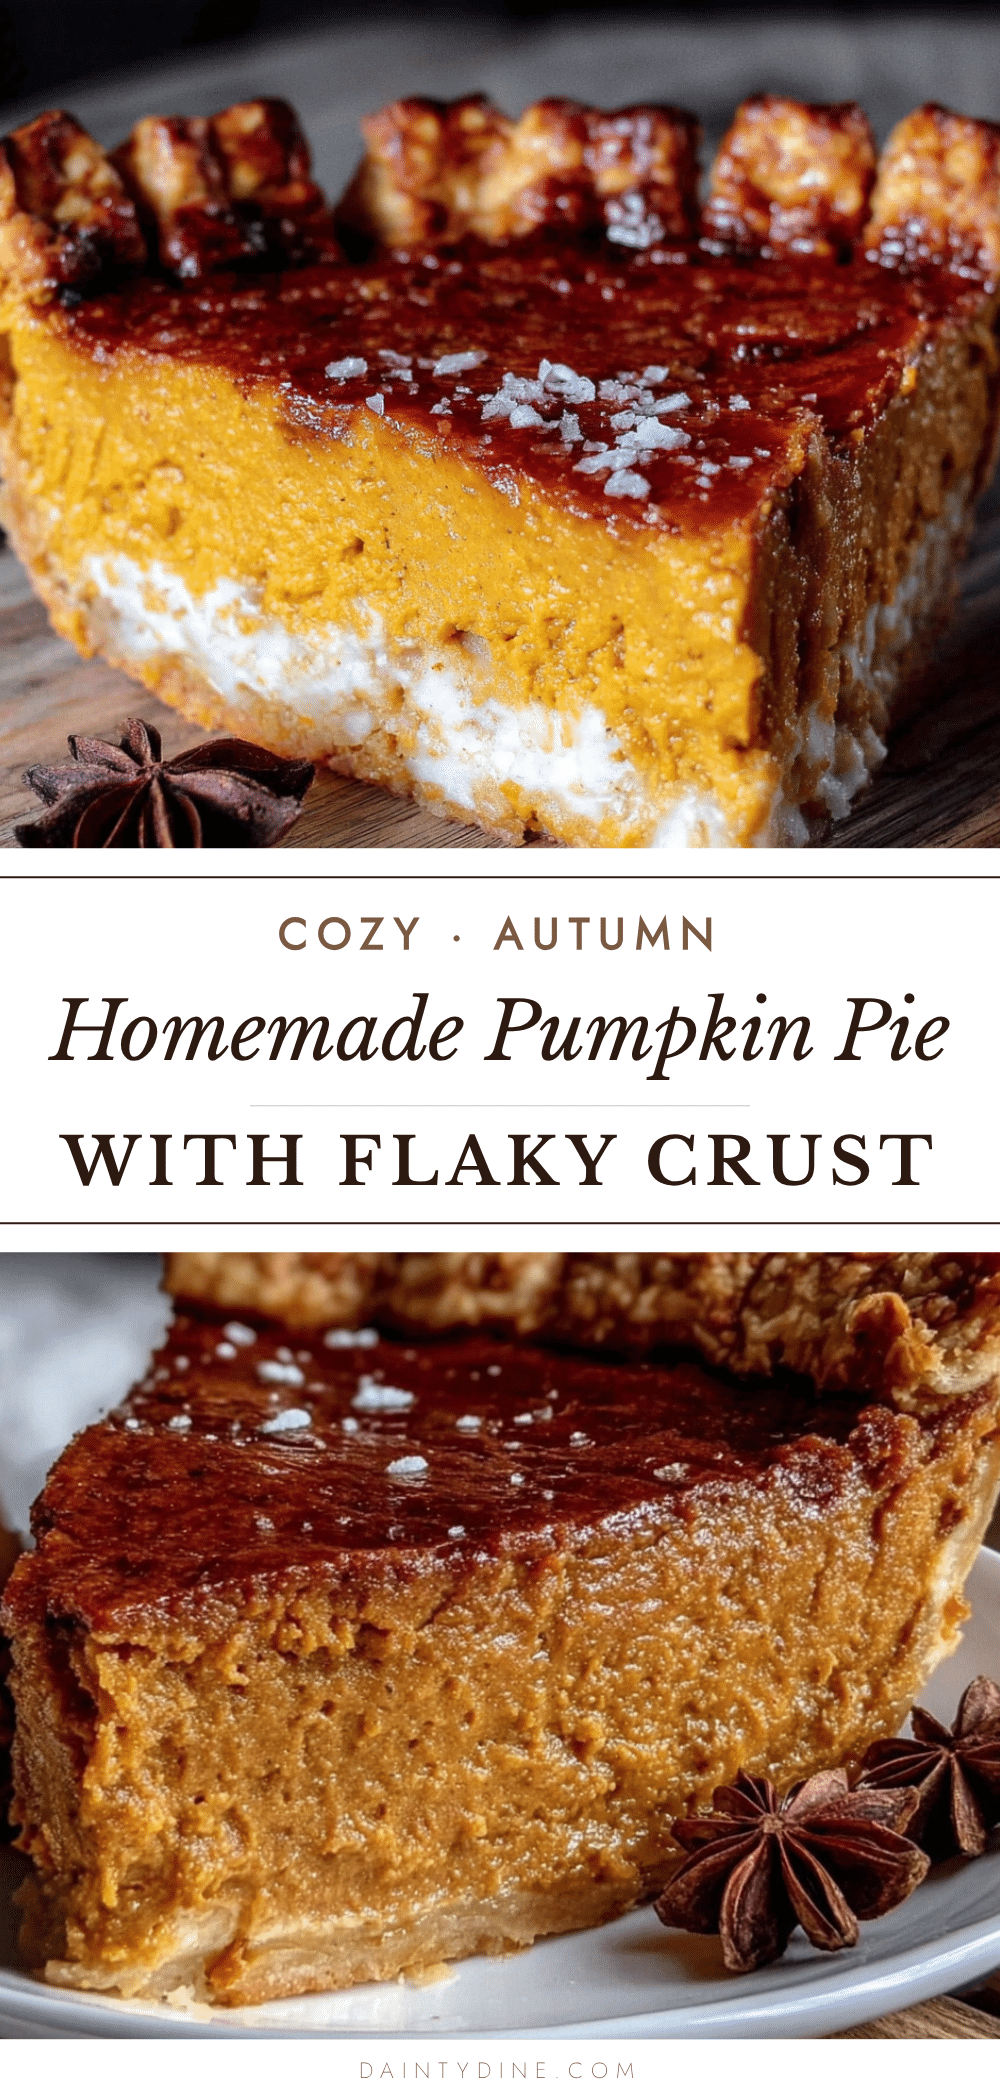
Cozy Homemade Pumpkin Pie with Flaky Butter Crust
A velvety smooth pumpkin pie with a flaky all-butter crust, inspired by a beloved bakery in Portland. This recipe delivers the perfect balance of rich, spiced filling and tender, shatteringly flaky crust.
- Prep Time: 20 minutes
- Cook Time: 60 minutes
- Total Time: 3 hours 20 minutes (includes chilling and cooling)
- Yield: 8 servings 1x
- Category: Dessert
- Cuisine: American
Ingredients
- 1 ¼ cups (150g) all-purpose flour
- ½ teaspoon salt
- ½ tablespoon granulated sugar
- ½ cup (113g) unsalted butter, very cold and cut into small cubes
- 3–4 tablespoons ice water
- 1 can (15 oz) pure pumpkin purée
- ¾ cup (150g) packed dark brown sugar
- 2 large eggs, room temperature
- 1 teaspoon vanilla extract
- 1 ½ teaspoons ground cinnamon
- ½ teaspoon ground ginger
- ¼ teaspoon ground nutmeg
- ¼ teaspoon ground cloves
- ¼ teaspoon salt
- 1 cup (240ml) heavy cream
- ¼ cup (60ml) whole milk
Instructions
- Make the all-butter crust: In a large bowl, whisk together flour, salt, and sugar. Add cold cubed butter. Using a pastry blender or fingertips, cut butter into flour until pea-sized crumbs with some larger pieces remain. Drizzle 3 tablespoons ice water over mixture and stir with a fork until dough just comes together. Add remaining water if needed. Form into a disc, wrap in plastic wrap, and refrigerate for at least 1 hour (2 hours preferred).
- Roll out the dough: On a lightly floured surface, roll chilled dough into a 12-inch circle, about ⅛-inch thick. Transfer to a 9-inch pie dish. Press into bottom and up sides. Trim overhang to ½ inch, fold edges under, and crimp. Freeze for 15 minutes while preheating oven.
- Blind bake the crust: Preheat oven to 425°F (220°C). Line frozen crust with parchment paper or foil, fill with pie weights or dried beans. Bake for 15 minutes. Remove parchment and weights. Prick bottom of crust with a fork. Return to oven and bake 5-7 minutes until bottom looks dry and lightly golden. Set aside to cool slightly. Reduce oven temperature to 375°F (190°C).
- Prepare the filling: In a large bowl, whisk together pumpkin purée and dark brown sugar until smooth. Add eggs one at a time, whisking well after each. Stir in vanilla extract. In a small bowl, combine cinnamon, ginger, nutmeg, cloves, and salt. Whisk spices into pumpkin mixture. Slowly pour in heavy cream and whole milk, whisking constantly until smooth and uniform.
- Bake the pie: Place blind-baked crust on a baking sheet. Carefully pour filling into crust. Bake at 375°F (190°C) for 45-55 minutes. Edges should be set but center will still jiggle slightly. If crust edges brown too quickly, cover loosely with foil after about 25 minutes.
- Cool completely: Transfer pie to a cooling rack and let cool completely at room temperature (at least 2-3 hours). Do not refrigerate while warm. Once cool, serve immediately or refrigerate for later.
Notes
Keep all ingredients cold for the crust. Don’t overwork the dough. Use the jiggle test for the filling. Let the pie cool completely before slicing. Use a baking sheet to catch drips.
Nutrition
- Serving Size: 1 slice
- Calories: 380
- Sugar: 24
- Sodium: 320
- Fat: 22
- Saturated Fat: 13
- Carbohydrates: 42
- Fiber: 3
- Protein: 6
Keywords: pumpkin pie, homemade pumpkin pie, flaky crust, all-butter crust, Thanksgiving dessert, fall dessert, cozy dessert