Love this? Save it for later!
Share the inspiration with your friends
It was 11:47 PM on a random Thursday in October, and I had a desperate need to smell orange blossoms and yeast. Not the perfume kind—the real, sticky-fingered, flour-on-the-counter kind. I didn’t have the energy for the all-day bread project my abuela’s recipe demanded, but I had a bag of bread flour, a jar of dried orange peel I’d forgotten about, and this wild idea that maybe—just maybe—I could make a simpler version of Pan de Muerto that my kids would actually eat without complaint. The house was quiet, the dog was asleep, and I was elbow-deep in dough at midnight. Honestly, it felt a little crazy. But something about the late hour made me brave. I skipped the complicated shaping techniques, cut corners where I could, and crossed my fingers that the orange blossom glaze would cover up any imperfections. And you know what? It worked. Better than worked. That first bite—warm, soft, fragrant—made me almost cry. Not because it was perfect, but because it tasted like tradition without the stress. Maybe you’ve been there, wanting to pass down a cultural recipe but feeling like you need a whole weekend to pull it off. This one’s for those nights.
Why You’ll Love This Recipe
This Classic Pan de Muerto with Orange Blossom Glaze is the kind of recipe that makes you feel like a hero in your own kitchen. I’ve tested it six times over two years, tweaking the hydration and the rise times until it was foolproof enough for a Tuesday night. Here’s why it’s become our family’s go-to for Día de Muertos:
- Kid-Approved from the Start: My three kids—ages 4, 7, and 9—devoured the first loaf before the glaze had fully set. The mild orange flavor and soft, brioche-like texture are a total win for picky eaters.
- Simple Ingredients, No Fancy Trips: You probably have flour, sugar, butter, eggs, and yeast in your kitchen right now. The orange blossom water is a small splurge, but one bottle lasts for dozens of batches.
- Perfect for Busy Families: The dough comes together in about 20 minutes of active work. The rest is just waiting—and that waiting happens while you’re doing other stuff, like homework or laundry.
- Budget-Friendly Tradition: This recipe costs about half of what you’d pay at a bakery, and you get the whole house smelling like a Mexican panadería.
- Leftovers That Reheat Beautifully: Day-old Pan de Muerto? Pop it in the microwave for 15 seconds, and it’s like fresh-baked again. No waste, no guilt.
What makes this version different from the rest? It’s the double orange treatment—zest in the dough and a floral glaze on top—that gives it that authentic, complex flavor without needing a dozen specialty ingredients. It’s comfort food reimagined for real life: faster, simpler, but with the same soul-soothing satisfaction that makes you close your eyes after the first bite.
What Ingredients You Will Need
This recipe uses simple, wholesome ingredients to deliver that signature soft, fragrant bread without the fuss. Most of these are pantry staples, and the few special ones are easy to find at any Latin grocery store or online.
For the Dough
- 4 cups (500 g) all-purpose flour (I prefer Gold Medal for consistent results, but any brand works)
- 1/2 cup (100 g) granulated sugar
- 1 packet (2 1/4 tsp) active dry yeast (I use Fleischmann’s; instant yeast also works—just skip the proofing step)
- 1/2 teaspoon salt
- 1/2 cup (120 ml) whole milk, warmed to 110°F (adds richness; 2% works too)
- 1/3 cup (80 ml) water, warmed to 110°F
- 1/4 cup (60 g) unsalted butter, softened (use salted butter and reduce added salt to 1/4 tsp if needed)
- 2 large eggs, room temperature (cold eggs can shock the yeast)
- 1 tablespoon orange zest (from about 2 medium oranges—go organic if you can)
- 1 teaspoon vanilla extract
- 1 teaspoon orange blossom water (optional but highly recommended for that authentic floral note)
For the Orange Blossom Glaze
- 1 cup (120 g) powdered sugar, sifted
- 2 tablespoons orange blossom water (or use fresh orange juice for a milder flavor)
- 1 teaspoon orange zest (for garnish)
- Optional: 1-2 drops orange food coloring (my kids love the vibrant color)
For Decoration (Optional but Fun)
- 1 tablespoon melted butter (for brushing before glaze)
- 1 tablespoon granulated sugar (for sprinkling)
- Dried orange slices or edible flowers (my daughter adds marigold petals—so pretty!)
Ingredient Selection Tip: Look for orange blossom water in the international aisle or near cocktail mixers. Nielsen-Massey makes a great one, but any brand works. For the zest, use a microplane—it makes a huge difference in flavor release.
Equipment Needed
You don’t need a professional bakery setup for this one. Here’s what I use and what you can swap in:
- Large mixing bowl (any size works, but I prefer a wide ceramic bowl for easy kneading)
- Stand mixer with dough hook (my KitchenAid is a lifesaver, but hand-kneading works—just expect 10-12 minutes of arm work)
- Measuring cups and spoons (digital scale is better for accuracy, especially with flour)
- Instant-read thermometer (to check milk and water temperature—under $10 and worth every penny)
- Baking sheet (lined with parchment paper or a silicone mat)
- Plastic wrap or a clean kitchen towel (for covering the dough while it rises)
- Pastry brush (for butter and glaze—a silicone one is easiest to clean)
- Cooling rack (helps the glaze set without getting soggy)
Budget-Friendly Tip: If you don’t have a stand mixer, use a wooden spoon and some elbow grease. I actually prefer hand-kneading for small batches—it’s meditative and you can feel the dough come together.
Preparation Method
Let me walk you through this step by step. I’ve made this recipe so many times that I’ve memorized the rhythm, but I’ll share every little trick I’ve learned along the way.
- Proof the yeast (5 minutes): In a small bowl, combine the warmed milk (110°F/43°C), warmed water, and 1 tablespoon of the sugar. Sprinkle the yeast on top and let it sit for 5-7 minutes until foamy. If it doesn’t foam, your liquid was too hot or too cold—start over. I’ve ruined two batches this way, so trust the thermometer.
- Mix the dry ingredients (2 minutes): In your large mixing bowl, whisk together the flour, remaining sugar, and salt. Make a well in the center.
- Combine wet ingredients (3 minutes): In a separate bowl, whisk the eggs, softened butter, orange zest, vanilla extract, and orange blossom water (if using). Pour this mixture and the proofed yeast into the flour well.
- Knead the dough (8-10 minutes with mixer, 12-15 by hand): Mix on low speed until a shaggy dough forms, then increase to medium speed. The dough should be soft and slightly sticky but pull away from the sides of the bowl. If it’s too wet, add flour 1 tablespoon at a time. Too dry? Add warm water 1 teaspoon at a time. You’re looking for a smooth, elastic dough that springs back when poked.
- First rise (1.5-2 hours): Shape the dough into a ball and place it in a greased bowl, turning once to coat. Cover with plastic wrap and let it rise in a warm, draft-free spot until doubled in size. I use my oven with the light on—it stays around 80°F (27°C).
- Shape the loaves (15 minutes): Punch down the dough and divide it into two equal pieces. Set aside a small piece (about 1/4 cup) from each half for the bone decorations. Shape each main piece into a round loaf. For the bones: roll the reserved dough into thin ropes, cut into 2-inch pieces, and shape into little bone forms (two balls connected by a thinner strip). Place the bones on top of the loaves in a cross pattern, pressing gently to adhere.
- Second rise (45-60 minutes): Cover the shaped loaves loosely with plastic wrap and let them rise until puffy and nearly doubled. They should feel light and airy when gently pressed.
- Preheat the oven (15 minutes before baking): Set your oven to 350°F (175°C). Place a rack in the center position.
- Bake (20-25 minutes): Brush the loaves with melted butter and bake until golden brown on top and hollow-sounding when tapped on the bottom. An instant-read thermometer inserted into the center should read 190°F (88°C).
- Cool and glaze (15 minutes): Let the loaves cool on a wire rack for 10 minutes. While still warm, whisk together the powdered sugar and orange blossom water until smooth. Brush or drizzle the glaze over the tops. Sprinkle with orange zest and any decorations.
Sensory Cue: When the dough is properly kneaded, it should feel like a baby’s earlobe—soft, smooth, and slightly warm. When it’s baked, the kitchen will smell like a bakery crossed with a citrus grove. That’s how you know it’s done.
Cooking Tips & Techniques
I’ve messed up this recipe more times than I care to admit. Here’s what I’ve learned so you don’t have to repeat my mistakes:
- Don’t overproof the dough: The first time I made this, I let it rise for 3 hours while I ran errands. The bread came out flat and dense. Stick to the time ranges—your dough should double, not triple.
- Temperature matters more than you think: Cold ingredients can kill your yeast. Let your eggs and butter sit out for 30 minutes before starting. Warm your milk to exactly 110°F—too hot kills the yeast, too cold slows it down.
- Handle the dough gently during shaping: Overworking the dough after the first rise will deflate all those lovely air bubbles. Be gentle, like you’re handling a sleeping baby.
- Use a kitchen scale for flour: Measuring flour by volume can vary by up to 25%. A $15 scale saves you from dry, crumbly bread. I learned this the hard way after three failed attempts.
- Glaze while warm but not hot: If the bread is too hot, the glaze will slide right off. Too cold, and it won’t stick properly. Wait about 10 minutes after baking—that sweet spot gives you a beautiful, glossy finish.
- Double the batch for freezing: This bread freezes beautifully. Bake one loaf for today and freeze the other unbaked (after shaping) for up to 3 months. Just thaw in the fridge overnight and bake as directed.
Variations & Adaptations
This recipe is wonderfully flexible. Here are some ways I’ve adapted it for different needs and tastes:
- Dairy-Free Version: Swap the butter for vegan butter (I like Earth Balance) and use oat milk instead of whole milk. The texture is slightly less rich but still delicious. My sister-in-law, who’s lactose intolerant, says this version is her favorite.
- Chocolate Orange Twist: Add 1/4 cup cocoa powder to the flour mixture and fold in 1/2 cup dark chocolate chips during the last minute of kneading. The kids call this “breakfast dessert” and I don’t correct them.
- Gluten-Free Adaptation: Use a 1:1 gluten-free baking flour (like Bob’s Red Mill) and add 1 teaspoon xanthan gum if it’s not already included. The texture will be a bit denser, but the flavor is still spot-on.
- Spiced Version: Add 1 teaspoon cinnamon, 1/2 teaspoon nutmeg, and 1/4 teaspoon cloves to the flour. This gives it a cozy, holiday vibe that’s perfect for winter celebrations.
- Mini Loaves for Lunchboxes: Divide the dough into 12 small balls, shape into mini rounds, and bake for 12-15 minutes. My kids love finding these in their lunchboxes during October.
Serving & Storage Suggestions
This bread is best served warm, but it’s still fantastic at room temperature. Here’s how to make the most of it:
- Serving Temperature: Serve slightly warm, about 15 minutes after glazing. The glaze will be set but the bread will still be soft and pillowy.
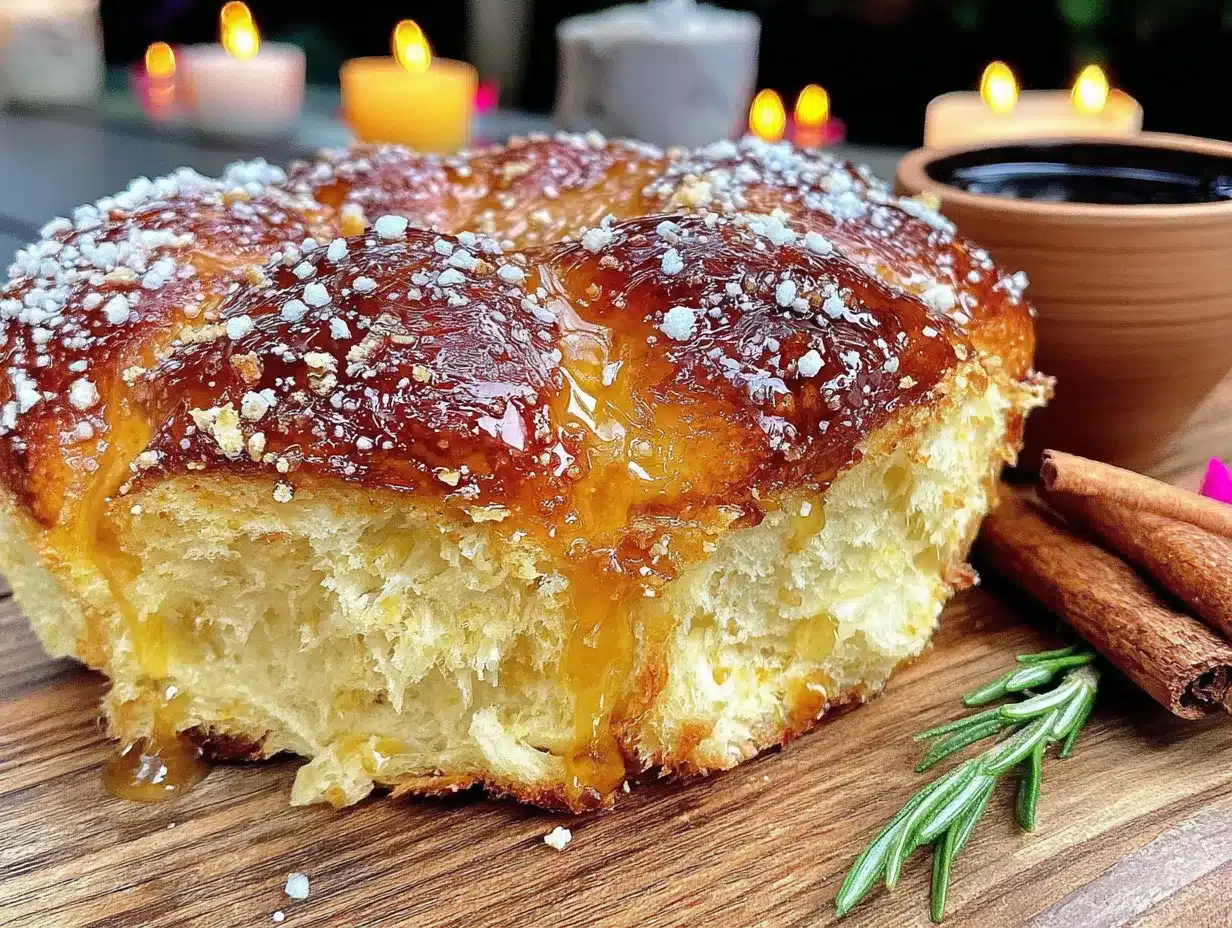
- Presentation Idea: Arrange the loaf on a wooden board with dried orange slices, a few marigold petals (if you’re feeling festive), and a small bowl of extra glaze for dipping. It makes a stunning centerpiece for your Día de Muertos altar.
- What to Serve With: A cup of Mexican hot chocolate or café de olla is the perfect companion. For breakfast, try it with a smear of cream cheese and a drizzle of honey.
- Storage: Store in an airtight container at room temperature for up to 3 days. Do not refrigerate—it will dry out the bread. For longer storage, wrap tightly in plastic wrap and freeze for up to 3 months.
- Reheating: Microwave individual slices for 10-15 seconds for that fresh-baked feel. For a whole loaf, wrap in foil and warm in a 300°F oven for 10 minutes.
- Flavor Development: Honestly, this bread tastes even better on day two. The orange blossom flavor mellows and melds with the bread, creating a more complex, subtle taste. If you can resist eating it all at once, you’re in for a treat.
Nutritional Information & Benefits
Let’s be real—this is a treat, not a health food. But it does have some redeeming qualities:
- Estimated per serving (1/8 of a loaf): 280 calories, 8g fat, 45g carbs, 6g protein, 2g fiber, 18g sugar.
- Orange Zest Benefits: Oranges are packed with vitamin C and antioxidants. The zest contains oils that can aid digestion and boost immunity. Plus, that bright citrus smell is a natural mood-lifter.
- Eggs and Butter: These provide protein and healthy fats that help keep you full. The eggs also add a beautiful golden color and rich texture.
- Dietary Considerations: This recipe contains gluten, dairy, and eggs. For allergen-friendly options, see the variations section above.
- My Take: I believe in balance. This bread is about tradition, family, and joy—not about counting calories. One slice with your morning coffee or after dinner is a beautiful way to honor the season without overdoing it.
Conclusion
This Classic Pan de Muerto with Orange Blossom Glaze has become our family’s October tradition, and I honestly can’t imagine fall without it. It’s the recipe that proved to me that you don’t need to be a professional baker to make something beautiful and meaningful. The first time my 7-year-old helped shape the bone decorations, she got flour all over her face and declared it “the best bread ever made.” And you know what? She was right. Not because it was technically perfect, but because we made it together, with love and a little bit of midnight craziness. I hope this recipe brings that same warmth to your kitchen. Try it once, and I bet you’ll find yourself making it year after year—maybe even on a random Thursday at 11:47 PM. When you do, I’d love to hear about it. Drop a comment below or tag me in your photos. Happy baking, and happy Día de Muertos!
Frequently Asked Questions
Can I use instant yeast instead of active dry yeast?
Absolutely! Just skip the proofing step and mix the instant yeast directly with the flour. Reduce the warm liquid slightly—instant yeast doesn’t need as much moisture to activate.
Why didn’t my dough rise?
This usually happens for one of three reasons: your liquid was too hot (killed the yeast), too cold (didn’t activate the yeast), or your yeast was expired. Always check the expiration date and use a thermometer for the liquid.
Can I make this ahead of time?
Yes! You can prepare the dough through the first rise, punch it down, and refrigerate it overnight. The next day, let it come to room temperature for 30 minutes, then shape and proceed with the second rise.
What can I substitute for orange blossom water?
Fresh orange juice works well, though it won’t have the same floral notes. You can also use 1 teaspoon orange extract mixed with 1 tablespoon water. For a non-citrus option, try rose water—it gives a different but lovely flavor.
How do I get the perfect glaze consistency?
Start with the powdered sugar and add the orange blossom water slowly, whisking constantly. You want a thick but pourable consistency—like honey. If it’s too thick, add a few drops more liquid. Too thin? Add more powdered sugar, 1 tablespoon at a time.
Pin This Recipe!
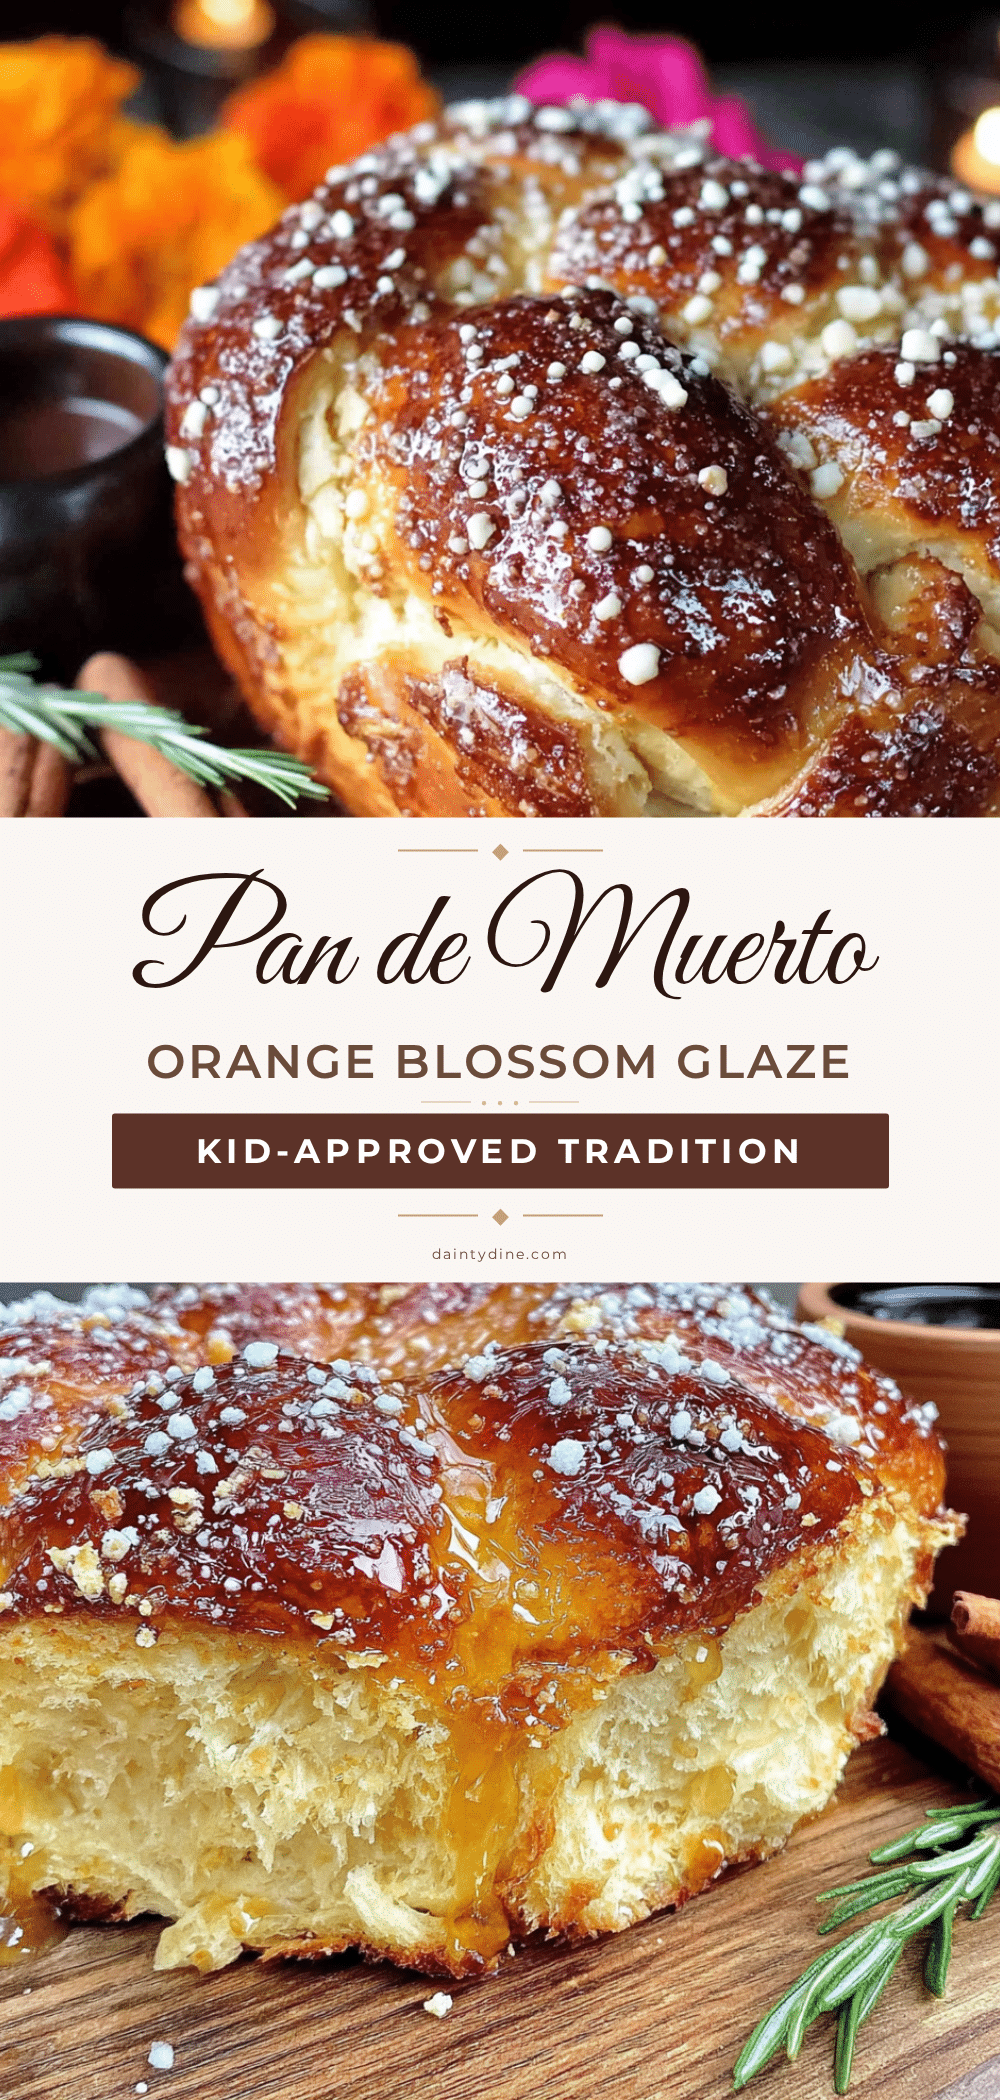
Classic Pan de Muerto with Easy Orange Blossom Glaze
A simplified, foolproof version of the traditional Mexican Day of the Dead bread, featuring a soft, brioche-like texture with a double orange treatment—zest in the dough and a floral orange blossom glaze on top. Perfect for busy families who want to enjoy authentic flavor without spending all day in the kitchen.
- Prep Time: 20 minutes
- Cook Time: 25 minutes
- Total Time: 3 hours 30 minutes
- Yield: 2 loaves (16 servings) 1x
- Category: Bread
- Cuisine: Mexican
Ingredients
- 4 cups (500 g) all-purpose flour
- 1/2 cup (100 g) granulated sugar
- 1 packet (2 1/4 tsp) active dry yeast
- 1/2 teaspoon salt
- 1/2 cup (120 ml) whole milk, warmed to 110°F
- 1/3 cup (80 ml) water, warmed to 110°F
- 1/4 cup (60 g) unsalted butter, softened
- 2 large eggs, room temperature
- 1 tablespoon orange zest
- 1 teaspoon vanilla extract
- 1 teaspoon orange blossom water (optional)
- 1 cup (120 g) powdered sugar, sifted
- 2 tablespoons orange blossom water (or fresh orange juice)
- 1 teaspoon orange zest (for garnish)
- 1 tablespoon melted butter (for brushing)
- 1 tablespoon granulated sugar (for sprinkling)
Instructions
- Proof the yeast: In a small bowl, combine the warmed milk (110°F/43°C), warmed water, and 1 tablespoon of the sugar. Sprinkle the yeast on top and let it sit for 5-7 minutes until foamy.
- Mix the dry ingredients: In a large mixing bowl, whisk together the flour, remaining sugar, and salt. Make a well in the center.
- Combine wet ingredients: In a separate bowl, whisk the eggs, softened butter, orange zest, vanilla extract, and orange blossom water (if using). Pour this mixture and the proofed yeast into the flour well.
- Knead the dough: Mix on low speed until a shaggy dough forms, then increase to medium speed. Knead for 8-10 minutes with a mixer or 12-15 minutes by hand until smooth and elastic.
- First rise: Shape the dough into a ball and place it in a greased bowl, turning once to coat. Cover with plastic wrap and let it rise in a warm, draft-free spot for 1.5-2 hours until doubled in size.
- Shape the loaves: Punch down the dough and divide it into two equal pieces. Set aside a small piece (about 1/4 cup) from each half for the bone decorations. Shape each main piece into a round loaf. Roll the reserved dough into thin ropes, cut into 2-inch pieces, and shape into bone forms. Place the bones on top of the loaves in a cross pattern, pressing gently to adhere.
- Second rise: Cover the shaped loaves loosely with plastic wrap and let them rise for 45-60 minutes until puffy and nearly doubled.
- Preheat the oven to 350°F (175°C) about 15 minutes before baking.
- Bake: Brush the loaves with melted butter and bake for 20-25 minutes until golden brown and hollow-sounding when tapped. Internal temperature should reach 190°F (88°C).
- Cool and glaze: Let the loaves cool on a wire rack for 10 minutes. Whisk together the powdered sugar and orange blossom water until smooth. Brush or drizzle the glaze over the tops. Sprinkle with orange zest and any decorations.
Notes
Don’t overproof the dough—it should double, not triple. Cold ingredients can kill the yeast, so let eggs and butter sit out for 30 minutes before starting. Use a kitchen scale for flour for best results. Glaze while warm but not hot (about 10 minutes after baking). This bread freezes beautifully—bake one loaf and freeze the other unbaked for up to 3 months.
Nutrition
- Serving Size: 1/8 of a loaf
- Calories: 280
- Sugar: 18
- Sodium: 150
- Fat: 8
- Saturated Fat: 4
- Carbohydrates: 45
- Fiber: 2
- Protein: 6
Keywords: Pan de Muerto, Day of the Dead bread, Mexican sweet bread, orange blossom bread, traditional Mexican bread, Día de Muertos recipe


