Love this? Save it for later!
Share the inspiration with your friends
It was 11:47 PM on a Tuesday, and I was wide awake with a craving for something I couldn’t quite name. Not sweet, not savory—something in between. I’d spent the evening prepping for a Saturday dinner party I was hosting, and my kitchen looked like a flour bomb had gone off. The counters were covered in butter wrappers, measuring cups, and a half-empty bag of dark chocolate chips I’d been snacking on. I didn’t have the energy to make something complicated, but I had a jar of peanut butter, some butter that was finally at room temperature, and a stubborn idea that wouldn’t let me sleep.
Honestly, I wasn’t trying to invent anything. I just wanted a cookie that felt a little more grown-up than the classic peanut butter blossom. You know the ones—the soft peanut butter cookies with a milk chocolate kiss pressed right in the middle. They’re great, don’t get me wrong. But that night, I wanted something with a little more edge. Something that would make people at my dinner party stop mid-conversation and say, “Wait, what’s in this?”
So I swapped the milk chocolate for dark chocolate chips, pressed them into the dough while it was still warm, and let me tell you—it was one of those late-night experiments that actually worked. The dark chocolate didn’t just sit on top; it melted into the cracks, creating little pockets of bittersweet richness against the salty, nutty cookie. I ate three before I went to bed. Maybe you’ve been there—that moment when a random kitchen impulse turns into something you can’t stop thinking about. That’s this cookie.
And now, every time I make these for a gathering, someone asks for the recipe. It’s become my go-to for impressing guests without spending hours in the kitchen. The best part? You can prep the dough the night before, bake them fresh while your guests are arriving, and watch them disappear.
Why You’ll Love This Recipe
I’ve tested this recipe more times than I care to admit—probably a dozen batches over the last few months. I wanted to make sure it was absolutely foolproof before I shared it with you. And let me tell you, it delivers every single time. Here’s why these peanut butter blossom cookies with dark chocolate are about to become your new signature dessert.
- Quick & Easy: From start to finish, these cookies come together in about 30 minutes. The dough doesn’t need chilling, which means you can whip up a batch even when you’re short on time.
- Simple Ingredients: You probably already have everything you need in your pantry. Peanut butter, butter, sugar, flour, eggs—the usual suspects. No fancy grocery trips required.
- Perfect for Hosting: These cookies are ideal for dinner parties, potlucks, or holiday gatherings. They look impressive with their shiny dark chocolate tops, but they’re secretly one of the easiest cookies you’ll ever make.
- Crowd-Pleaser: I’ve served these to kids, grandparents, and everyone in between. They disappear faster than almost anything else on the dessert table. The combination of salty peanut butter and bittersweet dark chocolate hits that sweet spot everyone loves.
- Unbelievably Delicious: The texture is what gets me every time—soft and chewy on the inside, slightly crisp around the edges, with melting chocolate in every bite. It’s next-level comfort food.
What makes this recipe different from the classic version is the dark chocolate. Instead of a single Hershey’s kiss on top, I press multiple dark chocolate chips into each cookie while they’re still warm. This creates chocolate pockets throughout, so every bite has that perfect balance of sweet and bitter. It’s not just another peanut butter cookie—it’s the best version I’ve ever made.
Honestly, this is the kind of cookie that makes you close your eyes after the first bite. It’s comfort food reimagined—faster, richer, and with the same soul-soothing satisfaction. Perfect for impressing guests without stress, or turning a simple Tuesday night into something memorable.
What Ingredients You Will Need
This recipe uses simple, wholesome ingredients to deliver bold flavor and satisfying texture without the fuss. Most of these are pantry staples, which makes these cookies perfect for last-minute baking.
For the Cookie Dough
- 1/2 cup unsalted butter, softened (1 stick) — I recommend using a good-quality butter like Kerrygold for the richest flavor. The butter needs to be at room temperature so it creams properly with the sugar.
- 1/2 cup creamy peanut butter — Use a standard peanut butter like Jif or Skippy for best results. Natural peanut butter that separates can make the cookies too dry and crumbly. Trust me on this one.
- 1/2 cup granulated sugar — Plus extra for rolling the dough balls. The sugar adds sweetness and helps create that slightly crackly exterior.
- 1/2 cup packed light brown sugar — Brown sugar adds moisture and a hint of molasses flavor that pairs beautifully with the dark chocolate.
- 1 large egg, at room temperature — A room-temperature egg incorporates more easily into the creamed butter and sugar, creating a smoother dough.
- 1 teaspoon vanilla extract — Pure vanilla extract makes a difference here. Skip the imitation stuff if you can.
- 1 1/2 cups all-purpose flour — Spoon and level your flour for accurate measuring. Scooping directly from the bag can pack in too much flour and make the cookies dry.
- 1 teaspoon baking soda — This helps the cookies spread just the right amount and gives them a soft, chewy texture.
- 1/2 teaspoon salt — Salt balances the sweetness and enhances the peanut butter flavor. If you’re using salted peanut butter, reduce this to 1/4 teaspoon.
For the Topping
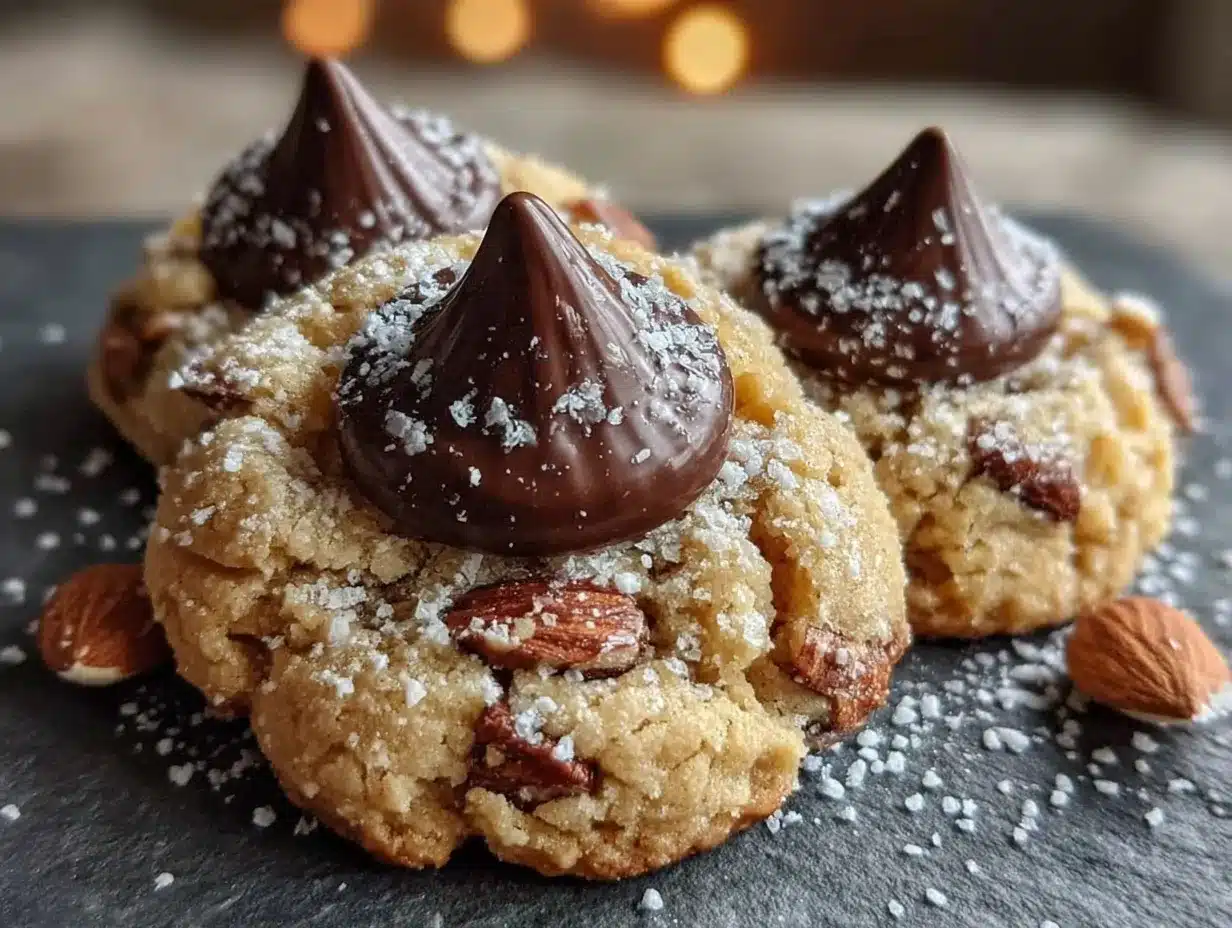
- 1/2 cup dark chocolate chips — I recommend Ghirardelli 60% Cacao Bittersweet Chocolate Chips. They melt beautifully and have that deep, complex flavor that stands up to the peanut butter. You can also use dark chocolate chunks or even chop up a dark chocolate bar.
- Flaky sea salt (optional but highly recommended) — A tiny sprinkle of Maldon sea salt right before serving takes these cookies to another level. The salt crystals add crunch and intensify the chocolate flavor.
Substitution Notes
If you need a dairy-free option, use a plant-based butter stick (I like Miyoko’s) and dairy-free dark chocolate chips. For a gluten-free version, substitute the all-purpose flour with a 1:1 gluten-free baking flour blend. I’ve tested this with Bob’s Red Mill 1:1 Baking Flour, and it works beautifully—just don’t overmix the dough. And if you’re out of creamy peanut butter, crunchy peanut butter works too! It adds a nice texture, though the cookies won’t be quite as smooth.
Equipment Needed
You don’t need any fancy equipment for these cookies, which is part of what makes them so great for hosting. Here’s what you’ll need:
- Electric hand mixer or stand mixer — A hand mixer works perfectly for creaming the butter and sugars. If you’re using a stand mixer, use the paddle attachment. You can also mix by hand with a wooden spoon, but your arm will get a workout.
- Large mixing bowl — Any medium-to-large bowl will do. I use a glass mixing bowl because I like to see when the butter and sugar are properly creamed.
- Small bowl — For whisking together the dry ingredients.
- Measuring cups and spoons — Accurate measurements matter in baking. Use dry measuring cups for the flour and sugar, and liquid measuring cups if you’re measuring milk or oil (though we don’t need that here).
- Baking sheet — I recommend a light-colored, rimmed baking sheet. Dark baking sheets can cause the bottoms of the cookies to brown too quickly.
- Parchment paper or silicone baking mat — Parchment paper makes cleanup a breeze and helps the cookies bake evenly. Silicone mats work great too.
- Cooling rack — A wire cooling rack allows air to circulate around the cookies, preventing soggy bottoms.
- Small cookie scoop or tablespoon — A 1.5-tablespoon cookie scoop ensures uniform cookies that bake evenly. If you don’t have one, use a regular tablespoon and try to make each ball the same size.
Preparation Method
Preheat your oven to 375°F (190°C). Line two baking sheets with parchment paper or silicone baking mats. This recipe makes about 24 cookies, so you’ll likely need to bake in batches.
- Cream the butter and sugars: In a large mixing bowl, beat the softened butter, granulated sugar, and brown sugar together on medium speed until light and fluffy—about 2 to 3 minutes. You’ll know it’s ready when the mixture looks pale and slightly increased in volume. Scrape down the sides of the bowl with a spatula halfway through.
- Add the peanut butter: Add the creamy peanut butter to the butter-sugar mixture and beat on medium speed until fully combined—about 1 minute. The mixture should be smooth and uniform in color.
- Add the egg and vanilla: Beat in the room-temperature egg and vanilla extract until just combined. Don’t overmix at this stage—you just want everything incorporated. The dough might look a little glossy, and that’s perfectly normal.
- Mix the dry ingredients: In a separate small bowl, whisk together the all-purpose flour, baking soda, and salt. This ensures the baking soda and salt are evenly distributed throughout the flour.
- Combine wet and dry ingredients: Gradually add the flour mixture to the wet ingredients, mixing on low speed or folding with a spatula until just combined. Stop mixing as soon as you no longer see streaks of flour. Overmixing at this stage can make the cookies tough.
- Shape the dough balls: Scoop about 1.5 tablespoons of dough (roughly the size of a walnut) and roll it between your palms to form a smooth ball. Place the dough balls about 2 inches apart on the prepared baking sheets—they will spread during baking.
- Roll in sugar: Pour about 1/4 cup of granulated sugar into a small bowl. Roll each dough ball in the sugar until evenly coated. This step creates that beautiful crackly exterior and adds a subtle sweetness.
- Bake the cookies: Bake for 9 to 11 minutes, or until the edges are lightly golden and the centers look slightly puffed and set. The cookies will continue to bake on the hot baking sheet after you remove them from the oven, so don’t overbake. For softer, chewier cookies, bake on the shorter end of the time range.
- Add the dark chocolate: Remove the baking sheet from the oven and let the cookies cool on the sheet for 2 minutes. While they’re still warm, gently press 3 to 4 dark chocolate chips into the top of each cookie. The residual heat will soften the chocolate, creating those gorgeous melted pockets.
- Cool completely: Transfer the cookies to a wire cooling rack and let them cool completely—about 15 to 20 minutes. If you’re using flaky sea salt, sprinkle a tiny pinch over each cookie while the chocolate is still slightly warm so it sticks.
Pro tip for hosting: You can prepare the dough up to 48 hours in advance and keep it covered in the refrigerator. When your guests arrive, just roll the chilled dough in sugar and bake. Your kitchen will smell amazing, and everyone will think you’ve been slaving away all day.
Cooking Tips & Techniques
After making these cookies more times than I can count, I’ve learned a few things the hard way. Here’s what I wish someone had told me.
Don’t overmix the dough. This is the most common mistake I see. Once you add the flour, mix only until it disappears. Overmixing develops the gluten in the flour, which makes cookies tough and dense instead of soft and tender. I speak from experience—I once mixed for an extra 30 seconds and ended up with cookies that were more like hockey pucks.
Use room-temperature ingredients. Cold butter doesn’t cream properly with sugar, and cold egg can cause the dough to seize up. Take the butter and egg out of the fridge about 30 minutes before you start baking. If you’re in a hurry, you can soften the butter in the microwave for 10 to 15 seconds—just be careful not to melt it.
Chill the dough if you have time. While this recipe doesn’t require chilling, letting the dough rest in the refrigerator for 30 minutes to an hour will make it easier to handle and result in thicker, chewier cookies. The flour has time to fully hydrate, and the flavors meld together. I’ve done it both ways, and chilled dough definitely produces a more consistent result.
Bake in batches. Unless you have a convection oven, bake one sheet at a time on the middle rack. Baking two sheets at once can cause uneven heat distribution, with some cookies overbaking while others are still raw in the middle.
Watch the timing closely. These cookies go from perfectly baked to overbaked in about 60 seconds. I set a timer for 9 minutes and check them. The edges should be golden, but the centers should still look soft and slightly underdone. They’ll firm up as they cool.
Press the chocolate chips while the cookies are warm. If you wait until they’re completely cool, the chocolate won’t stick. If you try to press them in right out of the oven, the cookies might crumble. That 2-minute cooling window is the sweet spot.
Variations & Adaptations
One of the things I love most about this recipe is how easy it is to adapt. Here are a few variations I’ve tried and loved.
White Chocolate & Cranberry: Swap the dark chocolate chips for white chocolate chips and add 1/3 cup dried cranberries to the dough. The tartness of the cranberries cuts through the richness of the peanut butter beautifully. I made this version for a holiday cookie exchange last year, and they were gone within 10 minutes.
Chocolate Peanut Butter Swirl: After shaping the dough balls, press a small indentation in the center and add a 1/2 teaspoon of chocolate-hazelnut spread (like Nutella) before rolling in sugar. Bake as directed, and you’ll get a gooey chocolate center in every cookie. This is my personal favorite for when I’m feeling indulgent.
Gluten-Free Option: Substitute the all-purpose flour with a 1:1 gluten-free baking flour blend. I’ve tested this with Bob’s Red Mill 1:1 Baking Flour, and the cookies come out slightly more delicate but just as delicious. Make sure your peanut butter and chocolate chips are certified gluten-free if needed.
Vegan Adaptation: Use a plant-based butter stick and a flax egg (1 tablespoon ground flaxseed mixed with 3 tablespoons water, let sit for 5 minutes). Most dark chocolate chips are naturally dairy-free, but check the label to be sure. The texture will be slightly different—a bit more cakey—but still incredibly tasty.
Spiced Version: Add 1/2 teaspoon of cinnamon and 1/4 teaspoon of cayenne pepper to the flour mixture. The warmth of the cinnamon and the subtle heat from the cayenne play wonderfully with the dark chocolate and peanut butter. It’s unexpected and absolutely addictive.
Serving & Storage Suggestions
These cookies are best served slightly warm, when the dark chocolate is still soft and melty. If you’re hosting a dinner party, I recommend baking them just before your guests arrive and keeping them on a cooling rack covered with a clean kitchen towel. The warmth will fill your kitchen with that incredible peanut butter-chocolate aroma, and everyone will gravitate toward the counter.
For a dessert platter, arrange the cookies on a large wooden board alongside fresh berries, a bowl of whipped cream, and maybe a few squares of extra dark chocolate. They pair beautifully with a cup of strong coffee, a glass of cold milk, or even a bold red wine like a Zinfandel. The saltiness of the cookies balances the tannins in the wine surprisingly well.
Storage: Store the cookies in an airtight container at room temperature for up to 5 days. Place a slice of bread in the container to keep them soft—the cookies will absorb moisture from the bread, staying chewy and delicious. Change the bread slice every other day.
Freezing: These cookies freeze beautifully. You can freeze the baked cookies in a single layer on a baking sheet, then transfer them to a freezer-safe bag or container for up to 3 months. Thaw at room temperature for about 30 minutes before serving. Alternatively, you can freeze the unbaked dough balls on a baking sheet, then transfer to a freezer bag. Bake directly from frozen, adding 2 to 3 minutes to the baking time.
One thing I’ve noticed is that these cookies actually taste better the next day. The flavors have time to meld together, and the texture becomes even more tender. So don’t stress if you need to make them a day ahead—your guests will never know.
Nutritional Information & Benefits
Here’s the estimated nutritional breakdown for one cookie (based on 24 cookies):
| Nutrient | Amount per Cookie |
|---|---|
| Calories | 165 |
| Total Fat | 9g |
| Saturated Fat | 4g |
| Cholesterol | 20mg |
| Sodium | 120mg |
| Total Carbohydrates | 19g |
| Dietary Fiber | 1g |
| Sugars | 12g |
| Protein | 3g |
While these are definitely a treat, they do offer some nutritional benefits. Peanut butter provides plant-based protein and healthy monounsaturated fats that can help keep you feeling satisfied. Dark chocolate is rich in antioxidants called flavonoids, which have been linked to heart health. And the fiber from the peanuts and whole ingredients helps slow down sugar absorption.
That said, I’m not here to pretend these are health food. They’re cookies—they’re meant to be enjoyed in moderation. But I feel good about serving them to my guests knowing they’re made with real, recognizable ingredients and no preservatives or artificial flavors.
If you’re watching your sugar intake, you can reduce the granulated sugar to 1/3 cup, though the cookies will be slightly less tender. For a lower-carb option, try using a sugar substitute like monk fruit sweetener, though I haven’t tested this myself.
Frequently Asked Questions
Can I use natural peanut butter?
I don’t recommend it for this recipe. Natural peanut butter that separates (the kind with oil on top) has a different fat content and can make the cookies dry and crumbly. Stick with a standard creamy peanut butter like Jif or Skippy for the best texture.
Why did my cookies spread too much?
This usually happens for one of three reasons: the butter was too soft or melted, the dough wasn’t chilled, or there wasn’t enough flour. Make sure your butter is softened but not melted, and measure your flour by spooning it into the measuring cup and leveling it off.
Can I make these cookies ahead of time?
Absolutely! You can prepare the dough up to 48 hours in advance and keep it covered in the refrigerator. Roll and bake when you’re ready. The baked cookies also store well for up to 5 days in an airtight container.
Can I use milk chocolate instead of dark chocolate?
Of course! If you prefer a sweeter cookie, feel free to use milk chocolate chips or even white chocolate chips. Just keep in mind that the overall sweetness level will increase. I personally love the contrast of bittersweet dark chocolate against the salty peanut butter.
How do I know when the cookies are done baking?
Look for lightly golden edges with centers that still look slightly puffed and soft. The cookies will continue to bake on the hot baking sheet after you remove them from the oven. If you wait until the centers look fully set, they’ll be overbaked and dry.
Conclusion
These peanut butter blossom cookies with dark chocolate are everything I want in a dessert—simple to make, incredibly satisfying, and impressive enough to serve at any gathering. They’ve become my secret weapon for dinner parties, potlucks, and those nights when I just need something sweet after a long day.
What I love most about this recipe is how adaptable it is. You can dress it up with flaky sea salt and dark chocolate for a sophisticated finish, or keep it simple with milk chocolate chips for a classic crowd-pleaser. It works either way, and it works every single time.
I’d love to hear how these turn out for you! Drop a comment below and let me know if you tried any variations or if these became a hit at your next gathering. And if you’re looking for more hosting-friendly desserts, check out my recipe for easy chocolate lava cakes or these salted caramel shortbread bars—they’re both perfect for impressing guests without spending all day in the kitchen.
Happy baking, friends. Your dinner party just got a whole lot sweeter.
Pin This Recipe!
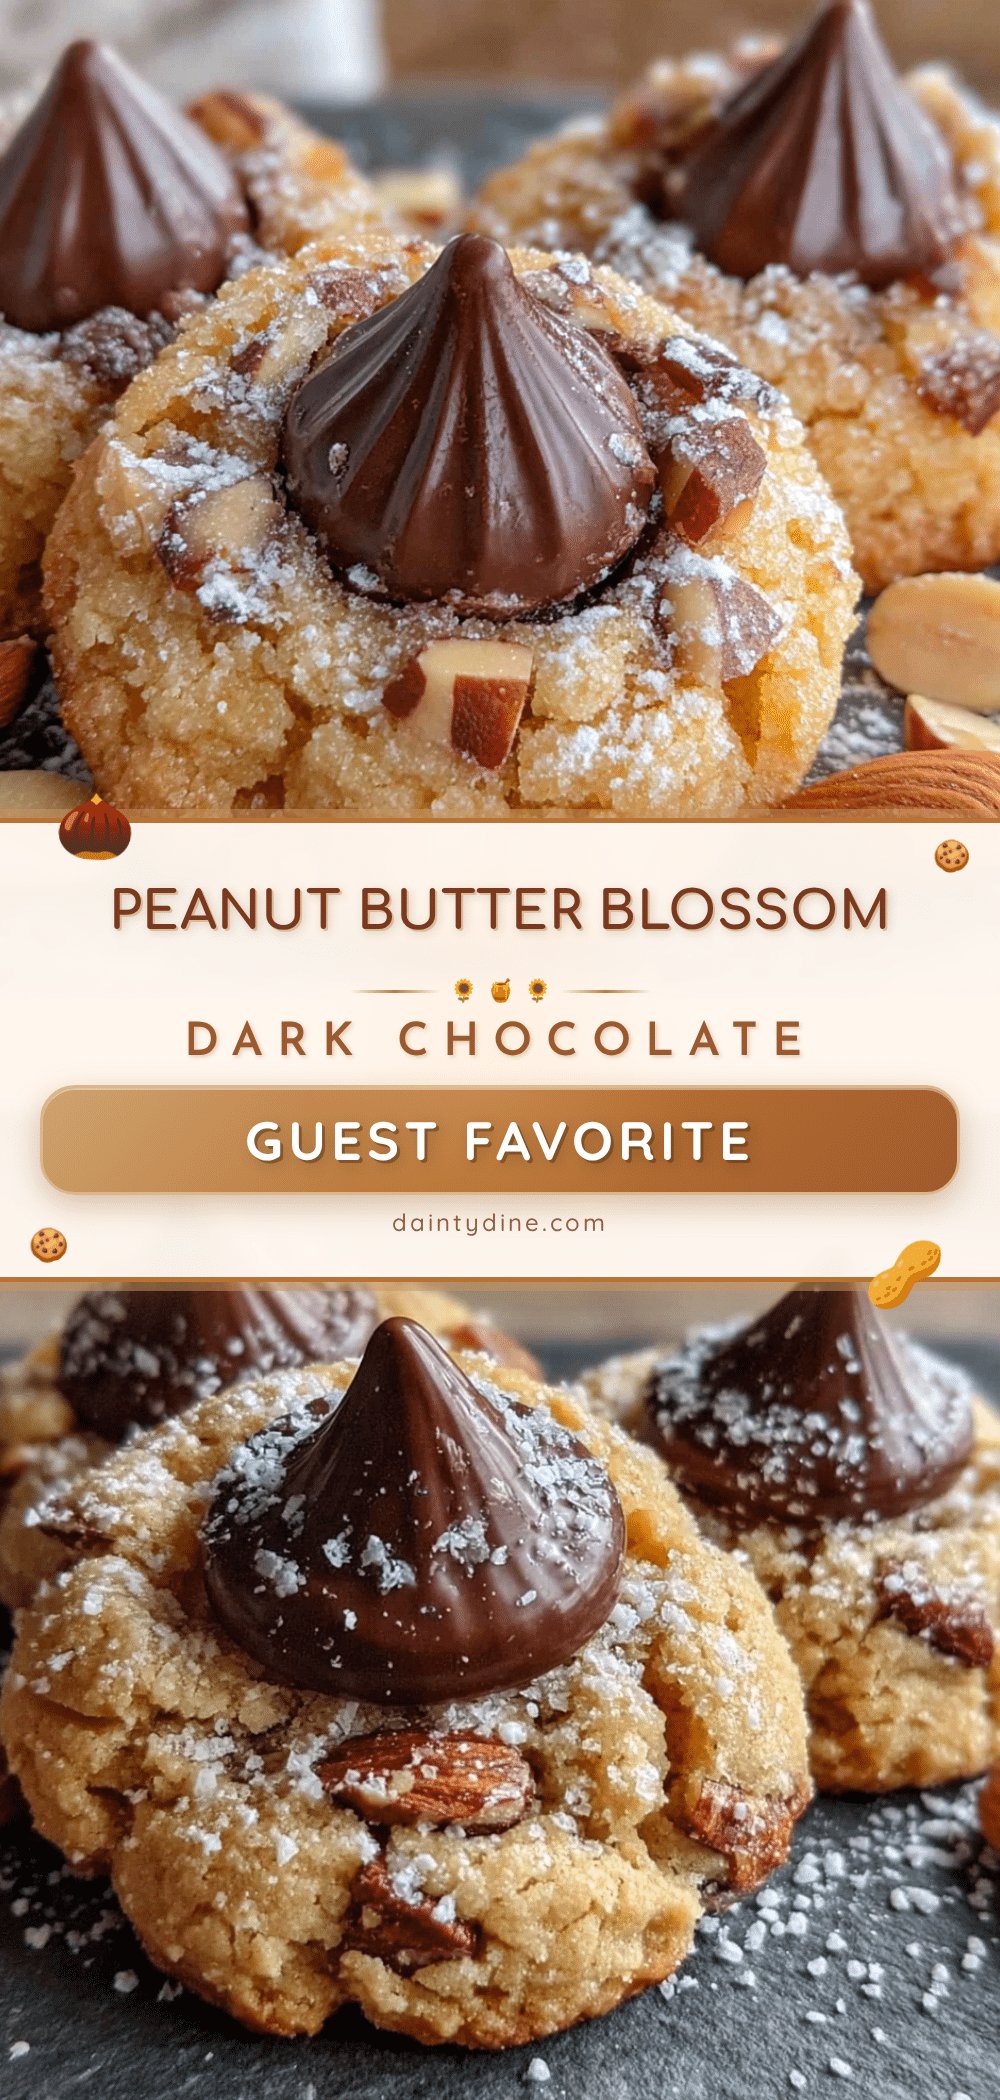
Best Peanut Butter Blossom Cookies with Dark Chocolate

These peanut butter blossom cookies swap milk chocolate for dark chocolate chips, creating rich, bittersweet pockets in every bite. They’re quick, easy, and perfect for impressing guests without spending hours in the kitchen.
- Prep Time: 15 minutes
- Cook Time: 10 minutes
- Total Time: 25 minutes
- Yield: 24 cookies 1x
- Category: Dessert
- Cuisine: American
Ingredients
- 1/2 cup unsalted butter, softened (1 stick)
- 1/2 cup creamy peanut butter
- 1/2 cup granulated sugar (plus extra for rolling)
- 1/2 cup packed light brown sugar
- 1 large egg, at room temperature
- 1 teaspoon vanilla extract
- 1 1/2 cups all-purpose flour
- 1 teaspoon baking soda
- 1/2 teaspoon salt
- 1/2 cup dark chocolate chips
- Flaky sea salt (optional)
Instructions
- Preheat oven to 375°F (190°C). Line two baking sheets with parchment paper or silicone baking mats.
- In a large mixing bowl, beat the softened butter, granulated sugar, and brown sugar together on medium speed until light and fluffy, about 2 to 3 minutes.
- Add the creamy peanut butter and beat on medium speed until fully combined, about 1 minute.
- Beat in the room-temperature egg and vanilla extract until just combined.
- In a separate small bowl, whisk together the all-purpose flour, baking soda, and salt.
- Gradually add the flour mixture to the wet ingredients, mixing on low speed or folding with a spatula until just combined.
- Scoop about 1.5 tablespoons of dough and roll into smooth balls. Place about 2 inches apart on prepared baking sheets.
- Roll each dough ball in granulated sugar until evenly coated.
- Bake for 9 to 11 minutes, until edges are lightly golden and centers look slightly puffed and set.
- Remove from oven and let cool on the baking sheet for 2 minutes. While still warm, gently press 3 to 4 dark chocolate chips into the top of each cookie.
- Transfer to a wire cooling rack and cool completely, about 15 to 20 minutes. If using, sprinkle with flaky sea salt while chocolate is still slightly warm.
Notes
You can prepare the dough up to 48 hours in advance and keep it covered in the refrigerator. For thicker, chewier cookies, chill the dough for 30 minutes to an hour before baking. Press the chocolate chips while the cookies are warm but not hot—about 2 minutes after removing from the oven. Store in an airtight container at room temperature for up to 5 days; place a slice of bread in the container to keep them soft. Freeze baked cookies for up to 3 months.
Nutrition
- Serving Size: 1 cookie
- Calories: 165
- Sugar: 12
- Sodium: 120
- Fat: 9
- Saturated Fat: 4
- Carbohydrates: 19
- Fiber: 1
- Protein: 3
Keywords: peanut butter blossom cookies, dark chocolate cookies, easy cookie recipe, dinner party dessert, peanut butter cookies