Love this? Save it for later!
Share the inspiration with your friends
My neighbor Sarah wasn’t trying to impress anyone. I’d stopped by to borrow a garden rake and the smell of something warm and sweet hit me before I even knocked on her screen door. She waved me in with a flour-dusted hand, completely unfazed by the fact that her tiny kitchen smelled like a bakery on a Saturday morning.
“It’s just banana bread,” she said, sliding a loaf out of the oven. “The bananas were going brown.”
Just banana bread. Like it was nothing. But let me tell you—that first slice, still warm, with butter melting into the crumb, changed how I thought about this classic recipe forever.
I watched her make it. One bowl. A wooden spoon. No mixer, no stand, no complicated folding technique. She didn’t even sift the flour. She just stirred everything together like she was making scrambled eggs, poured it into a pan, and walked away. I stood there, honestly a little stunned, holding my garden rake like an idiot.
That was three years ago, and I’ve made this banana bread more times than I can count. It’s the recipe I turn to when I have three brown bananas on the counter and zero energy for complicated baking. It’s the one I text to friends who say they can’t bake. It’s the one that makes people close their eyes after the first bite and say, “Wait, that’s it?”
Maybe you’ve been there—staring at overripe bananas, wanting something homemade but not wanting to deal with a sink full of dirty dishes. This is that recipe. It’s forgiving, it’s foolproof, and it tastes like you spent way more effort than you actually did. That’s the kind of baking I can get behind.
Why You’ll Love This Recipe
I’ve tested this banana bread at least two dozen times across three different ovens, and I can tell you with confidence: this is the one. It’s not just good for a no-knead, one-bowl recipe. It’s genuinely excellent banana bread, period.
- One Bowl, No Mixer : You don’t need a stand mixer, hand mixer, or even a whisk. A fork and a bowl are all you need. Less cleanup means more time eating warm banana bread.
- No Kneading Required : Unlike yeast-based breads, this batter comes together in under five minutes. No waiting for dough to rise, no sticky hands, no flour all over your counter.
- Pantry-Friendly Ingredients : Flour, sugar, eggs, butter, bananas—you probably have everything already. I’ve made this at 10 PM on a Tuesday because the ingredients were just sitting there.
- Perfect for Busy People : From bowl to oven in under 10 minutes. The oven does all the work while you do literally anything else.
- Always Moist, Never Dry : The secret is using very ripe bananas and the right fat-to-flour ratio. This bread stays moist for days—if it lasts that long.
- Crowd-Pleaser Guaranteed : I’ve brought this to brunches, potlucks, and work meetings. It disappears fast. Kids love it, adults love it, and people always ask for the recipe.
This isn’t just another banana bread recipe. It’s the one that uses a simple technique—mashing the bananas thoroughly and letting the batter rest for five minutes before baking—that makes all the difference. The texture is tender, the flavor is deeply banana-forward, and the top gets that perfect golden crackle that makes banana bread look like it came from a bakery.
Honestly? This recipe makes you look like you know what you’re doing in the kitchen, even if you barely know how to boil water. It’s comfort food at its most forgiving.
What Ingredients You Will Need
This recipe uses simple, everyday ingredients to create something genuinely special. The magic is in how they come together, not in fancy additions or hard-to-find items. Here’s what you need:
For the Banana Bread Batter
- 3 large ripe bananas, mashed (about 1 ½ cups or 340g). The riper, the better—look for bananas with lots of brown spots. They’re sweeter and easier to mash.
- ⅓ cup (75g) unsalted butter, melted. I use salted butter in a pinch and just reduce the added salt slightly. Let the butter cool for a minute after melting so it doesn’t cook the eggs.
- ¾ cup (150g) granulated sugar. White sugar gives the cleanest sweetness, but light brown sugar works beautifully for a deeper flavor. I’ve used coconut sugar too—it works, but the bread is a bit denser.
- 1 large egg, at room temperature. If you forgot to take it out of the fridge, place it in a bowl of warm water for five minutes.
- 1 teaspoon vanilla extract. Pure vanilla extract is worth it here. The flavor comes through in every bite.
- 1 ½ cups (190g) all-purpose flour. Spoon and level your flour—don’t scoop directly from the bag or you’ll end up with too much. I’ve used whole wheat pastry flour with good results, but the texture is slightly heartier.
- 1 teaspoon baking soda. This is your leavening agent. Make sure it’s fresh—test it by dropping a bit into vinegar; if it fizzes, it’s good.
- ¼ teaspoon salt. Fine sea salt or table salt works best. It balances the sweetness and enhances the banana flavor.
- ½ teaspoon ground cinnamon (optional but recommended). Cinnamon and banana are a classic pairing. I never skip it.
Optional Add-Ins (Pick One or Two)
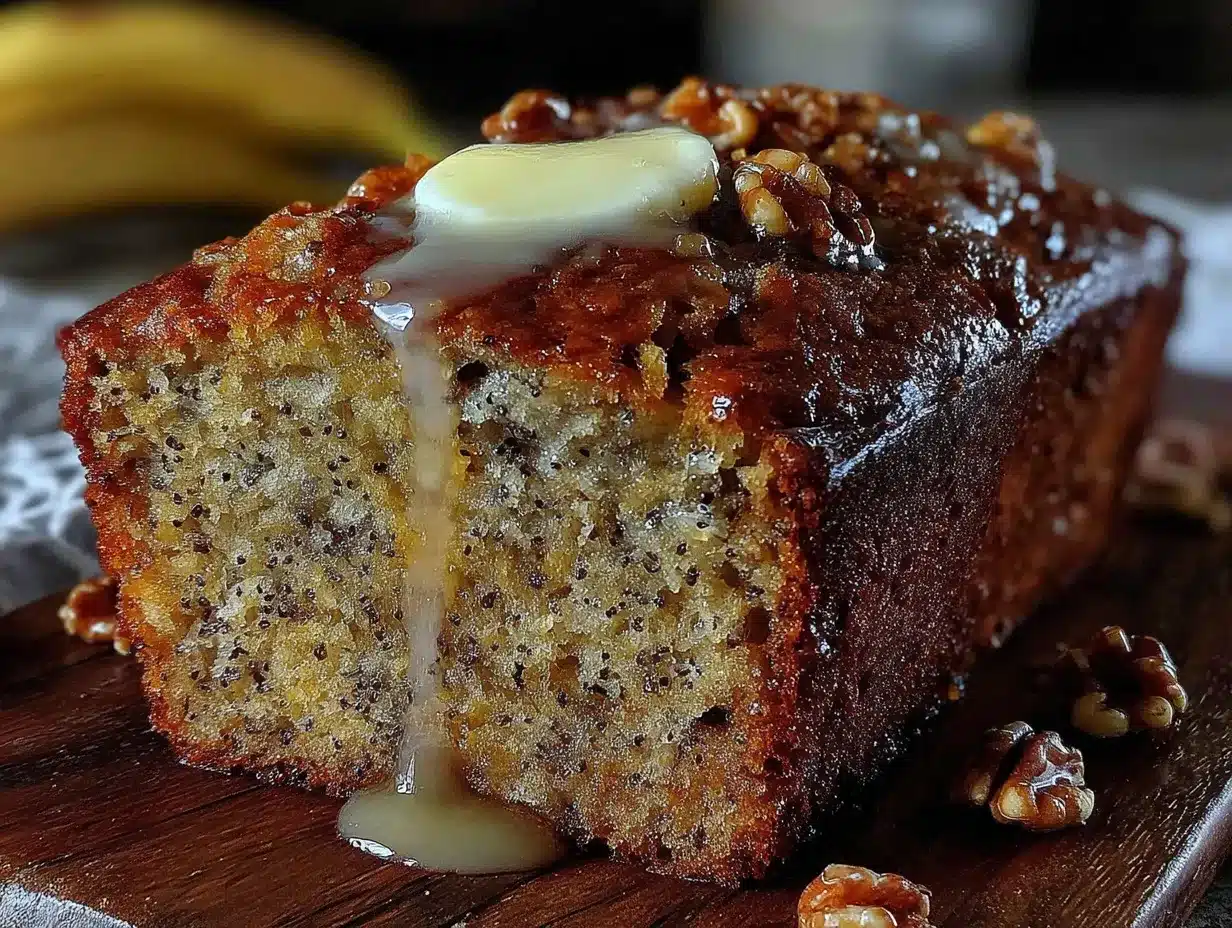
- ½ cup (60g) chopped walnuts or pecans. Toast them first for extra flavor. I like pecans because they’re buttery and soft.
- ½ cup (85g) chocolate chips. Semi-sweet or dark chocolate chips add little pockets of melted goodness. My kids insist on this version.
- ¼ cup (40g) dried cranberries or raisins. Adds a chewy, tart contrast to the sweet bread.
Ingredient Tip : I prefer using King Arthur Flour for consistent results, but any all-purpose flour works. For the butter, I use Kerrygold when I have it—the higher fat content makes the bread extra tender. If you’re dairy-free, melted coconut oil works perfectly as a 1:1 substitute for the butter.
Equipment Needed
One of the best things about this recipe is how little equipment it requires. Here’s what you’ll need:
- One large mixing bowl. Any bowl works—glass, ceramic, or stainless steel. I use a standard 4-quart mixing bowl.
- A fork or potato masher. For mashing the bananas. A fork works fine, but a potato masher is faster and gives you a smoother mash.
- A wooden spoon or rubber spatula. For mixing the batter. A rubber spatula is great for scraping the sides of the bowl.
- A 9×5-inch loaf pan. A standard loaf pan is ideal. If you use an 8×4-inch pan, your bread will be taller and可能需要 bake a few minutes longer.
- Parchment paper. Not strictly necessary, but it makes lifting the bread out of the pan so much easier. I leave an overhang on two sides for handles.
- Measuring cups and spoons. For accurate measurements. I prefer metal measuring cups for dry ingredients and glass for liquids.
- A cooling rack. For cooling the bread evenly. If you don’t have one, you can balance the loaf pan on two upside-down ramekins.
Budget-Friendly Tip : You don’t need fancy equipment for this recipe. I made my first loaf with a fork, a Pyrex bowl from a thrift store, and a loaf pan I found at a garage sale for two dollars. It turned out perfectly.
Maintenance Note : If you use a non-stick loaf pan, avoid using metal utensils that could scratch the surface. Hand-wash your pan with a soft sponge to keep it in good shape.
Preparation Method
This is where the magic happens. Follow these steps, and you’ll have perfect banana bread every single time. The whole process takes about 10 minutes of active work—the oven does the rest.
- Preheat your oven to 350°F (175°C). Position the rack in the center of the oven. While it’s heating, line your loaf pan with parchment paper, leaving an overhang on the two long sides. Lightly grease any exposed sides with butter or cooking spray.
- Mash the bananas. Place the three ripe bananas in your large mixing bowl. Mash them with a fork or potato masher until they’re mostly smooth with a few small lumps. You want some texture—completely smooth puree makes the bread denser. Aim for the consistency of a thick, chunky applesauce.
- Add the melted butter. Pour the melted butter over the mashed bananas and stir until combined. The butter should be warm but not hot—if it’s too hot, let it cool for a minute. Stir with your wooden spoon or spatula until the butter is fully incorporated.
- Mix in the sugar, egg, and vanilla. Add the sugar and stir until the mixture looks smooth and slightly glossy. Crack the egg into the bowl and add the vanilla extract. Stir vigorously until everything is well combined. The batter will look a bit thin at this point—that’s normal.
- Add the dry ingredients. Sprinkle the flour, baking soda, salt, and cinnamon (if using) over the wet mixture. Do not dump them all in one pile—spread them out a bit. This helps the baking soda distribute evenly without clumping.
- Fold gently until just combined. Use a gentle folding motion—scrape the bottom and sides of the bowl, bringing the dry ingredients up and over the wet. Stop mixing as soon as you no longer see streaks of flour. A few small lumps are perfectly fine. Over-mixing will make your bread tough and dense.
- Fold in any add-ins. If you’re using nuts, chocolate chips, or dried fruit, gently fold them in now. Use about 5 strokes—you want them evenly distributed without over-mixing the batter.
- Let the batter rest. Here’s a tip I learned from trial and error: let the batter sit in the bowl for 5 minutes before pouring it into the pan. This allows the flour to fully hydrate and the baking soda to start activating. The result is a taller, more tender loaf.
- Pour the batter into the prepared pan. Scrape every last bit out of the bowl with your spatula. Spread the batter evenly in the pan. Give the pan a gentle tap on the counter to release any air bubbles.
- Bake for 55-65 minutes. Place the pan in the preheated oven and bake until a toothpick inserted into the center comes out clean or with just a few moist crumbs. Start checking at 55 minutes. The top should be deep golden brown and cracked in the center.
- Cool in the pan for 10 minutes. Remove the pan from the oven and place it on a cooling rack. Let it cool in the pan for exactly 10 minutes—this allows the bread to set without becoming soggy on the bottom.
- Transfer to the cooling rack. Use the parchment paper handles to lift the bread out of the pan. Place it directly on the cooling rack. Let it cool completely before slicing, about 1 hour. I know it’s hard to wait, but slicing too early will give you a gummy, crumbly mess.
Visual Cue : The bread is done when the top is a rich golden brown and a crack has formed down the center. If you insert a toothpick and it comes out with wet batter, bake for 5 more minutes and check again. If the top is browning too quickly, tent the pan loosely with aluminum foil for the last 15 minutes of baking.
Cooking Tips & Techniques
Over the years, I’ve made every mistake you can imagine with banana bread. I’ve had loaves that were gummy in the middle, dry as sawdust, or so dense they could double as doorstops. Here’s what I learned so you don’t have to make the same mistakes.
Use Very Ripe Bananas. This is the single most important tip. Bananas that are yellow with no spots will give you bland, dense bread. Wait until they’re covered in brown spots—almost black is even better. They should be soft enough to mash with a fork easily. If your bananas aren’t ripe enough, place them on a baking sheet in a 300°F (150°C) oven for 15-20 minutes until the skins turn black. Let them cool before using.
Don’t Over-Mix. I cannot stress this enough. Stir just until the flour disappears. Over-mixing develops gluten, which makes the bread tough and rubbery. You want a tender, cake-like crumb. A few flour streaks are better than a tough loaf.
Measure Flour Correctly. Scooping flour directly from the bag compacts it, and you can end up with 20-30% more flour than the recipe calls for. Instead, fluff the flour with a spoon, then spoon it into your measuring cup and level it off with a knife. This simple step prevents dry, crumbly bread.
Room Temperature Ingredients Matter. Cold eggs and butter don’t emulsify properly, which can lead to a dense texture. Set your egg out 30 minutes before baking, or place it in a bowl of warm water for 5 minutes. The melted butter should be warm but not hot.
Check for Doneness Properly. Every oven runs differently. My old oven baked this bread in exactly 55 minutes. My current one takes 62 minutes. Start checking at 55 minutes, and don’t rely solely on the toothpick test—also check that the edges have pulled away from the pan slightly and the top springs back when lightly touched.
Let It Cool Completely. I know the smell is intoxicating. I know you want a warm slice with butter. But cutting into banana bread while it’s still warm will give you a gummy, crumbly texture. The bread continues to set as it cools. Wait at least an hour. Trust me on this.
Variations & Adaptations
One of the best things about this recipe is how adaptable it is. I’ve tried dozens of variations over the years, and here are my favorites:
Gluten-Free Banana Bread
Swap the all-purpose flour for a 1:1 gluten-free baking flour blend. I use Bob’s Red Mill 1-to-1 Baking Flour. Add an extra tablespoon of flour to compensate for the lack of gluten structure. The texture is slightly more tender, but it’s still delicious.
Vegan Banana Bread
Replace the egg with a flax egg (1 tablespoon ground flaxseed mixed with 3 tablespoons water, let sit for 5 minutes). Use melted coconut oil instead of butter. The bread will be a bit denser but still moist and flavorful. I’ve made this for vegan friends and they always ask for seconds.
Chocolate Swirl Banana Bread
After pouring the batter into the pan, dollop 3 tablespoons of Nutella or chocolate-hazelnut spread on top. Use a knife to swirl it through the batter. The chocolate ribbons through the banana bread are absolutely stunning and taste incredible.
Blueberry Banana Bread
Fold in 1 cup of fresh or frozen blueberries (don’t thaw them) along with the dry ingredients. Toss the berries in a tablespoon of flour first to prevent them from sinking to the bottom. The burst of tart berries against the sweet banana bread is a game-changer.
Spiced Banana Bread
Add ½ teaspoon ground nutmeg, ¼ teaspoon ground ginger, and a pinch of ground cloves along with the cinnamon. This gives the bread a warm, chai-like flavor that’s perfect for fall and winter mornings.
My Personal Favorite : I once made a version with browned butter instead of melted butter, and it was transformative. Brown the butter in a small saucepan over medium heat until it turns amber and smells nutty, about 5 minutes. Let it cool slightly before adding it to the bananas. The nutty, caramelized flavor takes this banana bread to a whole new level.
Serving & Storage Suggestions
This banana bread is wonderful on its own, but here are some ways to make it even better:
Serving Temperature : Banana bread is best at room temperature or slightly warm. If you want a warm slice, pop it in the microwave for 10-15 seconds or toast it lightly in a toaster oven. Spread it with salted butter, cream cheese, or a drizzle of honey for extra indulgence.
Presentation Ideas : For brunch, slice the bread and arrange it on a wooden board with fresh berries, a dish of honey butter, and a pot of coffee. For dessert, serve a slice with a scoop of vanilla ice cream and a drizzle of caramel sauce. It’s also fantastic sliced thick and used for French toast—trust me on this.
Complementary Beverages : A hot cup of coffee, a chai latte, or a cold glass of milk are all perfect pairings. For an adult option, try it with a small glass of bourbon or a dark rum cocktail—the warm spices and banana flavor play beautifully with aged spirits.
Storage Instructions : Wrap the cooled banana bread tightly in plastic wrap or aluminum foil and store it at room temperature for up to 4 days. Do not refrigerate it—the cold air will dry it out. If your kitchen is very warm, you can store it in an airtight container in a cool, dark place.
Freezing Instructions : Banana bread freezes beautifully. Wrap the cooled loaf (or individual slices) tightly in plastic wrap, then place it in a freezer-safe bag or container. It will keep for up to 3 months. To thaw, leave it at room temperature for a few hours or microwave individual slices for 20-30 seconds.
Flavor Development : Here’s a secret—this banana bread actually tastes better on the second day. The flavors meld together and the moisture distributes more evenly. If you can resist eating it on day one, wrap it tightly and let it sit overnight. You’ll be rewarded with an even more delicious loaf.
Nutritional Information & Benefits
While banana bread is a treat, it does offer some nutritional benefits thanks to its star ingredient. Here’s an approximate breakdown per slice (based on 10 slices, without add-ins):
| Nutrient | Amount Per Slice |
|---|---|
| Calories | 215 |
| Total Fat | 8g |
| Saturated Fat | 5g |
| Cholesterol | 35mg |
| Sodium | 195mg |
| Total Carbohydrates | 34g |
| Dietary Fiber | 1.5g |
| Sugars | 18g |
| Protein | 3g |
| Potassium | 180mg |
Health Benefits : Bananas are rich in potassium, which supports heart health and muscle function. They also contain vitamin B6, vitamin C, and dietary fiber. The cinnamon adds antioxidants and may help regulate blood sugar. Using whole wheat pastry flour or reducing the sugar by a quarter cup can make this bread a bit more nutritious without sacrificing flavor.
Dietary Considerations : This recipe contains gluten, dairy, and eggs. For gluten-free, dairy-free, or vegan options, see the variations section above. It’s naturally nut-free (unless you add nuts) and can be made lower in sugar by using a sugar substitute like monk fruit sweetener.
Personal Note : I don’t pretend banana bread is health food. But I love that it uses real, whole-food ingredients—nothing artificial, no preservatives, no weird additives. It’s the kind of treat you can feel good about sharing with your family.
Conclusion
This one-bowl no-knead banana bread has earned a permanent spot in my baking rotation, and I think it deserves a spot in yours too. It’s the recipe I turn to when I need something homemade without the hassle. It’s the recipe that makes people say, “You made this?” with genuine surprise. And it’s the recipe that proves you don’t need fancy techniques or expensive equipment to create something truly delicious.
What I love most about this banana bread is how forgiving it is. You can use different flours, swap the butter for oil, add chocolate chips or nuts or dried fruit, and it still turns out beautifully. It’s a recipe that invites experimentation and rewards confidence. It’s the kind of recipe that makes you feel like a real baker, even on days when you don’t feel like one.
I’d love to hear how yours turns out. Did you add chocolate chips? Try the browned butter version? Make it for a brunch that impressed everyone? Drop a comment below and let me know—I read every single one, and I love hearing about your baking adventures. And if you have a favorite variation I haven’t tried, please share it. I’m always looking for new ways to make this recipe even better.
Now go mash those bananas. Your kitchen is about to smell amazing.
Frequently Asked Questions
Can I use frozen bananas for this recipe?
Absolutely. Thaw frozen bananas completely, then drain off any excess liquid before mashing. The bananas will be very soft and almost liquid, which works perfectly. The flavor is actually more concentrated in frozen bananas, so your bread will taste even more banana-forward.
Why did my banana bread sink in the middle?
This usually happens for one of three reasons: the batter was over-mixed, the oven temperature was too low, or the bread was under-baked. Make sure your oven is properly preheated to 350°F and avoid opening the oven door during the first 40 minutes of baking. Also, gently fold your batter until just combined—no more.
Can I make this into muffins instead of a loaf?
Yes! This batter works beautifully for muffins. Divide the batter among a greased 12-cup muffin tin, filling each cup about ⅔ full. Bake at 350°F for 18-22 minutes, or until a toothpick inserted into the center of a muffin comes out clean. Let them cool in the pan for 5 minutes, then transfer to a cooling rack.
How do I know when my bananas are ripe enough?
Look for bananas that are heavily spotted with brown or even mostly black. They should feel soft when you squeeze them gently. If they’re still yellow with green tips, they’re not ready. You can speed up ripening by placing them in a paper bag with an apple or tomato for 24 hours.
Can I reduce the sugar in this recipe?
Yes, you can reduce the sugar to ½ cup (100g) without significantly affecting the texture. The bread will be less sweet, which some people prefer. If you reduce it further, the bread may be slightly drier and less tender. You can also substitute up to half the sugar with mashed banana or unsweetened applesauce for natural sweetness.
Pin This Recipe!
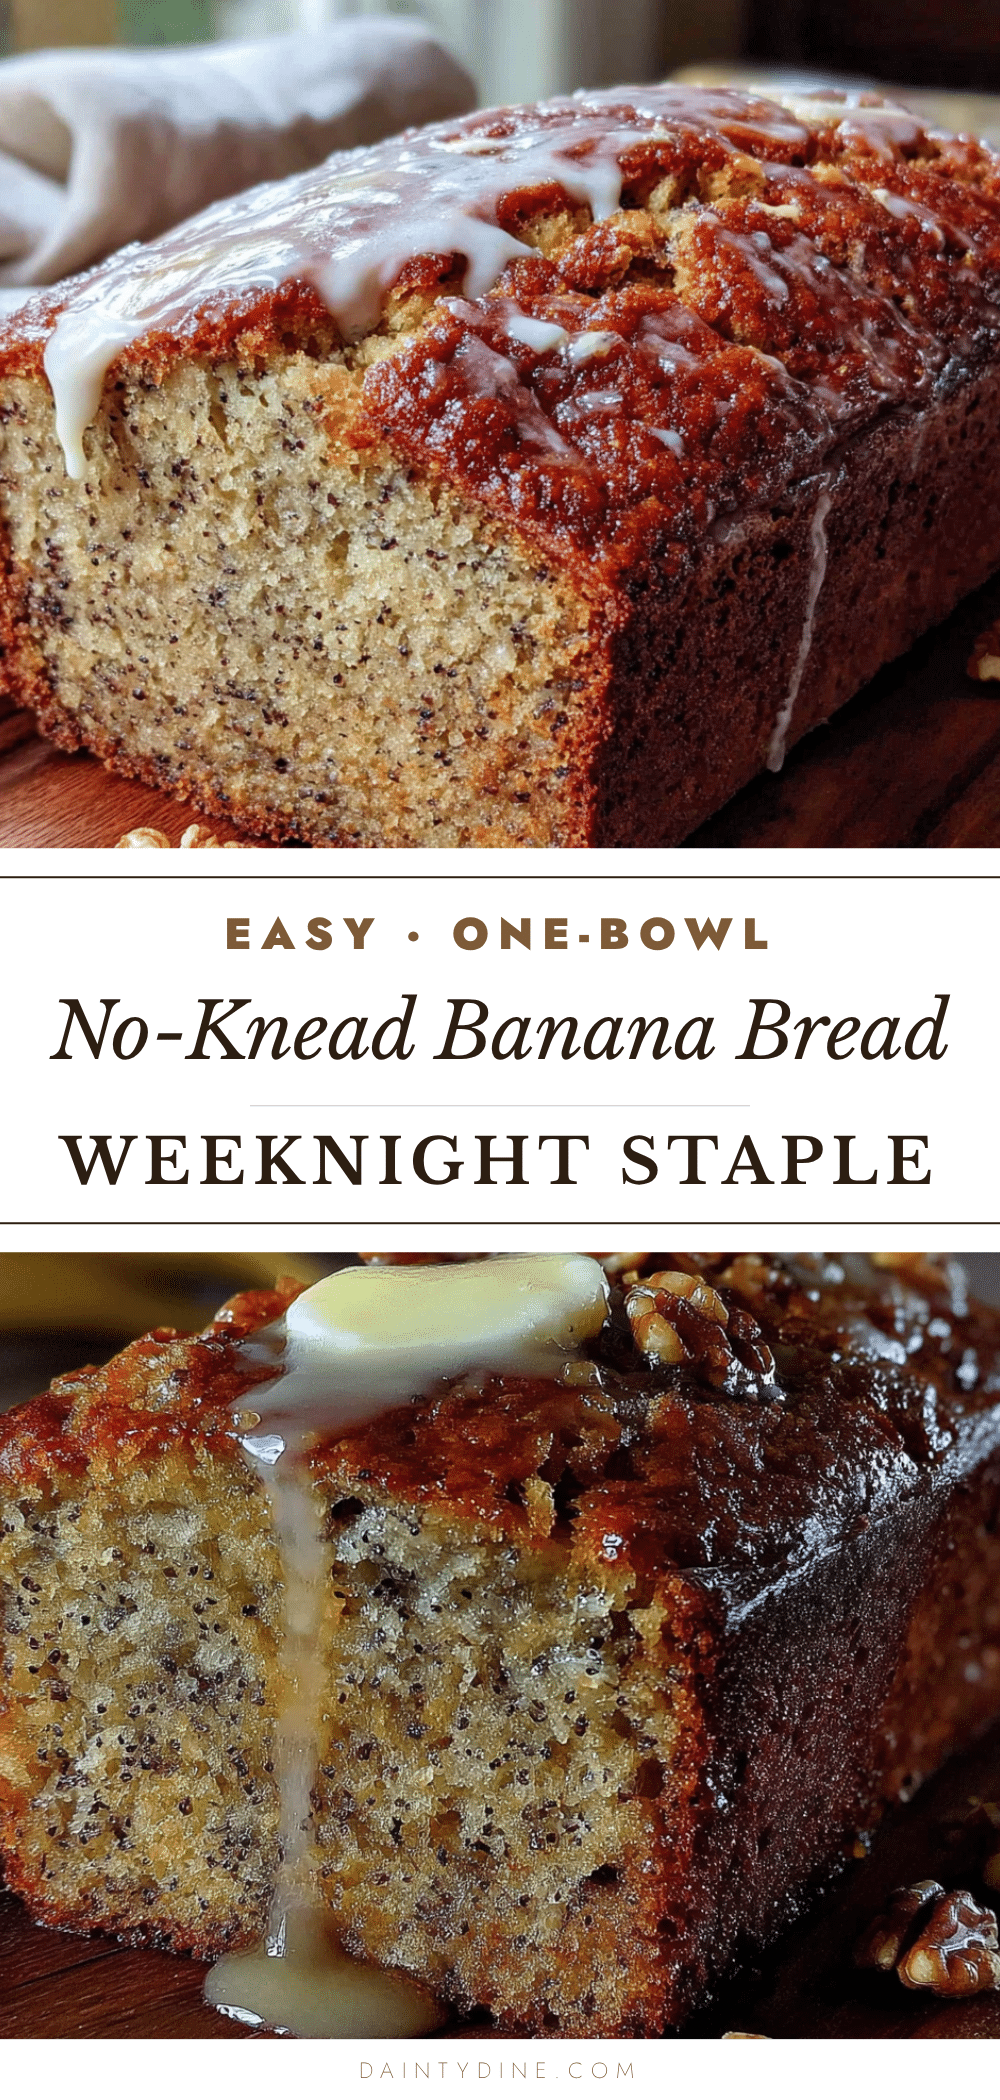
Best One-Bowl No-Knead Banana Bread (Easy Recipe)
This one-bowl, no-knead banana bread is incredibly easy to make with simple pantry ingredients. It’s moist, tender, and deeply banana-flavored, perfect for busy people who want a delicious homemade treat without the fuss.
- Prep Time: 10 minutes
- Cook Time: 55-65 minutes
- Total Time: 1 hour 15 minutes
- Yield: 10 servings 1x
- Category: Dessert
- Cuisine: American
Ingredients
- 3 large ripe bananas, mashed (about 1 ½ cups or 340g)
- ⅓ cup (75g) unsalted butter, melted
- ¾ cup (150g) granulated sugar
- 1 large egg, at room temperature
- 1 teaspoon vanilla extract
- 1 ½ cups (190g) all-purpose flour
- 1 teaspoon baking soda
- ¼ teaspoon salt
- ½ teaspoon ground cinnamon (optional but recommended)
- ½ cup (60g) chopped walnuts or pecans (optional)
- ½ cup (85g) chocolate chips (optional)
- ¼ cup (40g) dried cranberries or raisins (optional)
Instructions
- Preheat your oven to 350°F (175°C). Position the rack in the center of the oven. Line your loaf pan with parchment paper, leaving an overhang on the two long sides. Lightly grease any exposed sides with butter or cooking spray.
- Mash the bananas in a large mixing bowl with a fork or potato masher until mostly smooth with a few small lumps.
- Pour the melted butter over the mashed bananas and stir until combined.
- Add the sugar, egg, and vanilla extract. Stir vigorously until everything is well combined.
- Sprinkle the flour, baking soda, salt, and cinnamon (if using) over the wet mixture. Spread them out a bit to help the baking soda distribute evenly.
- Fold gently with a wooden spoon or rubber spatula until just combined. Stop mixing as soon as you no longer see streaks of flour. A few small lumps are fine.
- If using add-ins, gently fold them in now.
- Let the batter rest in the bowl for 5 minutes.
- Pour the batter into the prepared pan and spread evenly. Give the pan a gentle tap on the counter to release air bubbles.
- Bake for 55-65 minutes, until a toothpick inserted into the center comes out clean or with just a few moist crumbs. The top should be deep golden brown and cracked.
- Cool in the pan for 10 minutes, then use the parchment paper handles to lift the bread out and transfer to a cooling rack. Cool completely before slicing, about 1 hour.
Notes
Use very ripe bananas (brown spots or almost black) for best flavor and moisture. Do not over-mix the batter to avoid a tough loaf. Let the batter rest for 5 minutes before baking for a taller, more tender bread. Cool completely before slicing to prevent a gummy texture. Store at room temperature for up to 4 days or freeze for up to 3 months.
Nutrition
- Serving Size: 1 slice
- Calories: 215
- Sugar: 18
- Sodium: 195
- Fat: 8
- Saturated Fat: 5
- Carbohydrates: 34
- Fiber: 1.5
- Protein: 3
Keywords: banana bread, one-bowl, no-knead, easy recipe, moist banana bread, quick bread


