Love this? Save it for later!
Share the inspiration with your friends
My neighbor, Mrs. Gable, watched me wrestling with a tangled string of Halloween lights on my front porch last October. She didn’t say anything at first. Then she just shook her head, walked back into her house, and returned with a small, warm dish wrapped in foil. “You look like you need some sustenance,” she said, handing it over. “It’s my taco dip. But I made it a little lighter this year so I don’t feel like a zombie the next morning.” I laughed, thanked her, and took a bite right there on the porch, string lights still dangling around my neck. Honestly, it was the best thing I’d eaten all week. The dip was creamy, a little spicy, and somehow felt indulgent without that heavy, greasy feeling you usually get from party food. The black beans gave it this rich, earthy backbone, and the Greek yogurt had swapped in for sour cream so smoothly I almost didn’t notice. I mean, who does that? Makes a healthy Halloween dip that actually tastes like a celebration? Mrs. Gable, apparently. She told me the trick was to not overthink it—just use good ingredients and let them do the work. That conversation, more than the recipe itself, stuck with me. It was a reminder that eating well doesn’t have to be a chore, even during a holiday built on candy. Maybe you’ve been there, scrambling for a party dish that won’t derail your whole week. This dip is that answer. It’s become my go-to for Halloween gatherings, and I keep making it because it’s the kind of food that makes you feel good—both while you’re eating it and the next day.
Why You’ll Love This Recipe
This Lighter Black Bean Mummy Taco Dip isn’t just another party appetizer. It’s the result of a few happy accidents and a whole lot of testing in my own kitchen. I’ve tried every version—from the full-fat, cheese-laden classic to sad, flavorless “healthy” alternatives. This one hits the sweet spot. It’s been family-approved at three different Halloween parties, and I’ve even had a friend text me for the recipe the morning after (which, let’s be honest, is the highest compliment).
- Quick & Easy: Comes together in under 20 minutes, perfect for last-minute Halloween prep or when you’re juggling costumes and decorations.
- Simple Ingredients: No fancy grocery trips needed. You likely have everything in your kitchen right now—canned beans, Greek yogurt, taco seasoning, and cheese.
- Perfect for Halloween: It’s a fun, themed dish that kids and adults both go crazy for. The “mummy” look is surprisingly easy to pull off.
- Crowd-Pleaser: Always gets rave reviews from picky eaters and health-conscious friends alike. I’ve seen people go back for thirds.
- Unbelievably Delicious: The creamy texture from the Greek yogurt and the smoky spice from the black beans create a combo that’s next-level comfort food. You won’t miss the extra calories.
What makes this different from every other taco dip? It’s the way the black beans are mashed just slightly, giving the dip a heartier, more satisfying texture. Plus, using Greek yogurt instead of sour cream cuts the fat without cutting the tangy flavor. It’s not just another version—it’s my best version, tested and tweaked until it was just right. This recipe isn’t just good—it’s the kind that makes you close your eyes after the first bite. It’s comfort food reimagined—healthier, faster, but with the same soul-soothing satisfaction. Perfect for impressing your Halloween guests without stress, or turning a simple snack into something memorable.
What Ingredients You Will Need
This recipe uses simple, wholesome ingredients to deliver bold flavor and satisfying texture without the fuss. Most of these are pantry staples, which makes it a lifesaver for busy weeknights or last-minute party planning.
- Black beans (15 oz can, drained and rinsed) – These are the heart of the dip. They add fiber, protein, and that earthy, creamy texture. I prefer Bush’s or Goya for consistent quality. (Pro tip: Don’t skip rinsing them—it reduces the sodium and prevents the dip from being too watery.)
- Greek yogurt (1 cup, plain, full-fat or 2%) – This replaces sour cream and adds a tangy creaminess with way less fat and more protein. Full-fat works best for texture, but 2% is fine too. (If you’re dairy-free, use a thick coconut yogurt.)
- Reduced-fat cream cheese (4 oz, softened) – Gives the dip that rich, spreadable base without the heavy calories. Let it sit out for 15 minutes to soften—it blends much smoother.
- Taco seasoning (2 tablespoons, store-bought or homemade) – This is where the flavor comes alive. I use a low-sodium blend to control the salt. My go-to is McCormick or a quick mix of chili powder, cumin, garlic powder, and smoked paprika.
- Shredded cheddar cheese (1 cup, sharp, reduced-fat) – Sharp cheddar gives you more flavor with less cheese. It melts beautifully and adds that gooey, indulgent feel. (For a dairy-free option, try Violife cheddar shreds.)
- Hot sauce (1-2 teaspoons, optional) – A little kick wakes up the whole dish. I like Cholula or Tabasco for a clean heat. Adjust to your tolerance.
- Lime juice (1 tablespoon, fresh) – Brightens everything up. Bottled works in a pinch, but fresh really makes a difference.
- Salt and pepper (to taste) – Go easy on the salt since the taco seasoning and cheese already have some.
- For the mummy design: Sliced black olives (for eyes) and a few strips of bell pepper or pickled jalapeño (for the mouth).
- For serving: Tortilla chips (I use baked or blue corn for a healthier crunch), cucumber rounds, or bell pepper strips.
Equipment Needed
You don’t need a fancy kitchen to pull this off. Here’s what you’ll need:
- Mixing bowl (medium-sized) – For combining the base ingredients. Any bowl works, but a wide one makes mixing easier.
- Fork or potato masher – To lightly mash the black beans. A fork is totally fine if you don’t have a masher.
- Rubber spatula – For scraping every last bit of dip into the serving dish. I’m a big fan of the OXO Good Grips spatula—it’s sturdy and heat-safe.
- Small baking dish or pie plate (8-inch round or 9-inch square) – Any oven-safe dish works. I use a glass pie plate so I can see the sides browning.
- Measuring cups and spoons – For accuracy, especially with the seasoning.
- Oven or toaster oven – For baking the dip until bubbly. A toaster oven is great for small batches and saves energy.
- Knife and cutting board – For slicing olives and bell peppers.
If you don’t have a baking dish, you can use a cast-iron skillet. Just make sure it’s oven-safe. And honestly, I’ve made this in a microwave-safe bowl when I was short on time—just heat in 30-second bursts until warm. It works in a pinch, though the oven gives a better texture.
Preparation Method
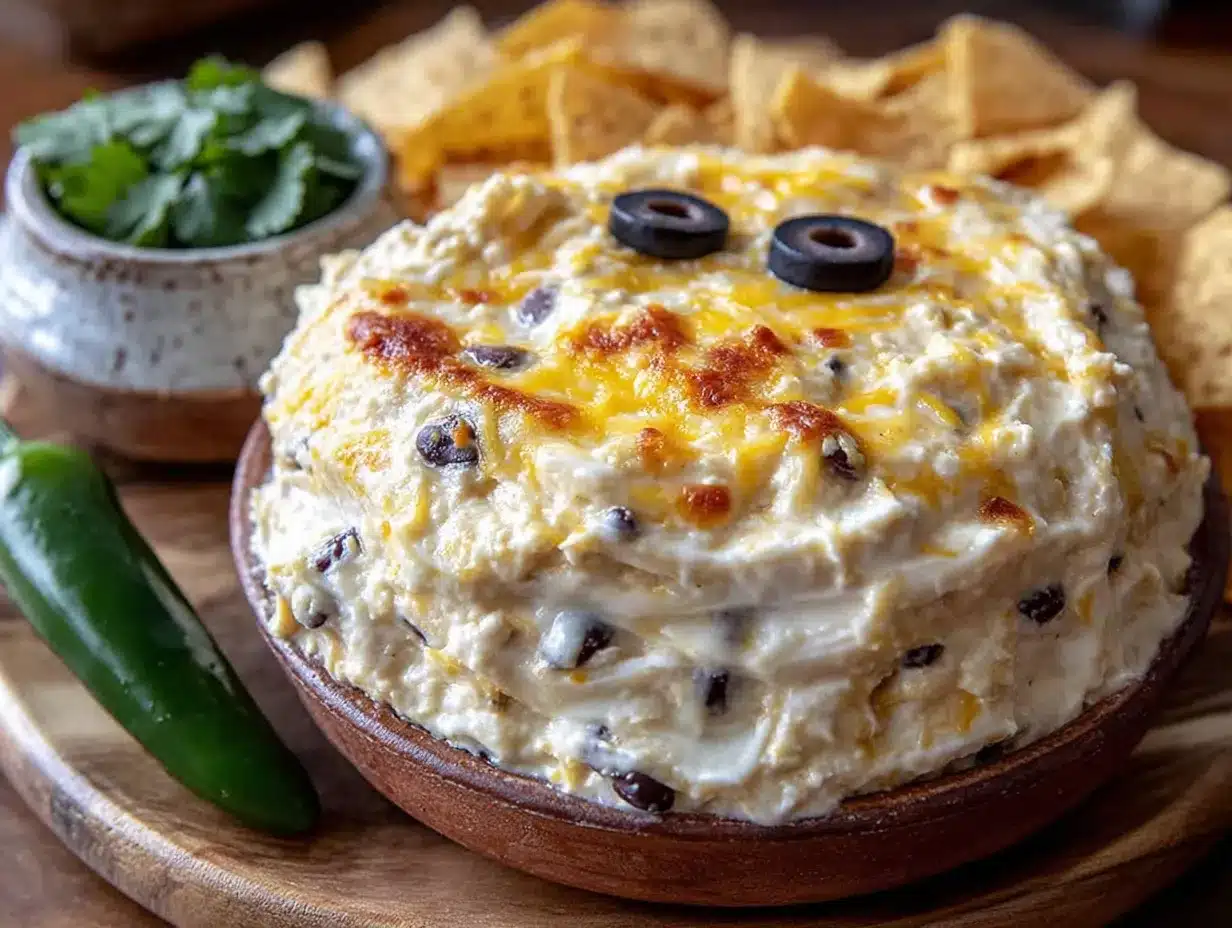
- Preheat your oven to 375°F (190°C). While it’s heating, lightly grease your baking dish with a spray of olive oil or a thin layer of butter. This prevents sticking and helps the edges get a little crispy.
- In a medium mixing bowl, add the drained and rinsed black beans. Use a fork or potato masher to lightly mash them. You want about half the beans broken down and half still whole. This gives the dip a chunky, hearty texture that’s way more interesting than a smooth puree. (I’ve made the mistake of over-mashing before—it turns into baby food. Don’t do that.)
- Add the softened cream cheese, Greek yogurt, taco seasoning, lime juice, and hot sauce (if using). Stir everything together with a rubber spatula until it’s well combined. The cream cheese should be fully incorporated—no white streaks left. If the mixture seems too thick, add a tablespoon of water or milk. It should be spreadable but not runny.
- Fold in ¾ cup of the shredded cheddar cheese. Reserve the remaining ¼ cup for topping. Stir gently until the cheese is evenly distributed. (Taste the mixture here—if it needs more salt or heat, adjust now. I always add a pinch of black pepper.)
- Spread the mixture evenly into your prepared baking dish. Use the spatula to smooth the top. It should be about 1 inch thick. Don’t press it down too hard—you want some air pockets for a lighter texture.
- Sprinkle the remaining ¼ cup of shredded cheddar over the top. This will melt into a golden, bubbly crust. For a fun Halloween touch, you can arrange the cheese in a spiral pattern to mimic mummy bandages.
- Bake for 15-18 minutes, or until the dip is hot and bubbly around the edges. The cheese on top should be melted and lightly golden. If you want a browner top, switch to broil for the last 1-2 minutes—but watch it closely so it doesn’t burn. (I once forgot and ended up with a charcoal crust. Learn from my mistake.)
- Let the dip cool for 5 minutes. This is crucial—it allows the dip to set slightly so it doesn’t slide off your chips. While it cools, prepare the mummy face.
- Create the mummy design: Use two sliced black olives for the eyes. For the mouth, cut a small strip of red bell pepper or pickled jalapeño. Place them on top of the dip. You can also use a few thin strips of cheese or corn chips to look like bandages. Get creative!
- Serve warm with tortilla chips, cucumber rounds, or bell pepper strips. The dip is best enjoyed fresh, but it’s still good at room temperature for about an hour.
Cooking Tips & Techniques
I’ve made this dip at least a dozen times, and I’ve learned a few things the hard way. Here are my best tips:
- Don’t overmix the beans. The beauty of this dip is the texture. Leaving some beans whole adds a satisfying bite. Over-mixing turns it into a paste, which is less interesting.
- Room temperature ingredients blend better. Let the cream cheese soften for 15 minutes before mixing. Cold cream cheese creates lumps that are hard to smooth out. Same goes for the Greek yogurt—if it’s too cold, it can make the dip seize up.
- Watch the baking time. Ovens vary. Start checking at 15 minutes. The dip is done when it’s bubbling at the edges and the cheese is melted. Over-baking dries it out and makes the yogurt separate.
- Make it ahead of time. You can assemble the dip (without the cheese topping) up to 24 hours in advance. Cover and refrigerate. When you’re ready to bake, add the cheese and add 5 extra minutes to the baking time since it’s starting cold.
- Use a light hand with the hot sauce. You can always add more heat later, but you can’t take it out. Start with 1 teaspoon and taste. Remember, the taco seasoning also has some heat.
- Don’t skip the lime juice. It’s not just for flavor—the acidity balances the richness of the cheese and yogurt. Without it, the dip can taste flat.
Variations & Adaptations
This recipe is super flexible. Here are some ways to make it your own:
- Make it vegetarian (it already is!) or vegan: Use dairy-free cream cheese and yogurt (I like Kite Hill or Forager Project). Swap the cheddar for a vegan shred. The texture will be slightly different, but still delicious.
- Spice it up: Add a diced jalapeño to the bean mixture, or use a spicy taco seasoning. For extra heat, drizzle with chipotle hot sauce before serving.
- Add protein: Stir in ½ cup of cooked, shredded chicken or ground turkey for a heartier dip. Just make sure it’s fully incorporated before baking.
- Go low-carb: Serve with cucumber rounds, bell pepper strips, or celery sticks instead of chips. The dip itself is already low in carbs thanks to the beans being the only significant source.
- Change the theme: Instead of a mummy, shape the toppings into a spider, a pumpkin face, or a ghost. The dip itself is neutral enough to work with any Halloween design.
- Swap the beans: Not a fan of black beans? Use pinto beans or refried beans (look for a low-fat version). The texture will be smoother, but the flavor will still be great.
I once tried a version with roasted corn and diced avocado on top. It was amazing, but the avocado turned brown after an hour. So if you add fresh toppings, do it right before serving.
Serving & Storage Suggestions
This dip is best served warm, straight from the oven. The cheese is gooey, the beans are tender, and the whole thing just feels like a party. Here’s how to make the most of it:
- Serving temperature: Serve hot or warm. If it cools down too much, the yogurt can make it seem a little tangy. Pop it back in the oven for 5 minutes to reheat.
- Presentation: Place the baking dish on a wooden board or a festive Halloween platter. Surround it with chips and veggie sticks. The mummy face on top is a great conversation starter.
- Complementary dishes: This dip pairs beautifully with a simple side salad or a bowl of black bean soup. For a full Halloween spread, serve it alongside other themed snacks like pumpkin-shaped quesadillas or ghost-shaped crackers.
- Storage: Leftovers can be stored in an airtight container in the fridge for up to 4 days. The texture will thicken as it sits, but it’s still tasty. I don’t recommend freezing it—the yogurt can separate when thawed.
- Reheating: The best way is in the oven at 350°F (175°C) for 10 minutes. You can also microwave individual portions in 30-second bursts, but the cheese won’t be as melty. Stir halfway through for even heating.
- Flavor development: Honestly, this dip tastes even better the next day. The flavors meld together overnight, making it richer. I’ve been known to eat it cold straight from the fridge with a spoon—don’t judge.
Nutritional Information & Benefits
Here’s an approximate breakdown per serving (based on 8 servings, with tortilla chips not included):
- Calories: 180
- Fat: 9g (5g saturated)
- Carbohydrates: 16g
- Fiber: 5g
- Protein: 12g
- Sodium: 380mg (varies with taco seasoning)
Health benefits: Black beans are packed with fiber and plant-based protein, which help keep you full and support digestion. Greek yogurt adds probiotics and calcium without the extra fat of sour cream. This dip is a great source of energy for a Halloween party without the sugar crash. It’s naturally gluten-free and can be made dairy-free with simple swaps.
I love that this recipe lets me enjoy a festive treat without feeling like I’ve derailed my healthy habits. It’s proof that you can have your dip and eat it too.
Conclusion
This Lighter Black Bean Mummy Taco Dip is everything I want in a Halloween dish: fun, flavorful, and surprisingly good for you. It’s the kind of recipe that proves you don’t have to sacrifice taste to eat well. Whether you’re hosting a big party or just want a cozy snack while handing out candy, this dip delivers. I love that it’s quick enough for a weeknight but impressive enough for a gathering. Plus, the mummy design is just plain fun to make. I encourage you to customize it—swap the beans, turn up the heat, or create your own spooky design. Let me know in the comments how it turned out! Share this recipe with a friend who needs a healthier Halloween option, and don’t forget to tag me in your photos. Happy Halloween, and happy eating!
Frequently Asked Questions
Can I make this dip ahead of time?
Yes! Assemble the dip (without the cheese topping) up to 24 hours in advance. Cover and refrigerate. When ready to bake, add the cheese and bake for 20-22 minutes, since it’s starting cold.
Can I use low-fat or non-fat Greek yogurt?
I recommend 2% or full-fat Greek yogurt for the best texture. Non-fat yogurt can make the dip watery and less creamy. If that’s all you have, drain it in a cheesecloth for 15 minutes first.
How can I make this dip vegan?
Use dairy-free cream cheese and yogurt (like Kite Hill or Forager Project), and swap the cheddar for a vegan shred. The texture will be slightly less creamy, but still delicious. Bake as directed.
Can I use dried black beans instead of canned?
Absolutely. Cook ½ cup of dried black beans until tender (about 1.5 hours on the stove). Drain and mash as directed. This gives you more control over the sodium, but it does take more time.
How do I prevent the dip from becoming watery?
Make sure to drain and rinse the black beans well. Pat them dry with a paper towel if they seem wet. Also, avoid overmixing—too much stirring can release extra liquid from the yogurt.
Pin This Recipe!
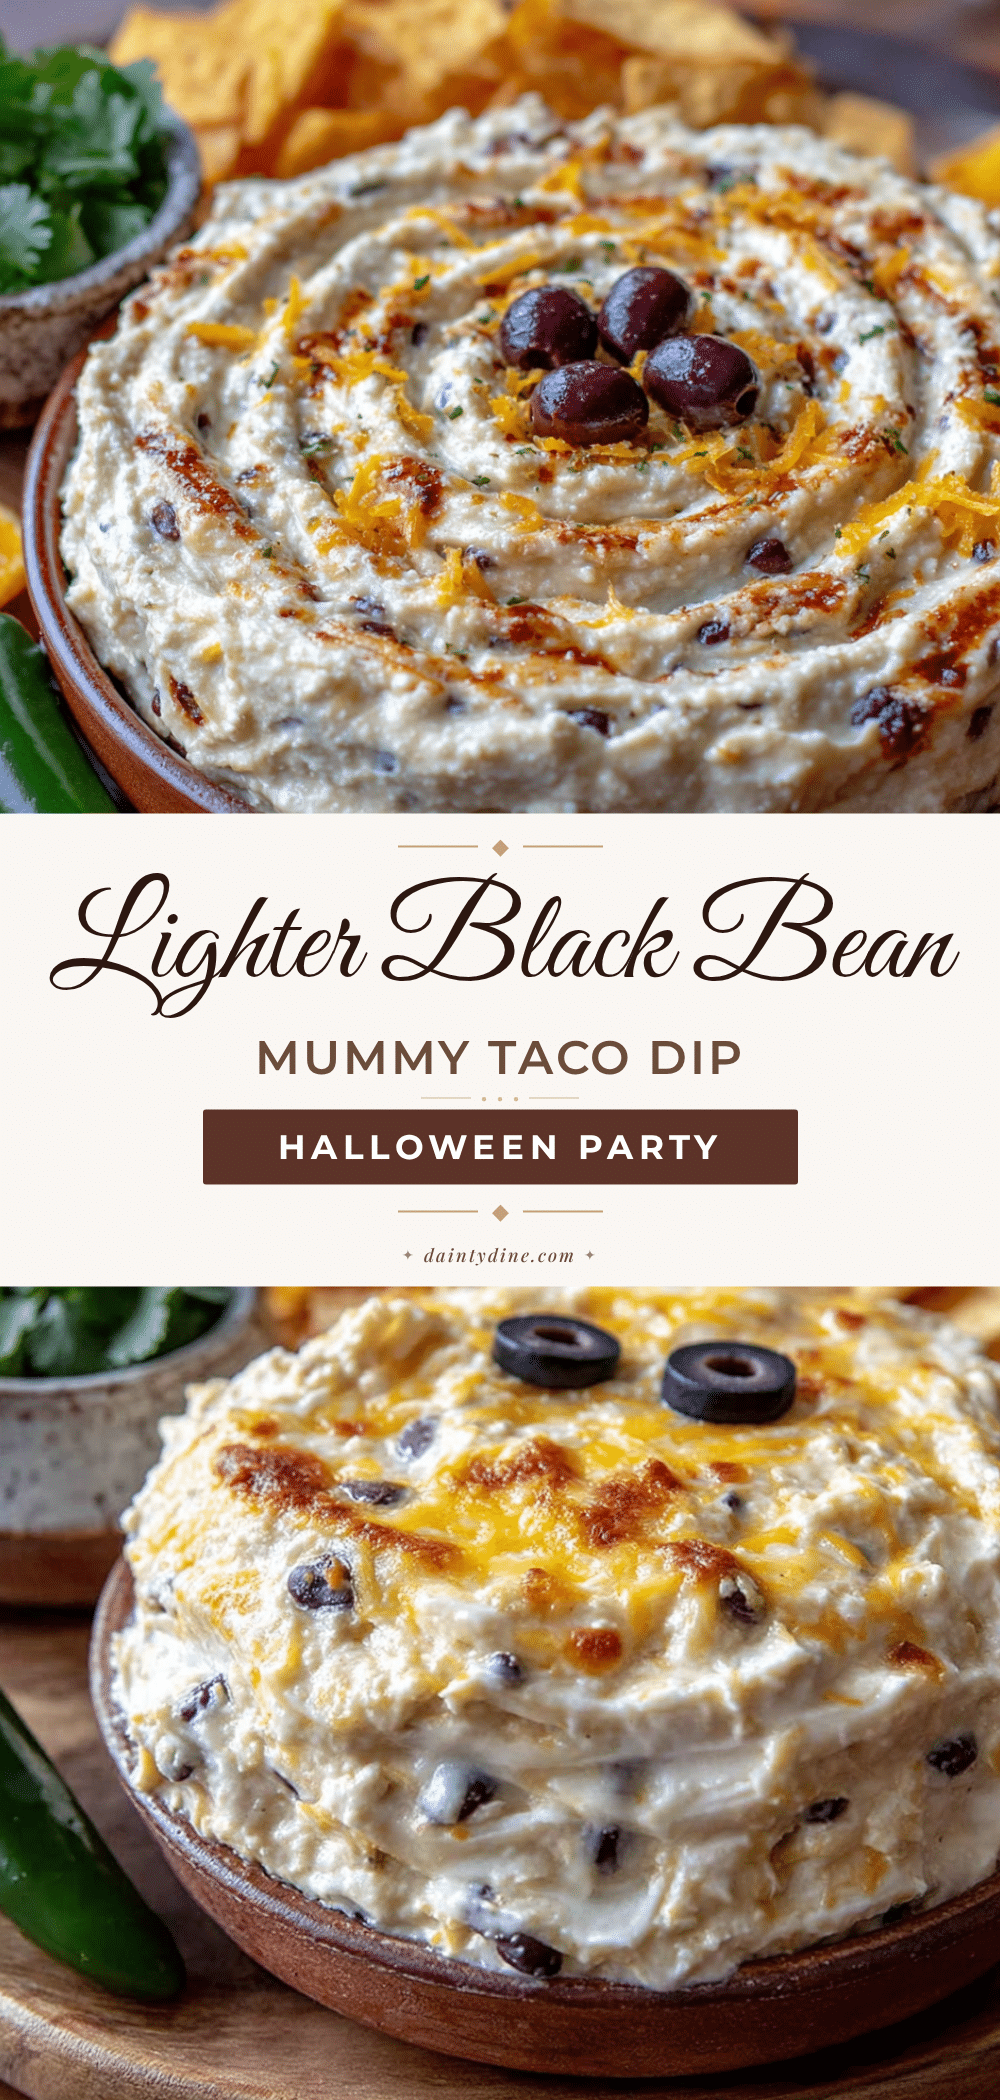
Best Healthy Lighter Black Bean Mummy Taco Dip Recipe
A creamy, spicy, and healthier Halloween taco dip made with black beans and Greek yogurt. It’s quick, easy, and perfect for parties.
- Prep Time: 10 minutes
- Cook Time: 18 minutes
- Total Time: 28 minutes
- Yield: 8 servings 1x
- Category: Appetizer
- Cuisine: Mexican
Ingredients
- 1 (15 oz) can black beans, drained and rinsed
- 1 cup plain Greek yogurt (full-fat or 2%)
- 4 oz reduced-fat cream cheese, softened
- 2 tablespoons taco seasoning (low-sodium preferred)
- 1 cup shredded sharp cheddar cheese, reduced-fat, divided
- 1–2 teaspoons hot sauce (optional)
- 1 tablespoon fresh lime juice
- Salt and pepper to taste
- Sliced black olives (for mummy eyes)
- Red bell pepper strips or pickled jalapeño (for mummy mouth)
- Tortilla chips, cucumber rounds, or bell pepper strips (for serving)
Instructions
- Preheat oven to 375°F (190°C). Lightly grease an 8-inch round or 9-inch square baking dish.
- In a medium bowl, lightly mash the black beans with a fork or potato masher until about half are broken down.
- Add softened cream cheese, Greek yogurt, taco seasoning, lime juice, and hot sauce (if using). Stir until well combined and no streaks remain.
- Fold in ¾ cup of the shredded cheddar cheese. Reserve the remaining ¼ cup for topping. Adjust salt and pepper to taste.
- Spread the mixture evenly into the prepared baking dish. Smooth the top with a spatula.
- Sprinkle the remaining ¼ cup of cheddar cheese over the top.
- Bake for 15-18 minutes, until hot and bubbly around the edges. For a browner top, broil for 1-2 minutes, watching closely.
- Let the dip cool for 5 minutes.
- Create the mummy design: place two sliced black olives for eyes and a strip of red bell pepper or pickled jalapeño for the mouth on top.
- Serve warm with tortilla chips, cucumber rounds, or bell pepper strips.
Notes
For best texture, do not over-mash the beans. Let cream cheese soften before mixing. Dip can be assembled (without cheese topping) up to 24 hours ahead; add 5 extra minutes to baking time if starting cold. Leftovers keep in the fridge for up to 4 days; reheat in oven at 350°F for 10 minutes.
Nutrition
- Serving Size: 1/8 of recipe
- Calories: 180
- Sugar: 2
- Sodium: 380
- Fat: 9
- Saturated Fat: 5
- Carbohydrates: 16
- Fiber: 5
- Protein: 12
Keywords: healthy taco dip, black bean dip, Halloween dip, mummy dip, lighter taco dip, Greek yogurt dip, party appetizer


