Love this? Save it for later!
Share the inspiration with your friends
I was standing in the middle of a hardware store last October, holding a bag of mulch I didn’t really need, when the smell hit me. It wasn’t from the gardening aisle — it was a pumpkin spice candle someone had lit near the checkout. And suddenly, I was eight years old, sitting cross-legged on my neighbor Mrs. Gable’s linoleum kitchen floor, watching her pull a baking sheet from the oven. The kitchen smelled like cinnamon, nutmeg, and something sweet and warm I couldn’t name. She’d let me lick the spatula, and I remember thinking, “This is what fall tastes like.” Mrs. Gable moved to Arizona years ago, and I never got her recipe. But that smell — that specific, sticky-sweet, spicy smell — has been stuck in my brain ever since. This cinnamon pumpkin scone recipe is my best attempt to chase that exact feeling. Honestly, I’ve made a lot of batches that didn’t quite get there. Some were too dry, some were too cakey, and one time I forgot the butter entirely (don’t ask). But this version? This one finally made me close my eyes after the first bite. Maybe you’ve been there — trying to recreate a taste from your past that feels just out of reach. Well, let me tell you, these scones are the closest I’ve gotten to catching it.
Why You’ll Love This Recipe
These aren’t your average dry, crumbly scones. These are tender, flaky, and bursting with warm pumpkin spice flavor, all topped with a dreamy maple glaze that soaks into every crevice. I’ve tested this recipe more times than I care to admit, and here’s why it’s become my go-to for fall gatherings.
- Quick & Easy: From mixing bowl to table in under 40 minutes. Perfect for when guests are on their way and you need something impressive fast.
- Simple Ingredients: No weird specialty items. You probably have most of this in your pantry right now.
- Perfect for Hosting: These scones are a showstopper on any brunch table or dessert spread. They look fancy, but they’re secretly simple to pull off.
- Crowd-Pleaser: Every time I bring these to a potluck or family dinner, they vanish before the main course even hits the table.
- Unbelievably Delicious: The combination of pumpkin, cinnamon, and maple is pure autumn magic. It’s the kind of flavor that makes people ask for the recipe.
What makes these scones different from the rest? It’s the technique — using cold butter and a light hand keeps them tender and flaky, not dense. Plus, the maple glaze isn’t just a drizzle; it’s a generous soak that seeps into the scone, making every bite moist and sweet. This isn’t just another pumpkin scone recipe. It’s the one you’ll come back to year after year.
What Ingredients You Will Need
This recipe uses simple, wholesome ingredients to deliver that cozy autumn flavor without the fuss. Most of these are pantry staples, but I’ll share a few tips I’ve learned along the way to get the best results.
- For the Scones:
- 2 cups all-purpose flour (I prefer King Arthur for consistent texture)
- 1/3 cup packed brown sugar (adds moisture and a hint of molasses)
- 1 tablespoon baking powder (make sure it’s fresh for a good rise)
- 1 teaspoon ground cinnamon
- 1/2 teaspoon ground nutmeg
- 1/2 teaspoon ground ginger
- 1/4 teaspoon ground cloves
- 1/2 teaspoon salt
- 1/2 cup cold unsalted butter, cut into small cubes (this is key for flakiness — don’t let it soften!)
- 1/2 cup pumpkin puree (not pumpkin pie filling — trust me on this)
- 1/3 cup cold heavy cream (plus a little extra for brushing)
- 1 large egg
- 1 teaspoon vanilla extract
- For the Maple Glaze:
- 1 cup powdered sugar
- 3 tablespoons pure maple syrup (the real stuff, not pancake syrup)
- 1-2 tablespoons milk or cream (to thin it out)
- Pinch of cinnamon (optional, but I always add it)
A few notes: If you don’t have all the individual spices, you can use 2 teaspoons of pumpkin pie spice instead. I’ve done it in a pinch, and it works fine. Also, make sure your pumpkin puree is well-drained — I like to blot it with a paper towel to remove excess moisture. Too much water in the pumpkin can make the scones soggy. And for the butter? Cold is non-negotiable. I even pop my cubed butter in the freezer for 10 minutes before mixing.
Equipment Needed
You don’t need a fancy bakery setup for these scones. Here’s what I use:
- Large mixing bowl
- Pastry cutter or two forks (for cutting butter into flour)
- Whisk
- Baking sheet lined with parchment paper
- Sharp knife or bench scraper (for cutting the scones)
- Cooling rack
- Small bowl for the glaze
- Pastry brush (optional, but nice for the cream wash)
If you don’t have a pastry cutter, you can use your fingertips — just work quickly so the butter doesn’t warm up. I’ve also used a food processor in a hurry, pulsing just until the butter looks like coarse sand. Just be careful not to overmix. And honestly, a good baking sheet makes a difference. I love my Nordic Ware sheets because they heat evenly and don’t warp.
Preparation Method
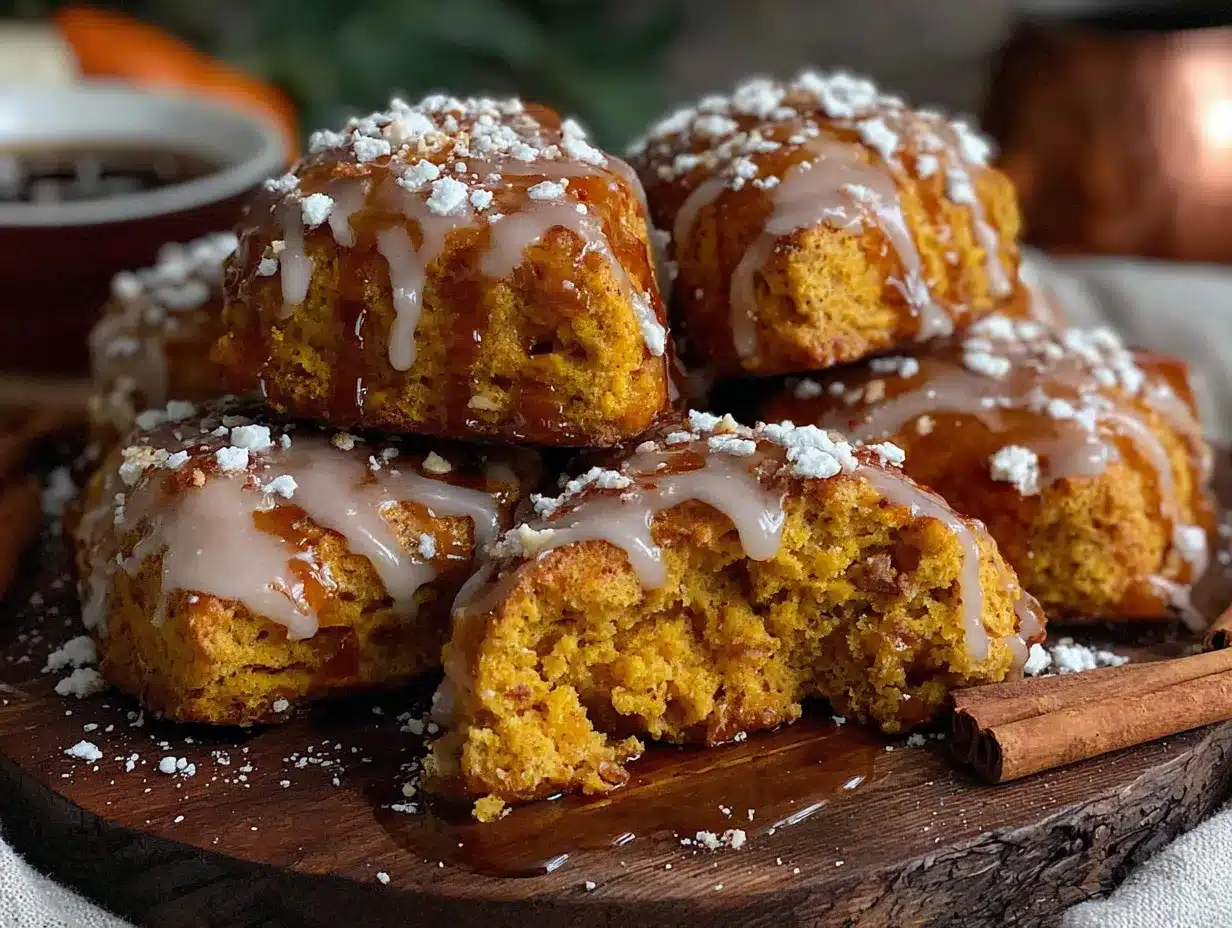
Let’s get baking! These steps are straightforward, but I’ll share little cues I’ve learned to watch for.
- Preheat and prep. Preheat your oven to 400°F (200°C). Line a baking sheet with parchment paper. This prevents sticking and makes cleanup a breeze.
- Mix dry ingredients. In a large bowl, whisk together the flour, brown sugar, baking powder, cinnamon, nutmeg, ginger, cloves, and salt. Make sure there are no lumps — especially in the brown sugar.
- Cut in the butter. Add the cold butter cubes to the flour mixture. Use a pastry cutter or two forks to cut the butter into the flour until it looks like coarse crumbs with some pea-sized butter pieces remaining. This is crucial for flaky layers. Don’t overdo it — you want visible butter bits.
- Combine wet ingredients. In a separate small bowl, whisk together the pumpkin puree, heavy cream, egg, and vanilla extract until smooth. It should look like a thick, orange custard.
- Bring it together. Pour the wet mixture into the dry mixture. Stir with a spatula just until combined. The dough will be shaggy and a little sticky — that’s perfect. Don’t overmix, or your scones will be tough.
- Shape the dough. Turn the dough out onto a lightly floured surface. Gently bring it together with your hands, patting it into a 3/4-inch thick circle. It should be about 8 inches across. Use a sharp knife or bench scraper to cut the circle into 8 wedges, like a pizza.
- Bake. Place the scones on the prepared baking sheet, spacing them about 2 inches apart. Brush the tops with a little extra heavy cream — this helps them get that golden, bakery-style crust. Bake for 14-16 minutes, until the edges are lightly golden and the tops are firm to the touch. Your kitchen will smell like heaven.
- Cool and glaze. Let the scones cool on the baking sheet for 5 minutes, then transfer them to a cooling rack. While they’re still warm (but not hot), make the glaze. Whisk together powdered sugar, maple syrup, and enough milk to reach a thick but pourable consistency. Drizzle generously over the scones. Let the glaze set for about 10 minutes before serving.
Cooking Tips & Techniques
I’ve learned a few things the hard way so you don’t have to. Here are my best tips for perfect scones every time.
- Keep everything cold. This is the number one rule of scone-making. Cold butter creates steam pockets as it melts in the oven, giving you those flaky layers. If your kitchen is warm, pop the shaped scones in the fridge for 15 minutes before baking.
- Don’t overwork the dough. I know it’s tempting to keep kneading, but stop as soon as it comes together. Overmixing develops gluten, which makes scones tough and dense. You want them tender, not like hockey pucks.
- Use a light hand with the glaze. If you pour it on while the scones are too hot, it’ll run right off. Too cold, and it won’t soak in. Aim for warm — just slightly above room temperature.
- Watch your oven. All ovens run a little differently. I’ve had batches burn on the bottom because I didn’t rotate the pan halfway through. Set a timer for 12 minutes and check from there.
- One mistake I made: I once used pumpkin pie filling instead of puree. The scones were so sweet and goopy they barely held their shape. Learn from my failure — always check the label!
Variations & Adaptations
These scones are wonderfully adaptable. Here are a few ways I’ve tweaked them for different occasions.
- Gluten-Free Version: Substitute the all-purpose flour with a 1:1 gluten-free baking flour blend. I’ve used Bob’s Red Mill with great results. Add an extra tablespoon of cream, as gluten-free flours tend to absorb more moisture.
- Vegan Adaptation: Use cold vegan butter (like Miyoko’s), replace the heavy cream with full-fat coconut cream, and use a flax egg (1 tablespoon flaxseed meal + 3 tablespoons water). The texture will be slightly denser but still delicious.
- Spice It Up: For a bolder flavor, add 1/4 teaspoon of cardamom or a pinch of black pepper to the spice mix. I tried this last Thanksgiving, and it was a huge hit — the pepper adds a subtle warmth without being spicy.
- Add-Ins: Fold in 1/2 cup of chopped pecans, dried cranberries, or white chocolate chips before shaping. My personal favorite is pecans — they add a nice crunch against the soft scone.
- Different Glazes: Swap the maple glaze for a simple vanilla glaze (powdered sugar, milk, vanilla) or a cream cheese glaze (cream cheese, powdered sugar, milk) for a tangier finish.
Serving & Storage Suggestions
These scones are best served warm, when the glaze is still a little soft and the interior is tender. Here’s how I like to present them for guests.
- Serving: Arrange the scones on a pretty platter or wooden board. I like to dust them with a little extra cinnamon for visual appeal. They pair beautifully with hot coffee, spiced chai, or a warm apple cider.
- What to serve alongside: For a fall brunch, I’ll add a bowl of whipped butter, a fruit salad, and maybe some scrambled eggs. For dessert, a scoop of vanilla ice cream or a dollop of whipped cream takes them over the top.
- Storing: Keep leftover scones in an airtight container at room temperature for up to 2 days. The glaze will soften a bit, but they’re still delicious.
- Freezing: These freeze beautifully. Flash-freeze the unglazed scones on a baking sheet, then transfer to a freezer bag. They’ll keep for up to 3 months. When you’re ready, thaw at room temperature and glaze fresh.
- Reheating: Pop a scone in a 300°F oven for 5-7 minutes to bring back that just-baked warmth. Avoid the microwave — it makes the scones rubbery.
- Flavor development: Honestly, the flavors get even better after a day. The pumpkin and spices meld together, and the glaze soaks in more. They’re almost better on day two!
Nutritional Information & Benefits
Here’s an approximate breakdown per scone (based on 8 servings, with glaze).
| Nutrient | Amount |
|---|---|
| Calories | 320 |
| Total Fat | 14g |
| Saturated Fat | 8g |
| Cholesterol | 55mg |
| Sodium | 280mg |
| Total Carbohydrates | 46g |
| Dietary Fiber | 2g |
| Sugars | 24g |
| Protein | 4g |
Pumpkin is packed with vitamin A and fiber, which supports eye health and digestion. Cinnamon may help regulate blood sugar, and the maple syrup provides a more natural sweetness than refined sugar. That said, these are definitely a treat — I enjoy them as a special breakfast or dessert, not an everyday snack. If you’re watching your sugar, you can reduce the glaze or skip it entirely. The scones are still lovely on their own.
Conclusion
These cinnamon pumpkin scones with maple glaze are everything I love about fall baking — warm, spiced, and deeply comforting. They’re the kind of recipe that makes you feel like a pro, even if you’re just starting out. Whether you’re hosting a cozy brunch, bringing a dish to a potluck, or just treating yourself on a crisp autumn morning, these scones deliver every time. I hope you’ll make them your own — tweak the spices, add your favorite mix-ins, or double the batch because they disappear fast. And when you do, I’d love to hear about it. Drop a comment below and tell me how they turned out, or share a photo on social media. Happy baking, friends — here’s to chasing those perfect fall memories, one scone at a time.
Frequently Asked Questions
Can I use canned pumpkin pie filling instead of pumpkin puree?
No, please don’t. Pumpkin pie filling is pre-sweetened and spiced, which will throw off the balance of the recipe. Stick with 100% pure pumpkin puree for the best texture and flavor.
Why did my scones turn out dry?
Dry scones usually mean overmixed dough or too much flour. Be gentle when mixing, and measure your flour by spooning it into the cup and leveling it off. Also, make sure your pumpkin puree isn’t too watery — blot it with a paper towel if needed.
Can I make the dough ahead of time?
Absolutely. Shape the scones, place them on a baking sheet, and refrigerate for up to 24 hours. You can even freeze them for longer storage. Bake straight from the fridge, adding a minute or two to the bake time.
How do I get a thicker glaze?
If your glaze is too thin, add more powdered sugar, one tablespoon at a time. If it’s too thick, add a splash of milk. The perfect consistency is thick but still pourable — it should coat the back of a spoon.
Can I make these scones without a pastry cutter?
Yes! You can use two forks, a food processor (pulse just a few times), or even your fingertips. The key is to keep the butter cold and work quickly so it doesn’t melt into the flour.
Pin This Recipe!
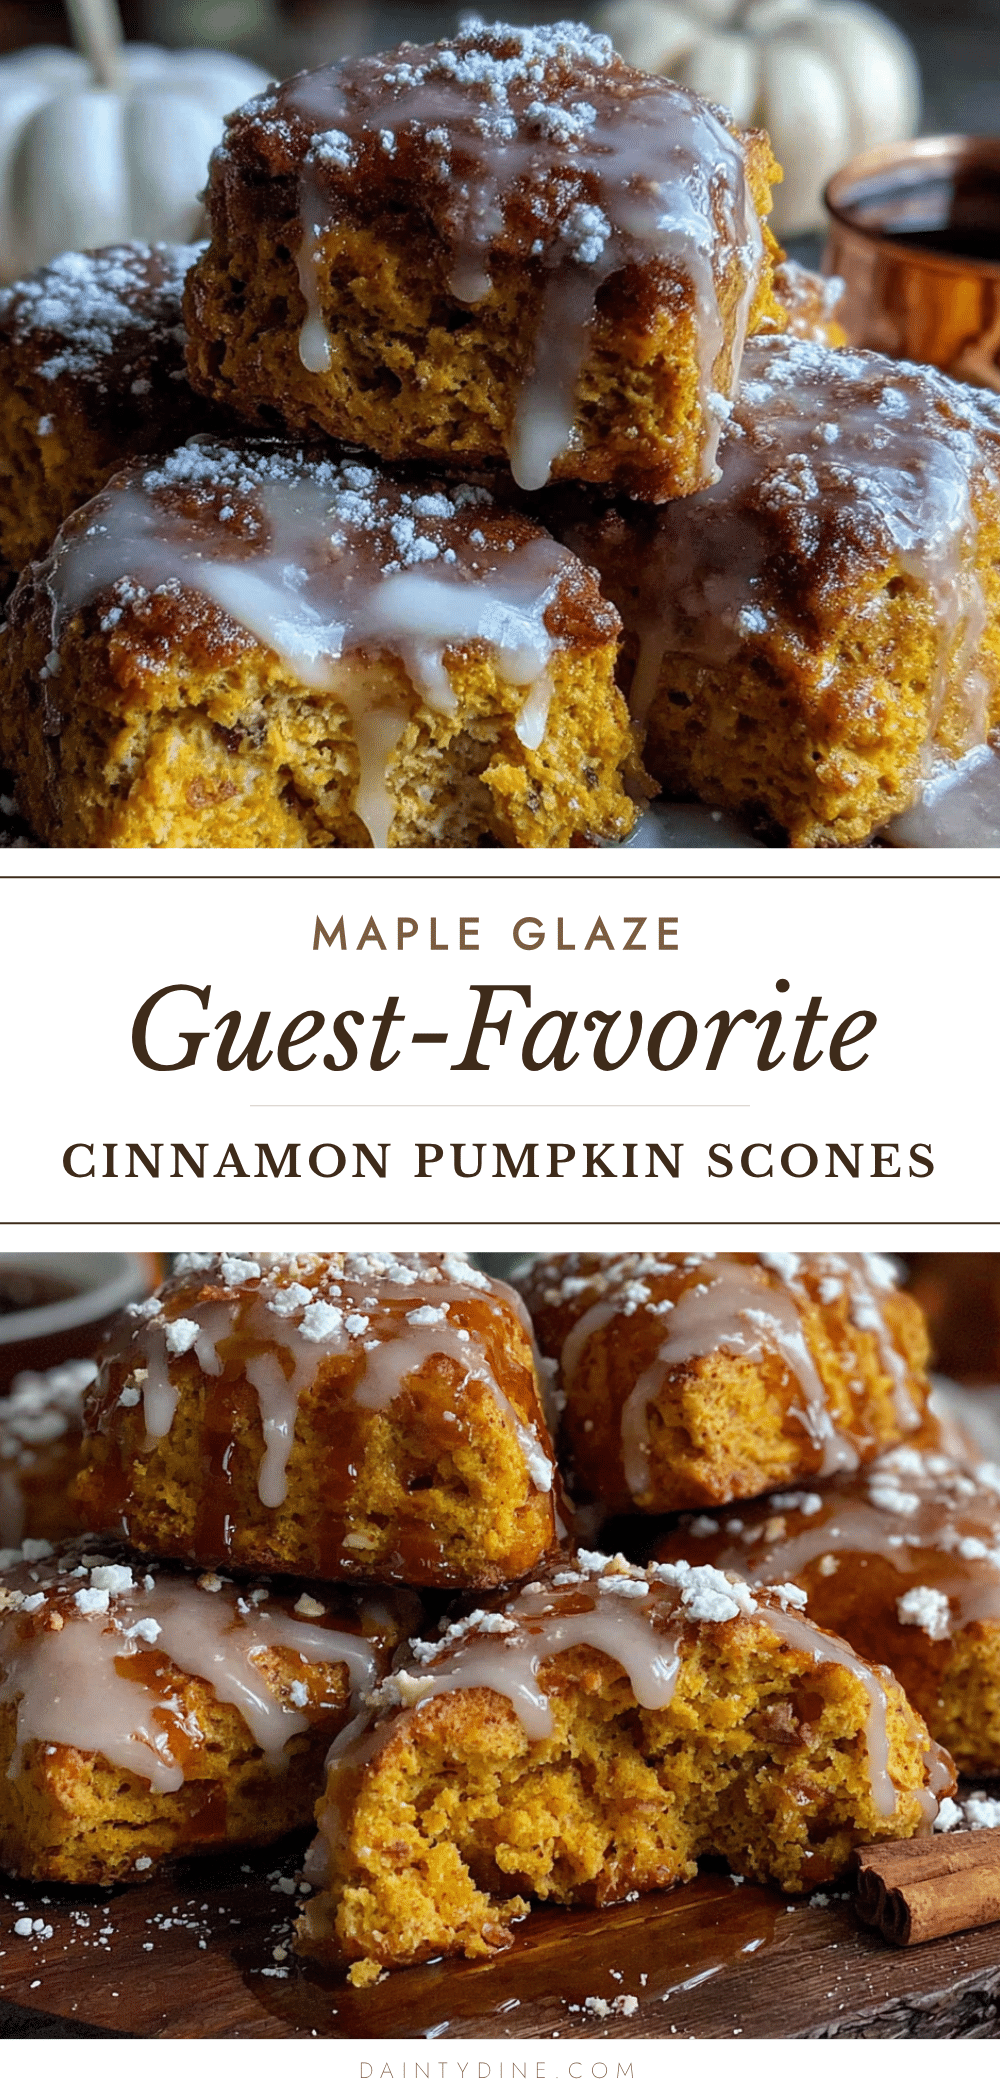
Best Cinnamon Pumpkin Scones with Maple Glaze
Tender, flaky scones bursting with warm pumpkin spice flavor, topped with a dreamy maple glaze that soaks into every crevice. Perfect for fall gatherings, these scones are quick, easy, and made with simple ingredients.
- Prep Time: 20 minutes
- Cook Time: 16 minutes
- Total Time: 36 minutes
- Yield: 8 servings 1x
- Category: Dessert
- Cuisine: American
Ingredients
- 2 cups all-purpose flour
- 1/3 cup packed brown sugar
- 1 tablespoon baking powder
- 1 teaspoon ground cinnamon
- 1/2 teaspoon ground nutmeg
- 1/2 teaspoon ground ginger
- 1/4 teaspoon ground cloves
- 1/2 teaspoon salt
- 1/2 cup cold unsalted butter, cut into small cubes
- 1/2 cup pumpkin puree (not pumpkin pie filling)
- 1/3 cup cold heavy cream (plus extra for brushing)
- 1 large egg
- 1 teaspoon vanilla extract
- 1 cup powdered sugar
- 3 tablespoons pure maple syrup
- 1–2 tablespoons milk or cream
- Pinch of cinnamon (optional)
Instructions
- Preheat oven to 400°F (200°C). Line a baking sheet with parchment paper.
- In a large bowl, whisk together flour, brown sugar, baking powder, cinnamon, nutmeg, ginger, cloves, and salt.
- Add cold butter cubes to the flour mixture. Use a pastry cutter or two forks to cut the butter into the flour until it resembles coarse crumbs with some pea-sized butter pieces remaining.
- In a separate small bowl, whisk together pumpkin puree, heavy cream, egg, and vanilla extract until smooth.
- Pour the wet mixture into the dry mixture. Stir with a spatula just until combined. The dough will be shaggy and slightly sticky.
- Turn the dough out onto a lightly floured surface. Gently bring it together with your hands, patting it into a 3/4-inch thick circle (about 8 inches across). Cut into 8 wedges.
- Place scones on the prepared baking sheet, spacing them about 2 inches apart. Brush tops with extra heavy cream.
- Bake for 14-16 minutes, until edges are lightly golden and tops are firm to the touch.
- Let scones cool on the baking sheet for 5 minutes, then transfer to a cooling rack.
- While scones are still warm, make the glaze: whisk together powdered sugar, maple syrup, and enough milk to reach a thick but pourable consistency. Drizzle generously over scones. Let glaze set for about 10 minutes before serving.
Notes
Keep butter and cream cold for flaky layers. Do not overmix the dough. For best results, blot pumpkin puree with a paper towel to remove excess moisture. If you don’t have individual spices, use 2 teaspoons pumpkin pie spice. Scones can be frozen unglazed for up to 3 months.
Nutrition
- Serving Size: 1 scone
- Calories: 320
- Sugar: 24
- Sodium: 280
- Fat: 14
- Saturated Fat: 8
- Carbohydrates: 46
- Fiber: 2
- Protein: 4
Keywords: pumpkin scones, cinnamon scones, maple glaze, fall baking, easy scone recipe


