Love this? Save it for later!
Share the inspiration with your friends
This was supposed to be a simple roasted chicken dinner. I had a beautiful butternut squash sitting on the counter, destined to become a humble side dish—tossed in oil, salted, and roasted until tender. But then Tuesday happened. I got distracted by a phone call from my sister, the chicken went in twenty minutes late, and I grabbed the wrong pan for the squash. Instead of a roasting pan, I grabbed my deepest Dutch oven. And instead of olive oil, my hand found the butter. By the time I realized my mistake, the butter was already browning in the pot, filling my kitchen with this nutty, almost caramel-like smell that made me stop mid-sentence. I just stood there, phone pressed to my ear, watching the butter foam and turn golden.
I figured I’d ruined the squash. I mean, squash and brown butter? That sounded like a dessert thing, not a dinner thing. But I was already behind schedule—guests were coming in two hours—so I just went with it. I tossed the cubed squash into the browned butter, added some broth, and let it simmer. When I blended it, the color was this deep, velvety orange I’d never seen before. The taste? Honestly, I almost cried. It was rich and sweet and nutty and savory all at once. My neighbor Mark, who stopped by to borrow a corkscrew, ended up staying for a bowl. He asked for the recipe three times before he left. I had to admit I didn’t actually have one—it was a happy kitchen accident.
That was three falls ago, and I’ve made this soup at least twice a month ever since. It’s the recipe I bring to Friendsgiving, the one I make when I need to impress without stress, and the one that gets requested every single time I ask what people want me to cook. Maybe you’ve had that moment where a mistake turns into something you can’t stop making. That’s this soup for me. And honestly? I think it’s about to become that soup for you, too.
Why You’ll Love This Recipe
Let me tell you why this isn’t just another butternut squash soup recipe. I’ve tested this version more times than I can count—for picky eaters, for fancy dinner parties, for casual weeknights when I needed something warm and comforting. Every single time, it delivers. Here’s what makes it special:
- Rich, Nutty Flavor Without Extra Work: The brown butter does all the heavy lifting. It adds a deep, toasty flavor that makes this soup taste like it simmered for hours—even though it comes together in about 40 minutes.
- Simple Ingredients, Maximum Impact: You probably already have most of these ingredients in your kitchen. No fancy cream, no hard-to-find spices. Just butter, squash, broth, and a few pantry staples.
- Perfect for Hosting: This is the soup you make when guests are coming. It looks elegant, tastes incredible, and you can make it completely ahead of time. I’ve served it at Thanksgiving, Christmas Eve, and casual Sunday dinners. It always steals the show.
- Crowd-Pleaser Across the Board: Kids love the creamy sweetness. Adults love the sophisticated brown butter finish. Even my friend who “doesn’t like squash” asked for seconds. It’s that good.
- Unbelievably Comforting: There’s something about that first spoonful—warm, velvety, with that nutty brown butter hitting your taste buds—that makes everything feel right. It’s comfort in a bowl, but elevated enough to feel special.
What makes this recipe different from the dozens of other squash soups out there is the technique. Browning the butter first changes everything. It’s not just melted butter—it’s transformed. The milk solids toast and turn golden, creating this incredible nutty aroma that infuses every single bite. I’ve never found another soup that delivers this much flavor with so little effort. It’s the kind of recipe that makes you look like a rockstar in the kitchen without breaking a sweat.
And here’s the emotional part: this soup is made for sharing. It’s the one I bring to potlucks when I want to hug people through food. It’s the one I make when a friend has had a rough week. It’s comfort food that feels luxurious, simple enough for a Tuesday but fancy enough for a celebration. That’s a rare combination, and this recipe nails it every time.
What Ingredients You Will Need
This recipe uses simple, wholesome ingredients that come together to create something truly special. Most of these are pantry staples, and the ones that aren’t are easy to find at any grocery store. Here’s everything you’ll need:
For the Soup Base
- 1 large butternut squash (about 3 pounds) — Peeled, seeded, and cut into 1-inch cubes. Look for a squash that feels heavy for its size with firm, unblemished skin. I prefer using whole squash over pre-cut cubes because they’re fresher and more flavorful, but pre-cut works in a pinch.
- 4 tablespoons unsalted butter — This is the star of the show. Use unsalted so you can control the salt level. I recommend Kerrygold or Plugrà for the best flavor—they have a higher fat content that browns beautifully.
- 1 medium yellow onion — Diced. Onion adds depth and sweetness. Yellow onions are my go-to for soups because they strike the perfect balance between sharp and sweet.
- 3 cloves garlic — Minced. Fresh garlic is non-negotiable here. The pre-minced stuff in jars won’t give you the same punch of flavor.
- 4 cups low-sodium vegetable broth — Or chicken broth if you prefer. Low-sodium is important so you can season to taste. I like Swanson or Pacific Foods for consistent quality.
- 1 cup water — To adjust the consistency. You can also use more broth if you want a richer soup.
- 1 teaspoon salt — Plus more to taste. I use fine sea salt for even seasoning.
- ½ teaspoon black pepper — Freshly ground is best. It makes a difference in the final flavor.
- ¼ teaspoon ground nutmeg — Optional but highly recommended. Nutmeg and squash are a classic pairing, and it enhances the warmth of the soup.
For the Garnish (Optional but Recommended)
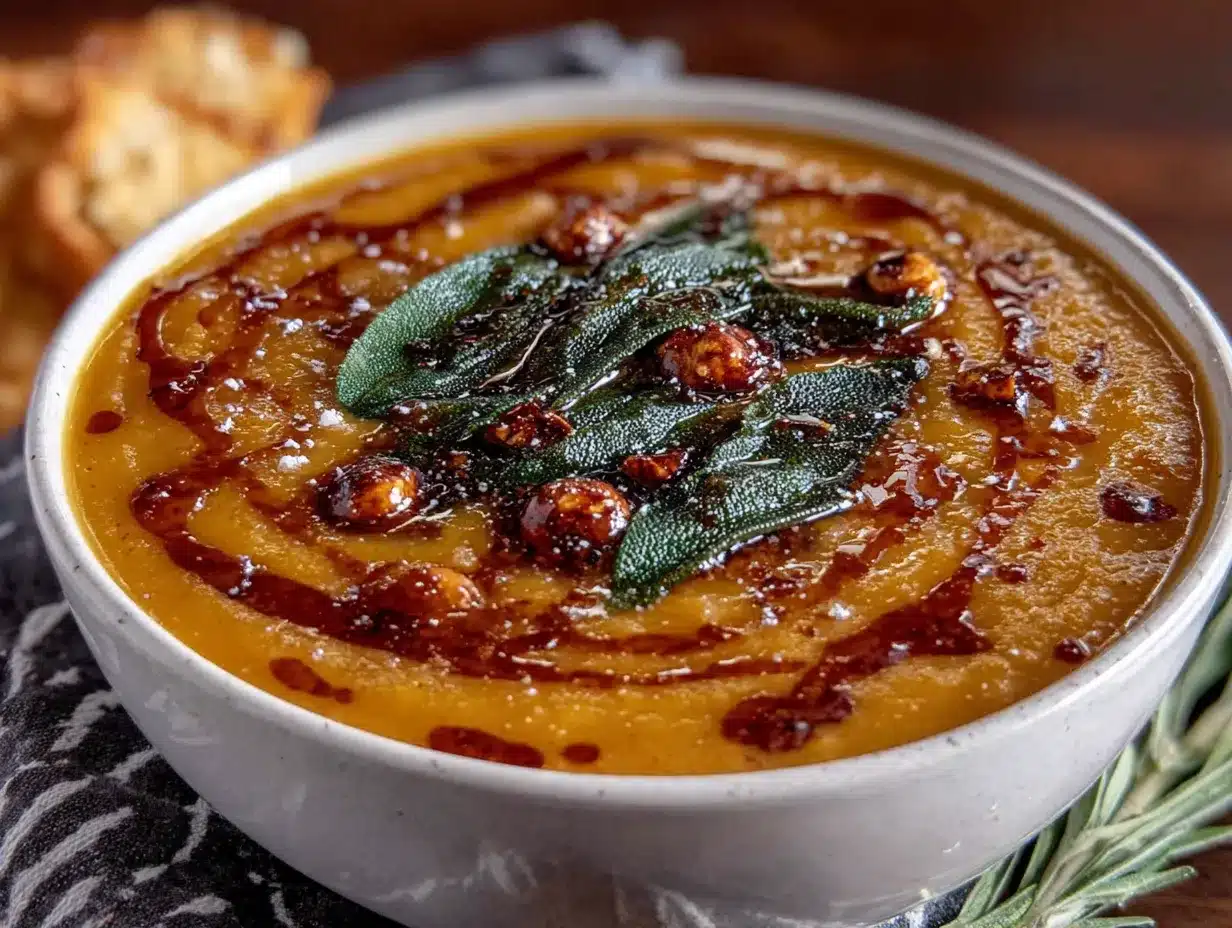
- ¼ cup heavy cream or coconut milk — For drizzling on top. This adds a beautiful finish and a touch of richness.
- 2 tablespoons roasted pepitas (pumpkin seeds) — For crunch. I love the contrast they provide against the smooth soup.
- Fresh thyme or sage leaves — For a pop of color and freshness. Fry them in a little butter for an extra-special touch.
- Extra brown butter drizzle — Because why not? Reserve a tablespoon of the brown butter before adding the onions for a final flourish.
Ingredient Selection Tips
When choosing your butternut squash, look for one with a long neck and a small bulb. The neck is easier to peel and has fewer seeds, which means less waste and more squash for your soup. If you’re short on time, many stores sell pre-peeled and cubed butternut squash in the produce section. Just know that it may be slightly less flavorful than fresh, so you might need to adjust your seasoning.
For the butter, don’t skimp. This is the ingredient that makes the recipe shine, so use a good-quality unsalted butter. I’ve tried this with salted butter, and it works in a pinch, but you’ll need to reduce the added salt. The flavor won’t be quite as clean, though.
Substitution Guidance
- Vegan option: Use vegan butter or coconut oil for browning, and swap the heavy cream for full-fat coconut milk. The coconut flavor actually complements the squash beautifully.
- Dairy-free option: Use olive oil instead of butter. You won’t get the same nutty flavor, but you can add a pinch of smoked paprika to mimic some of that depth.
- Low-carb option: This soup is naturally low in carbs if you use a low-carb vegetable broth. The squash does contain natural sugars, but it’s still a healthier option than many creamy soups.
- Gluten-free: This recipe is naturally gluten-free. Just double-check your broth label to be sure.
Equipment Needed
You don’t need a ton of fancy equipment to make this soup, which is part of why I love it. Here’s what you’ll need:
- Large Dutch oven or heavy-bottomed pot (5-6 quart) — This is essential for browning the butter evenly and simmering the soup. I use my Le Creuset, but any heavy pot works. The key is even heat distribution to prevent the butter from burning.
- Sharp chef’s knife — Peeling and cubing a butternut squash requires a good knife. A dull knife is dangerous with hard squash. I recommend an 8-inch chef’s knife.
- Vegetable peeler — A Y-shaped peeler makes quick work of butternut squash skin. I’ve tried using a knife, but the peeler is faster and safer.
- Cutting board — A large, stable board is important. I prefer wood or bamboo because they’re gentler on knives.
- Immersion blender — This is my preferred tool for blending hot soup directly in the pot. It’s safer than transferring hot liquid to a blender. I use a Cuisinart model that’s held up for years.
- Regular blender (if you don’t have an immersion blender) — A standard blender works too. Just be careful with hot liquids—only fill it halfway, remove the center cap from the lid, and cover with a kitchen towel to let steam escape.
- Wooden spoon or silicone spatula — For stirring the butter and onions. Silicone is great because it won’t scratch your pot.
- Measuring cups and spoons — For accuracy. I keep a set of stainless steel measuring cups that have lasted forever.
If you don’t have an immersion blender, don’t worry. A regular blender works fine—just work in batches and be careful. I’ve also made this soup with a potato masher for a chunkier texture, and it was surprisingly good. The equipment doesn’t have to be fancy; it just has to get the job done.
Preparation Method
Let me walk you through this step by step. I’ve made this soup dozens of times, and these are the exact methods that work every time. Take your time, especially with the brown butter—it’s the heart of the recipe.
Step 1: Prepare the Squash
Start by peeling your butternut squash. Use a sharp vegetable peeler to remove all the skin, including the tough ridges. Cut off the top and bottom ends, then slice the squash in half where the narrow neck meets the round bulb. Cut the bulb in half and scoop out the seeds and stringy bits with a spoon. Now cut the whole squash into 1-inch cubes. This should give you about 5 to 6 cups of cubed squash. Set it aside. (Pro tip: save the seeds! You can roast them just like pumpkin seeds for a crunchy snack.)
Step 2: Brown the Butter
Place your Dutch oven over medium heat and add the 4 tablespoons of butter. Let it melt completely, then watch it closely. The butter will start to foam and bubble. After about 3 to 4 minutes, the foam will subside and you’ll see golden brown specks forming at the bottom of the pot. Swirl the pot gently. The butter will smell nutty and toasty—that’s how you know it’s ready. Remove the pot from the heat immediately. If you’re planning to drizzle extra brown butter on top, spoon out about 1 tablespoon into a small bowl and set it aside. Be careful not to burn the butter—if it turns dark brown and smells bitter, you’ve gone too far. Start over if that happens; it’s worth it.
Step 3: Sauté the Aromatics
Return the pot to medium heat. Add the diced onion to the brown butter and cook for 5 to 7 minutes, stirring occasionally, until the onion is soft and translucent. The onions will soak up that nutty brown butter flavor. Add the minced garlic and cook for another minute until fragrant. Don’t let the garlic burn—it can turn bitter quickly. You should be able to smell the garlic and onion working together with that brown butter aroma.
Step 4: Cook the Squash
Add the cubed butternut squash to the pot. Stir everything together so the squash is coated in the brown butter mixture. Cook for 3 to 4 minutes, stirring occasionally. This step helps the squash absorb some of that flavor before the liquid goes in. You’ll see the edges of the squash start to look slightly translucent—that’s a good sign.
Step 5: Add the Liquid and Simmer
Pour in the 4 cups of vegetable broth and 1 cup of water. Add the salt, pepper, and nutmeg if using. Stir everything together, scraping up any browned bits from the bottom of the pot—that’s pure flavor. Bring the soup to a boil, then reduce the heat to low. Cover the pot and let it simmer for 20 to 25 minutes, or until the squash is fork-tender. You should be able to easily pierce a cube with a fork. The squash will look slightly darker and the liquid will have reduced a bit.
Step 6: Blend the Soup
Remove the pot from the heat. If you’re using an immersion blender, carefully blend the soup directly in the pot until it’s completely smooth. This usually takes about 2 minutes. If you’re using a regular blender, work in batches. Fill the blender no more than halfway, remove the center cap from the lid, cover with a kitchen towel, and blend until smooth. Transfer each batch to a clean pot or large bowl. Be very careful—hot liquid expands when blended, and it can splatter.
Step 7: Adjust and Finish
Once the soup is blended, taste it and adjust the seasoning. You might want more salt, a pinch more nutmeg, or a crack of black pepper. If the soup is too thick, add a splash more broth or water until it reaches your desired consistency. I like mine thick enough to coat the back of a spoon but still pourable. If you’re serving it immediately, keep it warm over low heat. If you’re making it ahead, let it cool completely before refrigerating.
Step 8: Serve with Garnishes
Ladle the soup into bowls. Drizzle a swirl of heavy cream or coconut milk on top. Sprinkle roasted pepitas over each bowl. Add a few fresh thyme leaves or fried sage leaves for color. If you reserved that extra brown butter, drizzle a little over each serving. The combination of creamy soup, crunchy seeds, and nutty brown butter is absolutely stunning—both to look at and to eat.
Cooking Tips & Techniques
I’ve learned a few things the hard way with this recipe, so let me share what works so you don’t have to make the same mistakes.
The biggest tip I can give you is about the brown butter. Watch it like a hawk. The difference between perfect brown butter and burnt butter is about 30 seconds. When the foam starts to subside and you see those golden specks, pull it off the heat. It will continue to cook from the residual heat, so err on the side of pulling it too early rather than too late. I once got distracted by my phone and ended up with black butter. The smell was awful, and I had to start over. Learn from my mistake.
Another thing I’ve learned: cut your squash evenly. If your cubes are different sizes, some will cook faster than others, and you’ll end up with a soup that’s partially chunky and partially mushy. Take the extra 2 minutes to make sure your cubes are uniform. Your blender will thank you.
Here’s a trick for peeling butternut squash: Microwave the whole squash for 2 to 3 minutes before peeling. This softens the skin just enough to make peeling easier without cooking the flesh. I learned this from a chef friend, and it’s been a game-changer. Just be careful—the squash will be warm, so let it cool for a minute before handling.
If you’re making this for a crowd, double the recipe and use a larger pot. The soup freezes beautifully, so you can make it weeks ahead. I’ve brought this to multiple holiday dinners, and it’s always a hit. Just reheat it gently on the stove, adding a splash of broth to thin it out if needed.
One more thing: don’t skip the nutmeg. I know it seems optional, but it adds a warmth that ties everything together. A little goes a long way—start with ¼ teaspoon and add more if you want. I’ve also tried this with a pinch of cinnamon, and it’s lovely for a slightly sweeter version.
And here’s a timing strategy: If you’re hosting, make the soup a day ahead. The flavors actually deepen overnight. When your guests arrive, just reheat it, add your garnishes, and serve. It takes 10 minutes of active time, and everyone will think you spent hours in the kitchen. That’s my favorite kind of hosting trick.
Variations & Adaptations
This recipe is incredibly versatile. Here are some of my favorite ways to change it up:
1. Spicy Version
Add ½ teaspoon of red pepper flakes or a diced jalapeño when you sauté the onions. The heat cuts through the richness of the brown butter beautifully. I made this version for a game day gathering, and it was gone in 20 minutes. You can also stir in a tablespoon of harissa paste at the end for a North African twist.
2. Roasted Squash Version
Instead of simmering the squash in broth, roast the cubed squash at 400°F for 25 minutes until caramelized. Then add it to the sautéed onions and proceed with the recipe. Roasting concentrates the sweetness and adds a deeper, almost smoky flavor. This takes a bit more time, but it’s worth it for special occasions.
3. Vegan Coconut Version
Use coconut oil instead of butter (brown it the same way—it works!) and swap the heavy cream for full-fat coconut milk. Add a tablespoon of lime juice at the end for brightness. The coconut and squash pairing is surprisingly perfect. I’ve served this to non-vegans, and they didn’t miss the dairy at all.
4. Apple-Squash Fusion
Add one peeled and diced apple (Granny Smith or Honeycrisp work well) along with the squash. The apple adds a subtle sweetness and a touch of acidity that balances the richness. This is my go-to fall variation, especially when apples are in season.
5. Protein-Packed Version
Stir in 1 cup of cooked white beans or chickpeas before blending. This adds protein and fiber without changing the flavor much. It makes the soup more filling, perfect for a main course. I’ve done this for Meatless Mondays, and it’s always satisfying.
Serving & Storage Suggestions
This soup is incredibly forgiving when it comes to serving and storage. Here’s everything you need to know:
Serving Suggestions
Serve this soup hot, but not boiling. I like to let it cool for 5 minutes after reheating so the flavors settle. For presentation, ladle it into wide, shallow bowls so you have room for garnishes. A swirl of cream, a sprinkle of pepitas, and a few fresh herbs make it look restaurant-worthy. Pair it with crusty bread or a simple green salad for a complete meal. If you’re hosting, serve it as a starter in small cups or mugs—it’s elegant and easy for guests to handle while mingling.
Complementary Dishes
This soup pairs beautifully with a sharp, tangy salad—think arugula with lemon vinaigrette. The acidity cuts through the richness. For a heartier meal, serve it alongside a grilled cheese sandwich or a roasted chicken. I’ve also served it with a side of crusty sourdough bread and butter, and it’s always a hit. For beverages, a crisp white wine like Sauvignon Blanc or a dry cider complements the soup’s sweetness perfectly.
Storage Instructions
Let the soup cool completely before storing. Transfer it to an airtight container and refrigerate for up to 5 days. The flavors actually improve after a day or two—the brown butter notes become more pronounced. To freeze, pour the cooled soup into freezer-safe bags or containers, leaving an inch of headroom for expansion. It will keep for up to 3 months. Thaw overnight in the refrigerator before reheating.
Reheating Methods
Reheat the soup gently on the stovetop over medium-low heat, stirring occasionally. Add a splash of broth or water if it’s too thick. You can also reheat individual portions in the microwave—just cover the bowl and heat in 1-minute intervals, stirring between each. The soup may separate slightly after freezing, but a quick stir will bring it back together.
How Flavors Develop
Here’s something I love about this soup: it tastes even better the next day. The brown butter flavor melds with the squash and onion, creating a deeper, more complex taste. If you’re making it for a party, I highly recommend making it a day ahead. Your guests won’t know you planned it that way, but your taste buds will.
Nutritional Information & Benefits
This soup is as nutritious as it is delicious. Here’s a rough breakdown per serving (based on 6 servings):
- Calories: Approximately 180-200
- Fat: 10-12g (mostly from butter)
- Carbohydrates: 22-25g
- Fiber: 4-5g
- Protein: 3-4g
- Vitamin A: Over 200% of the daily value (from the squash)
- Vitamin C: About 30% of the daily value
- Potassium: Good source
Butternut squash is packed with vitamin A, which supports eye health and immune function. It’s also rich in antioxidants like beta-carotene. The brown butter adds healthy fats that help your body absorb these fat-soluble vitamins. This soup is naturally gluten-free and can easily be made dairy-free or vegan with simple substitutions.
From a wellness perspective, I love that this soup feels indulgent but is actually quite healthy. It’s a great way to get more vegetables into your diet without feeling like you’re eating “health food.” I’ve served it to kids who gobbled it up without realizing they were eating a vegetable-packed soup. That’s a win in my book.
Conclusion
This brown butter butternut squash soup started as a mistake, but it’s become one of my most-requested recipes. It’s the kind of soup that makes people close their eyes after the first bite—I’ve seen it happen more times than I can count. The nutty richness of the brown butter, the natural sweetness of the squash, and the silky smooth texture come together in a way that feels both comforting and special.
I hope you’ll make this soup for your next gathering. Don’t be afraid to customize it—add more spice, swap in coconut milk, or top it with whatever crunchy seeds you have on hand. That’s the beauty of a good recipe: it’s a starting point, not a rulebook. And if you forget something or make a mistake along the way? Well, that’s how this recipe was born in the first place.
I’d love to hear how it turns out for you. Drop a comment below and let me know if this soup made it to your table—and what garnishes you chose. Did you go classic with pepitas and cream, or did you try something wild? Share your photos, your tweaks, and your happy accidents. That’s what cooking is all about.
Here’s to warm bowls, good company, and the beauty of kitchen mistakes that turn into something unforgettable. Happy cooking, friends.
Frequently Asked Questions
Can I make this soup ahead of time?
Absolutely! In fact, I recommend it. The flavors deepen overnight, making it even more delicious. Just let the soup cool completely, store it in an airtight container in the refrigerator, and reheat gently on the stovetop when you’re ready to serve.
Can I freeze this soup?
Yes, this soup freezes beautifully. Let it cool completely, then transfer it to freezer-safe bags or containers. It will keep for up to 3 months. Thaw overnight in the refrigerator before reheating. You may need to add a splash of broth when reheating to restore the consistency.
How do I prevent the brown butter from burning?
Watch it closely and remove it from the heat as soon as you see golden brown specks forming at the bottom of the pot. The butter will continue to cook from the residual heat, so it’s better to pull it off a little early than too late. If it turns dark brown and smells bitter, start over—it’s worth the extra few minutes.
Can I use pre-cut butternut squash?
Yes, pre-cut squash works in a pinch. Just know that it may be slightly less flavorful than fresh, so you might need to adjust your seasoning. Look for pre-cut squash that’s firm and bright orange, without any soft spots or discoloration.
What can I use instead of heavy cream for garnish?
Full-fat coconut milk is a great dairy-free alternative that adds a lovely richness. You can also use Greek yogurt thinned with a little milk, or simply skip the cream altogether—the soup is delicious on its own. For a vegan option, cashew cream works beautifully too.
Pin This Recipe!
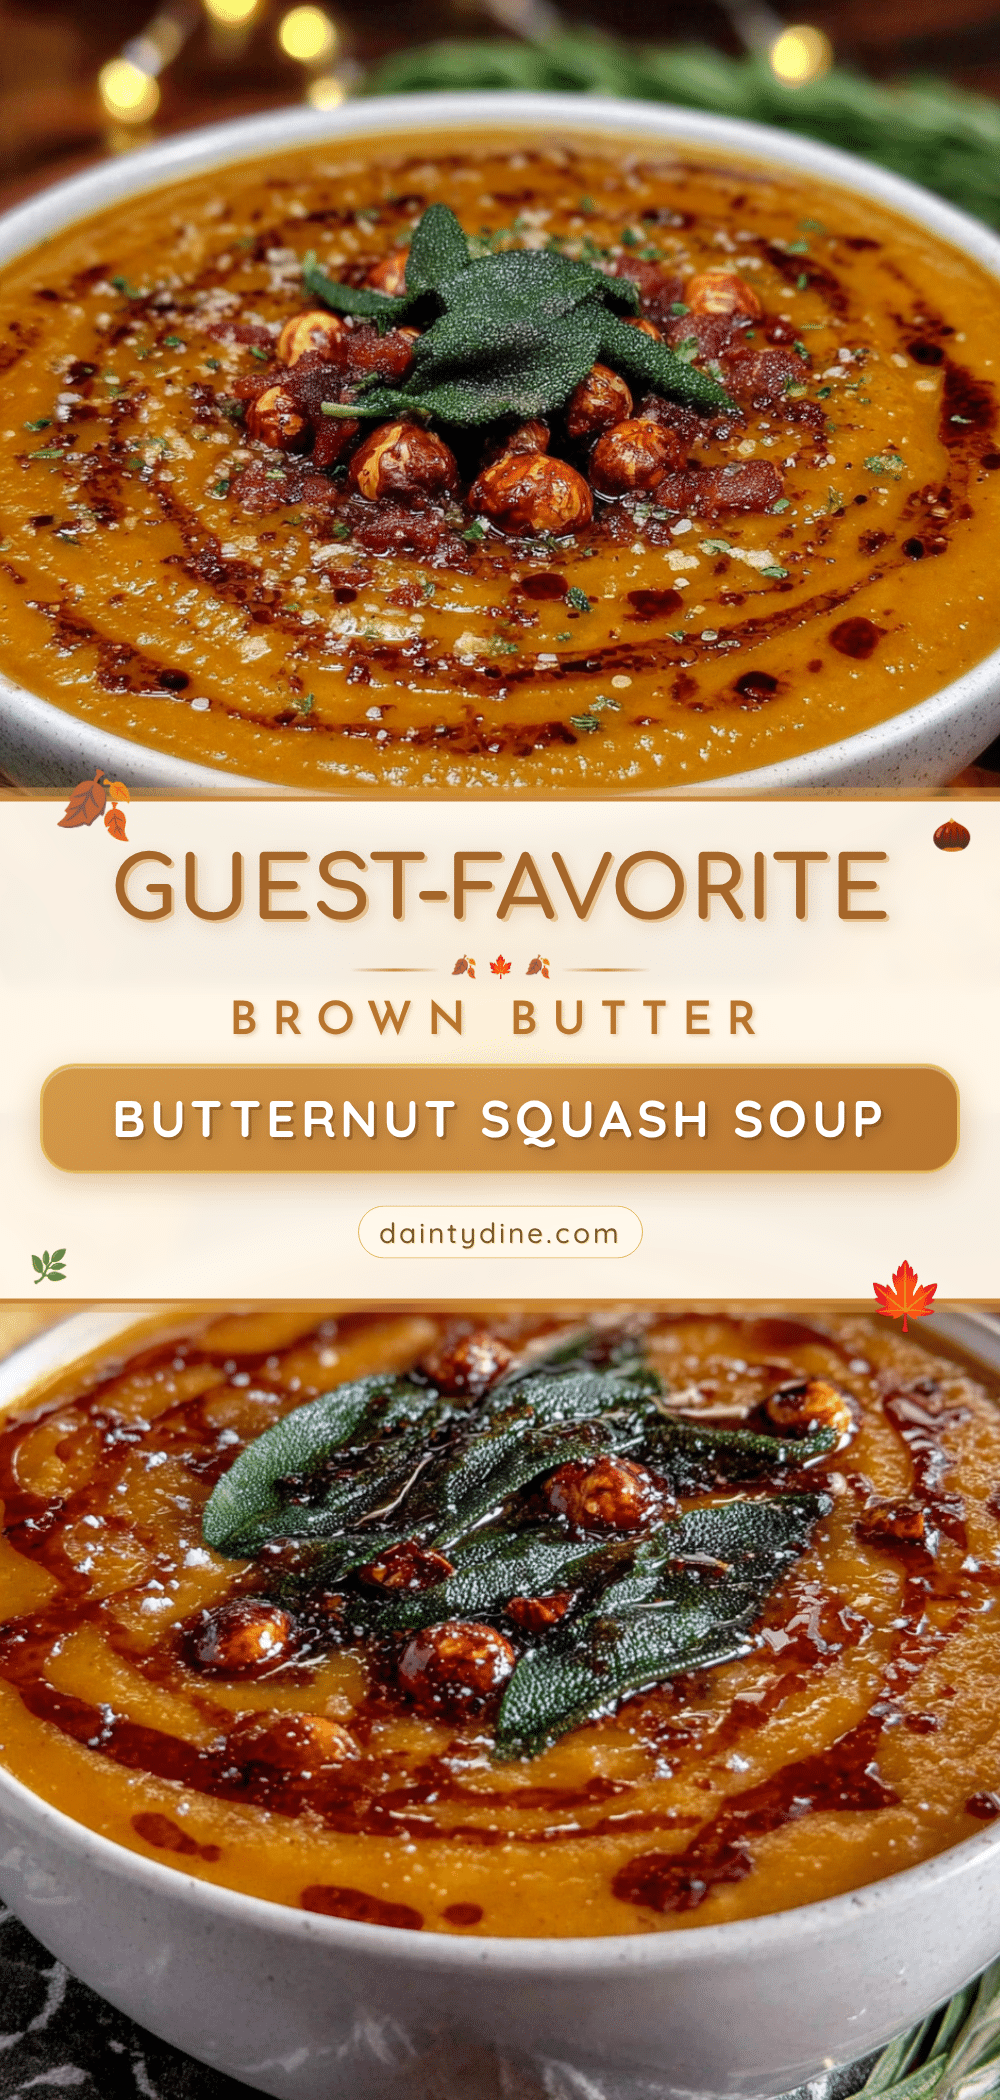
Best Brown Butter Butternut Squash Soup Recipe (Easy)

A rich, nutty, and velvety butternut squash soup made with browned butter for deep flavor. This easy recipe comes together in about 40 minutes and is perfect for cozy dinners or elegant gatherings.
- Prep Time: 15 minutes
- Cook Time: 25 minutes
- Total Time: 40 minutes
- Yield: 6 servings 1x
- Category: Soup
- Cuisine: American
Ingredients
- 1 large butternut squash (about 3 pounds), peeled, seeded, and cut into 1-inch cubes
- 4 tablespoons unsalted butter
- 1 medium yellow onion, diced
- 3 cloves garlic, minced
- 4 cups low-sodium vegetable broth
- 1 cup water
- 1 teaspoon salt
- ½ teaspoon black pepper, freshly ground
- ¼ teaspoon ground nutmeg (optional)
- ¼ cup heavy cream or coconut milk (for garnish, optional)
- 2 tablespoons roasted pepitas (pumpkin seeds) (for garnish, optional)
- Fresh thyme or sage leaves (for garnish, optional)
- Extra brown butter drizzle (for garnish, optional)
Instructions
- Prepare the squash: Peel the butternut squash with a sharp vegetable peeler. Cut off the top and bottom ends, slice the squash in half where the narrow neck meets the round bulb. Cut the bulb in half and scoop out the seeds and stringy bits. Cut the whole squash into 1-inch cubes (about 5 to 6 cups). Set aside.
- Brown the butter: Place a large Dutch oven over medium heat and add the 4 tablespoons of butter. Let it melt completely, then watch closely. The butter will foam and bubble. After about 3 to 4 minutes, the foam will subside and golden brown specks will form at the bottom. Swirl the pot gently until it smells nutty and toasty. Remove from heat immediately. If desired, spoon out about 1 tablespoon of brown butter into a small bowl for garnish.
- Sauté the aromatics: Return the pot to medium heat. Add the diced onion and cook for 5 to 7 minutes, stirring occasionally, until soft and translucent. Add the minced garlic and cook for 1 minute until fragrant.
- Cook the squash: Add the cubed butternut squash to the pot. Stir to coat in the brown butter mixture. Cook for 3 to 4 minutes, stirring occasionally, until the edges of the squash start to look slightly translucent.
- Add liquid and simmer: Pour in the 4 cups of vegetable broth and 1 cup of water. Add the salt, pepper, and nutmeg (if using). Stir, scraping up any browned bits from the bottom. Bring to a boil, then reduce heat to low. Cover and simmer for 20 to 25 minutes, until the squash is fork-tender.
- Blend the soup: Remove from heat. Using an immersion blender, blend the soup directly in the pot until completely smooth (about 2 minutes). Alternatively, working in batches, transfer to a regular blender (fill no more than halfway, remove center cap, cover with a towel) and blend until smooth. Be careful with hot liquid.
- Adjust and finish: Taste and adjust seasoning with more salt, pepper, or nutmeg if needed. If the soup is too thick, add a splash more broth or water until desired consistency is reached. Keep warm over low heat if serving immediately.
- Serve with garnishes: Ladle the soup into bowls. Drizzle with heavy cream or coconut milk, sprinkle with roasted pepitas, and add fresh thyme or sage leaves. Drizzle reserved brown butter on top if desired.
Notes
Watch the brown butter closely—it can burn in seconds. Remove from heat as soon as golden specks appear. For easier peeling, microwave the whole squash for 2-3 minutes first. The soup tastes even better the next day as flavors deepen. Freezes well for up to 3 months.
Nutrition
- Serving Size: 1 bowl (about 1.5 cu
- Calories: 190
- Sugar: 6
- Sodium: 480
- Fat: 11
- Saturated Fat: 7
- Carbohydrates: 23
- Fiber: 4
- Protein: 3
Keywords: butternut squash soup, brown butter soup, easy soup recipe, fall soup, creamy squash soup, vegetarian soup, gluten-free soup


