Love this? Save it for later!
Share the inspiration with your friends
I wasn’t expecting baking advice from my accountant, but there I was, sorting through a pile of receipts in his cramped office, listening to him describe exactly how to make the perfect thumbprint cookie. It was the middle of tax season, I was stressed, and Mr. Henderson—a man who wore the same gray cardigan every single day—started talking about almonds and raspberries like he was describing a sunset. “The secret,” he said, not looking up from his calculator, “is to toast the almond flour first. My grandmother taught me that. It changes everything.”
Honestly, I almost laughed. Here was a man whose idea of small talk usually involved depreciation schedules, and he was giving me a cookie tutorial. But something about the way he said it—with this quiet, almost reverent tone—made me write it down on the back of an envelope. I mean, you know that feeling when someone unexpectedly hands you a gift you didn’t know you needed? That was this moment.
I went home that night and made a batch. And let me tell you, the smell alone was worth the chaos of tax season. The kitchen filled with this warm, nutty aroma from the toasted almonds, and then the raspberry jam bubbled up in the centers like little ruby jewels. I burnt my tongue on the first one because I couldn’t wait. It was that good. These almond raspberry thumbprint cookies have become my official spring baking project ever since, and I keep making them because they taste like the season itself—bright, a little sweet, and full of unexpected joy.
Why You’ll Love This Recipe
Let’s be real for a second. There are a million thumbprint cookie recipes out there. But this one? It’s different. I’ve tested this version at least a dozen times, adjusting the almond-to-flour ratio, playing with baking times, and even swapping jams to see what sticks. Here’s why this particular recipe has earned a permanent spot in my spring baking rotation:
- Quick & Easy: These come together in about 35 minutes from start to finish. Perfect for when you need a last-minute treat for a spring brunch or an afternoon pick-me-up.
- Simple Ingredients: You probably have most of this in your pantry already. No weird specialty items—just butter, sugar, flour, almonds, and jam.
- Perfect for Spring Baking: The combination of nutty almond and bright raspberry is basically spring in cookie form. Great for Easter, baby showers, or just because the tulips are blooming.
- Crowd-Pleaser: I’ve brought these to potlucks, book club meetings, and family dinners. They disappear faster than anything else on the table.
- Unbelievably Delicious: The texture is what gets me every time—crisp edges, soft centers, and that little pocket of jam that stays slightly sticky and intense. It’s next-level comfort food.
What makes this recipe different from the rest is the toasted almond flour in the dough. Most recipes just toss in raw almond flour, but toasting it first unlocks this deep, almost buttery flavor that transforms the whole cookie. It’s not just another version—it’s my best version, and I’m pretty proud of it.
This recipe isn’t just good—it is the kind that makes you close your eyes after the first bite. It’s comfort food reimagined: a little healthier with the almond flour, faster than you’d expect, but with the same soul-soothing satisfaction. Perfect for impressing guests without stress, or turning a simple Tuesday into something memorable.
What Ingredients You Will Need
This recipe uses simple, wholesome ingredients to deliver bold flavor and satisfying texture without the fuss. Most of these are pantry staples, especially if you do any kind of spring baking. The star here is the almond flour, which gives the cookies their signature texture and nutty taste.
For the Cookie Dough
- Unsalted butter, softened – 1 cup (226g). Make sure it’s truly at room temperature. Cold butter won’t cream properly, and melted butter changes the texture completely.
- Granulated sugar – ¾ cup (150g). Regular white sugar works best here. I’ve tried coconut sugar, and it changes the color and flavor too much for my liking.
- Large egg, room temperature – 1. Take it out of the fridge about 30 minutes before you start.
- Almond extract – 1 teaspoon. This is non-negotiable for that signature almond flavor. I prefer Nielsen-Massey for its pure, not-too-artificial taste.
- Vanilla extract – 1 teaspoon. Pure vanilla, not imitation. It rounds out the almond flavor beautifully.
- All-purpose flour – 1 ½ cups (190g). Spoon and level it—don’t scoop directly from the bag or you’ll end up with dry cookies.
- Almond flour – ½ cup (56g). Toast this first in a dry skillet over medium heat for 3-4 minutes, stirring constantly, until it’s fragrant and lightly golden. Let it cool completely before using. I recommend Bob’s Red Mill for consistent texture.
- Salt – ¼ teaspoon. Fine sea salt is best. It balances the sweetness and brings out the almond flavor.
For the Filling & Garnish
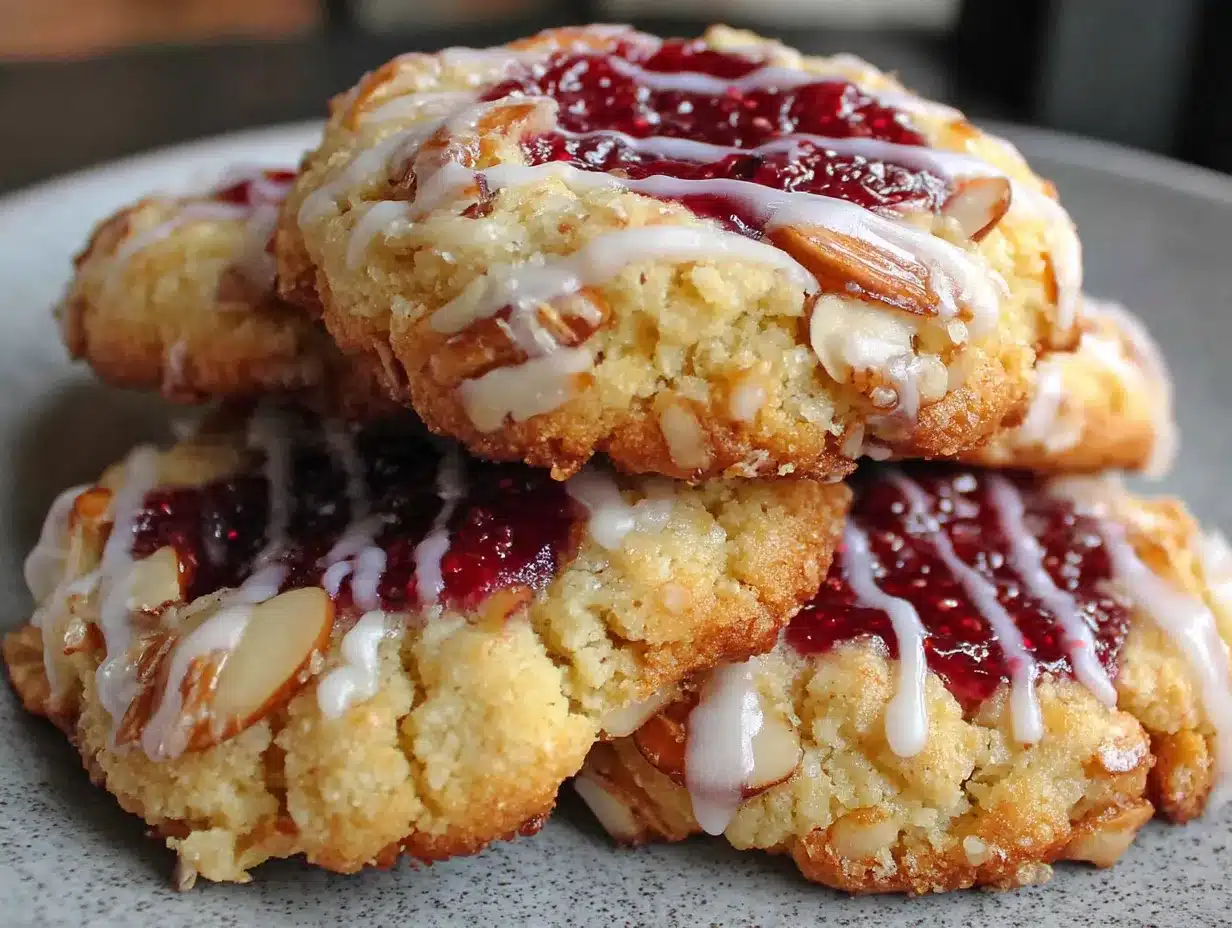
- Raspberry jam or preserves – About ½ cup (160g). Use seedless if you prefer a smoother texture, but I actually love the little seeds. Bonne Maman is my go-to brand for its bright, not-too-sweet flavor.
- Sliced almonds – ¼ cup (25g), for rolling. You can also use chopped almonds if that’s what you have. Toast them lightly for extra crunch.
- Powdered sugar – Optional, for dusting. A light sprinkle right before serving makes them look bakery-level pretty.
Substitution guidance: If you need a gluten-free option, swap the all-purpose flour with a 1:1 gluten-free baking blend. I’ve had good results with King Arthur’s Measure for Measure. For a dairy-free version, use vegan butter sticks (not tub margarine)—I like Miyoko’s. And if raspberry isn’t your thing, apricot or strawberry jam work beautifully too.
Equipment Needed
- Large mixing bowl – For creaming the butter and sugar. A glass or ceramic bowl works well.
- Electric hand mixer or stand mixer – A hand mixer is perfectly fine. I actually prefer it because there’s less cleanup.
- Baking sheets – Two standard half-sheet pans. Line them with parchment paper for easy release.
- Parchment paper or silicone baking mats – Silicone mats are great for even browning, but parchment is easier to clean up.
- Small cookie scoop (about 1 tablespoon) – For uniform cookies. A regular tablespoon works too, but a scoop makes things faster and more consistent.
- Measuring cups and spoons – Dry measuring cups for flour and sugar, liquid measuring cup for nothing here (just spoons).
- Small skillet – For toasting the almond flour. A non-stick or stainless steel pan works fine.
- Cooling rack – Wire racks let the cookies cool evenly so they don’t get soggy on the bottom.
- Small spoon or your thumb – For making the indentations. I use the back of a ½ teaspoon measure for perfectly round divots.
If you don’t have a stand mixer, don’t worry. I made these for years with just a wooden spoon and a lot of elbow grease. Honestly, the hand mixer is a nice-to-have, not a must-have.
Preparation Method
- Toast the almond flour. Place the ½ cup of almond flour in a small dry skillet over medium heat. Stir constantly with a spatula for 3-4 minutes until it turns a shade darker and smells nutty and warm. Pour it onto a plate to cool completely. Do not skip this step—it makes a huge difference in flavor.
- Preheat your oven to 350°F (175°C). Line two baking sheets with parchment paper or silicone mats. While the oven heats, the dough can chill a bit.
- Cream the butter and sugar. In a large mixing bowl, beat the softened butter and granulated sugar together until light and fluffy, about 2-3 minutes. You want it to look pale and almost doubled in volume. Scrape down the sides of the bowl once or twice.
- Add the egg and extracts. Crack in the egg, then add the almond extract and vanilla extract. Beat on medium speed until fully combined. The mixture might look a little curdled at this point—that’s totally normal. Don’t panic.
- Mix the dry ingredients. In a separate bowl, whisk together the all-purpose flour, cooled toasted almond flour, and salt. This ensures the almond flour is evenly distributed and you don’t get clumps.
- Combine wet and dry. Gradually add the flour mixture to the butter mixture, mixing on low speed just until incorporated. Stop as soon as you don’t see any more streaks of flour. Overmixing will make the cookies tough.
- Chill the dough. Cover the bowl with plastic wrap and refrigerate for at least 20 minutes. This step is important—it firms up the dough so the cookies hold their shape better and don’t spread too much in the oven. If you’re in a hurry, 15 minutes works in a pinch.
- Shape the cookies. Scoop out rounded tablespoons of dough (about 1.5 tablespoons each) and roll them into balls. Roll each ball in the sliced almonds, pressing gently so the almonds stick. Place them on the prepared baking sheets, about 2 inches apart—they don’t spread a ton, but they need a little breathing room.
- Make the indentations. Use your thumb or the back of a ½ teaspoon measure to press a deep well into the center of each cookie. Go almost to the bottom, but don’t press all the way through. If the dough cracks around the edges, just pinch it back together gently.
- Fill with jam. Spoon about ½ teaspoon of raspberry jam into each indentation. Don’t overfill—it will bubble up and spread as it bakes. A little goes a long way here.
- Bake. Bake for 10-12 minutes, or until the edges are lightly golden and the jam is bubbly. The centers will still look slightly soft—that’s okay. They’ll set as they cool. Rotate the pans halfway through for even baking.
- Cool completely. Let the cookies cool on the baking sheets for 5 minutes, then transfer them to a wire rack to cool completely. The jam will be extremely hot right out of the oven, so resist the urge to take a bite immediately. I learned this the hard way.
- Optional dusting. Once completely cool, dust lightly with powdered sugar through a fine-mesh sieve. This step is purely cosmetic, but it does make them look extra special.
Sensory cues: The dough should feel soft but not sticky. When you press the indentation, the edges should hold their shape without slumping. The cookies are done when the bottoms are golden brown and the jam has darkened slightly and looks glossy. Your kitchen will smell like toasted almonds and sweet raspberries—that’s how you know you’re on the right track.
Cooking Tips & Techniques
I’ve made these almond raspberry thumbprint cookies more times than I can count, and I’ve definitely had my share of failures. Here’s what I’ve learned so you don’t have to repeat my mistakes.
Don’t skip the chilling step. I know it’s tempting to skip it when you’re in a hurry, but warm dough spreads into flat, sad pancakes. The 20-minute chill gives you those perfect, puffy cookies with a defined well for the jam. If you have time, chilling for 30 minutes is even better.
Watch the almond flour toasting carefully. It goes from perfectly golden to burnt in about 30 seconds. Stir constantly and keep your eye on it. Burnt almond flour tastes bitter and will ruin the whole batch. If you’re nervous, you can toast it in the oven at 350°F for 5-6 minutes on a baking sheet—it’s more forgiving that way.
Use room temperature ingredients. This is one of those baking rules that actually matters. Cold butter won’t cream properly, and cold egg can make the mixture seize up. Set everything out on the counter about 30 minutes before you start. Your future self will thank you.
Make the indentations deep enough. I used to be too gentle, and the jam would just sit on top like a little hat instead of sinking into the cookie. Press firmly—almost to the bottom—leaving just a thin layer of dough. The jam will stay put and create that perfect pocket.
Don’t overfill with jam. About ½ teaspoon per cookie is plenty. Too much jam will bubble over the edges and create a sticky mess on your baking sheet. It still tastes good, but it’s not as pretty. Trust me on this one.
Multitasking tip: While the dough chills, toast the sliced almonds and prep your baking sheets. That way everything is ready to go when you start shaping. It makes the process feel smoother and less chaotic.
Variations & Adaptations
One of the best things about this recipe is how flexible it is. I’ve tried several variations over the years, and most of them have been pretty successful. Here are a few to play with:
- Chocolate-Almond Thumbprints: Swap the raspberry jam with chocolate-hazelnut spread or melted dark chocolate. After baking, drizzle a little extra chocolate on top. It’s decadent and perfect for chocolate lovers.
- Lemon-Blueberry Version: Use lemon zest in the dough (about 1 tablespoon) and fill with blueberry jam. The citrus brightens everything up and feels very spring-like. I made these for a garden party last year and they were gone in 10 minutes.
- Gluten-Free Adaptation: Replace the all-purpose flour with a 1:1 gluten-free baking blend. I’ve tested this with King Arthur’s Measure for Measure, and the texture is almost identical to the original. Just make sure your almond flour is certified gluten-free if needed.
- Vegan Option: Use vegan butter sticks and a flax egg (1 tablespoon ground flaxseed mixed with 3 tablespoons water, let sit for 5 minutes). The texture is slightly less tender, but the flavor is still spot-on.
- Spiced Version: Add ½ teaspoon of cinnamon and a pinch of cardamom to the dough. It gives the cookies a warm, almost chai-like flavor that pairs beautifully with the raspberry.
My personal favorite variation is the lemon-blueberry one. I stumbled on it by accident when I ran out of raspberry jam and had a jar of blueberry preserves in the fridge. The lemon zest in the dough adds this little brightness that just works. Sometimes the best recipes come from happy accidents.
Serving & Storage Suggestions
These almond raspberry thumbprint cookies are best served at room temperature, straight from the cooling rack. The texture is perfect—crisp on the edges, tender in the center, and the jam is still slightly soft and sticky. If you want to get fancy, arrange them on a pretty plate with a light dusting of powdered sugar and a few fresh raspberries scattered around.
They pair beautifully with a cup of tea—Earl Grey or chamomile work well—or a hot coffee. For a spring brunch, serve them alongside fresh fruit and a mimosa. They’re also great for dessert after a light meal like a spring salad or roasted chicken.
Storage instructions: Store the cookies in an airtight container at room temperature for up to 5 days. Layer them between sheets of parchment paper to prevent sticking. Do not refrigerate them—the fridge dries out the cookies and makes the jam hard.
Freezer instructions: These freeze beautifully. Place the baked, cooled cookies in a single layer on a baking sheet and freeze for 1 hour. Then transfer them to a freezer-safe container or bag, layered with parchment paper. They’ll keep for up to 3 months. Thaw at room temperature for about 30 minutes before serving.
Reheating tip: If you want that just-baked warmth, pop them in a 300°F oven for 3-4 minutes. The jam will get soft and gooey again. Just don’t overheat them or the edges can get too crunchy.
The flavors actually develop a little more after a day or two. The almond flavor deepens and the jam melds into the cookie. So don’t be surprised if they taste even better on day two. That is, if they last that long.
Nutritional Information & Benefits
Here’s the estimated nutritional breakdown per cookie (based on 24 cookies):
- Calories: 145
- Total Fat: 8g
- Saturated Fat: 4g
- Carbohydrates: 17g
- Sugar: 9g
- Protein: 2.5g
- Fiber: 1g
These numbers are estimates and will vary based on specific brands and any substitutions you make. If you use a sugar-free jam, you can reduce the sugar content a bit.
Health benefits: Almonds are a great source of vitamin E, magnesium, and healthy fats. They’re good for heart health and can help keep you full longer. The raspberry jam provides a small dose of antioxidants, especially if you use a high-quality preserve with real fruit. Compared to traditional butter cookies, these have a bit more protein and fiber thanks to the almond flour.
Dietary considerations: This recipe is naturally vegetarian. For gluten-free or vegan options, see the variations section above. The cookies contain dairy (butter), eggs, and nuts (almonds), so they’re not suitable for those with allergies to those ingredients.
I personally love that these cookies feel indulgent but aren’t over-the-top in terms of sugar or fat. They’re the kind of treat you can enjoy without feeling like you’ve completely derailed your day.
Conclusion
These almond raspberry thumbprint cookies are the perfect project for spring baking. They’re quick enough for a weekday treat, but special enough for a holiday table or a gift for a friend. The combination of toasted almonds and bright raspberry jam is just so right for this time of year—when everything is starting to bloom and the days are getting longer.
I hope you give them a try and make them your own. Maybe you’ll add a little lemon zest, or swap in your favorite jam, or discover a variation I haven’t even thought of. That’s the beauty of a good recipe—it’s a starting point, not a rulebook.
I’d love to hear how yours turn out! Drop a comment below and let me know what variations you tried, or tag me in your photos on social media. Happy spring baking, friends. You’ve got this.
Frequently Asked Questions
Can I use pre-ground almond flour from the store?
Yes, absolutely. Just make sure to toast it first in a dry skillet or in the oven. The toasting step is what gives these cookies their deep, nutty flavor. Store-bought almond flour works perfectly fine.
Why did my cookies spread too much?
This usually happens if the dough wasn’t chilled long enough, or if the butter was too soft when you started. Next time, make sure your butter is just softened—not melty—and chill the dough for the full 20 minutes. If your kitchen is warm, 30 minutes is even better.
Can I use a different type of jam?
Definitely! Strawberry, apricot, blackberry, or even fig jam all work beautifully. Just avoid jams with large fruit chunks or seeds if you want a smoother filling. The key is to use a jam or preserve, not jelly—jelly is too thin and will soak into the cookie.
How do I keep the jam from burning?
If your jam is bubbling over and burning on the baking sheet, you might be overfilling the indentations. Use about ½ teaspoon per cookie, and make sure the indentation is deep enough to hold it. Also, avoid jams with high sugar content—they burn faster. A good quality fruit preserve is your best bet.
Can I make the dough ahead of time?
Yes! You can make the dough up to 2 days in advance and keep it wrapped tightly in the fridge. Let it sit at room temperature for about 10 minutes before shaping—it’ll be easier to work with. You can also freeze the shaped, unbaked cookies on a baking sheet, then transfer to a freezer bag. Bake from frozen, adding 2-3 minutes to the baking time.
Pin This Recipe!
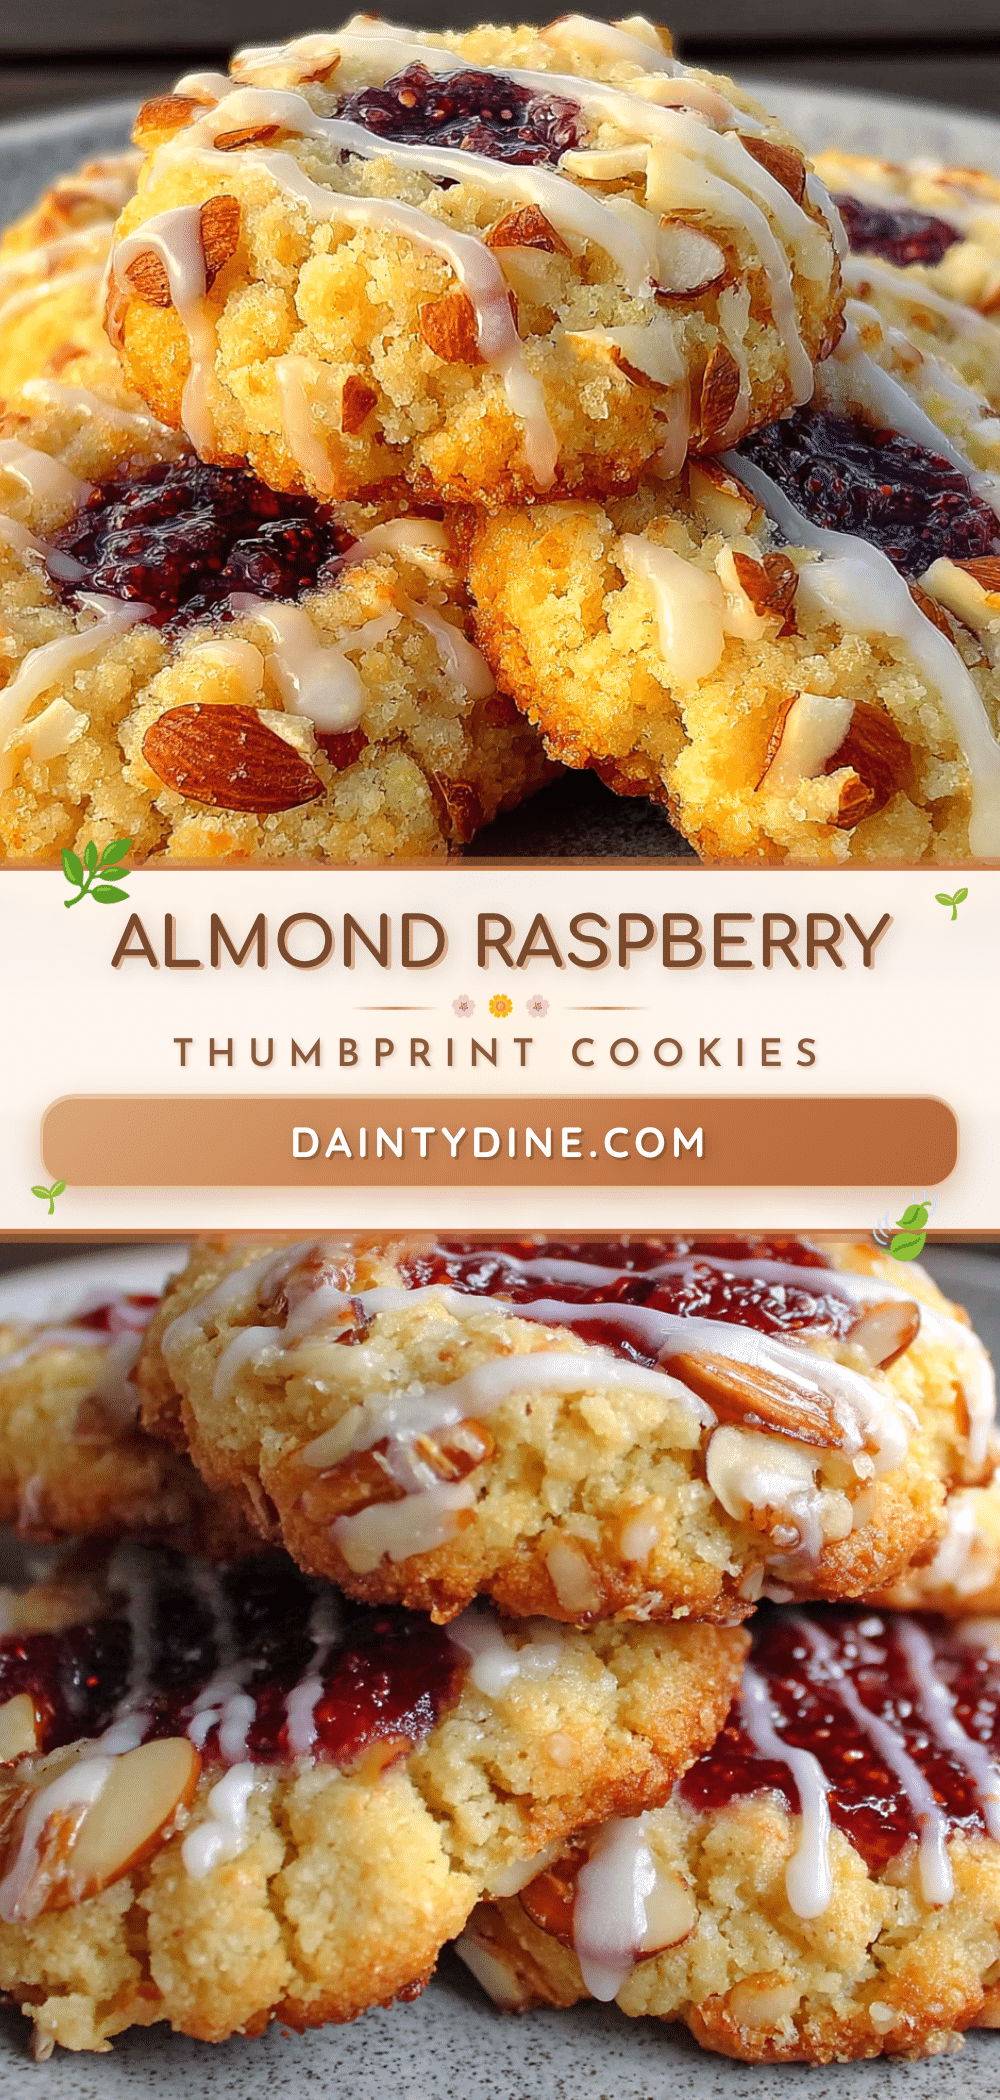
Best Almond Raspberry Thumbprint Cookies for Spring Baking

These almond raspberry thumbprint cookies feature toasted almond flour for a deep, nutty flavor and a bright raspberry jam center. Quick and easy, they’re perfect for spring baking and are a crowd-pleasing treat.
- Prep Time: 20 minutes
- Cook Time: 12 minutes
- Total Time: 35 minutes
- Yield: 24 cookies 1x
- Category: Dessert
- Cuisine: American
Ingredients
- 1 cup (226g) unsalted butter, softened
- 3/4 cup (150g) granulated sugar
- 1 large egg, room temperature
- 1 teaspoon almond extract
- 1 teaspoon vanilla extract
- 1 1/2 cups (190g) all-purpose flour
- 1/2 cup (56g) almond flour, toasted and cooled
- 1/4 teaspoon fine sea salt
- 1/2 cup (160g) raspberry jam or preserves
- 1/4 cup (25g) sliced almonds, for rolling
- Powdered sugar, for dusting (optional)
Instructions
- Toast the almond flour in a dry skillet over medium heat for 3-4 minutes, stirring constantly, until fragrant and lightly golden. Pour onto a plate to cool completely.
- Preheat oven to 350°F (175°C). Line two baking sheets with parchment paper or silicone mats.
- In a large mixing bowl, cream the softened butter and granulated sugar together until light and fluffy, about 2-3 minutes.
- Add the egg, almond extract, and vanilla extract. Beat on medium speed until fully combined.
- In a separate bowl, whisk together the all-purpose flour, cooled toasted almond flour, and salt.
- Gradually add the flour mixture to the butter mixture, mixing on low speed just until incorporated. Do not overmix.
- Cover the bowl with plastic wrap and refrigerate for at least 20 minutes.
- Scoop rounded tablespoons of dough (about 1.5 tablespoons each) and roll into balls. Roll each ball in sliced almonds, pressing gently to adhere. Place on prepared baking sheets, about 2 inches apart.
- Use your thumb or the back of a 1/2 teaspoon measure to press a deep well into the center of each cookie, almost to the bottom but not through.
- Spoon about 1/2 teaspoon of raspberry jam into each indentation.
- Bake for 10-12 minutes, until edges are lightly golden and jam is bubbly. Rotate pans halfway through.
- Let cookies cool on baking sheets for 5 minutes, then transfer to a wire rack to cool completely.
- Once completely cool, dust lightly with powdered sugar through a fine-mesh sieve (optional).
Notes
Don’t skip chilling the dough—it prevents spreading. Toast almond flour carefully to avoid burning. Use room temperature ingredients for best results. Make indentations deep enough to hold jam. Store in an airtight container at room temperature for up to 5 days. Freeze baked cookies for up to 3 months.
Nutrition
- Serving Size: 1 cookie
- Calories: 145
- Sugar: 9
- Sodium: 30
- Fat: 8
- Saturated Fat: 4
- Carbohydrates: 17
- Fiber: 1
- Protein: 2.5
Keywords: almond raspberry thumbprint cookies, spring baking, thumbprint cookies, almond cookies, raspberry jam cookies