Love this? Save it for later!
Share the inspiration with your friends
My niece asked me why I couldn’t just skip the oven and mix everything in one bowl. I started to explain why that wouldn’t work — then stopped. Honestly, I had no good reason. I was just used to doing it the hard way. She was eight, sitting on my counter, swinging her legs, watching me pull out a mixer and three separate bowls for what was supposed to be a simple snack. She asked if we could just use our hands. I almost said no. But I was tired, and she was so sure. So I handed her the peanut butter.
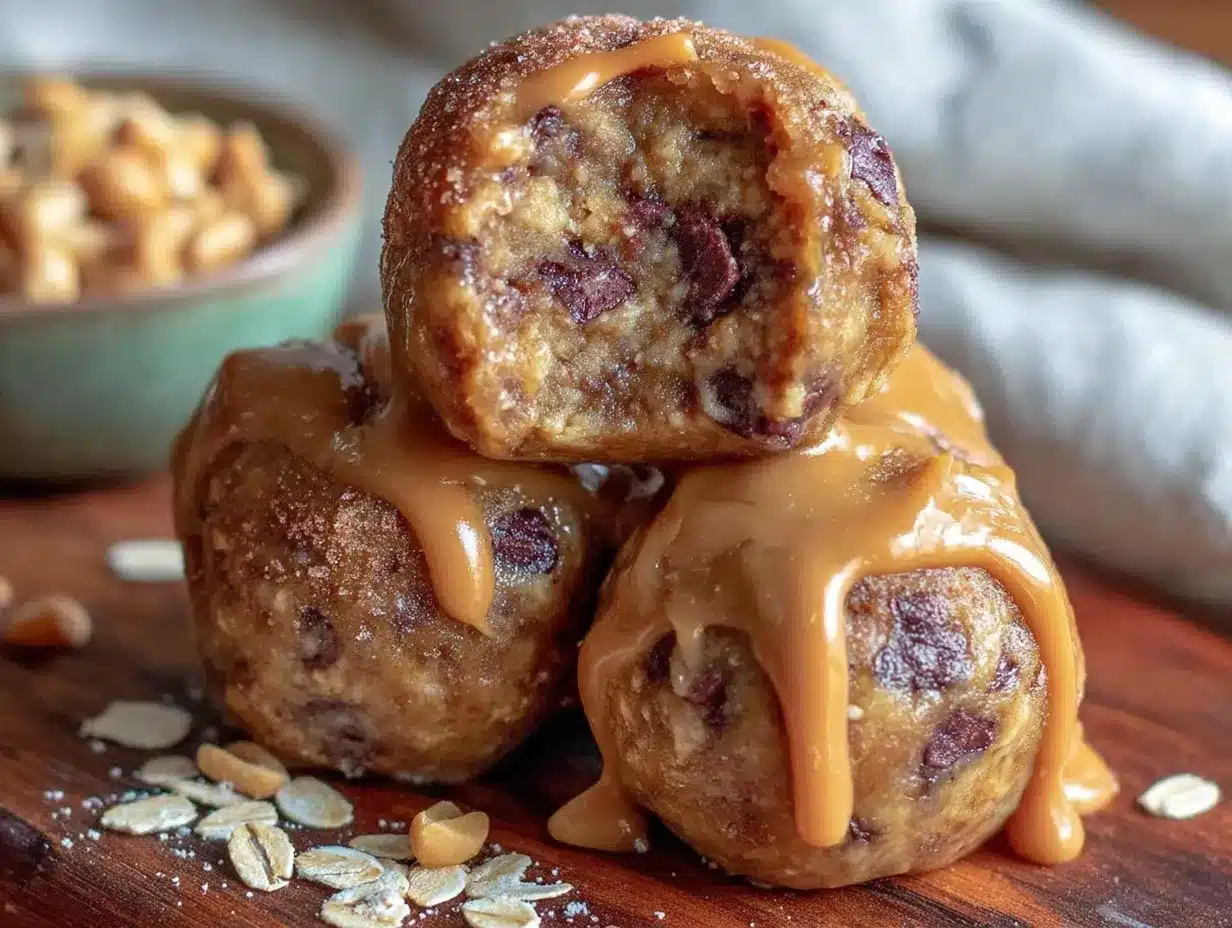
Easy No-Bake Peanut Butter Protein Balls
Let me tell you, watching her squish those ingredients together with her bare hands was a moment. I was bracing for a disaster — a sticky, crumbly mess that would end up all over the floor. Instead, it came together perfectly. The oats held, the chocolate chips stayed put, and the whole thing took maybe ten minutes from start to finish. I mean, I’ve been making snacks for years, and this kid just showed me a better way in about five seconds. Maybe you’ve been there — so busy following the “right” method that you forget there’s an easier one right in front of you. That day, I learned that sometimes the best recipe is the one that lets you get out of your own way. And these no-bake peanut butter protein balls? They’ve been a staple in my kitchen ever since. They’re not just a snack; they’re a reminder that simple can be brilliant.
Why You’ll Love This Recipe
I’ve tested a lot of protein ball recipes over the years. Some were too dry, some fell apart, and some just didn’t taste good enough to justify the effort. These no-bake peanut butter protein balls are different. They hit that sweet spot between healthy and actually delicious — the kind of snack you grab without guilt and your kids grab without complaint.
- Quick & Easy: You can have these made in under 15 minutes. No oven, no mixer, no complicated steps. Just one bowl and your hands.
- Simple Ingredients: You probably have most of these in your pantry right now. No fancy superfood powders or hard-to-find items. Just real food.
- Perfect for Busy Families: These are a lifesaver for after-school hunger, lunchbox fillers, or a quick breakfast on the go. They keep everyone happy without breaking the bank.
- Crowd-Pleaser: I’ve brought these to playdates, soccer games, and family gatherings. Kids and adults alike go for them. They disappear fast.
- Unbelievably Delicious: The combination of creamy peanut butter, sweet honey, and rich chocolate chips is pure comfort. It tastes like a treat, but it’s packed with protein and fiber.
What makes this recipe different from the rest? It’s the texture. I figured out that using old-fashioned rolled oats instead of quick oats gives them a better chew. And chilling the mixture for just ten minutes before rolling makes all the difference — they hold their shape perfectly without being rock hard. This isn’t just another version of a protein ball. It’s the one that actually works for real life.
This recipe is the kind that makes you close your eyes after the first bite. It’s comfort food reimagined — healthier, faster, but with the same soul-soothing satisfaction. Perfect for impressing your kids without stress, or turning a simple snack into something memorable.
What Ingredients You Will Need
This recipe uses simple, wholesome ingredients to deliver bold flavor and satisfying texture without the fuss. Most of these are pantry staples, so you likely won’t need a special trip to the store.
- 1 cup creamy peanut butter (I recommend using a natural peanut butter like Justin’s or Smucker’s Natural for the best flavor — just make sure it’s well-stirred. Avoid the no-stir kind with added sugar and oil, as it can make the balls too greasy.)
- ½ cup honey (Local honey adds a nice floral note, but any honey works. If you’re vegan, you can swap in maple syrup — just note the mixture will be a bit stickier.)
- 2 cups old-fashioned rolled oats (Not quick oats! Old-fashioned oats give the balls a better, chewier texture. For a gluten-free option, use certified gluten-free oats.)
- ½ cup ground flaxseed (This adds a boost of fiber and omega-3s without changing the flavor. You can also use chia seeds or hemp hearts.)
- ⅓ cup mini chocolate chips (I prefer dark chocolate chips for a less sweet option, but milk chocolate is great for kids. Be sure to use mini chips — they distribute more evenly through the mixture.)
- 1 teaspoon vanilla extract (Pure vanilla extract is best, but imitation works in a pinch. It rounds out the flavors beautifully.)
- ¼ teaspoon salt (If your peanut butter is salted, you can skip this. But a tiny pinch of salt really makes the flavors pop.)
Optional add-ins:
- ¼ cup shredded unsweetened coconut (Adds texture and a hint of tropical flavor.)
- 2 tablespoons cocoa powder (For a chocolate version, reduce the oats by 2 tablespoons.)
- ¼ cup chopped nuts (Almonds or peanuts add a nice crunch.)
Substitution guidance: If you have a nut allergy, you can use sunflower seed butter instead of peanut butter. Just note that the color will turn slightly green from a natural reaction with the baking soda (don’t worry — it’s safe and tastes the same).
Equipment Needed
The beauty of this recipe is that you don’t need much. Here’s what you’ll need:
- Large mixing bowl (Any bowl works, but a wide, shallow one makes mixing easier.)
- Measuring cups and spoons (For accuracy — eyeballing it can mess with the texture.)
- Rubber spatula or wooden spoon (For the initial mixing, though you’ll end up using your hands.)
- Baking sheet or large plate (To hold the rolled balls while they chill.)
- Parchment paper or wax paper (Optional, but makes cleanup a breeze.)
- Refrigerator (For chilling the mixture before rolling — this is key!)
I’ve made these with just a bowl and a spoon many times. You don’t need a stand mixer or food processor. Honestly, your hands are the best tool here — they mix everything evenly and let you feel when the texture is right. If you have a small cookie scoop, it helps make uniform balls, but it’s not necessary.
Preparation Method
Let’s get rolling. This is the easiest part — I promise.
- Combine the wet ingredients. In a large mixing bowl, add 1 cup creamy peanut butter, ½ cup honey, and 1 teaspoon vanilla extract. Stir with a rubber spatula until smooth and well combined. It should look glossy and smell amazing.
- Add the dry ingredients. Add 2 cups old-fashioned rolled oats, ½ cup ground flaxseed, and ¼ teaspoon salt to the bowl. Stir until everything is evenly distributed. The mixture will look a bit crumbly at first — that’s normal.
- Mix with your hands. This is the step my niece insisted on. Wash your hands well, then dive in. Squeeze the mixture together with your fingers. You want it to hold together when pressed — if it feels too dry, add a teaspoon more honey or peanut butter. If it’s too sticky, add a tablespoon more oats. The texture should be like a soft, slightly sticky dough.
- Fold in the chocolate chips. Add ⅓ cup mini chocolate chips (and any optional add-ins you like, like shredded coconut or chopped nuts). Use your hands to gently work them in. Try not to overmix — you want the chips to stay whole.
- Chill the mixture. Cover the bowl with plastic wrap or a clean kitchen towel and place it in the refrigerator for 10-15 minutes. This step is crucial — it makes the mixture firm enough to roll into balls without falling apart. Don’t skip it!
- Roll into balls. Line a baking sheet or large plate with parchment paper. Using your hands or a small cookie scoop, portion out about 1 tablespoon of the mixture. Roll it between your palms to form a smooth ball. Place it on the prepared sheet. Repeat with the remaining mixture. You should get about 20-24 balls, depending on size.
- Chill again (optional but recommended). Place the rolled balls back in the refrigerator for another 15-20 minutes. This helps them set completely. They’ll be firm to the touch but still soft and chewy inside.
Sensory cues: At step 3, the mixture should feel like slightly damp sand that clumps together easily. At step 6, the balls should feel smooth and hold their shape without cracking. If they crack, the mixture is too dry — add a tiny bit more honey.
My tip: I like to wet my hands slightly before rolling. It prevents the mixture from sticking to my palms and gives the balls a smoother finish. Just don’t make your hands too wet — a light mist is all you need.
Cooking Tips & Techniques
I’ve made these no-bake peanut butter protein balls more times than I can count, and I’ve learned a few things the hard way. Here’s what I wish I knew from the start.
Don’t skip the chill. I know it’s tempting to skip straight to rolling, but the mixture needs that time in the fridge. Without it, the balls will be too soft and might fall apart. I once tried to rush this step because my kids were hungry — let’s just say we had a plate of sticky blobs instead of neat balls. Lesson learned.
Use a cookie scoop for consistent size. Uniform balls look better and chill evenly. If you don’t have a scoop, use a tablespoon measure. I use a small 1-tablespoon scoop, and it makes the whole process faster and neater.
Adjust for humidity. On a humid day, the mixture might feel stickier than usual. Don’t panic — just add a tablespoon of oats at a time until it firms up. On a dry day, you might need a splash more honey. Trust your hands; they’ll tell you what’s right.
Keep them cold. These balls soften at room temperature, especially if you bring them to a picnic or outdoor event. I always pack them in a cooler with an ice pack. They’re best eaten cold or at cool room temperature.
Double the batch. Honestly, these disappear fast. I always double the recipe so I have some for the fridge and some for the freezer. It’s the same amount of work, and future you will thank you.
My biggest failure: I once used crunchy peanut butter thinking it would add texture. It did — but the balls didn’t hold together well because the chunks of peanuts created weak spots. Stick with creamy for the best structure.
Variations & Adaptations
One of the best things about this recipe is how easy it is to change up. Here are some of my favorite variations.
Chocolate Peanut Butter: Add 2 tablespoons of unsweetened cocoa powder to the dry ingredients. Reduce the oats by 2 tablespoons to keep the texture right. This version tastes like a healthier version of a peanut butter cup — my kids go crazy for it.
Vegan Version: Swap the honey for maple syrup or agave nectar. Use dairy-free chocolate chips. The texture will be slightly stickier, but it works perfectly. I’ve made this for a friend’s vegan birthday party, and no one could tell the difference.
Nut-Free Option: Use sunflower seed butter instead of peanut butter. The flavor is a bit different — more earthy — but it’s still delicious. Just remember the slight green color change is normal. I pack these for school lunches where nuts aren’t allowed.
Add a Protein Boost: Add 2 tablespoons of your favorite protein powder. Vanilla or chocolate works best. You might need to add an extra tablespoon of honey or milk to balance the dryness. I use a plain whey protein powder, and it blends in seamlessly.
Seasonal Twist: In the fall, add 1 teaspoon of pumpkin pie spice and swap the chocolate chips for dried cranberries. In the summer, add ¼ cup of freeze-dried strawberries for a fruity pop. These are fun to customize for holidays or seasons.
My personal favorite: I love adding ¼ cup of shredded coconut and 2 tablespoons of mini white chocolate chips. It gives them a tropical vibe that feels like a treat. I made these for a beach trip, and they were gone before we even got to the sand.
Serving & Storage Suggestions
These no-bake peanut butter protein balls are versatile — you can serve them in so many ways.
Serving temperature: I prefer them straight from the fridge — cold and firm. They’re also great at room temperature if you let them sit out for 5-10 minutes. They soften slightly, which makes them even more chewy and satisfying.
Presentation ideas: For a kids’ party, I arrange them on a platter with toothpicks stuck in each one. For a lunchbox, I pop a couple into a small container. For a quick breakfast, I grab two and a piece of fruit. They’re also lovely rolled in a bit of extra coconut or cocoa powder for a prettier look.
What to serve with them: These pair beautifully with a glass of cold milk, a cup of coffee, or a smoothie. For a fun snack board, arrange them alongside apple slices, cheese cubes, and grapes. They’re also great crumbled over yogurt or oatmeal for extra texture.
Storage instructions: Store the balls in an airtight container in the refrigerator. They’ll stay fresh for up to two weeks. I like to layer them between sheets of parchment paper so they don’t stick together.
Freezer instructions: These freeze beautifully. Place the rolled balls on a baking sheet and freeze until solid (about 1 hour). Transfer them to a freezer-safe bag or container. They’ll keep for up to 3 months. To eat, just let them thaw in the fridge for a few hours or at room temperature for 15 minutes. I always keep a stash in the freezer for busy mornings.
How flavors develop: Honestly, these taste even better the next day. The flavors meld together overnight, and the texture becomes perfectly balanced. So if you can wait, make them a day ahead.
Nutritional Information & Benefits
These little balls pack a surprising nutritional punch. Here’s the estimated breakdown for one ball (based on 24 balls per batch):
| Nutrient | Amount |
|---|---|
| Calories | 120 |
| Protein | 4g |
| Fat | 7g |
| Carbohydrates | 12g |
| Fiber | 2g |
| Sugar | 7g |
Health benefits: Peanut butter provides healthy fats and plant-based protein, which helps keep you full and satisfied. Oats are a great source of soluble fiber, which is good for heart health. Flaxseed adds omega-3 fatty acids and more fiber. Honey offers natural sweetness with antioxidants. These are a much better choice than a store-bought granola bar or candy.
Dietary considerations: This recipe is naturally vegetarian and can be made vegan and gluten-free with simple swaps (see variations). It contains peanuts and may contain traces of tree nuts if you add them. Always check labels for potential allergens.
I feel good about giving these to my family. They’re a snack that actually fuels you — not just empty calories. And honestly, knowing they’re made with real ingredients makes me feel like a good mom, even on the chaotic days.
Conclusion
These no-bake peanut butter protein balls are more than just a recipe — they’re a solution. They solve the problem of hungry kids, busy mornings, and the constant search for snacks that are both healthy and delicious. They’re proof that you don’t need fancy equipment, complicated steps, or a trip to a specialty store to make something truly satisfying.
I love this recipe because it’s forgiving. You can tweak it, swap ingredients, and make it your own. It’s the kind of recipe that builds confidence in the kitchen, whether you’re a seasoned cook or a beginner. And honestly, it’s just fun to make. There’s something satisfying about rolling those little balls and knowing you’ve got a week’s worth of snacks ready to go.
So go ahead — grab a bowl and give these a try. Let your kids help (they might just teach you something). And when you make them your own, I’d love to hear about it. Drop a comment below and tell me what variations you tried. Share a photo of your batch. Let’s keep this conversation going — because good food is meant to be shared.
Happy rolling, friends. You’ve got this.
Frequently Asked Questions
Can I use quick oats instead of old-fashioned oats?
You can, but the texture will be different. Quick oats are more finely processed, so the balls will be softer and less chewy. I prefer old-fashioned oats for their hearty texture, but if quick oats are all you have, they’ll still work. Just reduce the amount by ¼ cup, as they absorb liquid differently.
How do I keep the balls from falling apart?
The key is the chill step. After mixing, refrigerate the dough for at least 10 minutes. This firms up the peanut butter and honey, making it easier to roll. If the mixture still seems crumbly, add a teaspoon more honey or peanut butter. If it’s too sticky, add a tablespoon more oats.
Can I make these without honey?
Yes. You can swap honey with maple syrup, agave nectar, or even brown rice syrup. Keep in mind that maple syrup is thinner, so you might need to add an extra tablespoon of oats to balance the moisture. The flavor will change slightly, but they’ll still be delicious.
How long do these last at room temperature?
They’re best kept in the fridge. At room temperature, they’ll soften and can become a bit sticky after a few hours. If you’re taking them on a picnic or to school, pack them in a cooler with an ice pack. They’ll be fine for up to 2 hours at room temperature.
Can I add protein powder to this recipe?
Absolutely. Add 2 tablespoons of your favorite protein powder along with the dry ingredients. Vanilla or chocolate works best. You might need to add an extra tablespoon of honey or a splash of milk to keep the mixture from getting too dry. Start with the protein powder and adjust the moisture as needed.
Pin This Recipe!
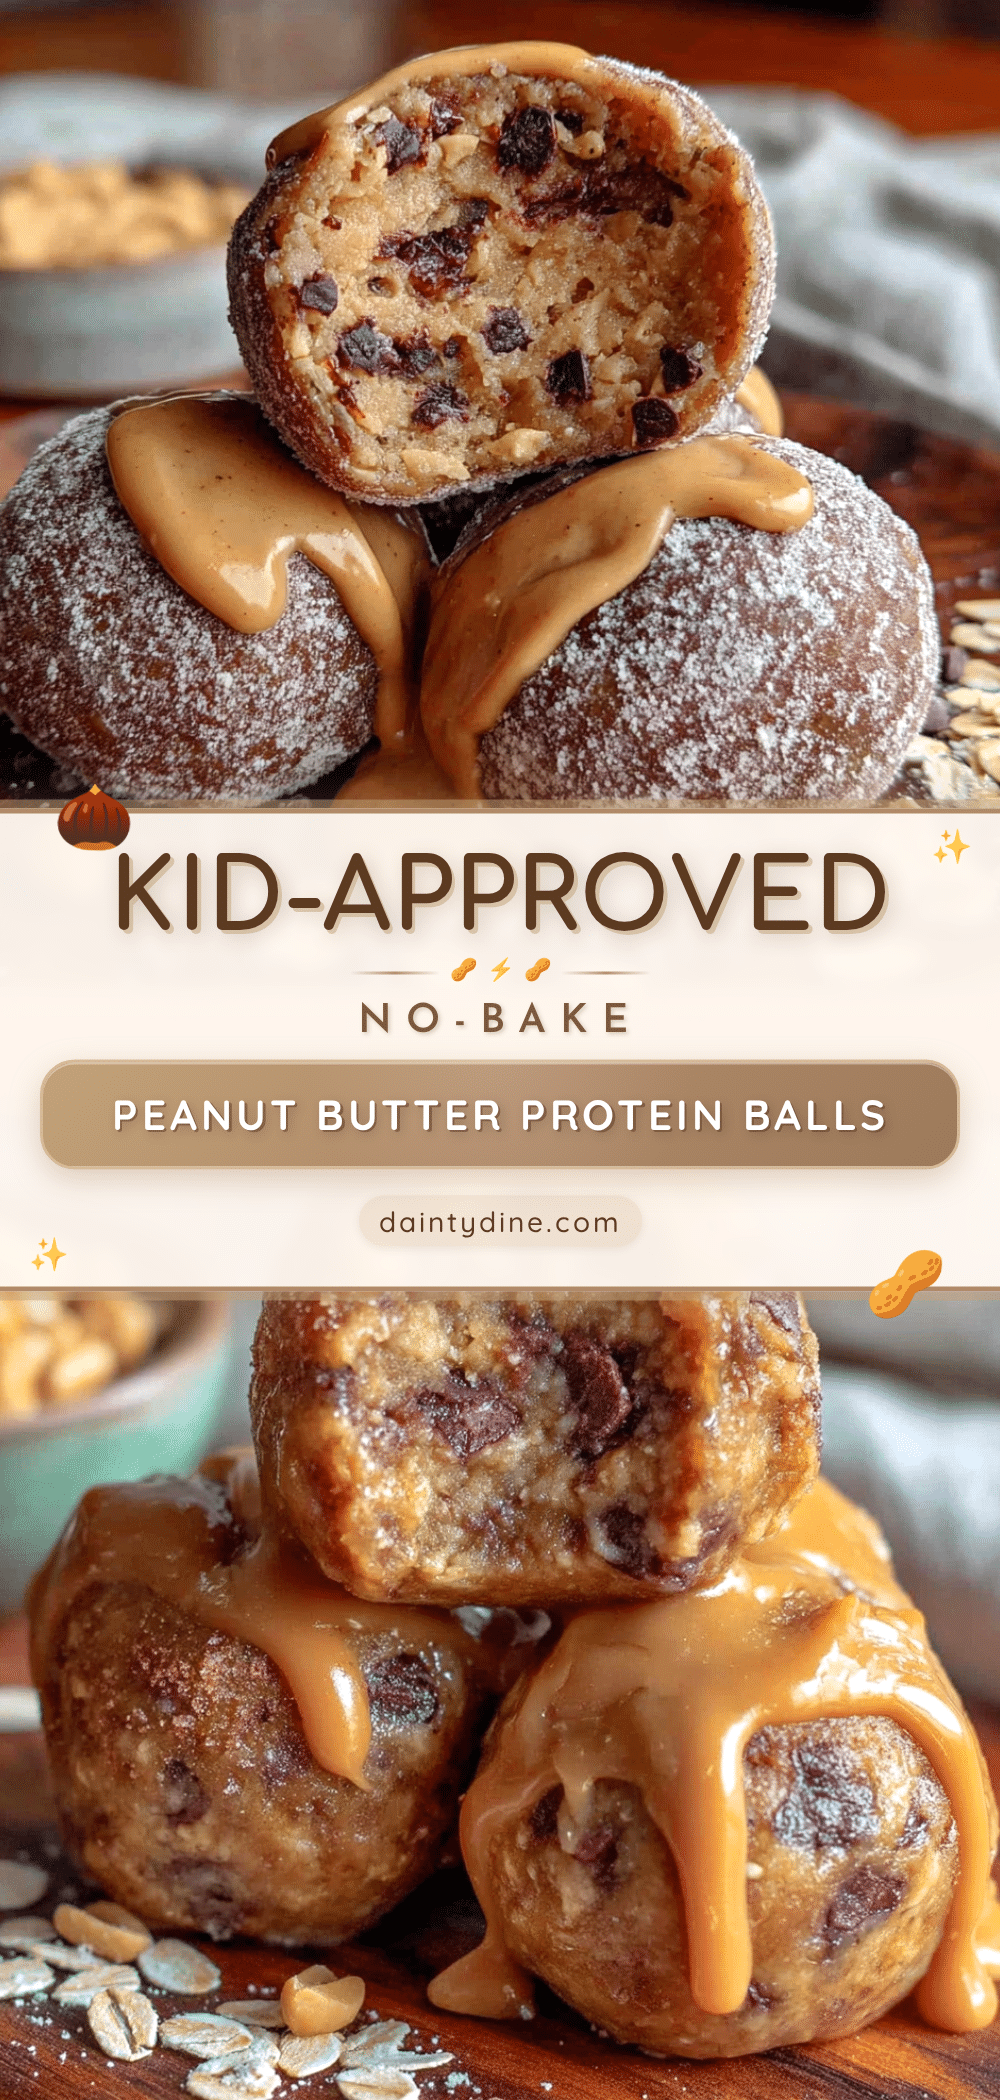
Easy No-Bake Peanut Butter Protein Balls
These no-bake peanut butter protein balls are a quick, healthy snack made with simple pantry ingredients. They come together in under 15 minutes with no oven required, perfect for busy families and on-the-go energy.
- Prep Time: 10 minutes
- Cook Time: 0 minutes
- Total Time: 25 minutes
- Yield: 20-24 balls 1x
- Category: Snack
- Cuisine: American
Ingredients
- 1 cup creamy peanut butter
- ½ cup honey
- 2 cups old-fashioned rolled oats
- ½ cup ground flaxseed
- ⅓ cup mini chocolate chips
- 1 teaspoon vanilla extract
- ¼ teaspoon salt
Instructions
- Combine the wet ingredients. In a large mixing bowl, add 1 cup creamy peanut butter, ½ cup honey, and 1 teaspoon vanilla extract. Stir with a rubber spatula until smooth and well combined.
- Add the dry ingredients. Add 2 cups old-fashioned rolled oats, ½ cup ground flaxseed, and ¼ teaspoon salt to the bowl. Stir until everything is evenly distributed.
- Mix with your hands. Wash your hands well, then squeeze the mixture together with your fingers. It should hold together when pressed. If too dry, add a teaspoon more honey or peanut butter. If too sticky, add a tablespoon more oats.
- Fold in the chocolate chips. Add ⅓ cup mini chocolate chips (and any optional add-ins). Use your hands to gently work them in without overmixing.
- Chill the mixture. Cover the bowl and refrigerate for 10-15 minutes.
- Roll into balls. Line a baking sheet with parchment paper. Portion about 1 tablespoon of mixture and roll into smooth balls. Place on prepared sheet. Repeat to make 20-24 balls.
- Chill again (optional but recommended). Refrigerate the rolled balls for another 15-20 minutes to set completely.
Notes
Chilling the mixture before rolling is crucial for the balls to hold their shape. For a smoother finish, wet your hands slightly before rolling. These taste even better the next day as flavors meld. Store in an airtight container in the refrigerator for up to 2 weeks, or freeze for up to 3 months.
Nutrition
- Serving Size: 1 ball
- Calories: 120
- Sugar: 7
- Sodium: 85
- Fat: 7
- Saturated Fat: 2
- Carbohydrates: 12
- Fiber: 2
- Protein: 4
Keywords: no-bake, peanut butter, protein balls, healthy snack, easy, gluten-free option, vegan option


