Love this? Save it for later!
Share the inspiration with your friends
I had planned to spend the entire Sunday afternoon roasting a whole bird. You know the drill—brining it overnight, trussing it with twine, worrying about dry breast meat while waiting for the legs to cook through. I was already stressed about the temperature in the kitchen, which was already too warm from the summer heat. I grabbed the wrong pan, a small baking dish instead of the roasting rack, and I was already twenty minutes behind schedule because my neighbor’s dog had decided my fence was the perfect climbing frame. What came out was nothing like the plan—a messy, frantic scramble with boneless thighs that ended up in the air fryer because the oven was too crowded. But honestly, when that timer dinged, the smell of garlic and browned cheese hit me so hard I nearly cried. It wasn’t elegant. It wasn’t what I intended. But it was crispy, juicy, and better than anything I could have planned. That’s how I found myself eating these garlic parmesan chicken thighs straight from the basket, ignoring my guests, and vowing never to go back to the slow roast for a weeknight meal. Maybe you’ve been there, staring at a ruined dinner plan and wondering if you should just order pizza? Don’t. Trust me. This recipe stayed with me because it saved my sanity on a day I was ready to give up.
Why You’ll Love This Recipe
Let’s face it, we all need a dinner that works as hard as we do. This isn’t just another chicken recipe; it’s the result of years of testing every angle of the air fryer to find that sweet spot between crispy skin and juicy meat. I’ve burned more garlic than I care to admit, and I’ve seen cheese turn into hard plastic more times than I can count. But this version? It’s the one that actually works every single time.
Here is why this recipe belongs in your weekly rotation:
- Quick & Easy: It comes together in under 20 minutes, which is perfect for those busy weeknights when you’re tired and hungry. No marinating overnight, no complicated prep.
- Simple Ingredients: No fancy grocery trips needed. You likely already have chicken thighs, parmesan, garlic, and breadcrumbs in your kitchen right now.
- Perfect for Weeknights: Great for busy parents, late workers, or anyone who wants a hot meal without spending hours in the kitchen.
- Crowd-Pleaser: Always gets rave reviews from kids and adults alike. The crispy coating hides the fact that it’s healthy-ish, and the garlic flavor is irresistible.
- Unbelievably Delicious: The texture and flavor combo is next-level comfort food. The crunch of the breadcrumb crust gives way to tender, juicy chicken that falls apart.
What makes this recipe different from the rest is the specific ratio of parmesan to breadcrumbs. Most recipes use too much cheese, which burns before the chicken cooks. I found that mixing the cheese with panko creates a shield that browns perfectly without turning bitter. Whether it is that special technique of patting the chicken dry first, or the perfectly balanced seasoning profile, this isn’t just another version—it’s your best version. This recipe isn’t just good—it’s the kind that makes you close your eyes after the first bite. It’s comfort food reimagined—faster, easier, but with the same soul-soothing satisfaction. Perfect for impressing guests without stress, or turning a simple meal into something memorable.
What Ingredients You Will Need
This recipe uses simple, wholesome ingredients to deliver bold flavor and satisfying texture without the fuss. The magic here is in the coating, which relies on pantry staples you probably already have. I recommend using boneless, skinless chicken thighs because they stay juicier than breasts, especially in the air fryer where the heat is intense.
Here is what you need to gather:
- Chicken Thighs: Boneless, skinless. About 1.5 to 2 pounds. Look for thighs that are roughly the same size so they cook evenly. If they are very large, cut them in half.
- Parmesan Cheese: Freshly grated is best. Pre-shredded cheese contains anti-caking agents that prevent it from melting properly. I prefer BelGioioso or a block of Pecorino for a sharper bite. About 1/2 cup.
- Panko Breadcrumbs: These are crucial for the crunch. Regular breadcrumbs will make the coating soggy. Panko absorbs less oil and stays crispier. About 1 cup.
- Garlic: Fresh minced garlic. Not the stuff in a jar. You need about 4 cloves. Fresh garlic has a brighter, sharper flavor that stands up to the heat.
- Egg: One large egg, beaten. This acts as the glue for the coating. You can use an egg white if you want to save the yolk for another use.
- Olive Oil: Extra virgin olive oil. About 2 tablespoons. This helps the breadcrumbs brown and adds richness.
- Seasonings: Salt, black pepper, and dried Italian herbs. I like a mix of oregano and basil. About 1 teaspoon of each.
- Cornstarch: Just 1 tablespoon. This is my secret weapon. It helps the coating adhere better and adds an extra layer of crispiness.
If you are gluten-sensitive, you can swap the panko for crushed gluten-free crackers or almond flour, though the texture will be slightly different. For a dairy-free option, use nutritional yeast instead of parmesan, but you will miss out on that salty umami punch. In summer, you might want to add some fresh parsley to the mix for a pop of color and freshness.
Equipment Needed
You don’t need much for this recipe, which is half the battle. The star of the show is, obviously, your air fryer. If you don’t have one, you can use an oven, but the texture won’t be the same. I recommend a basket-style air fryer over an oven-style one because the air circulates better around the chicken.
- Air Fryer: Any brand works. I use a Cosori, but Ninja and Philips are also great. Make sure it has enough room for a single layer of chicken.
- Shallow Bowls: You’ll need two shallow bowls for the breading station. One for the egg wash, one for the breadcrumb mixture.
- Meat Mallet or Rolling Pin: Optional, but helpful if your thighs are very thick. Pounding them to an even thickness ensures even cooking.
- Tongs: For flipping the chicken. Metal tongs are best because they are durable and easy to clean.
- Wire Rack: If your air fryer basket doesn’t have holes, a small wire rack can help with air circulation, but it’s not strictly necessary.
If you are using an oven, you will need a baking sheet lined with parchment paper or a wire rack placed over a baking sheet. For budget-friendly options, a simple wire whisk works fine for the egg, and a fork works for mixing the breadcrumbs. Just make sure your air fryer basket is clean before starting; residual grease from previous meals can affect the crispiness.
Preparation Method
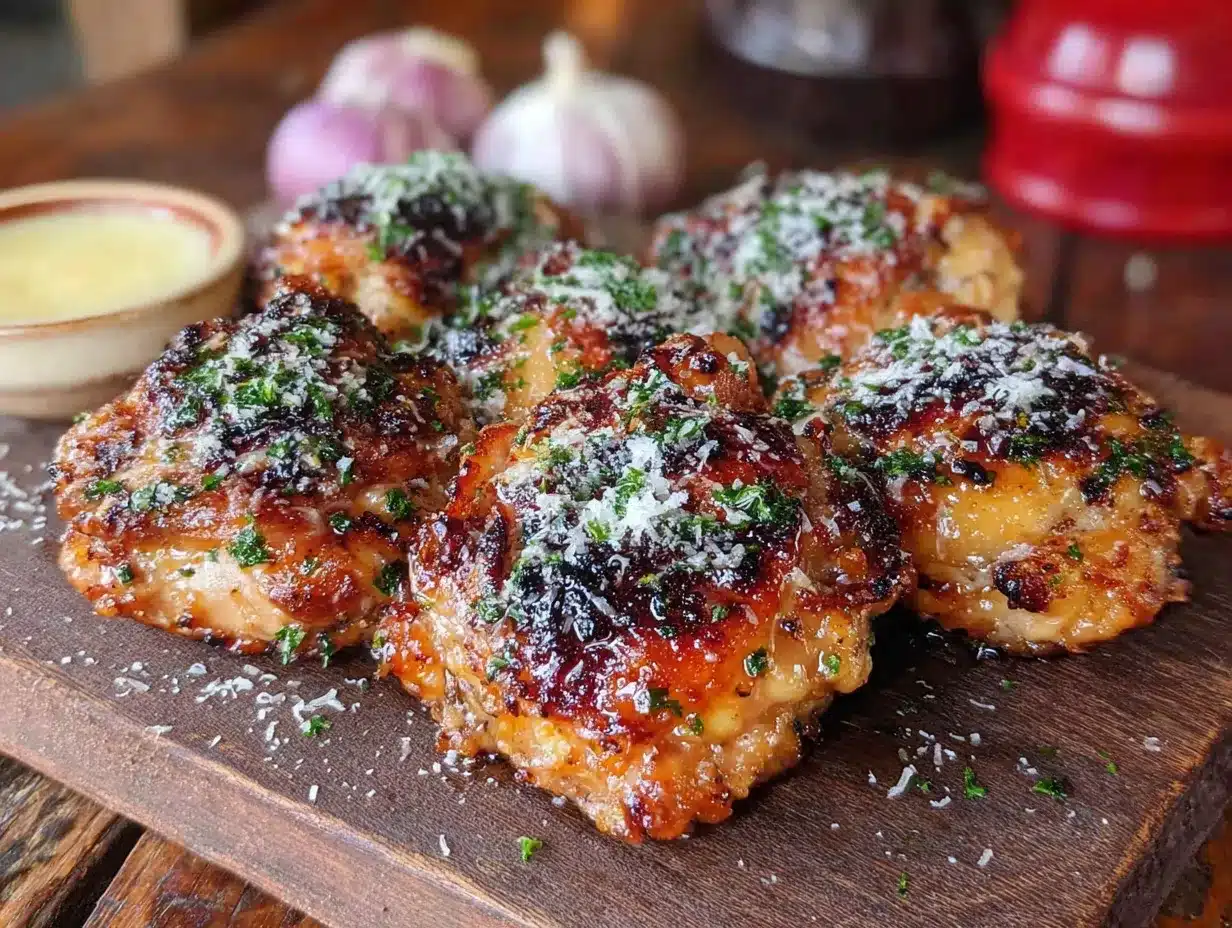
Getting this right is all about prep. If you rush, the coating will slide off. If you take your time, you’ll get that restaurant-quality crunch.
- Prep the Chicken (5 minutes): Start by patting the chicken thighs dry with paper towels. This is non-negotiable. Moisture is the enemy of crispiness. If the chicken is wet, the breading will get soggy. Season both sides lightly with salt and pepper. Set them aside.
- Make the Breadcrumb Mix (2 minutes): In a shallow bowl, combine the panko breadcrumbs, grated parmesan cheese, minced garlic, dried Italian herbs, and the tablespoon of cornstarch. Mix it all together with a fork. You want the garlic and cheese distributed evenly so every bite has flavor.
- Set Up the Breading Station (1 minute): In a second shallow bowl, beat the egg with a fork until it is smooth. Place the breadcrumb mixture and the egg bowl next to each other with the chicken nearby.
- Dredge the Chicken (5 minutes): Pick up a chicken thigh and dip it into the egg wash, making sure it is fully coated. Let any excess egg drip off. Then, press the chicken into the breadcrumb mixture. Use your hands to press the crumbs firmly onto the chicken. Flip it over and coat the other side. Press again. You want a thick, even layer. Don’t be shy with the pressure; if you don’t press, the coating will fall off in the air fryer.
- Preheat the Air Fryer (3 minutes): While you are breading the chicken, preheat your air fryer to 400°F (200°C). This ensures the chicken starts cooking immediately when it goes in, helping to lock in the juices.
- Arrange in the Basket (1 minute): Lightly spray the air fryer basket with olive oil spray. Place the coated chicken thighs in the basket in a single layer. Do not overlap them. If you have a small air fryer, you may need to cook in batches. Overcrowding leads to steaming, not frying.
- Cook (12-15 minutes): Cook the chicken at 400°F (200°C) for 12 to 15 minutes. Flip the chicken halfway through the cooking time. You want the chicken to be golden brown and crispy. The internal temperature should reach 165°F (74°C).
- Rest and Serve (2 minutes): Remove the chicken from the air fryer and let it rest for a couple of minutes. This allows the juices to redistribute. Sprinkle with fresh parsley if you have it, and serve immediately.
Cooking Tips & Techniques
I learned the hard way that not all air fryers are created equal. My first batch came out pale and undercooked because I didn’t account for my specific model’s hot spots. Here is how to avoid those pitfalls.
First, always preheat your air fryer. It sounds like an extra step, but it makes a huge difference in the texture of the coating. Second, don’t skip the paper towel step. I once tried to save time and skipped drying the chicken, and the result was a soggy, messy disaster. The coating slid right off in the basket. Pat it dry. Then pat it dry again.
When you are pressing the breadcrumbs onto the chicken, use your fingertips to create a rough surface. This increases the surface area for the crumbs to stick to. Also, if your chicken thighs are very thick, consider pounding them slightly. This ensures they cook through before the outside burns.
Timing is everything. Check your chicken at the 10-minute mark. If it looks like it’s browning too quickly, lower the temperature by 25°F and cook for a few more minutes. Every air fryer runs differently. Use a meat thermometer if you have one. Visual cues are good, but an internal temperature of 165°F is the only way to be sure.
Another pro tip: lightly spray the coated chicken with olive oil before cooking. This helps the breadcrumbs turn a beautiful golden brown. Without it, they might stay pale and look undercooked.
Variations & Adaptations
This recipe is a canvas, not a rigid rulebook. Here are a few ways to make it your own.
For a spicy kick, add red pepper flakes to the breadcrumb mixture. Or swap the Italian herbs for cajun seasoning. If you love heat, serve with a spicy aioli for dipping.
For a lighter version, you can skip the egg wash and use a light spray of olive oil on the chicken, then press the breadcrumbs directly onto the oiled surface. It won’t be as thick, but it will be lower in calories.
If you are dairy-free, use nutritional yeast instead of parmesan. It has a similar cheesy, nutty flavor. You can also use almond flour instead of panko for a low-carb option, though the texture will be more like a crust than a crunch.
I once tried using chicken breasts instead of thighs, and while they worked, they dried out faster. If you must use breasts, reduce the cooking time by 2-3 minutes and watch them closely.
For a different flavor profile, try using lemon pepper seasoning instead of Italian herbs. The citrus notes pair beautifully with the garlic and parmesan.
Serving & Storage Suggestions
These chicken thighs are best served hot and crispy. I like to serve them with a side of roasted asparagus or a simple green salad with a lemon vinaigrette. The acidity of the salad cuts through the richness of the cheese and chicken perfectly.
For storage, let the chicken cool completely before placing it in an airtight container. It will keep in the refrigerator for up to 3 days. To reheat, place the chicken in the air fryer at 350°F for 3-4 minutes. This restores the crispiness. If you use a microwave, the coating will get soggy, so avoid it if possible.
You can also freeze the breaded chicken before cooking. Place the coated thighs on a baking sheet and freeze them solid. Then transfer them to a freezer bag. When you are ready to cook, add 2-3 minutes to the cooking time.
The flavors develop over time, but the texture is always best fresh. If you make a big batch, consider freezing some for busy weeknights later in the month.
Nutritional Information & Benefits
This recipe is a great source of protein, which is essential for muscle repair and satiety. Chicken thighs provide iron and zinc, which support immune function. The parmesan adds calcium, which is good for bone health.
One serving (2 thighs) contains approximately 350-400 calories, depending on the size of the thighs and the amount of oil used. It is relatively low in carbohydrates if you use panko sparingly. For those watching their sodium, be mindful of the salt in the parmesan and the added seasoning.
This recipe is not gluten-free unless you use gluten-free breadcrumbs. It is also not dairy-free. But for most people, it is a balanced, satisfying meal that doesn’t leave you feeling heavy or sluggish.
Conclusion
This recipe is worth trying because it turns a simple ingredient into something extraordinary with minimal effort. I love it because it brings me back to that chaotic Sunday, but with a sense of pride instead of stress. It’s proof that sometimes the best meals come from happy accidents.
I encourage you to try this recipe and customize it to your taste. Add more garlic if you love it. Swap the herbs. Serve it with your favorite sides. And please, share your results with me. I love seeing how you adapt these recipes to your own kitchens.
So, go ahead. Fire up that air fryer. Your future self will thank you.
FAQs
Can I use chicken breasts instead of thighs?
Yes, but they cook faster and can dry out. Reduce the cooking time by 2-3 minutes and check the internal temperature frequently.
Do I need to preheat the air fryer?
It is highly recommended. Preheating ensures the chicken starts cooking immediately, which helps the coating crisp up rather than slide off.
Can I cook this in the oven?
Yes, bake at 400°F on a wire rack for 20-25 minutes. The texture won’t be as crispy as the air fryer, but it will still be delicious.
How do I keep the coating from falling off?
Pat the chicken dry, press the crumbs firmly onto the egg wash, and don’t overcrowd the air fryer basket.
Can I freeze the cooked chicken?
It is best eaten fresh. If you freeze it, the coating may lose some crispiness upon reheating. Reheat in the air fryer to restore texture.
Pin This Recipe!
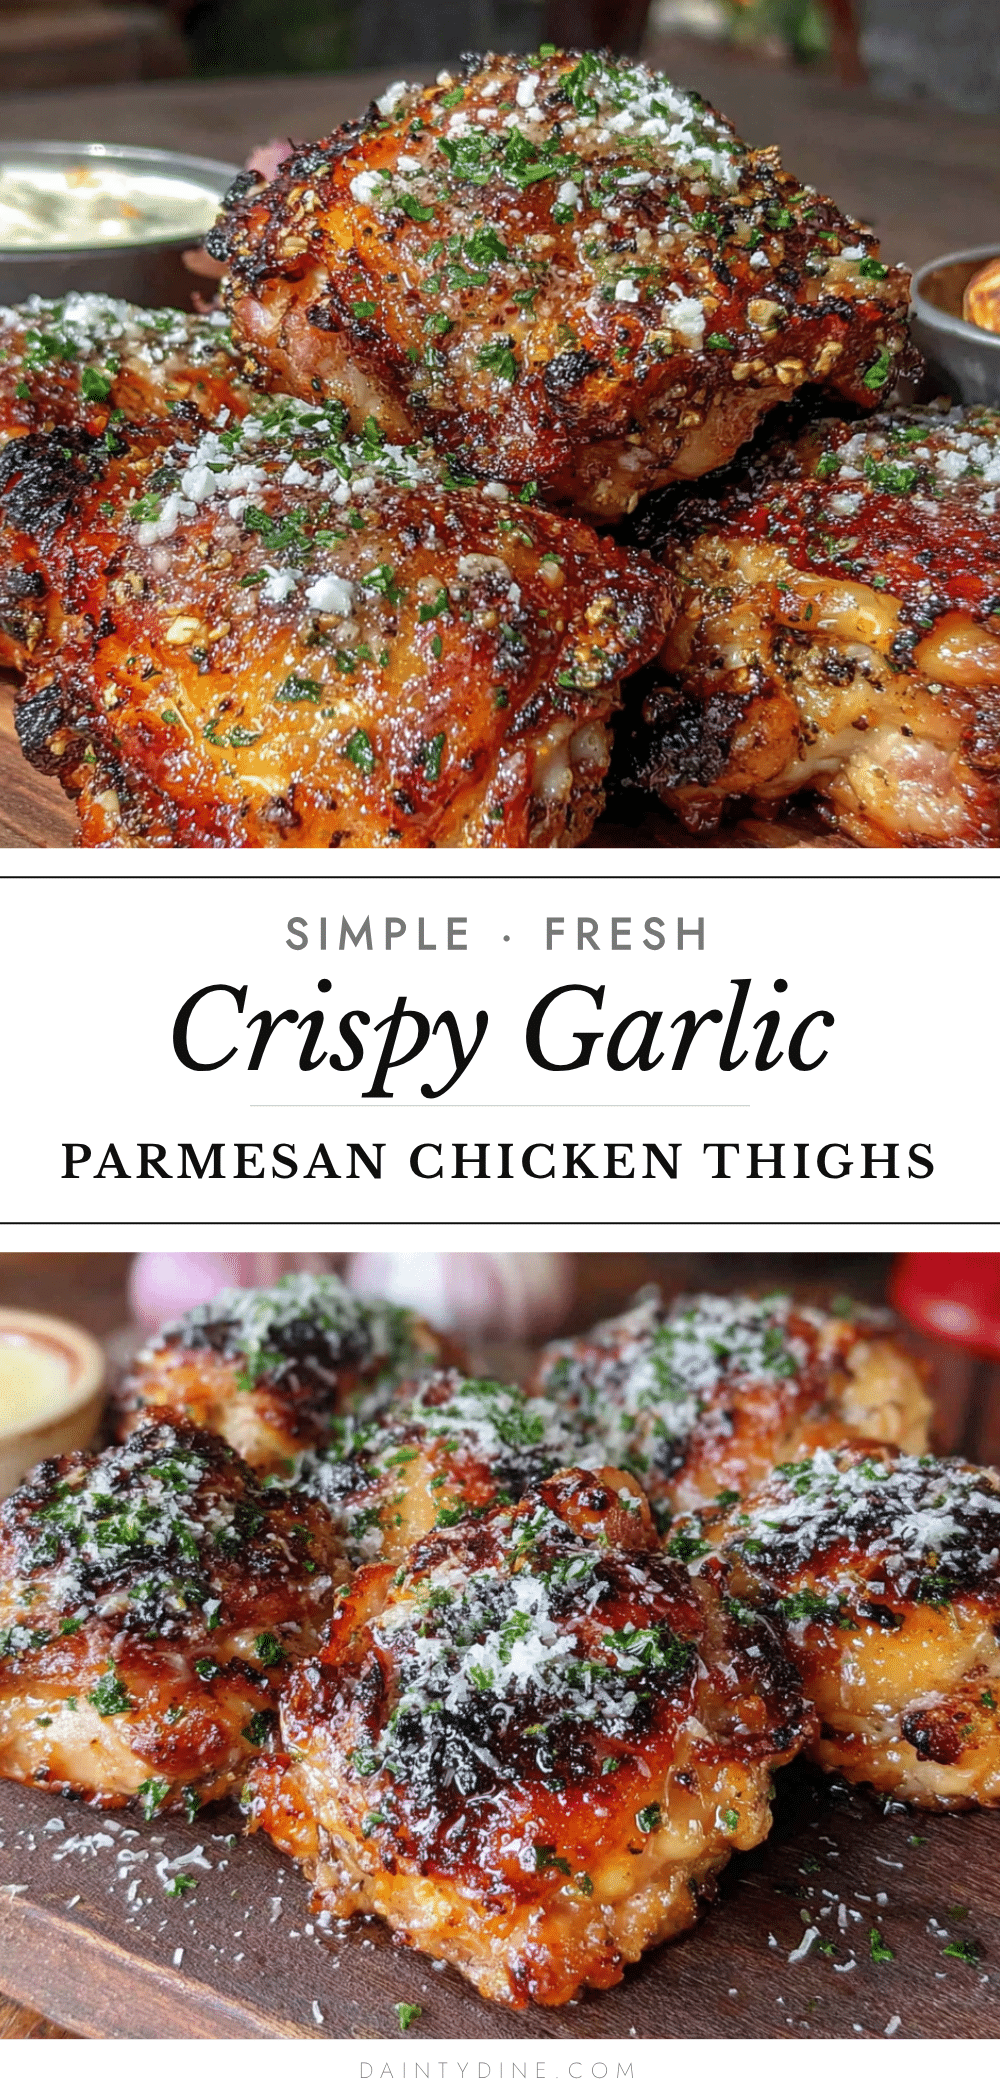
Crispy Air Fryer Garlic Parmesan Chicken Thighs

A quick and easy weeknight dinner featuring juicy boneless chicken thighs coated in a crispy mixture of panko breadcrumbs, parmesan cheese, and garlic, cooked to perfection in an air fryer.
- Prep Time: 15 minutes
- Cook Time: 15 minutes
- Total Time: 30 minutes
- Yield: 4 servings 1x
- Category: Main Course
- Cuisine: American
Ingredients
- 1.5 to 2 pounds boneless, skinless chicken thighs
- 1/2 cup freshly grated Parmesan cheese
- 1 cup Panko breadcrumbs
- 4 cloves fresh garlic, minced
- 1 large egg, beaten
- 2 tablespoons extra virgin olive oil
- 1 teaspoon salt
- 1 teaspoon black pepper
- 1 teaspoon dried Italian herbs (oregano and basil)
- 1 tablespoon cornstarch
Instructions
- Pat the chicken thighs dry with paper towels to ensure crispiness. Season both sides lightly with salt and pepper.
- In a shallow bowl, combine the panko breadcrumbs, grated parmesan cheese, minced garlic, dried Italian herbs, and cornstarch. Mix well.
- In a second shallow bowl, beat the egg until smooth.
- Dredge each chicken thigh in the egg wash, letting excess drip off. Then press firmly into the breadcrumb mixture, coating both sides evenly. Press again to ensure the coating adheres.
- Preheat the air fryer to 400°F (200°C).
- Lightly spray the air fryer basket with olive oil spray. Arrange the coated chicken thighs in a single layer, ensuring they do not overlap.
- Cook at 400°F (200°C) for 12-15 minutes, flipping the chicken halfway through. The chicken is done when golden brown and the internal temperature reaches 165°F (74°C).
- Remove from the air fryer and let rest for 2 minutes before serving. Garnish with fresh parsley if desired.
Notes
Ensure chicken thighs are patted completely dry before breading to prevent soggy coating. Do not overcrowd the air fryer basket; cook in batches if necessary. For a gluten-free option, swap panko for gluten-free breadcrumbs or almond flour. For dairy-free, use nutritional yeast instead of parmesan.
Nutrition
- Serving Size: 2 thighs per serving
- Calories: 375
- Sugar: 1
- Sodium: 450
- Fat: 22
- Saturated Fat: 7
- Carbohydrates: 18
- Fiber: 1
- Protein: 25
Keywords: air fryer chicken, garlic parmesan chicken, crispy chicken thighs, quick weeknight dinner, easy chicken recipe, healthy air fryer meals


