Love this? Save it for later!
Share the inspiration with your friends
My sister-in-law, Clara, had claimed to hate meringue for three decades. She said it was too sweet, too airy, and essentially just sugar dusting the roof of your mouth. Then, last Tuesday, I made this version just for myself while she was distracted by her phone. I caught her reaching for the third cookie before I even set the plate down on the counter.
She didn’t say anything at first, which is her usual style. But then I saw the chocolate chip eyes smeared slightly on her chin. That was the crack in her armor. She wiped her mouth, looked at me, and admitted that maybe she was wrong about meringue being boring.
Honestly, I wasn’t surprised. These crispy ghost meringue cookies with chocolate chip eyes are the kind of treat that changes minds. They aren’t just sweet clouds; they have a serious crunch that shatters when you bite them. The texture is what gets people, not just the sugar.
Clara has been making them for her own kids ever since. She claims she still hates meringue, but her grocery list says otherwise. I mean, that is the highest compliment I can give. It turns a simple dessert into a Halloween ritual for our family.
You know that feeling when you make something simple and it just works? This is it. It’s spooky, it’s cute, and it’s dangerously easy. You might have been there, standing in front of your oven wondering what to bring to a party. This solves that problem instantly.
The best part is how little effort it takes. You whip egg whites, you pipe them, you bake them low and slow. It feels like magic, but it’s just chemistry. And the chocolate chip eyes add that little bit of personality that makes them perfect for sharing.
I keep making them because they bring people together. Whether it’s Clara’s skeptical conversion or my neighbor’s kids going wild over the ghost shapes, this recipe stays with you. It’s not just food; it’s a moment.
Why You’ll Love This Recipe
Let’s be real for a second. Most meringue recipes feel like a lot of work for a little reward. You worry about deflating, you worry about humidity, and you worry about them being too hard to eat. This crispy ghost meringue cookies with chocolate chip eyes recipe skips all that drama. It’s designed for people who want a impressive-looking treat without the stress.
- Quick & Easy: The prep time is barely five minutes. You just whip, pipe, and bake. It’s perfect for busy weeknights or when you need a last-minute Halloween party favor.
- Simple Ingredients: You likely already have egg whites, sugar, and chocolate chips in your kitchen. No fancy grocery trips needed. This is pantry-friendly cooking at its best.
- Perfect for Halloween: They are spooky, cute, and totally kid-approved. They fit any October celebration, from classroom parties to trick-or-treating exchanges.
- Crowd-Pleaser: Adults love the crispiness, and kids love the ghost shape. It’s one of those rare treats that gets rave reviews from every age group.
- Unbelievably Delicious: The texture is next-level. It’s not just soft; it’s a satisfying crunch that melts away. The chocolate chip eyes add a salty-sweet contrast that keeps you coming back.
What makes this recipe different is the baking technique. We bake them low and slow to ensure that maximum crispiness, avoiding the chewy center that ruins so many meringues. It’s a small tweak that makes a huge difference.
Plus, the chocolate chip eyes are a creative twist. They add character. It’s not just a plain white cookie; it’s a little ghost with personality. This isn’t just another version—it’s the best version because it’s foolproof.
It’s the kind of recipe that makes you close your eyes after the first bite. It’s comfort food reimagined for Halloween. You can impress guests without stress, or just enjoy a quiet cookie with your coffee. It’s soul-soothing satisfaction in a tiny package.
What Ingredients You Will Need
This recipe uses simple, wholesome ingredients to deliver bold flavor and satisfying texture without the fuss. The beauty of meringue is how few components it needs. You don’t need butter, flour, or fancy extracts. Just a few staples can create something magical.
Most of these items are pantry staples or freezer essentials. If you don’t have egg whites on hand, you can separate fresh eggs or use carton egg whites for convenience. For the chocolate chips, semi-sweet or milk chocolate both work well, depending on your sweetness preference.
- Egg Whites: 3 large egg whites, room temperature. Room temperature whites whip up faster and get more volume. I recommend using fresh eggs for the best stability, but carton whites work in a pinch.
- Granulated Sugar: ¾ cup (150g). Fine granulated sugar dissolves better than coarse sugar. This ensures a smooth texture without grittiness.
- Cream of Tartar: ¼ teaspoon. This stabilizes the egg whites. It’s cheap and easy to find. It prevents the meringue from collapsing.
- Vanilla Extract: ½ teaspoon. Pure vanilla adds depth. Avoid imitation vanilla if you can help it; it tastes artificial in delicate desserts.
- Chocolate Chips: 2 tablespoons, mini size preferred. Mini chips are easier to work with for eyes. They melt slightly faster, making them easier to stick.
- Optional: White Candy Melts: A small amount for piping details. If you want to add a mouth or nose, candy melts are great. They hold their shape well.
I personally prefer Barry’s White Chocolate chips for a cleaner white look, but any brand works. For the sugar, I use Domino because it’s consistently fine. If you want a gluten-free option, just ensure your chocolate chips are certified gluten-free, as some brands process them in facilities with wheat.
For seasonal variations, you can swap chocolate chips for white chocolate chunks for a pure white ghost. Or use orange candy melts for a pumpkin face. The base recipe stays the same, but the decoration changes the vibe completely.
Equipment Needed
You don’t need a fancy kitchen to make these. A few basic tools are all you need to get professional results. Having the right equipment makes the process smoother and less stressful.
- Mixing Bowl: A large glass or metal bowl. Glass is best because it’s easy to clean and ensures no grease remains. Even a tiny bit of grease can stop egg whites from whipping.
- Electric Mixer: A hand mixer or stand mixer with a whisk attachment. Hand mixers are fine, but a stand mixer saves your arms. It ensures consistent speed and aeration.
- Piping Bags:
- Baking Sheets: Two standard baking sheets. Line them with parchment paper or silicone mats. Parchment paper helps with cleanup and prevents sticking.
- Spatula: A rubber spatula for scraping down the bowl. This ensures you use all the mixture and don’t lose any volume.
If you don’t have a mixer, you can use a whisk, but it will take much longer and more arm strength. For budget-friendly options, a basic hand mixer from a discount store works perfectly fine. Just make sure the beaters are clean and dry.
For specialty equipment, a kitchen scale is helpful for measuring sugar accurately. But if you don’t have one, use measuring cups and level them off. Consistency is key, so try to be precise with your measurements.
Preparation Method
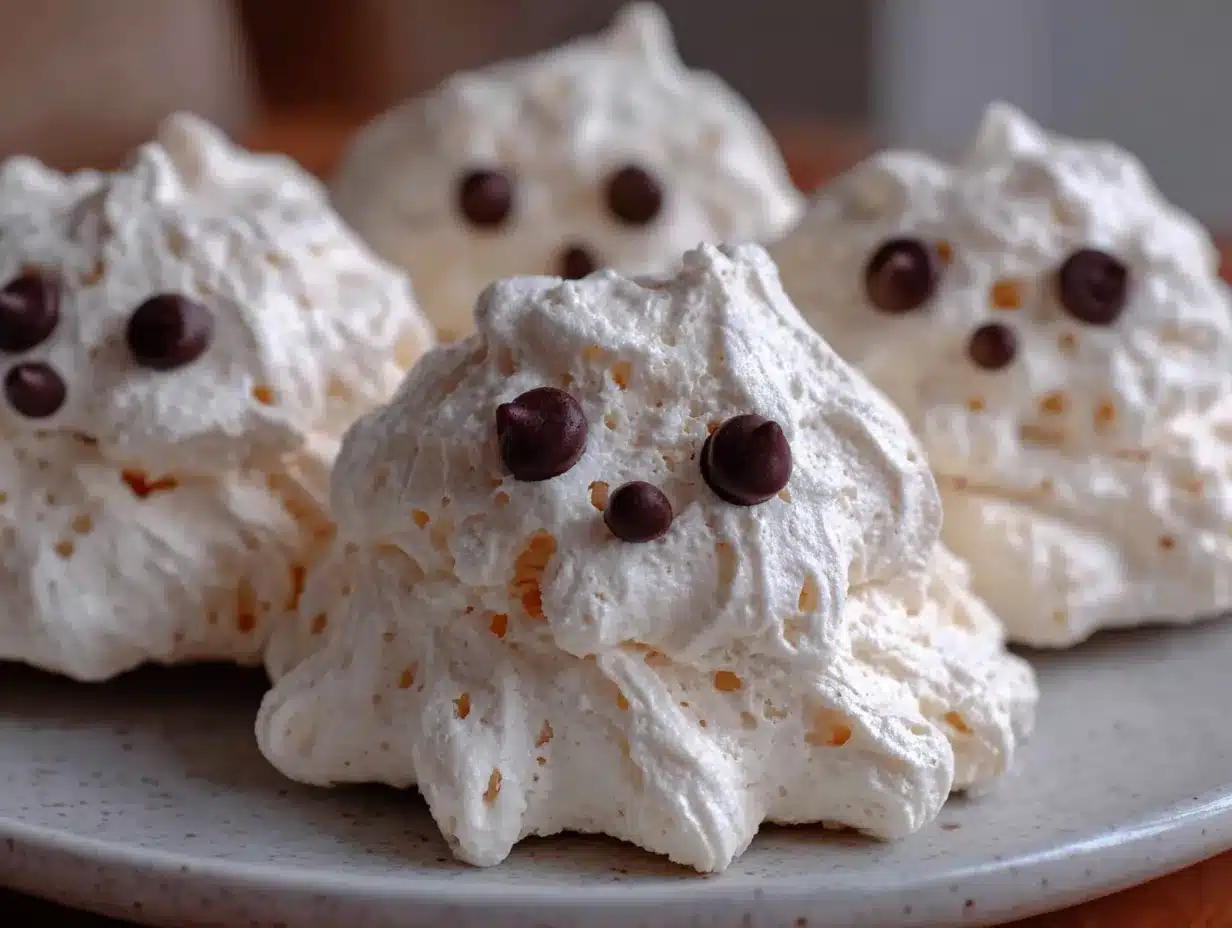
Getting started is the easiest part. The key is to be organized before you begin whipping. Have your baking sheets lined and your chocolate chips ready. This prevents any panic when the meringue is done.
- Preheat and Prep: Preheat your oven to 200°F (95°C). This low temperature is crucial. It dries out the meringue without browning it. Line two baking sheets with parchment paper. Set aside.
- Whip the Egg Whites: In a clean, dry bowl, beat the 3 egg whites on medium speed until foamy. This takes about one minute. Add the cream of tartar. It helps stabilize the whites. Continue beating until soft peaks form.
- Add Sugar Gradually: While the mixer is running, slowly add the ¾ cup of sugar, one tablespoon at a time. This is important. Adding it too fast can break the foam. Beat on high speed until stiff, glossy peaks form. This takes about 5-7 minutes total. The mixture should hold its shape when you lift the beaters.
- Add Vanilla: Turn off the mixer and stir in the vanilla extract with a spatula. Do this gently to keep the air in. Fold it in just until combined. Overmixing can deflate the meringue.
- Pipe the Ghosts: Spoon the mixture into the piping bag. Pipe round mounds onto the baking sheets. For a ghost shape, pipe a round base and then a smaller round on top. Or just make simple circles. Leave space between them as they don’t spread much.
- Bake: Place the sheets in the oven. Bake for 90 minutes to 2 hours. The meringues should be dry to the touch. They should lift off the parchment paper easily. If they stick, they need more time. Turn off the oven and let them cool inside with the door cracked. This prevents cracking.
- Add Eyes: Once cooled, melt the chocolate chips. You can do this in the microwave in 15-second intervals, stirring in between. Use a toothpick to place two small dots on each cookie for eyes. Let them set for 5 minutes.
If the meringues feel soft, they aren’t done. Humidity can affect baking, so be patient. If they crack, it’s usually from cooling too fast. The slow cool-down in the oven helps prevent this.
For efficiency, you can pipe all the ghosts at once. Then bake them in batches if your oven is small. Just make sure the oven temperature is stable. Use an oven thermometer to check if your oven is accurate.
Cooking Tips & Techniques
There are a few tricks to getting that perfect crunch. I’ve learned these the hard way, through some failed batches and sticky messes. Here’s how to avoid common pitfalls.
Grease is the Enemy: Make sure your bowl and beaters are completely free of oil. Even a drop of yolk can ruin the whip. Wipe the bowl with vinegar if you’re worried. It removes any hidden residue.
Room Temperature Whites: Cold egg whites don’t whip as well. Take them out of the fridge 30 minutes before you start. This saves time and ensures better volume.
Don’t Rush the Sugar: Adding sugar too quickly is the most common mistake. It creates large crystals that don’t dissolve. Take your time. The mixture should look like marshmallow fluff.
Low and Slow: Do not increase the temperature. High heat will brown the meringues and leave them chewy inside. The low temp dries them out. It’s worth the wait.
Cooling is Key: Letting them cool in the turned-off oven prevents thermal shock. This keeps them smooth and crack-free. It’s a small step that makes a big difference in appearance.
I once tried to bake them at 300°F to save time. They turned brown and chewy. Don’t make my mistake. Patience is the secret ingredient. Also, if your kitchen is humid, bake on a dry day. Humidity makes meringues sticky.
Multitasking strategies help too. While they bake, you can melt the chocolate. Just keep an eye on the oven. Set a timer. You don’t want to forget them and burn the house down.
Consistency comes with practice. The first time might not be perfect. That’s okay. The taste is still good. But with each batch, you’ll get better at judging the peaks and the dryness.
Variations & Adaptations
One of the best things about this recipe is how easy it is to change up. You can adapt it for different diets, seasons, or tastes. Here are some ideas to try.
Gluten-Free: This recipe is naturally gluten-free. Just ensure your chocolate chips are certified gluten-free. Some brands use shared equipment. Check the label to be safe.
Dairy-Free: Use dairy-free chocolate chips. There are many brands that use coconut oil or other alternatives. They melt similarly and taste great. The rest of the recipe is already dairy-free.
Flavor Variations: Add a drop of food coloring to the egg whites for colored ghosts. Pink, purple, or orange work well for Halloween. Or swap vanilla for almond extract for a different flavor profile. It pairs nicely with the chocolate.
Seasonal Swaps: In spring, use pastel-colored sprinkles instead of chocolate eyes. For Christmas, use red and green candy melts. The base recipe stays the same, but the decoration changes the holiday vibe.
Allergen Substitutions: If you have an egg allergy, this recipe won’t work. Meringue relies on egg whites. There are no good substitutes for the structure. But for others, it’s very flexible.
I once tried adding cocoa powder to the mixture for chocolate ghosts. It changed the texture, making it denser. It was good, but not as crispy. Stick to the white version for the best crunch.
You can also add nuts to the mixture. Chopped hazelnuts or almonds add a nice texture. Just fold them in gently at the end. It turns the cookie into a macaron-like treat.
For a healthier option, use coconut sugar instead of white sugar. It has a lower glycemic index. The flavor will be slightly caramel-like. It’s a nice twist for health-conscious friends.
Serving & Storage Suggestions
These cookies are best served at room temperature. The crunch is at its peak when they are fully cooled. Do not serve them warm, as they might be too soft.
For presentation, arrange them on a platter with other Halloween treats. They look great next to candy corn or small pumpkins. The white ghosts stand out against dark backgrounds.
Pair them with a cold glass of milk or a hot cup of coffee. The crunch contrasts nicely with the liquid. It’s a classic combo that never fails.
Storage: Store the cookies in an airtight container at room temperature. They will stay crisp for up to two weeks. If they get soft, it’s likely due to humidity. Put them in the oven at 200°F for 10 minutes to crisp them back up.
Freezing: You can freeze the plain meringues for up to three months. Thaw them at room temperature before adding the eyes. This is great for meal prepping. Make them in advance for parties.
Reheating: If you want them warm, microwave for 5 seconds. But be careful, they can melt quickly. The chocolate eyes might run if you overdo it.
The flavors develop over time. The sugar crystallizes slightly, making them even crunchier. Letting them sit for a day can improve the texture. It’s worth the wait.
Avoid storing them near strong-smelling foods. Meringues absorb odors easily. Keep them in a sealed container to maintain their pure sweetness.
Nutritional Information & Benefits
These cookies are light and airy, making them a lower-calorie option compared to dense cakes or brownies. However, they are primarily sugar, so enjoy them in moderation.
Each cookie contains roughly 15-20 calories, depending on the size. They are fat-free and gluten-free. This makes them suitable for many dietary restrictions, except for egg allergies.
The egg whites provide a small amount of protein. It’s not a lot, but it’s better than nothing. The chocolate chips add a bit of iron and magnesium, though the amount is minimal.
For those watching their sugar intake, these might not be the best choice. But for a special treat, they are a guilt-free indulgence. The portion control is easy since they are small.
Personally, I find them to be a mindful treat. You savor each bite because of the crunch. It slows down your eating, which can help with digestion. It’s a simple pleasure that doesn’t weigh you down.
Always check the labels of your ingredients for allergens. If you have specific dietary needs, consult a nutritionist. This recipe is a fun treat, not a health food.
Conclusion
These crispy ghost meringue cookies with chocolate chip eyes are a Halloween must-try. They are easy, fun, and delicious. You don’t need to be a pro baker to make them. Just follow the steps and have fun.
Feel free to customize them. Add sprinkles, change the colors, or make different shapes. The base recipe is flexible. Make it your own. I love making them because they bring joy. Seeing kids’ faces light up is worth every minute.
Give them a try this season. Share them with friends and family. I’d love to hear how they turn out for you. Leave a comment below with your variations. Did you add food coloring? Did you use mini chips? Let me know!
Happy baking, and happy Halloween. Enjoy every crunchy bite.
FAQs
Why are my meringues chewy instead of crispy?
This usually means they weren’t baked long enough or the temperature was too high. Make sure to bake them at 200°F (95°C) for at least 90 minutes. They should be dry to the touch and lift easily from the parchment paper.
Can I use carton egg whites instead of fresh eggs?
Yes, you can. Carton egg whites work well and are convenient. However, fresh egg whites might give you slightly more volume. If using carton whites, make sure they are at room temperature.
How do I prevent the meringues from deflating?
Ensure your bowl and beaters are completely clean and free of grease. Add the sugar gradually while beating. Overmixing after adding the sugar can also deflate the mixture. Fold in the vanilla gently.
Can I make these gluten-free?
Yes, this recipe is naturally gluten-free. Just ensure your chocolate chips are certified gluten-free, as some brands may have cross-contamination. The rest of the ingredients are safe.
How long do these cookies last?
They stay crisp for up to two weeks when stored in an airtight container at room temperature. If they become soft due to humidity, you can crisp them up in the oven at 200°F for 10 minutes.
Pin This Recipe!
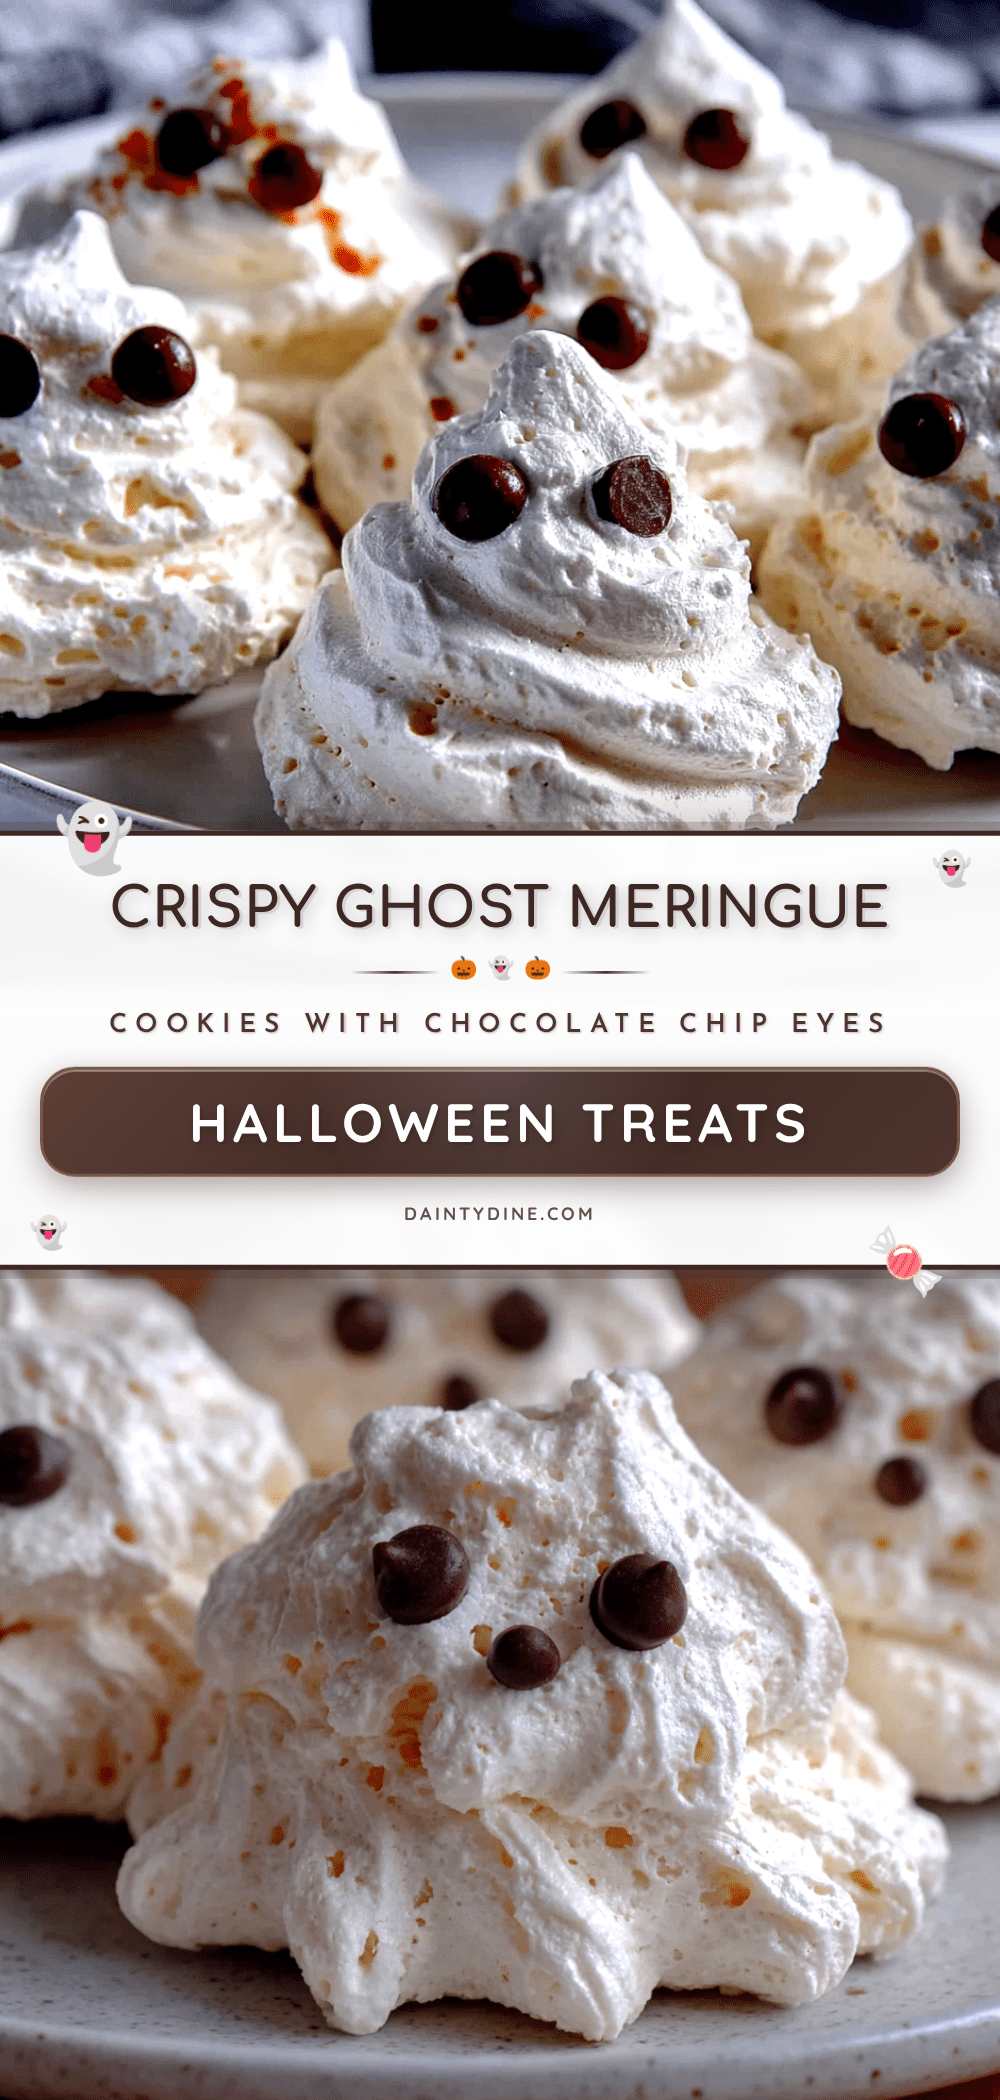
Crispy Ghost Meringue Cookies: 5-Minute Halloween Treat

These spooky and cute ghost-shaped meringue cookies are a simple, crispy Halloween treat. With a satisfying crunch and chocolate chip eyes, they are easy to make and perfect for parties.
- Prep Time: 5 minutes
- Cook Time: 90-120 minutes
- Total Time: 2 hours 5 minutes
- Yield: Approximately 12-15 cookies 1x
- Category: Dessert
- Cuisine: American
Ingredients
- 3 large egg whites, room temperature
- ¾ cup (150g) granulated sugar
- ¼ teaspoon cream of tartar
- ½ teaspoon vanilla extract
- 2 tablespoons mini chocolate chips
- Optional: White candy melts for piping details
Instructions
- Preheat oven to 200°F (95°C). Line two baking sheets with parchment paper.
- In a clean, dry bowl, beat egg whites on medium speed until foamy (about 1 minute). Add cream of tartar and beat until soft peaks form.
- With mixer running, slowly add sugar one tablespoon at a time. Beat on high speed until stiff, glossy peaks form (5-7 minutes).
- Turn off mixer and gently fold in vanilla extract with a spatula.
- Spoon mixture into a piping bag with a round tip. Pipe round mounds onto baking sheets to form ghost shapes.
- Bake for 90 minutes to 2 hours until dry to the touch and lifting easily from parchment. Turn off oven and let cool inside with door cracked.
- Melt chocolate chips in microwave in 15-second intervals. Use a toothpick to place two dots on each cooled cookie for eyes. Let set for 5 minutes.
Notes
Ensure all equipment is completely free of grease or yolk to ensure proper whipping. Bake low and slow to prevent browning and ensure crispiness. Cool slowly in the turned-off oven to prevent cracking. Store in an airtight container to maintain crispness.
Nutrition
- Serving Size: 1 cookie
- Calories: 18
- Sugar: 4
- Carbohydrates: 4
Keywords: Halloween, meringue, cookies, ghost, crispy, easy dessert, gluten-free, party treat