Love this? Save it for later!
Share the inspiration with your friends
It was 10:47 PM on a random Wednesday in September, and I was hit with the very specific need to make something that looked like a craft project but tasted like butter and sugar. I didn’t have any fancy candy melts or piping bags, but I had a bag of marshmallows, a box of cereal, and a half-eaten bag of candy corn sitting in the back of the pantry from last Halloween. Honestly, I wasn’t even sure if candy corn could be melted into something edible, or if it would just turn into a sugary disaster. But that’s the thing about late-night cooking—you stop overthinking and just go for it.
I dumped the marshmallows in a pot, tossed in a ridiculous amount of butter, and then, on a whim, stirred in a handful of candy corn right at the end. The result? These weirdly beautiful, striped bars that looked like someone had dipped them in orange and yellow magic. They weren’t perfect—some of the candy corn bled into the marshmallow, creating a sort of tie-dye effect—but man, they tasted like pure nostalgia. My kitchen smelled like a county fair, and I stood there eating a warm, sticky piece straight from the pan, feeling like I’d just discovered fire.
Maybe you’ve been there—standing in your kitchen late at night, staring at random ingredients, and wondering if they could become something more than the sum of their parts. That’s how this recipe was born. It’s not complicated, it’s not fancy, but it’s the kind of treat that makes you smile before you even take a bite. And honestly, I’ve been making them every fall since. They’re just too fun not to share.
Why You’ll Love This Recipe
Let me tell you why these Easy Candy Corn Rice Krispie Treats are going to become your new fall obsession. I’ve tested this recipe about six times (yes, I ate six pans of these, and no, I don’t regret it), and I’ve nailed down the exact method to get those perfect tri-color stripes without the candy corn turning into a sticky mess.
- Quick & Easy: You’re looking at about 15 minutes of active work. Seriously. Melt, stir, press, cool. That’s it.
- Simple Ingredients: Butter, marshmallows, Rice Krispies cereal, and candy corn. You probably have three of those things right now.
- Perfect for Halloween: These are the star of any Halloween party, classroom treat, or spooky movie night. They look festive without requiring any decorating skills.
- Crowd-Pleaser: Kids go absolutely bonkers for them, and adults secretly love them too. They’re nostalgic and fun.
- Unbelievably Delicious: The combination of crispy cereal, gooey marshmallow, and that slightly waxy, super-sweet candy corn is next-level comfort food. It’s like eating a handful of Halloween candy mixed with a Rice Krispie treat—but better.
What makes this recipe different from every other Rice Krispie treat out there is the layering technique. Instead of just mixing everything together and hoping for the best, we’re building actual stripes. It’s not hard, I promise. You just need a little patience and a hot spatula. The result is a treat that looks like you spent hours on it, when really, you just watched one episode of a show and called it done.
This recipe isn’t just good—it’s the kind that makes you close your eyes after the first bite. It’s comfort food reimagined: faster, cuter, and with the same soul-soothing satisfaction. Perfect for impressing guests without stress, or turning a simple Tuesday night into something memorable.
What Ingredients You Will Need
This recipe uses simple, pantry-friendly ingredients to deliver bold flavor and festive fun without the fuss. Most of these are probably already in your kitchen, especially if you’ve got a bag of candy corn lurking somewhere.
- Unsalted butter – 6 tablespoons (84 grams). Use unsalted so you can control the salt level. I prefer Kerrygold for its rich flavor, but any brand works fine.
- Mini marshmallows – 10 ounces (about 5 cups or 283 grams). Mini marshmallows melt faster and more evenly than the big ones. If you only have jumbo, chop them up first.
- Rice Krispies cereal – 6 cups (180 grams). Stick with the original for the best crunch. Generic puffed rice cereal works too, but the texture might be slightly different.
- Candy corn – 1 cup (about 200 grams). Use fresh candy corn—stale ones are hard and won’t soften properly. I like Brach’s, but store brands work just fine.
- Vanilla extract – 1 teaspoon (optional, but recommended). It rounds out the sweetness and adds warmth.
- Salt – ¼ teaspoon. A little salt balances the sugar and makes the flavors pop.
- Orange and yellow food coloring – Optional, for more vibrant stripes. I use gel food coloring because it doesn’t thin out the marshmallow mixture.
For the layering, you’ll also need a small amount of extra butter or non-stick spray for greasing your hands and the spatula. Trust me, this is not optional—marshmallow mixture is sticky business.
Ingredient selection tip: Look for candy corn that’s soft and pliable when you squeeze it. If it’s rock hard, it’s past its prime and won’t melt into the treats nicely. Also, if you’re gluten-free, double-check your Rice Krispies—some countries use malt flavoring that contains gluten. In the US, the original is gluten-free, but always read the label.
Substitution guidance: You can use vegan butter and vegan marshmallows (like Dandies) to make these dairy-free. For a nut-free version, you’re already good—Rice Krispies are typically nut-free, but check your specific brand.
Equipment Needed
You don’t need a fancy kitchen to pull these off. Here’s what you’ll need:
- Large pot or Dutch oven – At least 5 quarts. You need room to stir the cereal into the marshmallow without making a mess.
- Rubber spatula or wooden spoon – Silicone spatulas work best because they don’t scratch your pot and they’re easy to clean.
- 9×13-inch baking pan – This gives you the perfect thickness. If you want thicker treats, use an 8×8-inch pan.
- Parchment paper – Lining the pan is a game-changer. It lifts right out, no greasing needed.
- Sharp knife or bench scraper – For clean cuts. A serrated knife works too, but a bench scraper gives you those perfect edges.
- Measuring cups and spoons – For accuracy. Eyeballing marshmallows is a recipe for disaster.
- Small bowl – For holding your candy corn while you work.
- Non-stick spray or extra butter – For greasing your spatula and hands. You will thank me later.
I’ve made these with a cheap dollar-store spatula and a warped baking pan, and they still turned out great. Don’t stress about having the perfect tools—just make do with what you’ve got. If you don’t have a 9×13 pan, use a rimmed baking sheet and shape the mixture into a rectangle with your hands (greased, of course).
One tip: if you use a glass pan, let the treats cool completely before cutting. Glass holds heat longer, and cutting too early will leave you with a sticky mess.
Preparation Method
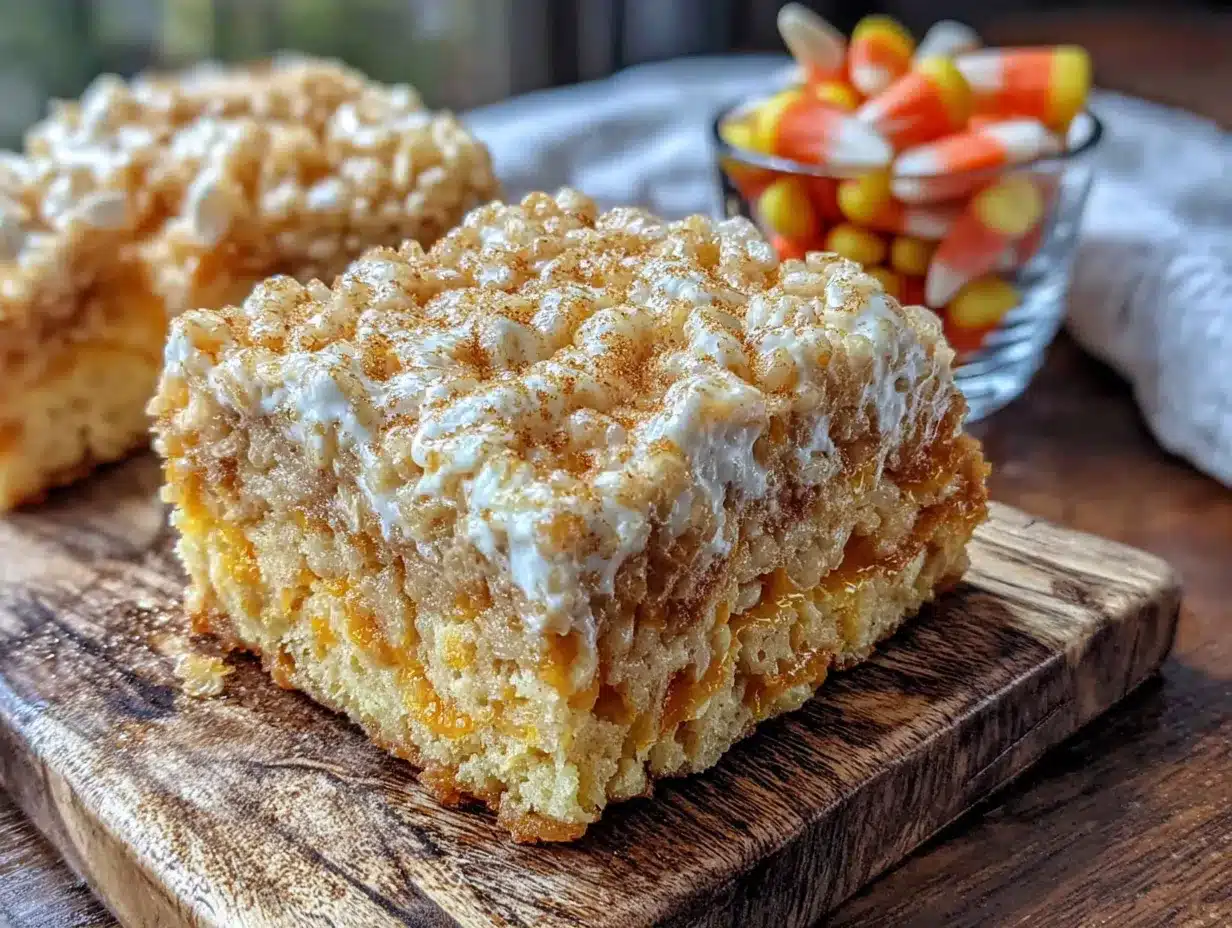
Alright, let’s get to the fun part. Here’s how to make these Easy Candy Corn Rice Krispie Treats step by step.
- Prepare your pan: Line a 9×13-inch baking pan with parchment paper, leaving some overhang on two sides. This creates handles for lifting the treats out later. Lightly grease the parchment with butter or non-stick spray. Set aside.
- Melt the butter: In a large pot over medium-low heat, melt 6 tablespoons of unsalted butter. Stir occasionally so it doesn’t burn. Once melted, add ¼ teaspoon of salt and stir to combine.
- Add the marshmallows: Pour in 10 ounces of mini marshmallows (about 5 cups). Stir constantly with a rubber spatula until the marshmallows are completely melted and smooth. This takes about 3-4 minutes. Remove the pot from the heat immediately to prevent the mixture from getting too stiff.
- Add vanilla: Stir in 1 teaspoon of vanilla extract. The mixture will bubble a little—that’s normal. Stir until combined.
- Divide the mixture: This is the key step for creating stripes. Pour about one-third of the marshmallow mixture into a separate bowl and set aside. You’ll use this for the top layer.
- Color the first portion: To the remaining two-thirds in the pot, add a few drops of orange gel food coloring. Stir until the color is even. If you want a deeper orange, add more coloring a drop at a time.
- Add cereal to orange mixture: Pour 4 cups of Rice Krispies cereal into the orange marshmallow mixture. Stir gently until all the cereal is coated. Don’t overmix, or the cereal will get crushed.
- Press the first layer: Transfer the orange cereal mixture to the prepared pan. Use a greased spatula or greased hands to press it into an even layer. Don’t press too hard—you want the treats to stay light and airy, not dense.
- Color the second portion: Take the reserved one-third of plain marshmallow mixture and add a few drops of yellow gel food coloring. Stir until evenly yellow.
- Add cereal to yellow mixture: Add the remaining 2 cups of Rice Krispies cereal to the yellow marshmallow mixture. Stir gently to coat.
- Press the second layer: Spoon the yellow cereal mixture over the orange layer. Gently press it into an even layer. The yellow layer should be thinner than the orange layer—that’s intentional, mimicking the candy corn shape.
- Add the candy corn: While the top layer is still warm and sticky, gently press 1 cup of candy corn into the surface. Arrange them in rows or scatter them randomly—your call. Press them in just enough so they stick, but don’t bury them completely.
- Cool completely: Let the treats cool at room temperature for at least 1 hour. Don’t rush this—cutting them while warm will give you a sticky, gooey disaster. If you’re impatient, pop them in the fridge for 30 minutes.
- Cut and serve: Lift the treats out of the pan using the parchment overhang. Place on a cutting board. Use a sharp knife or bench scraper to cut into squares or bars. Wipe the knife clean between cuts for neat edges.
One thing I learned the hard way: if your marshmallow mixture starts to stiffen while you’re working, pop it back on the stove over low heat for 10-15 seconds, stirring constantly. Don’t let it boil—just warm it enough to soften.
Cooking Tips & Techniques
I’ve made these treats about a dozen times now, and I’ve definitely had my share of failures. Here are the lessons I’ve learned so you don’t have to repeat them.
Don’t overheat the marshmallows. This is the number one mistake. If you cook the marshmallows too long or over high heat, they’ll become tough and chewy instead of soft and gooey. Low and slow is the way to go. As soon as the marshmallows are melted and smooth, take the pot off the heat.
Use fresh marshmallows. Stale marshmallows don’t melt as smoothly. If your bag has been open for weeks, buy a fresh one. Trust me, it makes a difference.
Grease everything. Your spatula, your hands, the parchment paper—grease it all. Marshmallow mixture sticks to everything, and fighting with it will only crush the cereal. I keep a small bowl of butter next to me and dip my fingers in it as I work.
Work quickly but gently. Once the cereal hits the marshmallow, you have about 5-7 minutes before the mixture starts to set. Press it into the pan gently—firm pressure creates dense, hard treats. Light pressure gives you those perfect, airy bars.
Layer carefully. When adding the yellow layer on top of the orange, spoon it on in small clumps and then gently press them together. If you try to spread it all at once, you’ll mix the colors and lose the stripe effect. Patience, my friend.
Let them cool completely. I know it’s tempting to cut into them while they’re warm, but you’ll regret it. Warm treats are sticky, messy, and won’t hold their shape. Give them a full hour at room temperature, or 30 minutes in the fridge if you’re in a hurry.
Variations & Adaptations
One of the best things about this recipe is how easy it is to change up. Here are some variations I’ve tried and loved.
Chocolate Drizzle: After the treats have cooled, melt ½ cup of chocolate chips with 1 teaspoon of coconut oil and drizzle it over the top. The chocolate pairs beautifully with the sweet candy corn. I did this for a Halloween party, and they disappeared in minutes.
Peanut Butter Swirl: Before adding the yellow layer, warm up ¼ cup of peanut butter and drizzle it over the orange layer. Then press the yellow layer on top. The salty peanut butter cuts through the sweetness perfectly.
Vegan Version: Use vegan butter (like Earth Balance) and vegan marshmallows (Dandies are my go-to). The texture is slightly different—a bit denser—but they’re still delicious. I made these for a friend who’s dairy-free, and she couldn’t tell the difference.
Spiced Version: Add ½ teaspoon of pumpkin pie spice to the marshmallow mixture along with the vanilla. It gives the treats a warm, fall flavor that’s perfect for Thanksgiving. I tried this last year, and it’s now my go-to for November.
Different Cereals: Swap out the Rice Krispies for Cocoa Pebbles (for a chocolate base) or Fruity Pebbles (for extra color). Just keep the total cereal amount the same—6 cups. I made a batch with Fruity Pebbles, and the colors were wild.
Allergen-Friendly: For a nut-free version, you’re already set as long as your cereal is nut-free. For gluten-free, double-check your marshmallows and cereal labels. Most are gluten-free, but always verify.
Serving & Storage Suggestions
These treats are best served at room temperature. The marshmallow is soft and chewy, the cereal is crisp, and the candy corn adds a pleasant chew. If you’ve refrigerated them, let them sit out for 10-15 minutes before serving to soften up.
For presentation, I like to cut them into 2-inch squares and arrange them on a platter. Sometimes I sprinkle a few extra candy corns on top for decoration. They look fantastic on a Halloween dessert table alongside cupcakes and cookies.
Storage is simple: Place the treats in an airtight container, with parchment paper between layers to prevent sticking. They’ll keep at room temperature for up to 3 days. After that, the cereal starts to get stale. Don’t refrigerate them—the cold makes the marshmallow hard and the cereal soggy.
For freezing, wrap each treat individually in plastic wrap, then place them in a freezer-safe bag. They’ll keep for up to 2 months. Thaw at room temperature for about 30 minutes before serving. The texture won’t be quite as fresh, but they’re still good.
One thing I’ve noticed: the flavors actually develop a bit after a day. The candy corn softens and blends more with the marshmallow, creating a more uniform sweetness. So if you can wait a day, they might taste even better.
These pair wonderfully with a glass of cold milk, a warm cup of apple cider, or even a scoop of vanilla ice cream for dessert. I’ve also crumbled them over ice cream sundaes for a fun topping.
Nutritional Information & Benefits
Let’s be real—these are a treat, not a health food. But I believe in enjoying life’s little pleasures in moderation. Here are the estimated nutritional values per serving (based on 16 servings):
- Calories: 215
- Total Fat: 7g
- Saturated Fat: 4g
- Carbohydrates: 38g
- Sugar: 24g
- Protein: 1g
- Sodium: 135mg
These values will vary based on the exact brands you use and how you cut them. If you’re watching your sugar intake, you could reduce the candy corn on top or use a sugar-free marshmallow, but honestly, that kind of defeats the purpose of a treat like this.
On the plus side, Rice Krispies are fortified with iron and B vitamins, so there’s a tiny nutritional silver lining. And if you use vegan butter, you’re cutting some saturated fat. But again—these are about joy, not nutrition. Make them for the smiles, not the vitamins.
Dietary considerations: These are nut-free (check your cereal label) and can be made gluten-free with verified ingredients. They are not low-carb, keto, or sugar-free. If you have allergies, always read labels carefully.
Conclusion
These Easy Candy Corn Rice Krispie Treats are everything I love about fall baking—simple, fun, and full of nostalgia. They’re the kind of recipe that makes you feel like a kid again, standing in the kitchen with sticky fingers and a big grin. Whether you’re making them for a Halloween party, a classroom treat, or just because you found a bag of candy corn in the back of your pantry, they never disappoint.
I encourage you to make them your own. Add chocolate, swirl in peanut butter, or go wild with different cereals. The base recipe is forgiving and flexible, so don’t be afraid to experiment. And if you come up with a killer variation, I’d love to hear about it.
So go ahead—melt that butter, stir in those marshmallows, and press in those candy corns. Your kitchen is about to smell amazing, and your taste buds are in for a treat. Happy fall, friends!
Drop a comment below and let me know how yours turned out. Did you add a twist? Did the kids love them? I read every comment, and I’d love to hear your story. Until next time—keep cooking, keep smiling, and keep making memories in the kitchen.
Frequently Asked Questions
Can I use regular-sized marshmallows instead of mini?
Yes, but they take longer to melt. Chop them into smaller pieces first so they melt more evenly. I’d stick with mini if you can find them—they’re just easier to work with.
Why are my Rice Krispie treats hard and dense?
You probably pressed them too firmly into the pan, or you overcooked the marshmallows. Next time, use a lighter hand when pressing, and remove the pot from the heat as soon as the marshmallows are melted.
Can I use stale candy corn?
I wouldn’t recommend it. Stale candy corn is hard and doesn’t soften properly in the treats. Fresh candy corn is soft and pliable, which gives you that nice chewy texture on top.
How do I get clean cuts without the treats sticking to the knife?
Wipe your knife clean between each cut with a damp paper towel. You can also spray the knife with non-stick spray. A bench scraper works even better than a knife for clean edges.
Can I make these ahead of time for a party?
Absolutely! Make them up to 2 days in advance and store them in an airtight container at room temperature. They’ll still be fresh and delicious. Just don’t refrigerate them, or they’ll get hard.
Pin This Recipe!
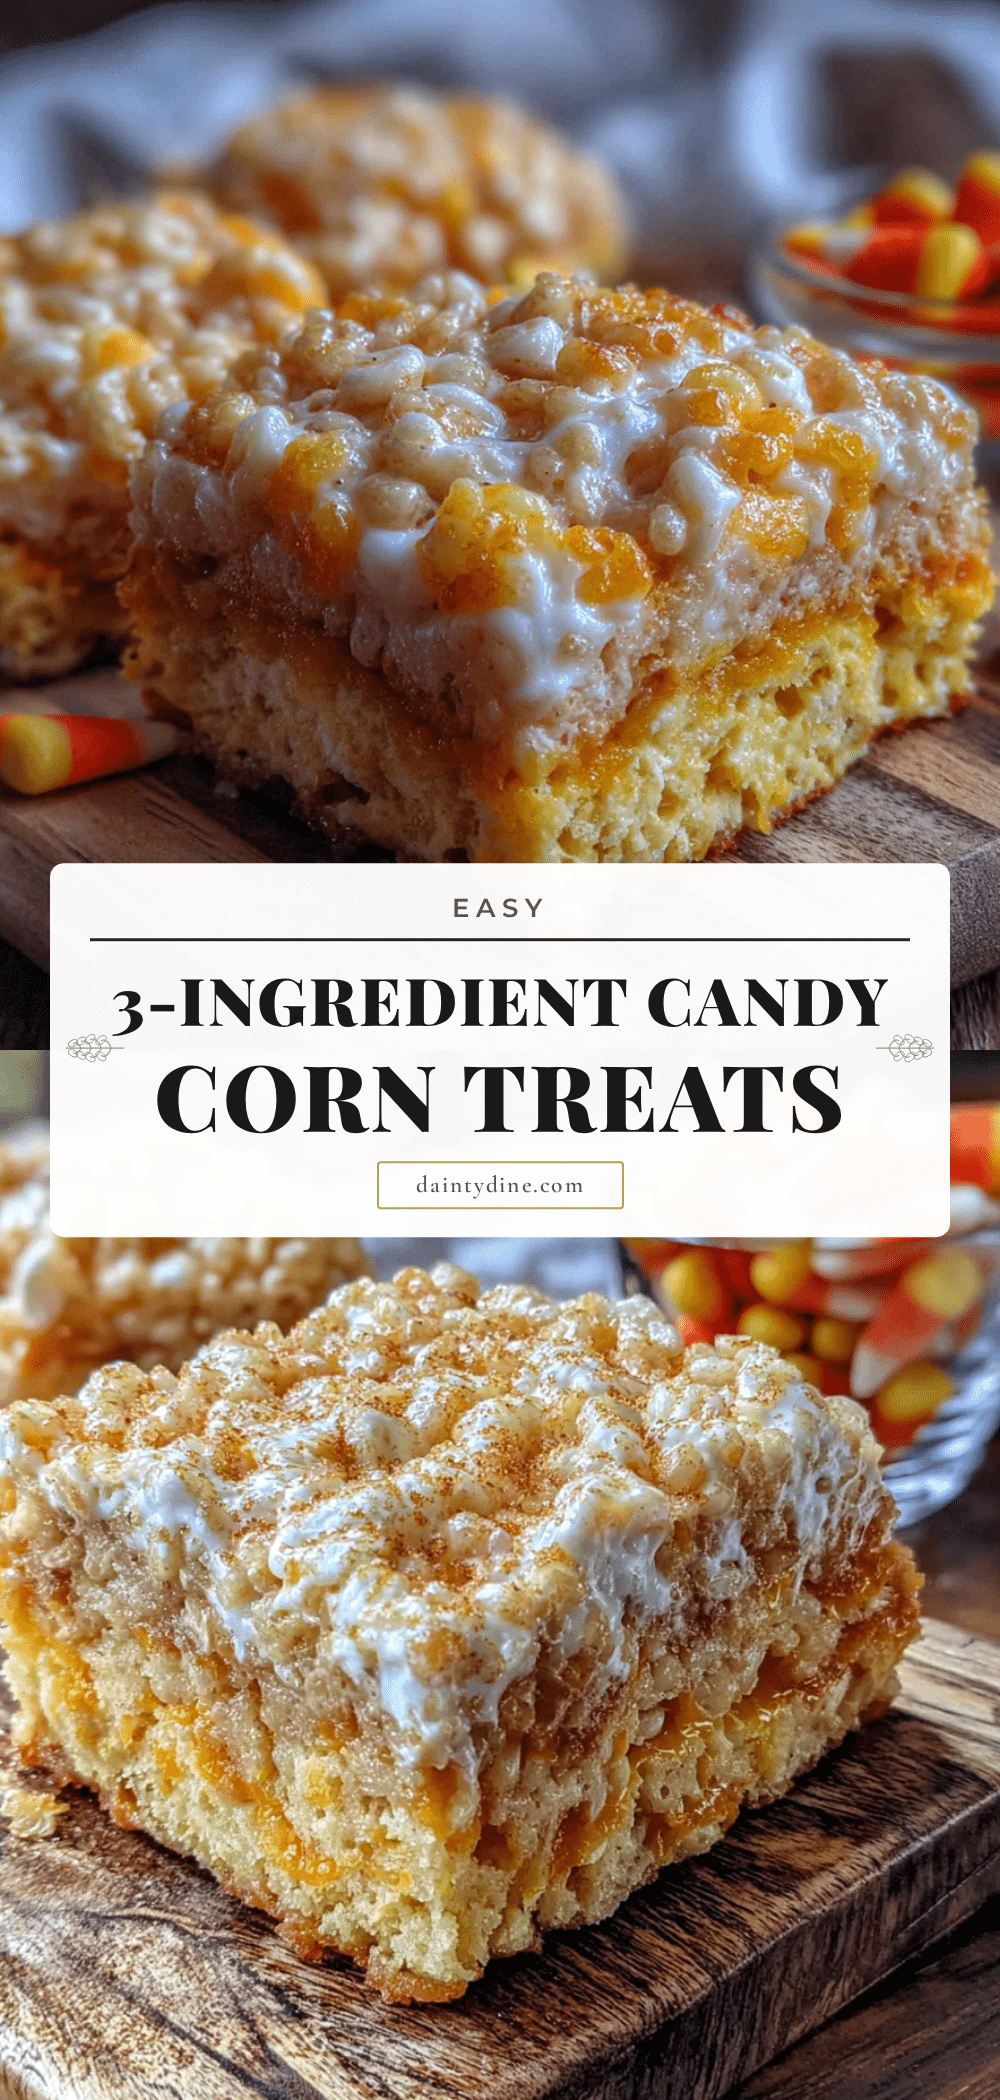
Easy Candy Corn Rice Krispie Treats Recipe

These Easy Candy Corn Rice Krispie Treats are a quick and festive fall dessert featuring buttery marshmallow cereal bars with colorful orange and yellow stripes, topped with candy corn. Perfect for Halloween parties or a nostalgic treat.
- Prep Time: 15 minutes
- Cook Time: 10 minutes
- Total Time: 1 hour 25 minutes (including cooling)
- Yield: 16 servings 1x
- Category: Dessert
- Cuisine: American
Ingredients
- 6 tablespoons (84 grams) unsalted butter
- 10 ounces (about 5 cups or 283 grams) mini marshmallows
- 6 cups (180 grams) Rice Krispies cereal
- 1 cup (about 200 grams) candy corn
- 1 teaspoon vanilla extract (optional)
- ¼ teaspoon salt
- Orange and yellow gel food coloring (optional)
Instructions
- Line a 9×13-inch baking pan with parchment paper, leaving overhang on two sides. Lightly grease the parchment with butter or non-stick spray. Set aside.
- In a large pot over medium-low heat, melt 6 tablespoons of unsalted butter. Stir occasionally. Once melted, add ¼ teaspoon of salt and stir.
- Pour in 10 ounces of mini marshmallows. Stir constantly with a rubber spatula until completely melted and smooth, about 3-4 minutes. Remove from heat immediately.
- Stir in 1 teaspoon of vanilla extract until combined.
- Pour about one-third of the marshmallow mixture into a separate bowl and set aside for the top layer.
- To the remaining two-thirds in the pot, add a few drops of orange gel food coloring and stir until evenly colored.
- Pour 4 cups of Rice Krispies cereal into the orange marshmallow mixture. Stir gently until all cereal is coated.
- Transfer the orange cereal mixture to the prepared pan. Use a greased spatula or greased hands to press it into an even layer. Do not press too hard.
- Take the reserved one-third of plain marshmallow mixture and add a few drops of yellow gel food coloring. Stir until evenly yellow.
- Add the remaining 2 cups of Rice Krispies cereal to the yellow marshmallow mixture. Stir gently to coat.
- Spoon the yellow cereal mixture over the orange layer. Gently press it into an even layer.
- While the top layer is still warm and sticky, gently press 1 cup of candy corn into the surface. Press them in just enough so they stick.
- Let the treats cool at room temperature for at least 1 hour (or 30 minutes in the fridge).
- Lift the treats out of the pan using the parchment overhang. Place on a cutting board. Use a sharp knife or bench scraper to cut into squares or bars. Wipe the knife clean between cuts.
Notes
Use fresh candy corn for best texture. Grease your spatula and hands to prevent sticking. Work quickly but gently to keep treats airy. Let cool completely before cutting for clean edges. Store in an airtight container at room temperature for up to 3 days. Freeze individually wrapped for up to 2 months.
Nutrition
- Serving Size: 1 square (2-inch)
- Calories: 215
- Sugar: 24
- Sodium: 135
- Fat: 7
- Saturated Fat: 4
- Carbohydrates: 38
- Protein: 1
Keywords: candy corn, rice krispie treats, Halloween dessert, easy fall recipe, no-bake dessert


