Love this? Save it for later!
Share the inspiration with your friends
It was 10:47 PM on a random Wednesday, and I was staring into the fridge like it owed me money. The craving hit me out of nowhere—something warm, cheesy, with a little kick. I didn’t have the energy for a complicated breakfast-for-dinner situation, but I had a block of sharp cheddar, a dozen eggs, and a jar of roasted Hatch green chiles I’d stashed away from a trip to New Mexico last fall. Honestly, I wasn’t sure what I was making. I just knew I wanted something that felt like a hug in a dish.
I started pulling things out—eggs, milk, a bag of frozen hash browns I found shoved behind a bag of peas. The chiles were the star, though. That smoky, slightly spicy aroma hit me the second I opened the jar, and suddenly, I was fully committed. I cracked the eggs into a bowl, whisked them with a splash of milk, and layered everything into a baking dish I’d forgotten I even owned. It was messy and impulsive, and I kept thinking, “This is either going to be amazing or a total disaster.”
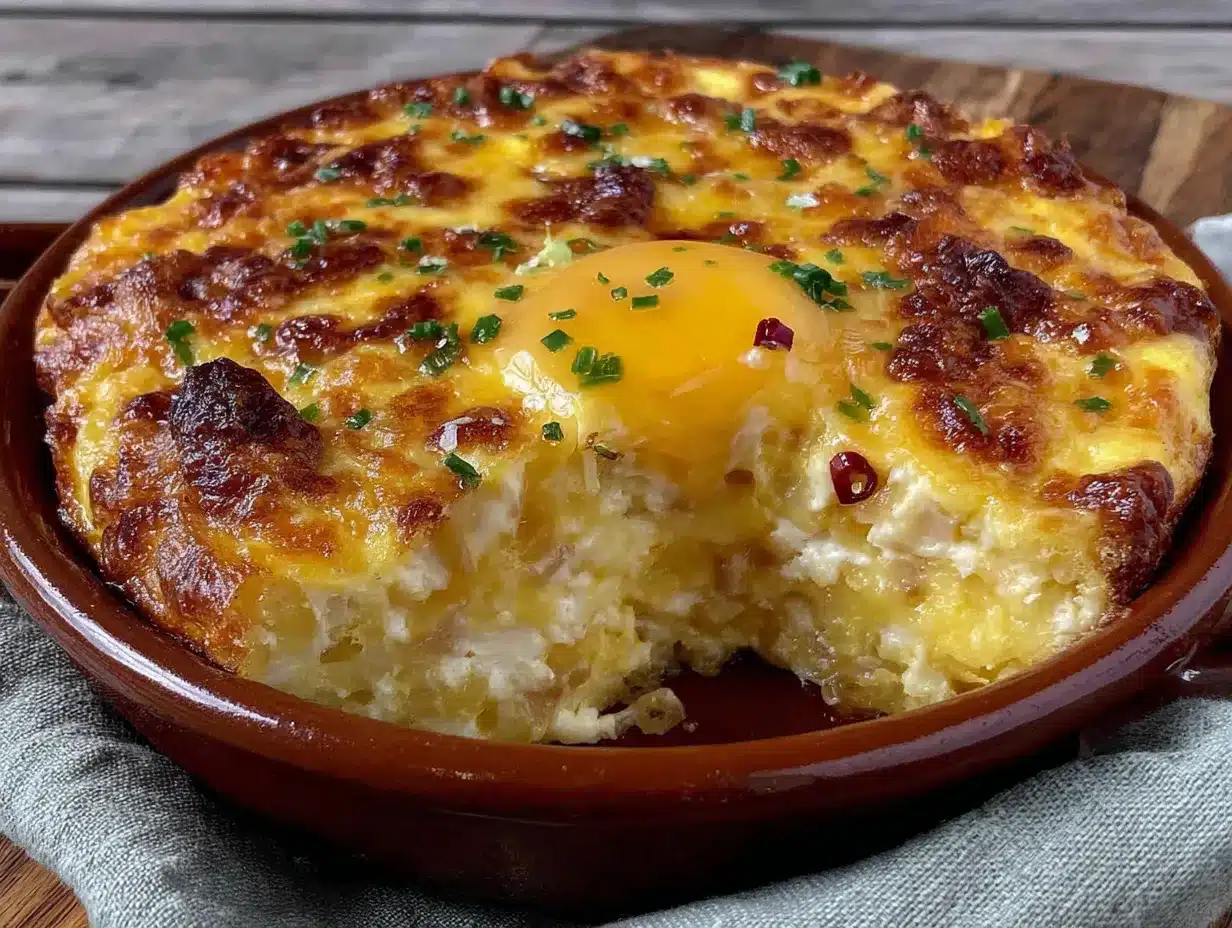
Twenty-eight minutes later, I pulled it out of the oven, and let me tell you—it was the best kind of surprise. The top was golden and bubbly, the edges were crispy, and the whole kitchen smelled like a cozy diner at 8 AM. I ate a slice standing over the counter, and I knew I had stumbled onto something special. Maybe you’ve been there—when a random night of fridge foraging turns into a recipe you’ll make for years. This Cheesy Hatch Green Chili Breakfast Casserole is that recipe for me. It’s simple, it’s fast, and it’s unapologetically comforting.
Why You’ll Love This Recipe
This isn’t just another breakfast casserole. It’s the one that gets requested for every brunch, every holiday morning, and every lazy Sunday when you want something hearty without spending hours in the kitchen. I’ve tested this recipe more times than I can count, tweaking the egg-to-milk ratio, experimenting with different cheeses, and even burning a batch or two (RIP, casserole number four). What I landed on is a foolproof, crowd-pleasing dish that delivers every single time.
- Quick & Easy: From fridge to table in about 30 minutes. Seriously. No overnight soaking, no complicated steps.
- Simple Ingredients: You probably have most of these in your kitchen right now. Eggs, cheese, milk, bread—it’s all pantry-friendly.
- Perfect for Brunch or Dinner: It works for breakfast-for-dinner, holiday mornings, or potlucks. It’s versatile like that.
- Crowd-Pleaser: Kids love the cheesy goodness, and adults appreciate the subtle heat from the Hatch chiles. It disappears fast.
- Unbelievably Delicious: The combination of creamy eggs, melty cheese, and smoky chiles is pure comfort food magic.
What makes this different from every other breakfast casserole out there? It’s the Hatch chiles. They add a depth of flavor that’s hard to replicate—smoky, slightly sweet, with just enough heat to wake up your taste buds. Plus, the technique of toasting the bread cubes before adding the egg mixture gives the casserole a sturdy, slightly crispy texture instead of that soggy mess you sometimes get. This is the version you’ll come back to again and again.
What Ingredients You Will Need
This recipe uses simple, everyday ingredients to create something truly special. Most of these are pantry staples, but the Hatch chiles are the star—they’re worth seeking out for that authentic New Mexico flavor.
- Large eggs (8-10, depending on size) – The base of the casserole. Room temperature eggs blend more smoothly.
- Whole milk (1 cup) – Adds richness. You can use 2% or even half-and-half for extra creaminess.
- Sourdough bread (about 6 cups, cubed) – Day-old bread works best. It soaks up the egg mixture without turning to mush.
- Sharp cheddar cheese (2 cups, shredded) – I prefer extra-sharp for bold flavor. Feel free to use a mix of cheddar and Monterey Jack.
- Roasted Hatch green chiles (1 cup, chopped) – The heart of this dish. Look for them in jars or cans during the off-season. I love the 505 Southwestern brand.
- Frozen hash browns (2 cups, thawed) – Adds texture and heartiness. No need to cook them first.
- Unsalted butter (2 tablespoons, melted) – For brushing the baking dish and toasting the bread.
- Salt (1 teaspoon) – Enhances all the flavors.
- Black pepper (½ teaspoon) – Freshly ground is best.
- Garlic powder (½ teaspoon) – A subtle savory boost.
- Green onions (¼ cup, sliced) – For garnish. Adds a fresh pop of color and flavor.
Ingredient Tips: If you can’t find Hatch chiles, you can substitute with Anaheim or poblano peppers for a similar flavor profile. For a gluten-free version, use your favorite gluten-free bread—just make sure it’s sturdy. And if you want to dial up the heat, add a pinch of cayenne pepper or use a spicier chile variety.
Equipment Needed
You don’t need a fancy kitchen to pull this off. Here’s what you’ll need:
- 9×13-inch baking dish – Glass or ceramic works best for even heating. I’ve used a metal pan in a pinch, but the edges tend to brown faster.
- Large mixing bowl – For whisking the eggs and milk.
- Whisk – A fork works too, but a whisk gives you a smoother egg mixture.
- Chef’s knife and cutting board – For cubing the bread and chopping the chiles.
- Box grater – For shredding the cheese. Pre-shredded cheese works, but freshly grated melts more smoothly.
- Measuring cups and spoons – Accuracy matters, especially with the milk and salt.
- Spatula – For spreading everything evenly in the dish.
Budget-Friendly Tip: If you don’t have a 9×13 dish, you can use a 10-inch cast-iron skillet or two smaller baking dishes. Just adjust the baking time slightly—smaller dishes cook faster.
Preparation Method
- Preheat your oven to 375°F (190°C). While it’s heating, brush your baking dish with 1 tablespoon of melted butter. This prevents sticking and adds a subtle buttery flavor to the edges.
- Toast the bread cubes. Spread the cubed sourdough on a baking sheet and drizzle with the remaining 1 tablespoon of melted butter. Toss to coat. Bake for 8-10 minutes, or until the edges are lightly golden. This step is crucial—it keeps the bread from turning into a soggy mess. Let the cubes cool slightly while you prep the rest.
- Whisk the egg mixture. In a large bowl, crack the eggs and add the milk, salt, pepper, and garlic powder. Whisk vigorously until the mixture is smooth and slightly frothy. This takes about 1-2 minutes. Don’t skip the whisking—it incorporates air and makes the casserole light and fluffy.
- Layer the ingredients. Spread the toasted bread cubes evenly in the prepared baking dish. Sprinkle the thawed hash browns over the top, followed by the chopped Hatch green chiles. Pour the egg mixture evenly over everything, making sure to saturate all the bread and hash browns. Use a spatula to gently press down on the layers so the liquid soaks in.
- Add the cheese. Sprinkle the shredded cheddar cheese evenly over the top. Don’t be shy—cover every inch. The cheese will form a golden, bubbly crust as it bakes.
- Bake the casserole. Place the dish in the preheated oven and bake for 25-30 minutes. The casserole is done when the center is set (it should jiggle slightly but not be liquidy) and the top is golden brown and bubbly. If the top is browning too quickly, tent it with foil for the last 10 minutes.
- Rest before serving. Remove the casserole from the oven and let it rest for 5 minutes. This allows the eggs to set completely and makes slicing easier. Garnish with sliced green onions before serving.
Sensory Cues: At the 15-minute mark, your kitchen will smell like a breakfast diner—eggy, cheesy, with that smoky chile aroma cutting through. When it’s done, the top should be puffed and golden, and the edges should be crispy and slightly caramelized. If you insert a knife into the center, it should come out clean.
Cooking Tips & Techniques
I’ve made this casserole at least a dozen times, and I’ve learned a few tricks along the way. Trust me on these:
- Toast the bread. I cannot stress this enough. Untoasted bread turns into a soggy, dense mess. Toasting gives the casserole structure and a satisfying crunch at the edges.
- Don’t overmix the eggs. Whisk just until the yolks and whites are combined. Over-whisking incorporates too much air, which can cause the casserole to puff up and then collapse.
- Let the casserole rest. I know it’s tempting to dig in right away, but letting it rest for 5 minutes makes a world of difference. The eggs set properly, and the flavors meld together.
- Use room temperature eggs. Cold eggs can shock the milk and create an uneven texture. If you forget to take them out of the fridge, place them in a bowl of warm water for 5 minutes.
- Watch the oven. Every oven runs a little differently. Start checking at the 25-minute mark. If the top is browning too fast, cover it loosely with foil.
My Biggest Mistake: The first time I made this, I used pre-shredded cheese. It didn’t melt evenly, and the casserole had a weird, powdery texture. Freshly grated cheese is the way to go—it melts like a dream and tastes so much better.
Variations & Adaptations
This recipe is endlessly adaptable. Here are a few of my favorite twists:
Vegetarian Version
This recipe is already vegetarian! But if you want to bulk it up, add a cup of sautéed mushrooms or bell peppers along with the chiles.
Meat Lover’s Version
Cook ½ pound of breakfast sausage or crumbled bacon until crispy, then sprinkle it over the bread cubes before adding the egg mixture. It adds a smoky, savory depth that’s hard to beat.
Dairy-Free Version
Use unsweetened almond or oat milk in place of the whole milk, and swap the cheddar for a dairy-free shreddable cheese. I’ve tried this with Violife brand, and it works surprisingly well.
Spicy Version
If you like heat, add a diced jalapeño (seeds and all) to the egg mixture, or use a mix of Hatch chiles and serrano peppers. Just be careful—it gets spicy fast.
Make-Ahead Version
Assemble the casserole the night before, cover it with foil, and refrigerate. In the morning, let it sit on the counter for 15 minutes while the oven preheats, then bake as directed. You may need to add 5-10 minutes to the baking time since it starts cold.
Serving & Storage Suggestions
This casserole is best served warm, straight out of the oven. The cheese is stretchy, the edges are crispy, and the chiles are perfectly distributed in every bite. I love serving it with a dollop of sour cream and a side of fresh fruit or a simple green salad.
Storage: Leftovers keep well in the refrigerator for up to 4 days. Store them in an airtight container. The flavors actually get better as they meld together overnight.
Reheating: The best way to reheat is in the oven at 350°F for 10-15 minutes. The microwave works in a pinch, but the texture won’t be as good—the edges will lose their crispiness. For a quick fix, reheat individual slices in a toaster oven.
Freezing: This casserole freezes beautifully. Bake it, let it cool completely, then wrap it tightly in plastic wrap and foil. Freeze for up to 3 months. To reheat, thaw in the refrigerator overnight and bake at 350°F until warmed through, about 20 minutes.
Nutritional Information & Benefits
Per serving (based on 8 servings):
- Calories: 320
- Protein: 18g
- Fat: 18g
- Carbohydrates: 22g
- Fiber: 2g
- Sugar: 4g
Health Benefits: Eggs are a fantastic source of high-quality protein and essential vitamins like B12 and D. Hatch green chiles are packed with vitamin C and capsaicin, which can boost metabolism and reduce inflammation. Plus, this casserole is a great way to start the day with a balanced meal that keeps you full and satisfied.
Dietary Considerations: This recipe is vegetarian and can be made gluten-free or dairy-free with simple substitutions. It’s also relatively low in sugar, making it a great option for those watching their sugar intake.
Conclusion
This Cheesy Hatch Green Chili Breakfast Casserole is more than just a recipe—it’s a solution for those mornings (or nights) when you need something comforting, fast, and undeniably delicious. It’s the kind of dish that makes you feel like you’ve got it all together, even when you’re just winging it with whatever’s in the fridge.
I love this recipe because it’s forgiving. You can swap ingredients, adjust the spice level, or double it for a crowd, and it always delivers. It’s become my go-to for brunches, holidays, and those quiet mornings when I want to treat myself without spending hours in the kitchen.
Now it’s your turn. Give this recipe a try, and don’t be afraid to make it your own. Add your favorite toppings, experiment with different cheeses, or throw in some leftover veggies. I’d love to hear how it turns out—drop a comment below and let me know your favorite variation. Happy cooking!
Frequently Asked Questions
Can I use canned Hatch chiles instead of fresh?
Absolutely! Canned or jarred roasted Hatch chiles work perfectly in this recipe. They’re already roasted and peeled, which saves you a step. Just drain them before chopping.
Can I make this casserole without hash browns?
Yes, you can skip the hash browns if you prefer a lighter casserole. The bread cubes will still give it plenty of texture. Alternatively, you can add more bread or swap in cooked quinoa for a different twist.
How do I know when the casserole is fully cooked?
The center should be set—it should jiggle slightly but not be liquidy. A knife inserted into the center should come out clean. The top should be golden brown and bubbly.
Can I use a different type of cheese?
Definitely! Monterey Jack, pepper jack, or a Mexican blend all work beautifully. For a sharper flavor, try Gruyère or smoked gouda.
What can I serve with this casserole?
This casserole is hearty enough to stand alone, but it pairs wonderfully with fresh fruit, a simple green salad, or a side of refried beans for a Southwestern twist. A dollop of sour cream or salsa on top is also a great addition.
Pin This Recipe!
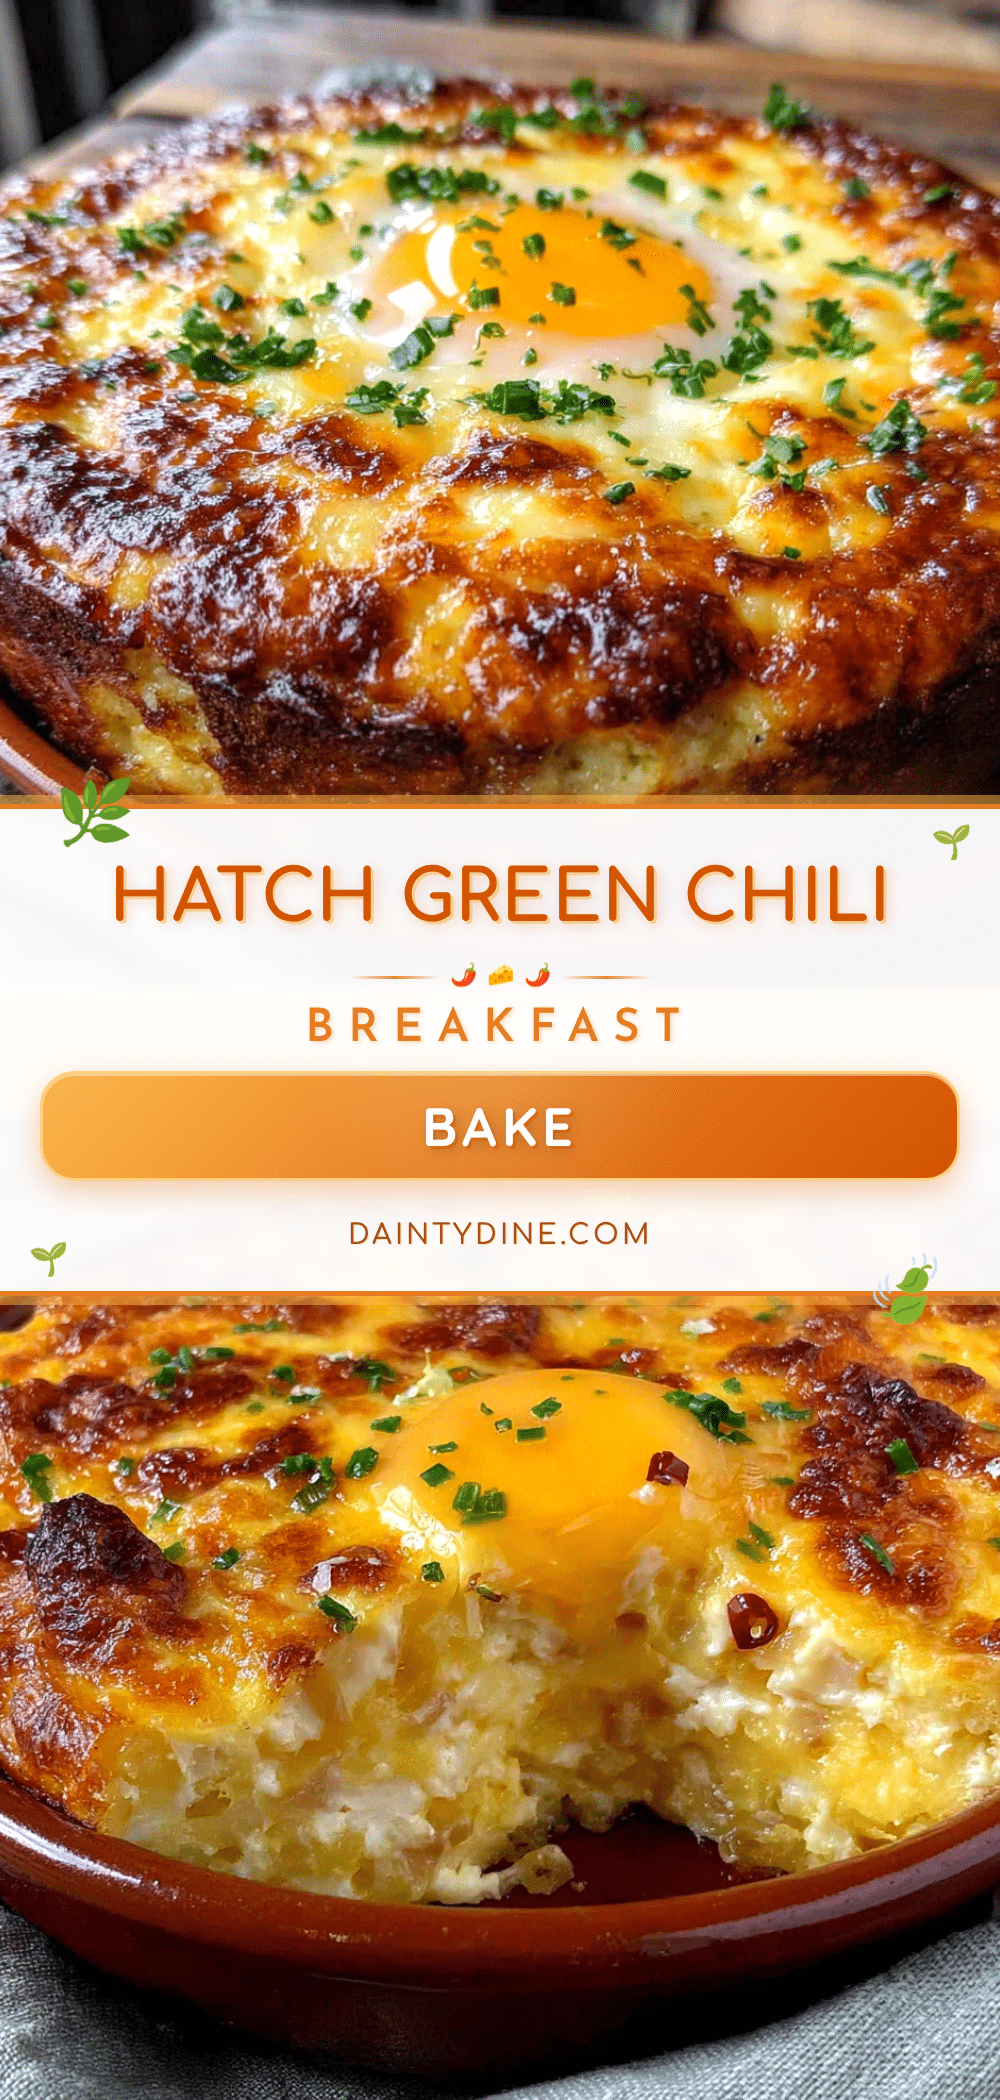
Cheesy Hatch Green Chili Breakfast Casserole – Easy 30-Minute Recipe

A quick and easy breakfast casserole featuring smoky Hatch green chiles, sharp cheddar cheese, and crispy bread cubes. Perfect for brunch, dinner, or any time you need a comforting, crowd-pleasing dish in about 30 minutes.
- Prep Time: 10 minutes
- Cook Time: 28 minutes
- Total Time: 38 minutes
- Yield: 8 servings 1x
- Category: Breakfast
- Cuisine: American
Ingredients
- 8–10 large eggs
- 1 cup whole milk
- 6 cups sourdough bread, cubed
- 2 cups sharp cheddar cheese, shredded
- 1 cup roasted Hatch green chiles, chopped
- 2 cups frozen hash browns, thawed
- 2 tablespoons unsalted butter, melted
- 1 teaspoon salt
- ½ teaspoon black pepper
- ½ teaspoon garlic powder
- ¼ cup green onions, sliced (for garnish)
Instructions
- Preheat your oven to 375°F (190°C). Brush a 9×13-inch baking dish with 1 tablespoon of melted butter.
- Spread the cubed sourdough on a baking sheet and drizzle with the remaining 1 tablespoon of melted butter. Toss to coat. Bake for 8-10 minutes, or until the edges are lightly golden. Let cool slightly.
- In a large bowl, whisk together the eggs, milk, salt, pepper, and garlic powder until smooth and slightly frothy.
- Spread the toasted bread cubes evenly in the prepared baking dish. Sprinkle the thawed hash browns over the top, followed by the chopped Hatch green chiles. Pour the egg mixture evenly over everything, pressing down gently with a spatula to ensure the liquid soaks in.
- Sprinkle the shredded cheddar cheese evenly over the top.
- Bake for 25-30 minutes, until the center is set (jiggles slightly but not liquidy) and the top is golden brown and bubbly. If the top browns too quickly, tent with foil for the last 10 minutes.
- Remove from the oven and let rest for 5 minutes. Garnish with sliced green onions before serving.
Notes
Toast the bread cubes to prevent sogginess. Use room temperature eggs for even texture. Let the casserole rest for 5 minutes before serving. For a make-ahead version, assemble the night before and refrigerate; add 5-10 minutes to baking time.
Nutrition
- Serving Size: 1 slice (1/8 of cass
- Calories: 320
- Sugar: 4
- Sodium: 680
- Fat: 18
- Saturated Fat: 9
- Carbohydrates: 22
- Fiber: 2
- Protein: 18
Keywords: breakfast casserole, Hatch green chile, cheesy, easy, 30-minute, brunch, comfort food


