Love this? Save it for later!
Share the inspiration with your friends
I had claimed to hate meringue for years. Twenty-three years, to be precise. Then I walked into my kitchen last October and found my six-year-old daughter, flour dusted across her nose like freckles, carefully piping what looked like tiny ghosts onto a baking sheet. She had found a recipe on my tablet, raided the pantry, and decided to make Halloween treats all by herself. The egg whites were a little over-whipped, the sugar was definitely not sifted, and there was a suspicious crack in my favorite mixing bowl. But honestly? Watching her concentrate so hard her tongue poked out, I realized I had been wrong about meringue this whole time.
That first batch of Kid-Approved Ghost-Shaped Meringue Cookies came out lopsided and a little sticky. Some looked more like misshapen clouds than spooky spirits. But the way her face lit up when she pulled them from the oven? That was something special. She handed me one, still warm and soft in the center, and I took a bite. It was light, sweet, and absolutely nothing like the dry, chalky meringues I remembered from my own childhood. Maybe you have been there—dismissing a food for years based on one bad experience, only to have a kid prove you completely wrong.
These ghost-shaped cookies have become our October tradition ever since. They are ridiculously simple to make, use just a handful of ingredients you probably already have, and they turn out adorable every single time. Even when they are a little wonky, they still look like happy little ghosts floating across the plate. The best part? Kids can help with almost every step. My daughter now considers herself the official ghost-piper of the household, and I am just fine with that. This recipe stayed with us because it is not just about the cookies—it is about the messy, flour-covered, slightly chaotic moments that make the best memories.
Why You’ll Love This Recipe
Let me tell you why these ghost-shaped meringue cookies have earned a permanent spot in our Halloween rotation. I have tested this recipe at least a dozen times, tweaking the sugar ratio, the baking temperature, and even the piping technique. It is family-approved, kid-tested, and honestly foolproof once you know a few simple tricks.
- Quick & Easy: These come together in about 15 minutes of active prep time. The oven does most of the work while you clean up or help the kids with costumes. Perfect for busy weeknights when you still want to make something special.
- Simple Ingredients: You only need egg whites, sugar, cream of tartar, and vanilla extract. No fancy grocery trips, no expensive specialty items. You likely have everything in your kitchen right now.
- Perfect for Halloween: These are great for classroom parties, trick-or-treat gatherings, or just a fun afternoon activity. They look impressive but require zero decorating skills.
- Crowd-Pleaser: Kids absolutely love them, and adults are always surprised by how light and delicious they are. I have watched grown-ups sneak three or four when they think nobody is looking.
- Unbelievably Delicious: The texture is crisp on the outside with a soft, marshmallow-like center. It is next-level comfort food that feels indulgent without being heavy.
What makes this recipe different from all the other meringue cookies out there? It is the technique. I whip the egg whites just until stiff peaks form—not a second more—and I bake them low and slow so they stay white and ghost-like. No browning, no cracking, just perfect little spirits every time. This is not just another version of a meringue cookie. It is the best version, the one that makes you close your eyes after the first bite and smile.
It is comfort food reimagined—lighter, faster, but with the same soul-soothing satisfaction. Perfect for impressing Halloween guests without any stress, or turning a simple October afternoon into something memorable.
What Ingredients You Will Need
This recipe uses simple, wholesome ingredients to deliver that perfect light-as-air texture and sweet vanilla flavor. Most of these are pantry staples, which makes these cookies an easy last-minute Halloween treat.
- Large egg whites (4) – room temperature works best. Cold eggs are harder to whip to full volume. Separate them carefully—any yolk will prevent the whites from stiffening properly.
- Granulated sugar (1 cup, 200g) – regular white sugar is perfect. Superfine sugar dissolves faster, but I have used standard granulated with great results. Just make sure to whip it long enough.
- Cream of tartar (½ teaspoon) – this stabilizes the egg whites and helps them hold their shape. If you do not have it, you can substitute with ½ teaspoon lemon juice or white vinegar.
- Vanilla extract (1 teaspoon) – pure vanilla extract gives the best flavor, but imitation vanilla works fine too. I personally prefer Nielsen-Massey for its rich, authentic taste.
- Mini chocolate chips (optional, ¼ cup) – these are for making eyes on the ghosts. You can also use black decorating gel or skip them entirely for plain ghosts.
- Pinch of salt – just a tiny amount balances the sweetness and enhances the vanilla flavor.
For ingredient selection tips, look for eggs that are fresh but not too fresh—eggs that are about a week old whip up better than farm-fresh ones. If you are using farm eggs, let them sit in the refrigerator for a few days before using. Room temperature egg whites whip to a greater volume, so take them out of the fridge about 30 minutes before you start.
If you need substitutions, you can use pasteurized egg whites from a carton—just check the label to make sure they whip properly. Some brands add stabilizers that prevent them from reaching stiff peaks. For a dairy-free version, these cookies are naturally dairy-free since they use no butter or milk. For a vegan option, you would need to use aquafaba (the liquid from a can of chickpeas) instead of egg whites, but the texture will be slightly different.
Equipment Needed
You do not need much fancy equipment for these ghost cookies, which is part of what makes them so accessible. Here is what you will need:
- Electric mixer – a stand mixer or hand mixer both work great. I have used my trusty KitchenAid for years, but a hand mixer is actually easier for small batches because you can keep the beaters close to the bottom of the bowl.
- Large mixing bowl – glass or metal is best. Plastic bowls can hold onto grease, which prevents egg whites from whipping properly.
- Piping bag with a round tip – a ½-inch round tip works perfectly for ghost shapes. If you do not have a piping bag, you can use a sturdy zip-top bag with the corner snipped off.
- Baking sheet – a standard half-sheet pan works well. Line it with parchment paper to prevent sticking.
- Parchment paper – this is non-negotiable. Meringues stick like crazy to unlined pans.
- Cooling rack – for letting the ghosts cool completely after baking.
If you do not have a piping bag, honestly, a zip-top bag works just fine. I have made dozens of batches using the corner of a sandwich bag. Just do not overfill it, or you will end up with meringue all over your hands. My daughter learned that one the hard way.
For budget-friendly options, dollar store piping bags and tips work perfectly for this recipe. You do not need professional-grade equipment. A hand mixer from a thrift store will whip egg whites just as well as an expensive stand mixer. I started with a $5 garage sale mixer that lasted me three years.
Preparation Method
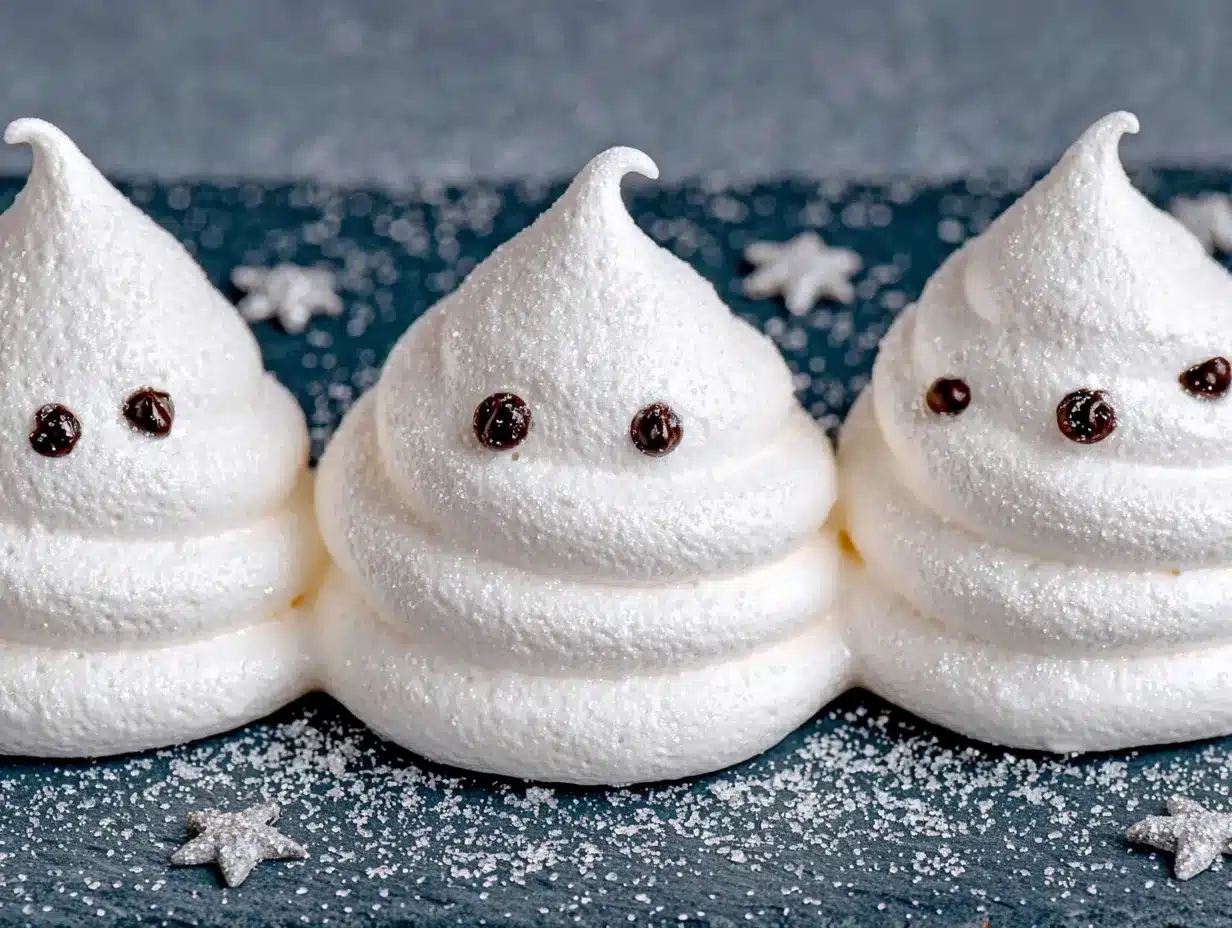
Now let me walk you through making these adorable ghost cookies. I have broken it down into clear steps with all the little tricks I have learned from making this recipe over and over.
- Preheat your oven to 200°F (95°C). This low temperature is crucial. Meringues bake slowly to dry out without browning. If your oven runs hot, use an oven thermometer to check. I learned this the hard way when my first batch turned tan instead of ghost-white.
- Line a baking sheet with parchment paper. Make sure the paper lies flat. You can dab a tiny bit of meringue under the corners to hold it in place. Set this aside while you prepare the meringue mixture.
- Clean your mixing bowl and beaters thoroughly. Any trace of grease will prevent the egg whites from whipping properly. Wipe them down with a little lemon juice or white vinegar on a paper towel, then dry completely. This step matters more than you think.
- Separate your eggs while they are cold. Cold eggs separate more easily, and the yolks are less likely to break. Crack each egg into a small bowl first, then transfer the white to your mixing bowl. That way, if one yolk breaks, you have not ruined the whole batch. I use three bowls: one for cracking, one for whites, and one for yolks (which you can save for another recipe).
- Let the egg whites come to room temperature. This takes about 30 minutes. Room temperature whites whip to a greater volume and hold their shape better. If you are short on time, place the bowl in a warm water bath for 5 minutes, stirring gently.
- Add the cream of tartar and salt to the egg whites. Start beating on medium speed until the mixture becomes foamy and opaque, about 1-2 minutes. You will see small bubbles forming.
- Gradually add the sugar. With the mixer running, add the sugar one tablespoon at a time. This takes patience, but it is important. Adding it too quickly can cause the meringue to collapse. I count to ten between each addition, which helps me slow down.
- Increase speed to high and whip until stiff peaks form. This usually takes 5-7 minutes with a stand mixer, longer with a hand mixer. You know it is ready when you lift the beaters and the meringue stands up in a firm peak that does not droop. The mixture should look glossy and smooth, not grainy. Rub a tiny bit between your fingers—if it feels gritty, keep whipping.
- Add the vanilla extract. Drizzle it in while the mixer is running on low speed, just until combined. Do not overmix at this point, or you will deflate all that beautiful volume.
- Transfer the meringue to your piping bag. If using a zip-top bag, place it in a tall glass and fold the edges over the rim. This makes filling it much easier and less messy. Trust me on this one—I have cleaned meringue off my counter too many times.
- Pipe ghost shapes onto the prepared baking sheet. Hold the piping bag straight up and down, about ½ inch above the parchment. Pipe a round blob for the body, then pull straight up to create a little peak on top. Space them about 1 inch apart—they do not spread much, but they need a little breathing room. Make them about 1½ inches wide and 2 inches tall.
- Add chocolate chip eyes (optional). Gently press two mini chocolate chips into each ghost for eyes. Do this immediately after piping, before the meringue starts to form a skin. If you wait too long, the chips will not stick.
- Bake for 60-75 minutes. The ghosts are done when they are firm to the touch and easily lift off the parchment paper. They should be dry on the outside but still slightly soft in the center. If they feel sticky, give them another 10 minutes.
- Turn off the oven and let the ghosts cool inside. Leave the oven door slightly ajar with a wooden spoon handle. This gradual cooling prevents cracking. Let them sit for at least 1 hour, or overnight if you have the patience.
- Remove from the oven and let cool completely on the baking sheet. They will continue to firm up as they cool. Do not try to move them too soon—they are fragile when warm.
A few sensory cues to watch for: The meringue should look glossy and smooth when you are whipping it, like marshmallow fluff. When you pipe it, the ghost should hold its shape without spreading into a puddle. During baking, you will not smell much—that is normal. The cookies should look exactly the same going in as coming out, just drier and firmer.
Cooking Tips & Techniques
I have made plenty of mistakes with meringue over the years, so let me save you some trouble. Here are the tips that actually make a difference.
Humidity is your enemy. Meringue is essentially sugar and egg white foam, and sugar attracts moisture like crazy. Do not make these on a rainy or humid day. They will turn out sticky and never dry properly. I learned this when I tried to make them during a summer thunderstorm. The ghosts looked sad and deflated. Pick a dry day, and you will thank me.
Do not over-whip the egg whites. This is the most common mistake. If you whip too long, the meringue becomes grainy and separates. You will see liquid pooling at the bottom of the bowl. If that happens, you have to start over. Stop as soon as you reach stiff peaks—when you lift the beater, the peak should stand straight up without flopping over.
Use superfine sugar if you can find it. It dissolves faster and creates a smoother meringue. If you only have regular granulated sugar, you can pulse it in a food processor for 30 seconds to make it finer. I do this all the time and it works perfectly.
Let the ghosts cool completely before storing. Any residual warmth will create condensation in your storage container, and that moisture will ruin the texture. I once put them away too soon and found a container of sticky, chewy blobs the next morning. Not my finest moment.
Make sure your bowl is completely grease-free. I cannot stress this enough. Even a tiny bit of butter or oil residue will prevent the egg whites from whipping. Wash your bowl and beaters with hot, soapy water, then wipe them with vinegar before starting.
Variations & Adaptations
One of the best things about this recipe is how easy it is to change up. Here are some variations I have tried and loved.
Chocolate Ghosts: Substitute 2 tablespoons of the granulated sugar with cocoa powder. Sift it together with the sugar before adding to the egg whites. The ghosts will be a light chocolate color and taste like chocolate meringue. My kids actually prefer these over the plain vanilla version.
Peppermint Ghosts: Replace the vanilla extract with ½ teaspoon peppermint extract. Crush a few candy canes and sprinkle them on top before baking. These are perfect for a Christmas-themed treat, not just Halloween. I made these for a holiday party and they disappeared in minutes.
Lemon Ghosts: Add 1 teaspoon lemon zest and replace the vanilla with ½ teaspoon lemon extract. The citrus flavor cuts through the sweetness beautifully. These are lighter and brighter, great for spring or summer gatherings.
Vegan Version: Use aquafaba (the liquid from a can of chickpeas) instead of egg whites. One can of chickpeas yields about ½ cup of aquafaba, which equals roughly 4 egg whites. Whip it the same way, but it takes a little longer to reach stiff peaks. The texture is slightly different—a bit chewier—but still delicious. I tried this for a friend with egg allergies and was surprised at how well it worked.
Pumpkin Spice Ghosts: Add 1 teaspoon pumpkin pie spice along with the sugar. This gives the ghosts a warm, fall flavor that pairs perfectly with Halloween. You can also add a tiny drop of orange food coloring for a festive look, but it will turn the ghosts orange instead of white.
Serving & Storage Suggestions
These ghost cookies are best served at room temperature. They are delicate and light, perfect for snacking straight from the baking sheet. Arrange them on a platter with other Halloween treats like candy corn or pumpkin-shaped cookies for a festive spread.
For a fun presentation, place the ghosts on a bed of crushed chocolate cookies to look like they are rising from dirt. You can also stick them into cupcakes or ice cream sundaes for a spooky touch. My daughter loves to arrange them on a plate with a few plastic spiders for effect.
Storage is simple but important. Keep the ghosts in an airtight container at room temperature. They will stay fresh for up to two weeks, though they rarely last that long in my house. Do not refrigerate them—the moisture in the fridge will make them sticky and soft. If you live in a humid climate, add a silica gel packet or a few grains of rice to the container to absorb excess moisture.
For longer storage, you can freeze the baked ghosts. Place them in a single layer in a freezer-safe container with parchment paper between layers. They will keep for up to three months. To thaw, let them sit at room temperature for about 30 minutes. Do not microwave them—they will turn into a sticky mess.
Flavors develop nicely over the first few days. The vanilla becomes more pronounced, and the texture settles into that perfect crisp-yet-soft balance. I actually think they taste better on day two than day one, if you can resist eating them all right away.
Nutritional Information & Benefits
Per ghost cookie (based on 24 cookies per batch):
| Nutrient | Amount |
|---|---|
| Calories | 35 |
| Total Fat | 0g |
| Saturated Fat | 0g |
| Cholesterol | 0mg |
| Sodium | 10mg |
| Total Carbohydrates | 8g |
| Sugars | 8g |
| Protein | 1g |
These cookies are naturally fat-free, cholesterol-free, and dairy-free. They are also gluten-free, making them a great option for those with celiac disease or gluten sensitivity. The main ingredient, egg whites, provides high-quality protein with very few calories. Egg whites are also a good source of selenium and riboflavin.
That said, these are still a treat. They are made almost entirely of sugar, so they are best enjoyed in moderation. But compared to many Halloween candies and cookies, they are a lighter option that still satisfies that sweet tooth. I feel good about letting my kids have a few because I know exactly what is in them—no preservatives, no artificial colors, no weird ingredients.
Potential allergens: eggs. If you have an egg allergy, use the aquafaba variation mentioned earlier. The cookies are also free of nuts, soy, and dairy, but always check your specific ingredients if you have severe allergies.
Conclusion
These Kid-Approved Ghost-Shaped Meringue Cookies have become such a beloved part of our Halloween tradition that I cannot imagine October without them. They are simple enough for a rainy afternoon project, impressive enough to bring to a party, and delicious enough that nobody can eat just one. The best part? They cost pennies to make and use ingredients you probably already have.
I encourage you to customize them based on your preferences. Add different extracts, experiment with colors, or let your kids go wild with decorating. That is the beauty of this recipe—it is forgiving, flexible, and always turns out cute. Even the wonky ghosts have charm.
Personally, I love this recipe because it reminds me of that first afternoon with my daughter, covered in powdered sugar and laughing at our lopsided creations. It is proof that the best recipes are not always the fanciest ones—they are the ones that bring people together and create happy memories. Give these a try, and let me know how they turn out. I would love to hear about your ghost-piping adventures in the comments below.
Frequently Asked Questions
Can I make these ghost cookies without a piping bag?
Absolutely. You can use a sturdy zip-top bag with the corner snipped off. Just cut about ¼ inch from the corner and pipe away. You can also use a small spoon to drop dollops of meringue onto the baking sheet and shape them gently with the back of the spoon. They will not look as perfectly ghost-shaped, but they will still taste delicious.
Why did my meringue cookies turn brown?
This usually happens when the oven temperature is too high. Meringues need to bake at a very low temperature—200°F (95°C)—to dry out without browning. If your oven runs hot, use an oven thermometer to check. You can also crack the oven door open slightly during the last 30 minutes of baking to keep the temperature low.
Can I use liquid egg whites from a carton?
Yes, but check the label first. Some carton egg whites contain stabilizers that prevent them from whipping to stiff peaks. Look for brands that specifically say they are suitable for whipping. I have had good luck with the generic store brand at my grocery store, but results can vary. If you are unsure, stick with fresh eggs.
How do I know when the ghosts are fully baked?
The ghosts are done when they are firm to the touch and lift easily off the parchment paper. They should feel dry on the surface, not sticky or tacky. If you tap one gently, it should sound hollow. The total baking time is usually 60-75 minutes, but every oven is different. When in doubt, give them an extra 10 minutes—it is better to over-bake slightly than under-bake.
Can I double this recipe?
Yes, but do not try to whip more than 8 egg whites at a time in a standard stand mixer. The volume increases significantly, and you need room for the beaters to work properly. If you are doubling the recipe, make two separate batches. It takes a little longer, but the results are much more consistent. Trust me on this one—I tried to cram 12 egg whites into my mixer once and ended up with meringue all over my ceiling.
Pin This Recipe!
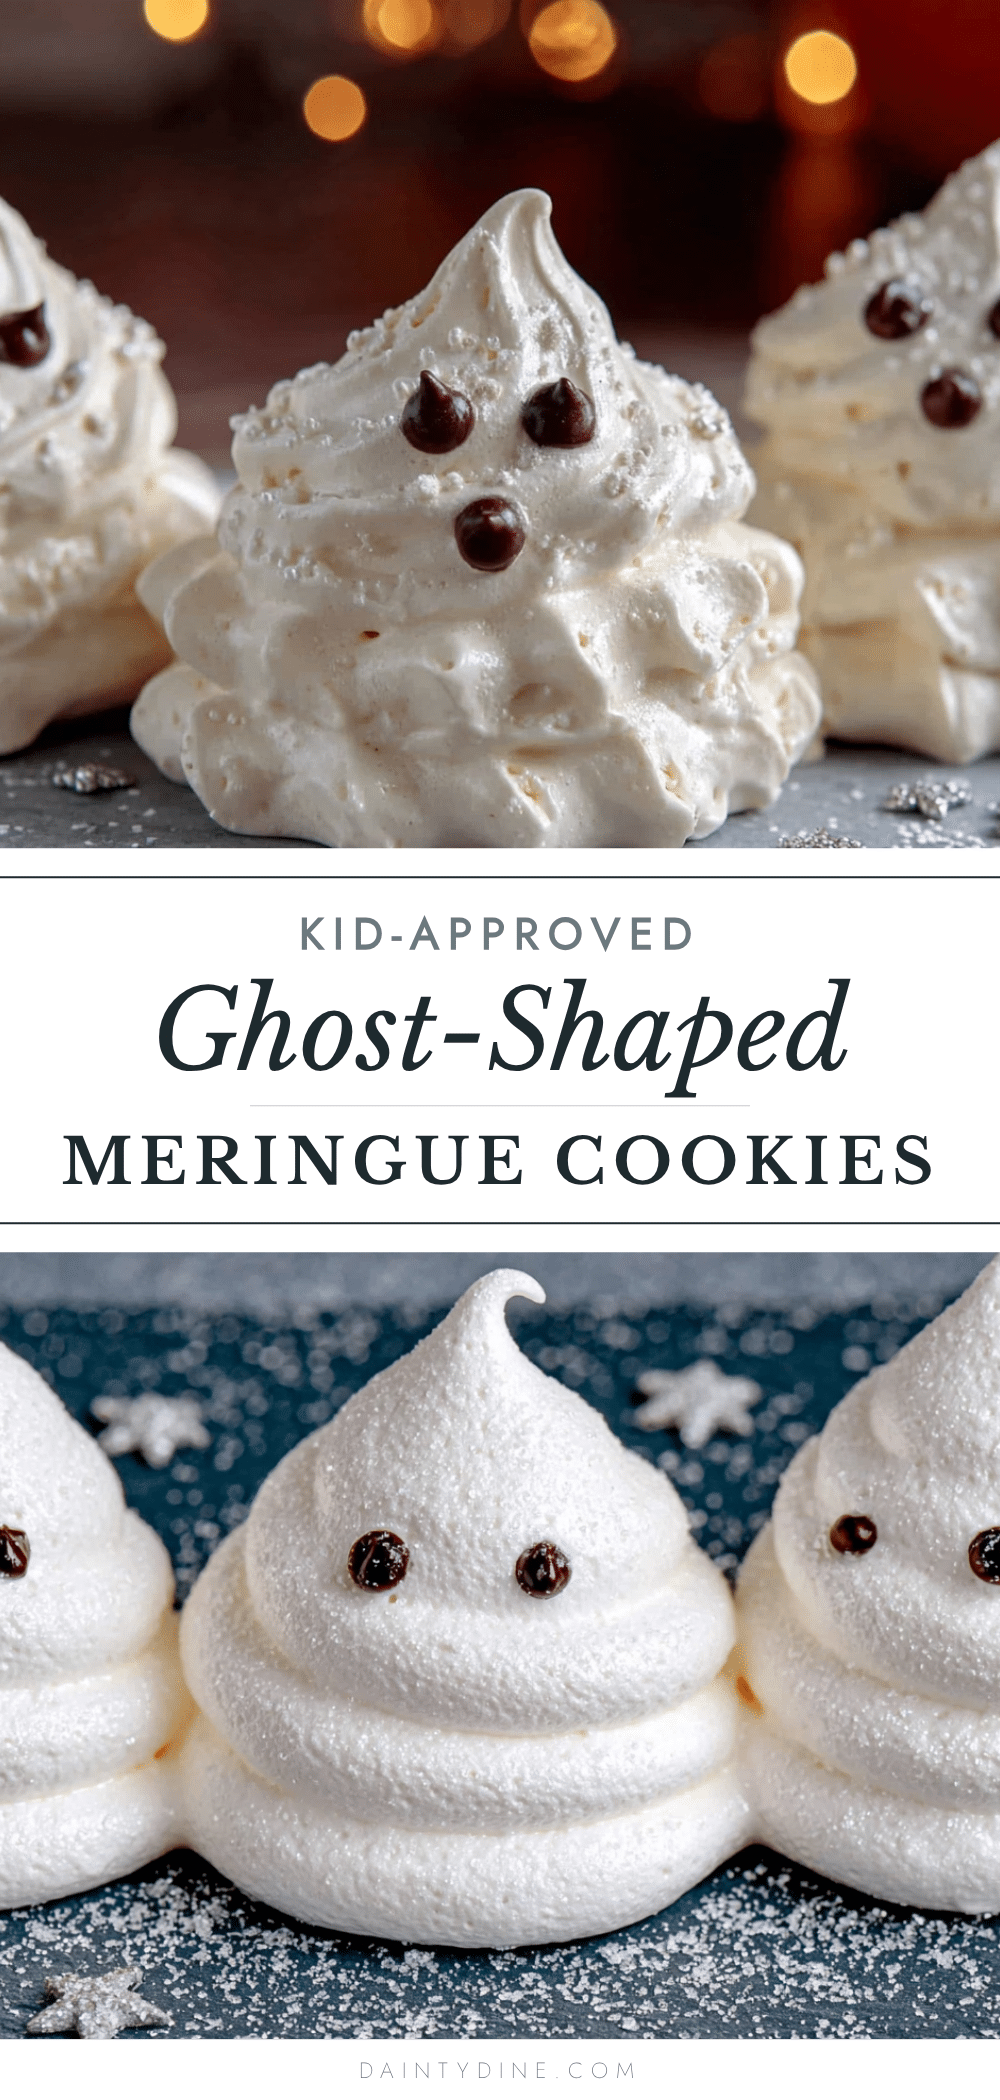
Kid-Approved Ghost-Shaped Meringue Cookies: Best Easy Halloween Recipe
These adorable ghost-shaped meringue cookies are light, sweet, and perfect for Halloween. Made with simple ingredients, they are crisp on the outside with a soft, marshmallow-like center, and kids can help with almost every step.
- Prep Time: 15 minutes
- Cook Time: 60-75 minutes
- Total Time: 1 hour 30 minutes to 1 hour 45 minutes
- Yield: 24 cookies 1x
- Category: Dessert
- Cuisine: American
Ingredients
- 4 large egg whites, room temperature
- 1 cup (200g) granulated sugar
- ½ teaspoon cream of tartar
- 1 teaspoon vanilla extract
- ¼ cup mini chocolate chips (optional, for eyes)
- Pinch of salt
Instructions
- Preheat your oven to 200°F (95°C).
- Line a baking sheet with parchment paper.
- Clean your mixing bowl and beaters thoroughly with lemon juice or vinegar to remove any grease.
- Separate the eggs while cold, transferring whites to the mixing bowl. Let whites come to room temperature (about 30 minutes).
- Add cream of tartar and salt to the egg whites. Beat on medium speed until foamy and opaque, about 1-2 minutes.
- Gradually add the sugar, one tablespoon at a time, with the mixer running.
- Increase speed to high and whip until stiff peaks form, about 5-7 minutes. The mixture should be glossy and smooth.
- Add vanilla extract and mix on low just until combined.
- Transfer meringue to a piping bag fitted with a ½-inch round tip (or a zip-top bag with the corner snipped).
- Pipe ghost shapes onto the prepared baking sheet: pipe a round blob, then pull straight up to create a peak. Space about 1 inch apart.
- If using, gently press two mini chocolate chips into each ghost for eyes immediately after piping.
- Bake for 60-75 minutes, until firm to the touch and easily lifting off the parchment.
- Turn off the oven and let ghosts cool inside with the door slightly ajar for at least 1 hour.
- Remove from oven and let cool completely on the baking sheet before storing.
Notes
Do not make on a humid day. Ensure bowl and beaters are completely grease-free. Do not over-whip egg whites. Let ghosts cool completely before storing in an airtight container at room temperature for up to two weeks. For longer storage, freeze for up to three months.
Nutrition
- Serving Size: 1 cookie
- Calories: 35
- Sugar: 8
- Sodium: 10
- Carbohydrates: 8
- Protein: 1
Keywords: Halloween cookies, meringue cookies, ghost cookies, easy Halloween recipe, kid-friendly, gluten-free, dairy-free


