Love this? Save it for later!
Share the inspiration with your friends
I had a friend named Carrie who swore she hated chocolate chip cookies. For years. She’d say it with this little shrug, like it was just a known fact about her, like how some people hate cilantro or don’t like the beach. “They’re too thin,” she’d claim. “Or they’re too cakey. Or they just taste like… sugar.” Honestly, it kind of bugged me. I mean, a good chocolate chip cookie is a masterpiece of simple things done right. But I let it go. You can’t argue someone into loving a cookie.
Then came the potluck. You know the one—the annual fall gathering where everyone brings their “signature dish.” I was tasked with dessert, and I decided to try a new recipe I’d been tweaking for weeks. My goal was the opposite of everything Carrie hated: thick, chewy, with a crackly top and pools of melted chocolate in every bite. I baked a double batch, pulled them out of the oven, and set them on the counter to cool while I ran to grab my phone to take a picture for my blog.
When I came back, Carrie was standing at the counter. She had a cookie in one hand and was reaching for another with the other. She froze when she saw me, like a kid caught with her hand in the candy jar. “I was just… checking the texture,” she mumbled through a mouthful. I just laughed. That was the moment I knew I had something special. This recipe—these thick and chewy chocolate chip cookies—converted a self-proclaimed cookie hater. And honestly, they’ve been my go-to for every gathering ever since. They’re the ones that disappear first, the ones people ask for by name. They’re the guest-favorite, hands down.
Why You’ll Love This Recipe
Let me tell you why this recipe is different from every other chocolate chip cookie recipe you’ve seen. It’s not just about the ingredients—it’s about the technique. I’ve tested this exact method over a dozen times, tweaking the ratios and the resting time until I got that perfect balance of a crisp edge and a soft, chewy center that stays thick even after it cools.
- Thick and Chewy Texture: No flat, sad cookies here. This recipe uses melted butter and an extra egg yolk to give you that bakery-style thickness every single time.
- Simple Pantry Ingredients: You probably already have everything you need. No weird flours or specialty extracts—just real butter, sugar, eggs, and good chocolate.
- Perfect for Hosting: These cookies are made for a crowd. They scale up beautifully, and you can prep the dough ahead of time so you’re not scrambling when your guests arrive.
- Crowd-Pleaser Guaranteed: I’ve brought these to dinner parties, holiday cookie swaps, and casual backyard barbecues. They are always the first plate to empty. Always.
- Unbelievably Delicious: The combination of browned butter, two types of sugar, and a generous amount of dark chocolate chips creates a flavor that’s deep, rich, and just the right amount of sweet.
This isn’t just another chocolate chip cookie recipe. It’s the one that makes people close their eyes after the first bite. It’s the one that gets texted to friends who weren’t even at the party. It’s comfort food that looks impressive on a platter but comes together with zero stress. Perfect for when you want to wow your guests without spending all day in the kitchen.
What Ingredients You Will Need
This recipe uses simple, wholesome ingredients to deliver bold flavor and that signature thick-and-chewy texture. Nothing fancy here—just smart choices and a few key techniques. Here’s what you’ll need to grab from your pantry and fridge.
For the Cookie Dough
- 2 ¼ cups (280g) all-purpose flour – Spoon and level it for accuracy. Too much flour makes cookies dry.
- 1 teaspoon baking soda – This helps with spread and gives a soft interior.
- ½ teaspoon salt – I prefer fine sea salt. It balances the sweetness perfectly.
- 1 cup (226g) unsalted butter – Melted and slightly cooled. I recommend using a good quality butter like Kerrygold for the richest flavor. Melting the butter is the secret to that chewy texture.
- 1 cup (200g) packed light brown sugar – This adds moisture and a deep, molasses-like sweetness. Don’t skip it for the chewy factor.
- ½ cup (100g) granulated sugar – Helps with spreading and gives those crispy edges.
- 2 large egg yolks + 1 large whole egg – The extra yolk adds richness and helps keep the cookies thick and soft.
- 2 teaspoons vanilla extract – Pure vanilla extract, not imitation. It makes a real difference.
- 2 cups (340g) semi-sweet or dark chocolate chips – I love using a mix of semi-sweet and dark for a more complex flavor. Ghirardelli or Guittard are my go-to brands. You can also chop a high-quality chocolate bar for irregular pools of melted chocolate.
Ingredient Tips & Substitutions
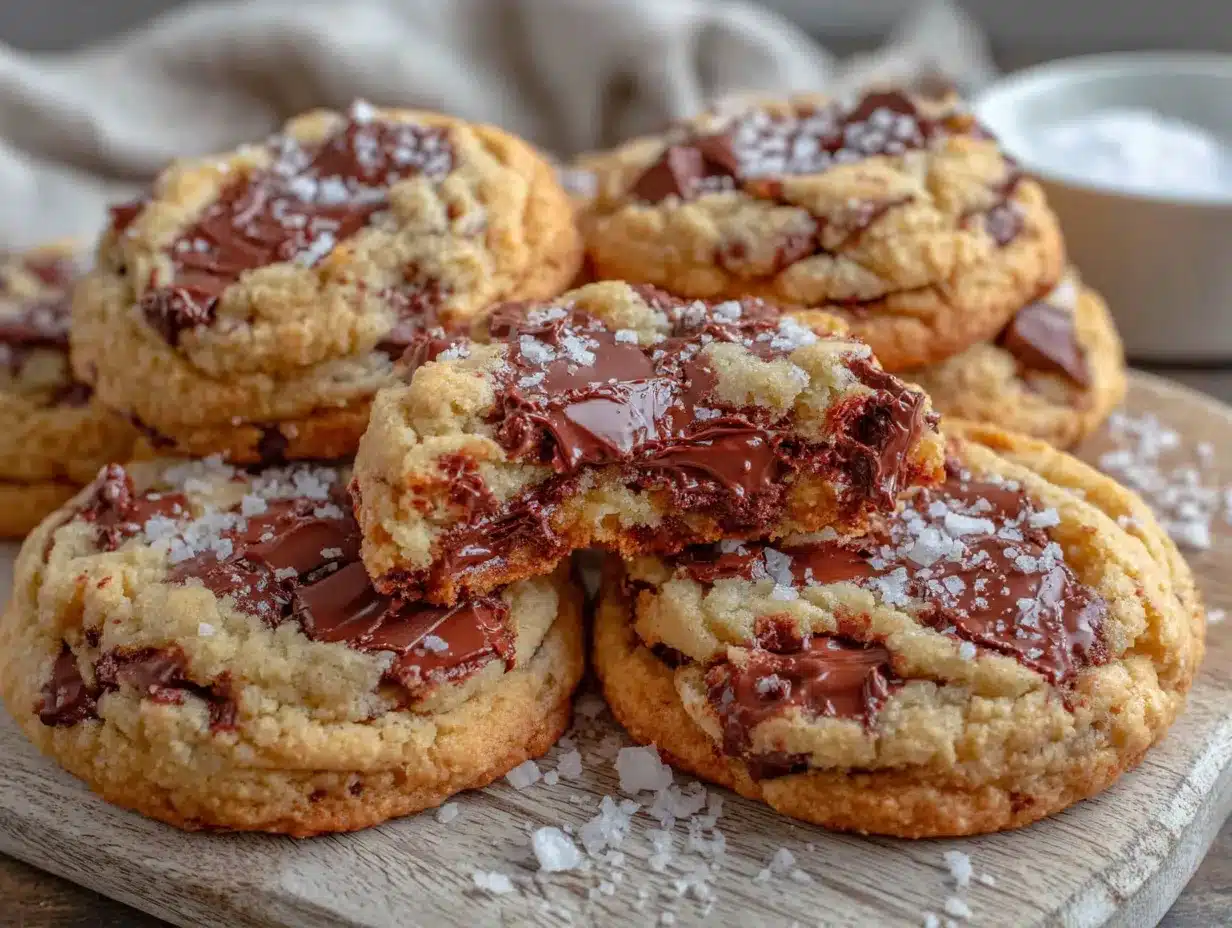
- Butter: You can use salted butter, just reduce the added salt to ¼ teaspoon. If you’re dairy-free, a good plant-based butter stick (like Miyoko’s) works well, but the texture might be slightly less chewy.
- Sugars: For a deeper flavor, you can use all brown sugar, but the cookies will spread a bit more. For a less sweet cookie, reduce the granulated sugar to ⅓ cup.
- Chocolate: Milk chocolate chips will make the cookies sweeter. White chocolate or butterscotch chips are also great for a twist. I once made a batch with half dark chocolate and half white chocolate chunks—it was a huge hit at a book club meeting.
- Flour: For a gluten-free version, use a 1:1 gluten-free baking flour blend that contains xanthan gum. I’ve had good results with King Arthur’s Measure for Measure.
- Eggs: If you need an egg substitute, use ¼ cup of unsweetened applesauce per egg. The cookies will be a little more cakey, but still delicious.
Equipment Needed
You don’t need a ton of fancy equipment to make the best thick and chewy chocolate chip cookies. Here’s what I use every time I bake these for a party.
- Mixing Bowls: One large bowl for dry ingredients and one medium bowl for wet ingredients.
- Whisk and Rubber Spatula: A whisk for the dry ingredients and a spatula for folding everything together. I’ve broken a few cheap spatulas on stiff dough—invest in a good silicone one, it’s worth it.
- Cookie Scoop (2-tablespoon size): This is my number one tool for even-sized cookies that bake uniformly. A standard ice cream scoop works too. If you don’t have one, just use two spoons.
- Baking Sheets: I prefer light-colored, rimmed baking sheets. Dark sheets can cause the bottoms to brown too quickly. I have a set of Nordic Ware sheets that I’ve used for years—they’re sturdy and distribute heat evenly.
- Parchment Paper or Silicone Baking Mats: Parchment paper is cheap and makes cleanup a breeze. Silicone mats are reusable and give a slightly softer bottom. Both work great.
- Wire Cooling Rack: Essential for letting the cookies cool without steaming and getting soggy on the bottom.
- Stand Mixer or Hand Mixer (Optional): You can absolutely mix this dough by hand with a wooden spoon. I often do when I’m making a single batch. But if you’re doubling the recipe for a party, a stand mixer saves your arm.
Preparation Method
Alright, let’s get to the good part. Follow these steps carefully, and you’ll have a batch of thick, chewy, guest-favorite cookies that will steal the show at your next gathering.
- Melt the butter and let it cool. In a small saucepan or microwave-safe bowl, melt 1 cup (226g) of unsalted butter. Let it sit for 5-10 minutes until it’s warm but not hot to the touch. You don’t want it to cook the eggs later. (I once rushed this step and ended up with scrambled eggs in my dough—learn from my mistake!)
- Whisk the dry ingredients. In a large bowl, whisk together 2 ¼ cups (280g) all-purpose flour, 1 teaspoon baking soda, and ½ teaspoon salt. Set aside.
- Combine the sugars and melted butter. In a separate large bowl, add the cooled melted butter, 1 cup (200g) packed light brown sugar, and ½ cup (100g) granulated sugar. Whisk vigorously for about a minute until the mixture is smooth and slightly thickened. It should look like a wet, grainy paste.
- Add the eggs and vanilla. Crack in 1 whole egg and 2 egg yolks, then add 2 teaspoons of vanilla extract. Whisk again until everything is fully combined and the mixture is pale and glossy. This takes about 30 seconds of solid whisking.
- Combine wet and dry ingredients. Pour the wet mixture into the bowl with the dry ingredients. Use a rubber spatula to fold everything together until just a few streaks of flour remain. Do not overmix—overworking the dough can make the cookies tough. It’s okay if there are a few floury spots.
- Fold in the chocolate chips. Add 2 cups (340g) of chocolate chips. Gently fold them into the dough until they’re evenly distributed. The dough will be thick and slightly sticky—that’s exactly what you want.
- Chill the dough (important step!). Cover the bowl with plastic wrap and refrigerate the dough for at least 30 minutes, or up to 72 hours. Chilling solidifies the butter and allows the flavors to meld. This is the secret to thick cookies that don’t spread into flat puddles in the oven. For the best results, I always chill mine for at least 2 hours before baking.
- Preheat the oven. When you’re ready to bake, preheat your oven to 350°F (175°C). Line two baking sheets with parchment paper or silicone mats.
- Scoop the dough. Use a 2-tablespoon cookie scoop to portion the dough. Roll each portion into a smooth ball. Place them on the prepared baking sheets, spacing them about 2 inches apart. For extra-thick cookies, chill the scooped dough balls on the baking sheet for 10 minutes before baking.
- Bake. Bake for 11-13 minutes, or until the edges are golden brown and the centers look just set and slightly puffy. They should still look a little underdone in the middle—they’ll continue to bake on the hot sheet as they cool. For a softer, chewier cookie, pull them out at the 11-minute mark.
- Cool on the baking sheet. Let the cookies rest on the hot baking sheet for 5 minutes. This allows them to set up properly without falling apart. Then, transfer them to a wire cooling rack to cool completely. Or, you know, eat them warm. I won’t judge.
- Repeat. Let the baking sheets cool completely between batches. If you put dough on a hot sheet, it will start melting before it hits the oven, and your cookies will spread too much.
Cooking Tips & Techniques
I’ve made my fair share of cookie mistakes over the years. Here’s what I’ve learned so you can skip the trial and error and get perfect cookies every time.
- Don’t skip the chilling step. I know it’s tempting to bake right away, but chilled dough is the key to thick cookies. If you bake warm dough, the butter melts too fast, and you’ll end up with thin, crispy cookies. I once skipped the chill because I was in a hurry for a last-minute dinner party, and the cookies spread so much they merged into one giant cookie. It was still delicious, but not very guest-friendly!
- Use a cookie scoop for even baking. Uneven sizes mean some cookies will be overdone while others are underdone. A simple scoop gives you consistent results. If you’re hosting, you want every cookie on the platter to look perfect.
- Rotate your baking sheets halfway through. Most ovens have hot spots. Halfway through baking, swap the top sheet with the bottom sheet and rotate them front to back. This ensures even browning.
- Bang the pan for a crackly top. About halfway through baking, take the sheet out of the oven and drop it on the counter from a height of about 2 inches. This deflates the cookies slightly and creates those beautiful, crinkly tops. It’s a little trick I picked up from a bakery in New York, and it works like a charm.
- Let them cool on the pan. The residual heat from the baking sheet finishes cooking the centers. If you move them to a cooling rack too soon, they might fall apart. Patience is a virtue, especially with cookies.
- Make ahead for hosting. You can scoop the dough into balls and freeze them on a baking sheet. Once frozen, transfer them to a freezer bag. Bake straight from frozen, adding 2-3 minutes to the baking time. This is my secret for stress-free hosting—fresh cookies in minutes!
Variations & Adaptations
One of the best things about this recipe is how flexible it is. Here are some of my favorite ways to switch it up, depending on the occasion or your guests’ preferences.
- Double Chocolate Chip: Replace ¼ cup (30g) of the all-purpose flour with ¼ cup (25g) of unsweetened cocoa powder. Use white chocolate chips instead of semi-sweet for a beautiful contrast. I made these for a Valentine’s Day party, and they were gone in ten minutes.
- Nutty Delight: Fold in 1 cup (120g) of toasted chopped walnuts or pecans along with the chocolate chips. Toasting the nuts first brings out their flavor and keeps them crunchy. This is my husband’s absolute favorite version.
- Sea Salt Finish: Just before baking, sprinkle a tiny pinch of flaky sea salt on top of each dough ball. The salt cuts through the sweetness and makes the chocolate taste even more intense. It looks fancy, too—perfect for impressing guests.
- Gluten-Free Adaptation: Substitute the all-purpose flour with a 1:1 gluten-free baking blend. Add an extra tablespoon of milk (dairy or non-dairy) if the dough seems too dry. I’ve tested this with King Arthur’s Measure for Measure, and the texture is remarkably close to the original.
- Vegan Version: Use a plant-based butter stick and replace the eggs with a flax egg (1 tablespoon ground flaxseed + 3 tablespoons water per egg, let sit for 5 minutes). The cookies will be a bit more delicate, but still thick and chewy.
Serving & Storage Suggestions
These cookies are best served warm, when the chocolate is still a little melty and the edges are crisp. For a dinner party, I like to arrange them on a large wooden board or a pretty cake stand. They look rustic and inviting, and guests can just grab one as they mingle.
What to serve alongside: A cold glass of milk is the classic pairing, but I also love serving these with a scoop of vanilla bean ice cream for an impromptu ice cream sandwich. For an adult gathering, they’re fantastic with a dark stout beer or a cup of strong coffee. If you’re hosting a holiday cookie platter, pair them with my crispy garlic chicken (just kidding—but a savory appetizer like that does balance the sweetness nicely).
Storage: Store baked cookies in an airtight container at room temperature for up to 5 days. To keep them soft, add a slice of bread to the container—it absorbs excess air and keeps the cookies chewy. I’ve been doing this for years, and it works like magic.
Freezing: You can freeze baked cookies for up to 3 months. Layer them between sheets of parchment paper in a freezer-safe container. Thaw at room temperature for about 15 minutes before serving. Or, reheat them in a 300°F (150°C) oven for 5 minutes to bring back that fresh-baked feel.
Reheating: For that just-baked experience, pop a cookie in the microwave for 10-15 seconds. It softens the chocolate without making the cookie soggy. I do this all the time for late-night cravings.
Flavor development: Honestly, these cookies taste even better the next day. The flavors have time to meld, and the texture becomes perfectly chewy. If you can resist eating them all on day one, you’re in for a treat.
Nutritional Information & Benefits
While cookies are definitely a treat, this recipe uses real, whole ingredients. Here’s the estimated nutritional breakdown per cookie (based on 24 cookies):
| Nutrient | Amount |
|---|---|
| Calories | 210 kcal |
| Total Fat | 11g |
| Saturated Fat | 7g |
| Cholesterol | 35mg |
| Sodium | 120mg |
| Total Carbohydrates | 28g |
| Dietary Fiber | 1g |
| Sugars | 18g |
| Protein | 3g |
Health benefits: Dark chocolate is rich in antioxidants and can help support heart health when consumed in moderation. Butter provides fat-soluble vitamins like A and E. The eggs add a small amount of high-quality protein. While this is a dessert, using real ingredients means you’re getting more nutritional value than from a processed, store-bought cookie.
Dietary considerations: This recipe is vegetarian. For gluten-free or vegan options, see the variations section above. It does contain dairy, eggs, and gluten, so be mindful if your guests have allergies.
Conclusion
If you’ve been searching for the perfect thick and chewy chocolate chip cookie recipe, stop right here. This is the one. It’s the recipe that turned a cookie-hater into a cookie-lover. It’s the recipe that wins every potluck, every holiday party, every casual get-together. It’s simple enough for a weekday bake but impressive enough to be the star of your dessert table.
I love this recipe because it feels like home. It’s the smell of butter and sugar filling the kitchen, the sound of laughter over a plate of warm cookies, the look on a friend’s face when they take that first bite and close their eyes. That’s what cooking is all about, isn’t it? Sharing something good with the people you care about.
So go ahead—make a batch for your next gathering. Customize it with your favorite add-ins, serve it with a scoop of ice cream, or just eat them straight off the baking sheet (I won’t tell). And when your guests ask for the recipe—and they will—send them my way. I’d love to hear how they turned out for you.
Drop a comment below and let me know: what’s your favorite way to enjoy these cookies? Have you tried any fun variations? Happy baking, friends!
Frequently Asked Questions
Why did my cookies turn out flat?
Flat cookies are usually caused by dough that’s too warm or butter that’s too hot. Make sure your melted butter has cooled to room temperature before mixing, and always chill the dough for at least 30 minutes before baking. Also, check that your baking soda is fresh—old baking soda loses its rising power.
Can I use margarine instead of butter?
I don’t recommend it. Margarine has a higher water content than butter, which can lead to flat, greasy cookies. Stick with real unsalted butter for the best texture and flavor. If you need a dairy-free option, use a high-quality plant-based butter stick.
How do I make my cookies extra chewy?
The extra egg yolk is the key here. It adds fat and moisture without thinning the dough too much. Also, using melted butter instead of creaming it with sugar creates a denser, chewier texture. And don’t overbake—pull them out when the centers still look slightly underdone.
Can I freeze the cookie dough?
Absolutely! Scoop the dough into balls and place them on a baking sheet lined with parchment paper. Freeze until solid, then transfer to a freezer bag. You can bake them straight from frozen—just add 2-3 minutes to the baking time. This is my go-to for last-minute guests.
How long should I chill the dough?
At least 30 minutes, but 2-4 hours is better. For the best flavor and texture, you can chill the dough for up to 72 hours. The longer it sits, the more the flavors meld and the deeper the caramel notes become. I’ve even chilled it for 48 hours before a big party, and the cookies were incredible.
Pin This Recipe!
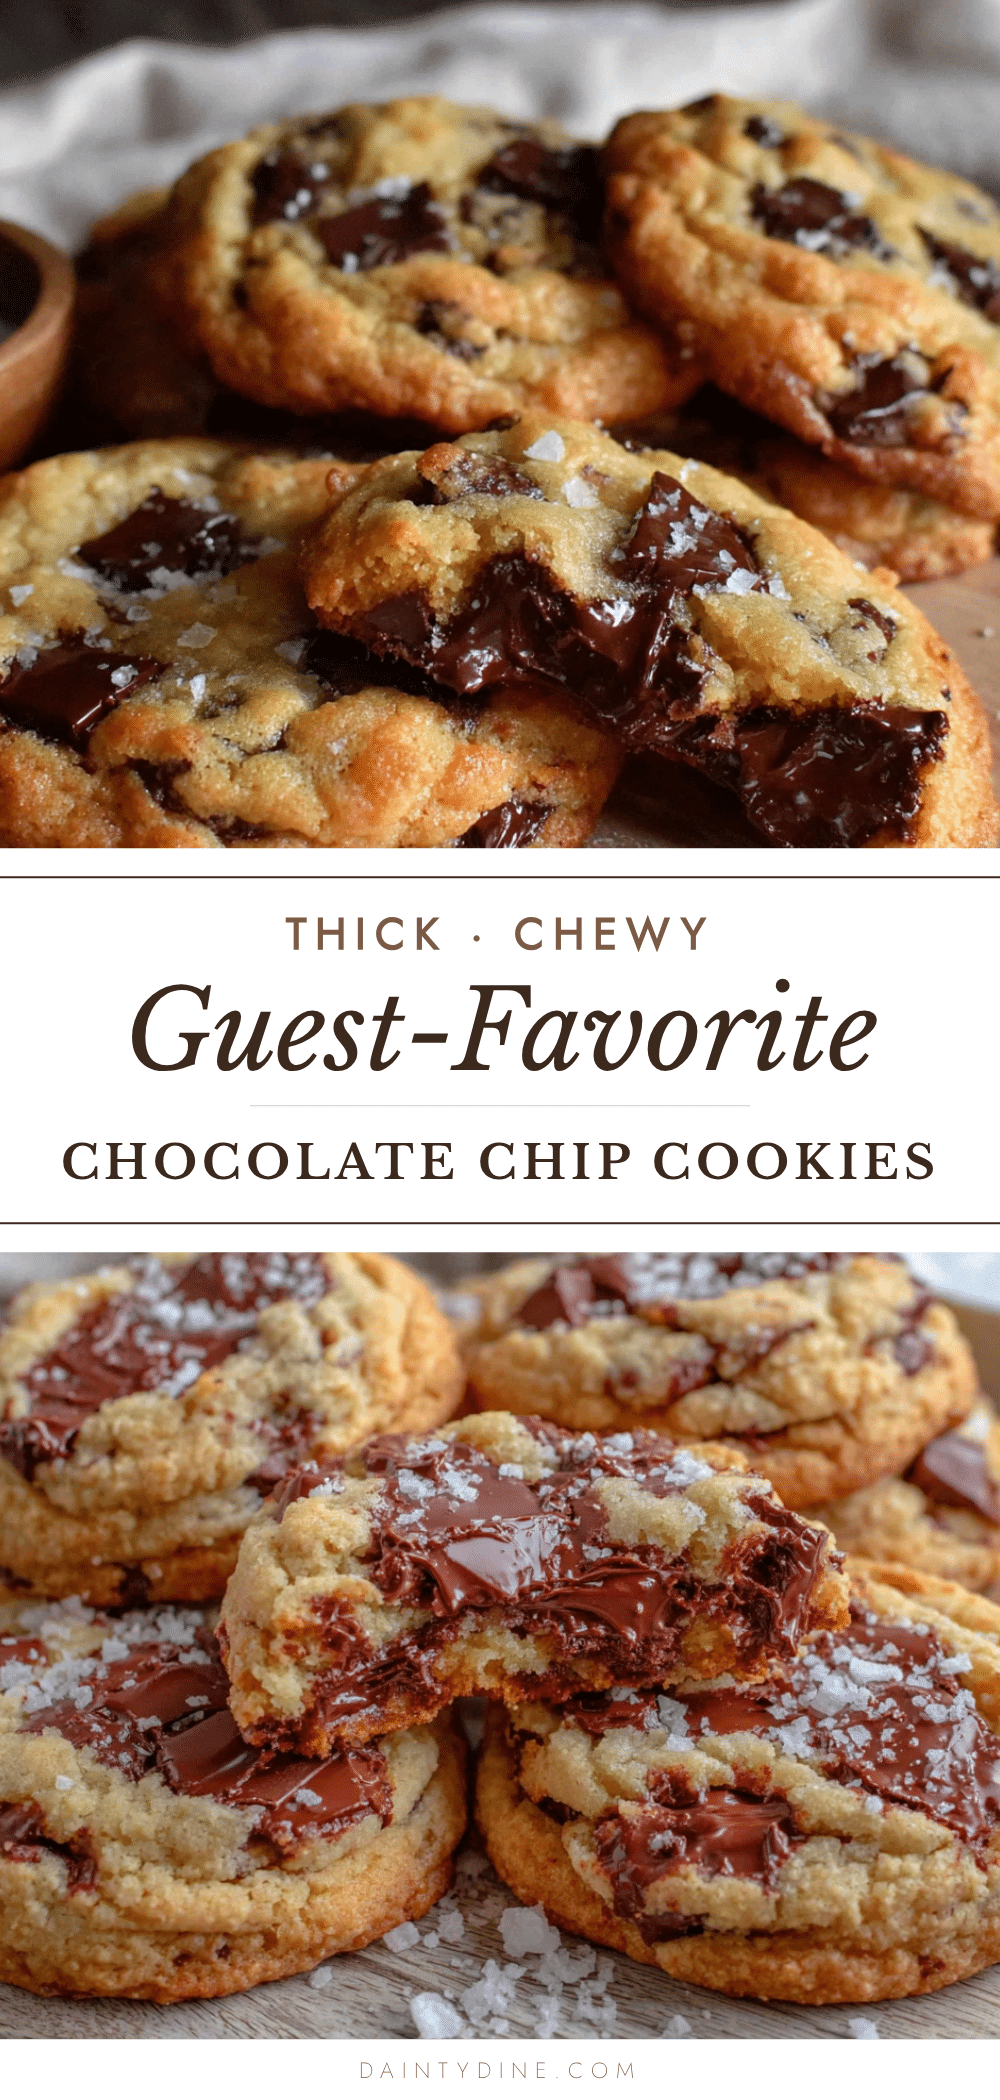
Best Thick and Chewy Chocolate Chip Cookies: Guest-Favorite Recipe

These thick and chewy chocolate chip cookies have a crackly top and pools of melted chocolate in every bite. They are the guest-favorite, perfect for any gathering.
- Prep Time: 15 minutes
- Cook Time: 12 minutes
- Total Time: 1 hour 27 minutes (including 1 hour chilling)
- Yield: 24 servings 1x
- Category: Dessert
- Cuisine: American
Ingredients
- 2 ¼ cups (280g) all-purpose flour
- 1 teaspoon baking soda
- ½ teaspoon salt
- 1 cup (226g) unsalted butter, melted and slightly cooled
- 1 cup (200g) packed light brown sugar
- ½ cup (100g) granulated sugar
- 2 large egg yolks + 1 large whole egg
- 2 teaspoons vanilla extract
- 2 cups (340g) semi-sweet or dark chocolate chips
Instructions
- Melt the butter and let it cool for 5-10 minutes until warm but not hot.
- In a large bowl, whisk together flour, baking soda, and salt. Set aside.
- In a separate large bowl, whisk the cooled melted butter with brown sugar and granulated sugar for about a minute until smooth and slightly thickened.
- Add the whole egg, egg yolks, and vanilla extract. Whisk until pale and glossy, about 30 seconds.
- Pour the wet mixture into the dry ingredients. Fold with a rubber spatula until just a few streaks of flour remain. Do not overmix.
- Fold in the chocolate chips until evenly distributed. The dough will be thick and slightly sticky.
- Cover the bowl with plastic wrap and refrigerate for at least 30 minutes, or up to 72 hours.
- Preheat oven to 350°F (175°C). Line baking sheets with parchment paper or silicone mats.
- Scoop dough into 2-tablespoon portions and roll into smooth balls. Place on prepared baking sheets, spacing 2 inches apart. For extra-thick cookies, chill the scooped dough balls for 10 minutes before baking.
- Bake for 11-13 minutes, until edges are golden brown and centers are just set and slightly puffy.
- Let cookies rest on the hot baking sheet for 5 minutes, then transfer to a wire cooling rack to cool completely.
- Repeat with remaining dough, letting baking sheets cool completely between batches.
Notes
Chilling the dough is essential for thick cookies. For a crackly top, bang the baking sheet on the counter halfway through baking. Cookies can be frozen for up to 3 months.
Nutrition
- Serving Size: 1 cookie
- Calories: 210
- Sugar: 18
- Sodium: 120
- Fat: 11
- Saturated Fat: 7
- Carbohydrates: 28
- Fiber: 1
- Protein: 3
Keywords: chocolate chip cookies, thick cookies, chewy cookies, guest-favorite, easy cookie recipe


