Love this? Save it for later!
Share the inspiration with your friends
I was standing in the baking aisle of my local grocery store last Tuesday when the smell hit me — that warm, almost-buttery vanilla scent from someone opening a bottle of extract a few feet away — and suddenly I was seven years old at my Aunt Rita’s tiny kitchen table, watching her split a vanilla bean lengthwise with the tip of a paring knife.
Honestly, I hadn’t thought about that kitchen in years. Aunt Rita wasn’t the greatest baker, let me tell you. She burned cookies regularly and once forgot the sugar in a batch of brownies. But that vanilla bean cream cake of hers? That was different. That was magic.
I remember the way she’d scrape those tiny black seeds into the bowl, then run her finger along the inside of the pod to get every last bit. She’d let me lick the spatula afterward, and I’d stand there with my eyes closed, trying to figure out why something so simple could taste so impossibly good.
Maybe you’ve been there — chasing a taste you can’t quite describe but can’t forget either. That’s what this cozy vanilla bean cream cake is for me. It’s not fancy or complicated. It’s just perfect in that quiet, unassuming way that makes you take a second slice before anyone notices.
I tried recreating it for years and always got close but never quite right. Too dry one time. Too dense another. But last week, standing in that grocery store aisle like a crazy person just breathing in vanilla air, I realized what I’d been missing. It wasn’t about the recipe. It was about slowing down enough to actually taste what you’re making.
So I went home, lit a candle, put on some old music, and made this cake the way Aunt Rita would have wanted me to — with patience and a little bit of reverence for that tiny vanilla bean.
Why You’ll Love This Recipe
This cozy vanilla bean cream cake isn’t just another vanilla cake recipe. I’ve tested this thing six times in the last three weeks, and let me tell you — my neighbors are very happy, and my kitchen scale needs a vacation. But every single version taught me something, and this final one? It’s the one.
- Simple Ingredients : You won’t need to hunt down weird specialty items. Butter, sugar, eggs, flour, cream, and a vanilla bean. That’s it. Most of this is probably in your kitchen right now.
- Quick & Easy : From start to oven in about 20 minutes. I timed myself. The hardest part is splitting that vanilla bean, and honestly, that takes thirty seconds once you get the hang of it.
- Perfect for Cozy Evenings : This is the cake you make when it’s raining outside, or you’ve had a rough day, or you just want your house to smell like a hug. It’s comfort food in cake form.
- Crowd-Pleaser : I brought this to a potluck last weekend, and three people asked for the recipe before I even sat down. Kids love it. Adults love it. Your picky uncle will love it.
- Unbelievably Delicious : The texture is what gets you. It’s dense but tender, rich but not heavy. That cream in the batter does something magical — keeps it moist for days, if it lasts that long.
What makes this different from every other vanilla cake out there? It’s the technique. Most recipes rely on extract alone, but using real vanilla bean gives you those tiny specks of flavor that burst on your tongue. Plus, the heavy cream adds a richness that milk or buttermilk just can’t match. This isn’t just another version — it’s the version I’d serve to someone I wanted to impress without breaking a sweat.
This recipe is the kind that makes you close your eyes after the first bite. I mean that. I caught myself doing it yesterday, and I’ve made this cake six times. It’s comfort food reimagined — familiar but somehow better than you remembered.
What Ingredients You Will Need
This cozy vanilla bean cream cake uses simple, wholesome ingredients that work together to create something genuinely special. No weird additives, no complicated components — just real food that tastes like it should.
For the Cake
- 1 ½ cups (190g) all-purpose flour — spoon and level it, don’t scoop straight from the bag. Trust me on this.
- 1 cup (200g) granulated sugar — regular white sugar works perfectly here.
- ½ cup (113g) unsalted butter, softened — I use Kerrygold because I’m fancy like that, but any good unsalted butter works.
- 2 large eggs, room temperature — cold eggs will seize your butter mixture. Set them out an hour before you start.
- ½ cup (120ml) heavy cream — this is the secret ingredient. Don’t substitute with milk or half-and-half.
- 1 vanilla bean — look for plump, moist beans. If they’re dry and brittle, they’re old.
- 1 teaspoon vanilla extract — yes, both bean and extract. Trust the process.
- 1 ½ teaspoons baking powder — make sure it’s fresh. Test it by dropping a bit in hot water; if it fizzes, you’re good.
- ¼ teaspoon salt — fine sea salt works best.
For the Glaze
- 1 cup (120g) powdered sugar — sifted if it’s lumpy.
- 2-3 tablespoons heavy cream — start with two, add more if needed.
- ½ teaspoon vanilla extract — or scrape the leftover vanilla bean pod into it for extra flavor.
Ingredient Selection Tips: When choosing a vanilla bean, look for ones that are oily and pliable. I personally prefer Madagascar vanilla beans for their rich, creamy flavor profile. If you can only find vanilla bean paste, use 1 tablespoon as a substitute for the whole bean. For the heavy cream, any brand with at least 36% milkfat works — don’t skimp here because this is what gives the cake its signature tender crumb.
Substitution Guidance: Need a dairy-free option? Use vegan butter and full-fat coconut cream instead of heavy cream. The texture will be slightly different but still delicious. For a gluten-free version, swap the all-purpose flour with a good 1:1 gluten-free baking blend. I’ve tested this with King Arthur’s measure-for-measure flour, and it worked beautifully.
Equipment Needed
You don’t need a fancy kitchen to make this cozy vanilla bean cream cake. Here’s what you’ll actually use:
- 9-inch round cake pan — a standard metal pan works great. Glass or ceramic will work too, but you might need to add 5-10 minutes to the baking time.
- Electric hand mixer or stand mixer — you can do this by hand, but your arm will get a workout. I’ve done both, and the mixer is worth the cleanup.
- Mixing bowls — one large, one medium. Nothing fancy needed.
- Parchment paper — cut a circle for the bottom of the pan. This is non-negotiable if you want the cake to come out cleanly.
- Sharp knife or kitchen shears — for splitting the vanilla bean. A paring knife works perfectly.
- Cooling rack — lets air circulate so your cake doesn’t get soggy on the bottom.
- Whisk — for the glaze. A fork works in a pinch.
- Measuring cups and spoons — and a kitchen scale if you have one. Volume measurements work, but weight is more accurate.
Budget-Friendly Alternatives: No stand mixer? No problem. A wooden spoon and some elbow grease will get the job done. Just make sure your butter is really soft. No parchment paper? Grease the pan thoroughly and dust it with flour, tapping out the excess. No cooling rack? Use the rack from your oven or even a wire trivet.
Preparation Method
- Preheat your oven to 350°F (175°C). Get this going first because you want the oven fully hot when the cake goes in. Position the rack in the center of the oven.
- Prepare your pan. Grease a 9-inch round cake pan with butter or cooking spray. Cut a circle of parchment paper to fit the bottom, place it in, and grease that too. Dust with a little flour and tap out the excess. I forgot to do this once and spent twenty minutes chiseling cake out of the pan. Learn from my mistakes.
- Split your vanilla bean. Lay the bean flat on your cutting board. Hold the tip steady with your fingers and use a sharp knife to slice it lengthwise from top to bottom. Don’t cut all the way through — you want to open it like a book. Use the back of the knife to scrape out the tiny black seeds. You’ll get about a teaspoon of those beautiful specks.
- Cream the butter and sugar. In a large mixing bowl, beat the softened butter and sugar together until light and fluffy — about 3-4 minutes with an electric mixer on medium speed. It should look pale and almost doubled in volume. Scrape down the sides of the bowl halfway through.
- Add the vanilla. Add the vanilla bean seeds and vanilla extract to the butter mixture. Beat for another 30 seconds until evenly distributed. You’ll see those tiny black specks throughout — that’s exactly what you want.
- Add the eggs one at a time. Crack the first egg into the mixture and beat until fully incorporated, about 30 seconds. Scrape down the sides, then add the second egg and beat again. The mixture might look slightly curdled at this point — that’s okay. It’ll come together when you add the flour.
- Whisk the dry ingredients together. In a separate medium bowl, whisk the flour, baking powder, and salt together. This ensures the baking powder is evenly distributed so your cake rises evenly.
- Alternate adding flour and cream. Add about one-third of the flour mixture to the butter mixture and mix on low speed until just combined. Add half the heavy cream and mix again. Repeat with another third of flour, the remaining cream, and finally the last of the flour. Mix until just combined — overmixing will make your cake tough. Stop when you can’t see any more streaks of flour.
- Pour the batter into the prepared pan. Use a spatula to scrape every last bit of batter into the pan. Spread it evenly — it will be thick, almost like a cookie dough. Smooth the top as best you can.
- Bake for 30-35 minutes. The cake is done when a toothpick inserted into the center comes out clean or with just a few moist crumbs. The top should be golden brown and the edges should be pulling away from the pan slightly. My oven runs hot, so I check at 28 minutes. Know your oven.
- Cool in the pan for 10 minutes. Set the pan on a cooling rack and let it rest. This allows the cake to firm up enough to handle. After 10 minutes, run a knife around the edge, invert the cake onto the rack, and remove the parchment paper. Let it cool completely — about an hour. Don’t rush this. Warm cake will melt your glaze into a puddle.
- Make the glaze. While the cake cools, whisk together the powdered sugar, 2 tablespoons of heavy cream, and vanilla extract in a small bowl. Add more cream a teaspoon at a time until you get a thick but pourable consistency. It should ribbon off the whisk — not too thin, not too thick.
- Glaze the cake. Once the cake is completely cool, place it on your serving plate. Pour the glaze over the center and use a spatula to gently push it toward the edges. Let it drip naturally. Don’t overwork it — the imperfections are part of the charm.
- Let the glaze set for 15-20 minutes. This gives it time to firm up slightly so it doesn’t slide off when you cut into it. Or don’t wait. I won’t judge.
Cooking Tips & Techniques
I’ve made this cozy vanilla bean cream cake enough times to know where things can go wrong. Here’s what I’ve learned the hard way so you don’t have to.
Room temperature ingredients matter. I know, I know — everyone says this. But here’s why: cold butter won’t cream properly with sugar, which means your cake won’t have that light, tender texture. Cold eggs will seize the butter mixture and make it lumpy. Set everything out on the counter at least an hour before you start. If you forgot, place the eggs in a bowl of warm water for 5 minutes and microwave the cream for 10 seconds.
Don’t overmix the batter. This is the most common mistake I see. Once you add the flour, mix only until you can’t see any more white streaks. Overmixing develops gluten, and too much gluten makes cake tough and dense. I speak from experience — my first attempt was a hockey puck. A delicious hockey puck, but still.
Split the vanilla bean properly. Lay it flat and use a sharp knife. Dull knives will squish the bean and make it harder to scrape. If you’re struggling, try using kitchen shears to snip one end and then cut lengthwise. Save the empty pod! Rinse it, dry it, and bury it in your sugar jar. In a week, you’ll have vanilla sugar.
Check your baking powder. If your baking powder is old, your cake won’t rise. Test it by dropping a teaspoon into hot water — if it fizzes vigorously, it’s good. If it barely bubbles, buy new stuff. This is a cheap fix that makes a huge difference.
Multitasking strategy: While the cake is baking, wash your dishes. Seriously. You’ll thank yourself later when you’re enjoying a slice without a mountain of dirty bowls staring at you. Also, make the glaze while the cake cools so it’s ready to go.
Variations & Adaptations
This cozy vanilla bean cream cake is wonderful as written, but sometimes you want to mix things up. Here are some variations I’ve tried and loved:
Lemon Vanilla Cream Cake: Add the zest of one lemon to the butter and sugar mixture. Replace 1 tablespoon of heavy cream with fresh lemon juice. The citrus brightens the vanilla beautifully — perfect for spring brunches or baby showers. I made this for Easter last year, and my sister-in-law asked for the recipe before she finished her first slice.
Chocolate Chip Vanilla Cream Cake: Fold ½ cup of mini chocolate chips into the batter just before pouring it into the pan. The tiny chocolate bits melt into pockets of richness throughout the cake. Use mini chips instead of regular ones so they distribute evenly and don’t sink to the bottom. Toss them in a tablespoon of flour first to prevent sinking.
Gluten-Free Version: Substitute the all-purpose flour with 1 ½ cups (210g) of a good 1:1 gluten-free baking blend. I’ve tested this with Bob’s Red Mill and King Arthur, and both worked well. Add ¼ teaspoon of xanthan gum if your blend doesn’t already include it. The texture will be slightly more delicate, so handle the cake gently when removing it from the pan.
Dairy-Free Version: Use vegan butter (I like Miyoko’s) and full-fat coconut cream instead of heavy cream. The coconut flavor is subtle and actually complements the vanilla nicely. Use a dairy-free milk powder alternative if you want to dust the pan. This version is a little denser but still delicious.
Spiced Vanilla Cream Cake: Add 1 teaspoon of cinnamon and ¼ teaspoon of nutmeg to the flour mixture. This turns the cake into something cozier — perfect for fall evenings or holiday gatherings. I served this at Thanksgiving last year, and it disappeared faster than the pumpkin pie.
Serving & Storage Suggestions
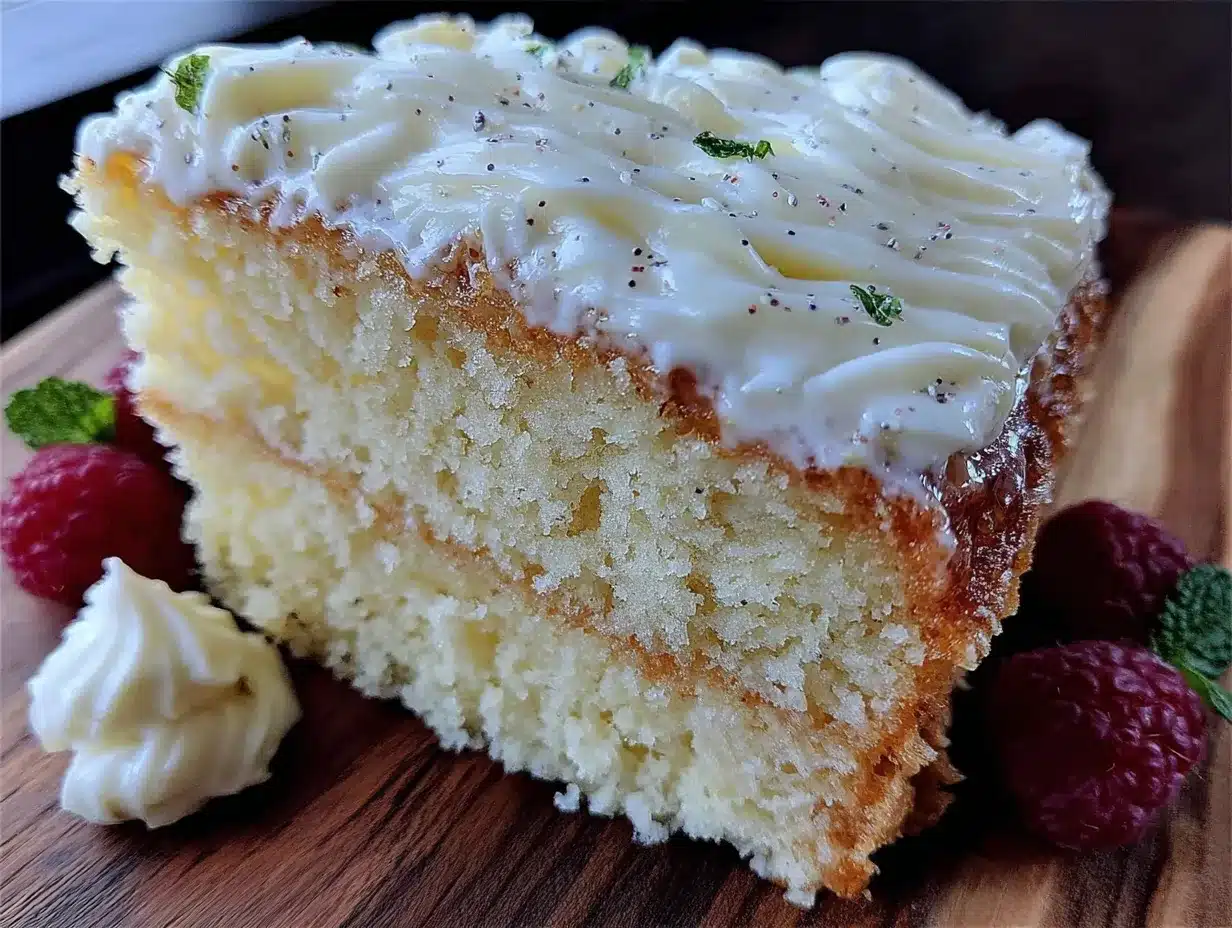
This cozy vanilla bean cream cake is best served at room temperature. The texture is at its peak — tender, moist, with that slight crumb that melts on your tongue. If you’ve refrigerated it, let it sit out for about 30 minutes before serving.
Presentation ideas: Place the cake on a simple white stand or wooden board. The golden brown top with that creamy white glaze is beautiful on its own. Add a few fresh berries or edible flowers for color if you’re feeling fancy. A dusting of powdered sugar never hurts either.
What to serve with it: A cup of strong black coffee or Earl Grey tea is perfect. The bitterness balances the sweetness. For dessert, a scoop of vanilla bean ice cream turns this into something decadent. Fresh strawberries or raspberries with a little whipped cream also work beautifully.
Storage instructions: Store the cake in an airtight container at room temperature for up to 3 days. The glaze might get a little sticky, but the cake stays moist thanks to that heavy cream. If your kitchen is warm, refrigerate it — just bring it back to room temperature before serving.
Freezing: This cake freezes beautifully. Wrap the completely cooled, unglazed cake tightly in plastic wrap, then a layer of aluminum foil. Freeze for up to 3 months. When you’re ready to serve, thaw it in the refrigerator overnight, bring it to room temperature, and then glaze it. The glaze doesn’t freeze well, so always add it fresh.
How flavors develop: Honestly, this cake tastes even better on day two. The vanilla flavor deepens and the texture becomes even more tender. If you can resist eating it all on day one, you’re stronger than I am.
Nutritional Information & Benefits
Let’s be real — this is a treat, not a health food. But knowing what’s in your food is always a good idea. Here’s the estimated nutritional breakdown per slice (based on 10 slices):
| Nutrient | Amount per Slice |
|---|---|
| Calories | 320 |
| Total Fat | 16g |
| Saturated Fat | 10g |
| Cholesterol | 75mg |
| Sodium | 180mg |
| Total Carbohydrates | 42g |
| Sugars | 28g |
| Protein | 4g |
Health benefits to note: Vanilla bean contains small amounts of antioxidants and has been associated with calming effects — perfect for that cozy evening treat. The eggs provide high-quality protein, and the butter contains fat-soluble vitamins A, D, E, and K. Is this a superfood? No. But it’s made with real ingredients that your body recognizes, and sometimes that’s enough.
Dietary considerations: This recipe contains gluten, dairy, and eggs. See the variations section for gluten-free and dairy-free adaptations. It’s not suitable for vegan diets as written, but you can experiment with plant-based alternatives.
Conclusion
This cozy vanilla bean cream cake is more than just a recipe — it’s a moment. It’s the smell that fills your kitchen on a rainy afternoon, the first bite that makes you close your eyes, the slice you sneak at midnight when nobody’s watching. It’s simple enough for a Tuesday and special enough for a celebration.
I hope you make this cake and make it your own. Maybe you’ll add lemon zest like I did for Easter, or maybe you’ll keep it classic with just that beautiful vanilla bean. Either way, I’d love to hear about it. Leave a comment below and tell me how it turned out, or share your own twist on this recipe. Did you add chocolate chips? Did you double the glaze? Did your kids fight over the last slice? (Mine did.)
Thank you for being here, for taking the time to make something from scratch, for caring enough to use a real vanilla bean. That effort — that little bit of patience and love — is what turns a cake into a memory. Aunt Rita would be proud.
Now go preheat your oven. That vanilla bean is waiting.
Frequently Asked Questions
Can I use vanilla extract instead of a vanilla bean?
Yes, absolutely. Use 2 teaspoons of pure vanilla extract if you don’t have a vanilla bean. The flavor won’t be quite as complex, and you’ll miss those beautiful black specks, but the cake will still be delicious. For the best of both worlds, use 1 teaspoon of extract and 1 teaspoon of vanilla bean paste.
Why did my cake sink in the middle?
This usually happens for one of three reasons: the oven door was opened too early, the baking powder was old, or the batter was overmixed. Make sure your oven is at the right temperature before you put the cake in, and resist the urge to peek for at least 25 minutes. Also, check that your baking powder is fresh.
Can I make this cake in a different pan size?
Sure! You can use an 8×8 square pan, a loaf pan, or even make cupcakes. For an 8×8 pan, bake for 25-30 minutes. For a loaf pan, bake for 40-45 minutes. For cupcakes, fill liners two-thirds full and bake for 18-22 minutes. Just keep an eye on them and test with a toothpick.
How do I know when the cake is done?
Insert a toothpick or a thin knife into the center of the cake. If it comes out clean or with just a few moist crumbs attached, it’s done. The edges should be golden brown and pulling away from the pan slightly. If the toothpick has wet batter on it, give it another 3-5 minutes and test again.
Can I double this recipe?
Yes, this recipe doubles beautifully. Use a 9×13 inch pan and bake for 35-40 minutes. Make sure your mixing bowl is large enough to hold double the batter, and don’t rush the creaming step — it still needs a full 3-4 minutes even with double the ingredients. You might need to add a few extra minutes to the baking time, so test with a toothpick before pulling it out.
Pin This Recipe!
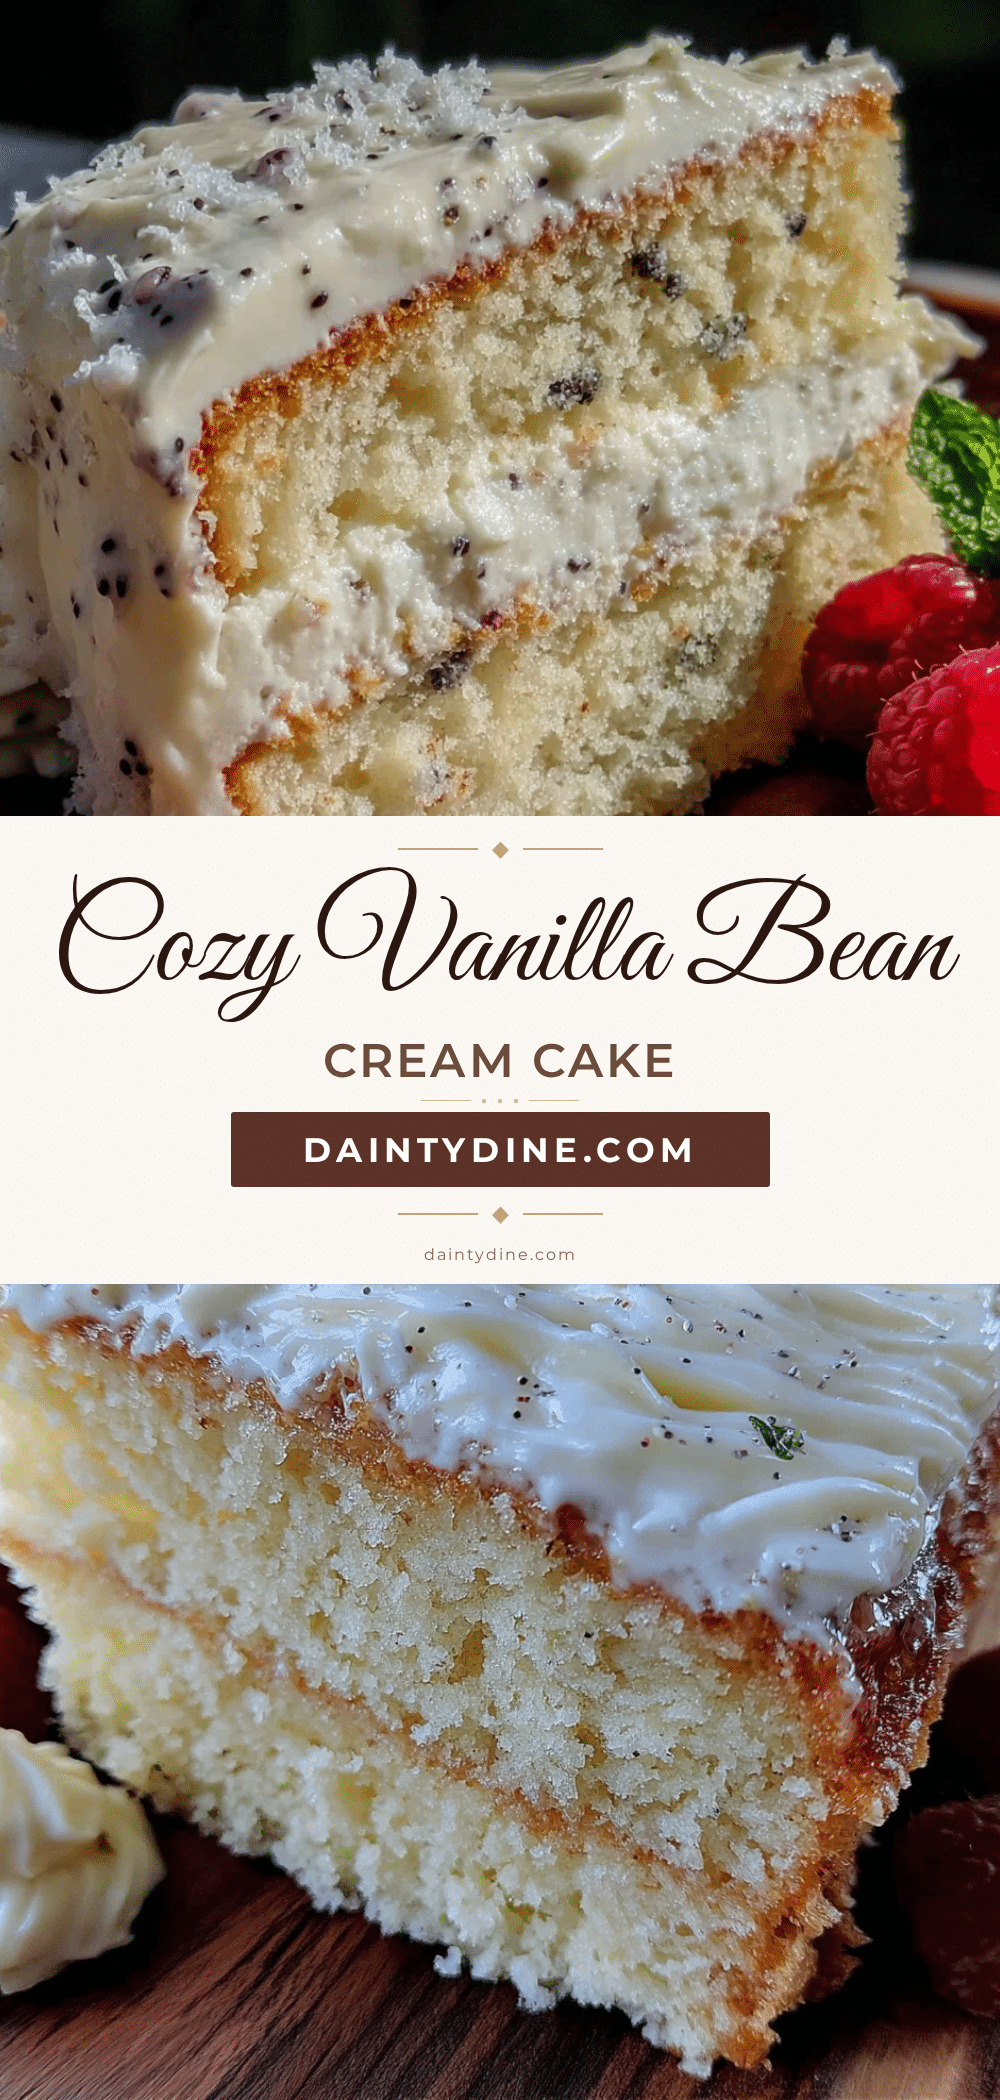
Cozy Vanilla Bean Cream Cake – Easy Homemade Recipe
This cozy vanilla bean cream cake is a simple yet magical dessert made with real vanilla bean and heavy cream for a tender, moist crumb. Perfect for cozy evenings or any occasion, it’s comfort food in cake form.
- Prep Time: 20 minutes
- Cook Time: 30-35 minutes
- Total Time: 1 hour 55 minutes
- Yield: 10 servings 1x
- Category: Dessert
- Cuisine: American
Ingredients
- 1 ½ cups (190g) all-purpose flour
- 1 cup (200g) granulated sugar
- ½ cup (113g) unsalted butter, softened
- 2 large eggs, room temperature
- ½ cup (120ml) heavy cream
- 1 vanilla bean
- 1 teaspoon vanilla extract
- 1 ½ teaspoons baking powder
- ¼ teaspoon salt
- 1 cup (120g) powdered sugar
- 2–3 tablespoons heavy cream
- ½ teaspoon vanilla extract
Instructions
- Preheat your oven to 350°F (175°C). Position the rack in the center of the oven.
- Grease a 9-inch round cake pan with butter or cooking spray. Line the bottom with parchment paper, grease the paper, and dust with flour.
- Split the vanilla bean lengthwise and scrape out the seeds.
- In a large bowl, beat the softened butter and sugar together until light and fluffy, about 3-4 minutes.
- Add the vanilla bean seeds and vanilla extract, beat for 30 seconds.
- Add eggs one at a time, beating well after each addition.
- In a separate bowl, whisk together flour, baking powder, and salt.
- Alternate adding the flour mixture and heavy cream to the butter mixture, starting and ending with flour. Mix until just combined.
- Pour the batter into the prepared pan and spread evenly.
- Bake for 30-35 minutes, until a toothpick inserted in the center comes out clean.
- Cool in the pan for 10 minutes, then transfer to a wire rack to cool completely.
- For the glaze: whisk together powdered sugar, 2-3 tablespoons heavy cream, and vanilla extract until smooth and pourable.
- Once the cake is completely cool, pour the glaze over the top and spread gently.
- Let the glaze set for 15-20 minutes before serving.
Notes
Room temperature ingredients are crucial for best texture. Don’t overmix the batter. Save the empty vanilla bean pod to make vanilla sugar. The cake tastes even better on day two.
Nutrition
- Serving Size: 1 slice
- Calories: 320
- Sugar: 28
- Sodium: 180
- Fat: 16
- Saturated Fat: 10
- Carbohydrates: 42
- Protein: 4
Keywords: vanilla bean cake, cream cake, easy vanilla cake, homemade cake, comfort food dessert


